Shadowlands Alpha - Revendreth Questing Experience
Today we are taking a look at questing in Revendreth!
Chapter 1


Chapter 2


Chapter 3


Chapter 4


Chapter 5


Chapter 6


Chapter 7
Continue reading...
Today we are taking a look at questing in Revendreth!
Chapter 1
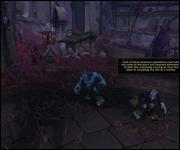
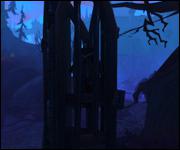
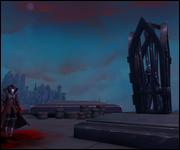
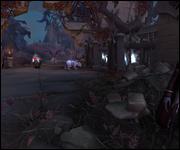
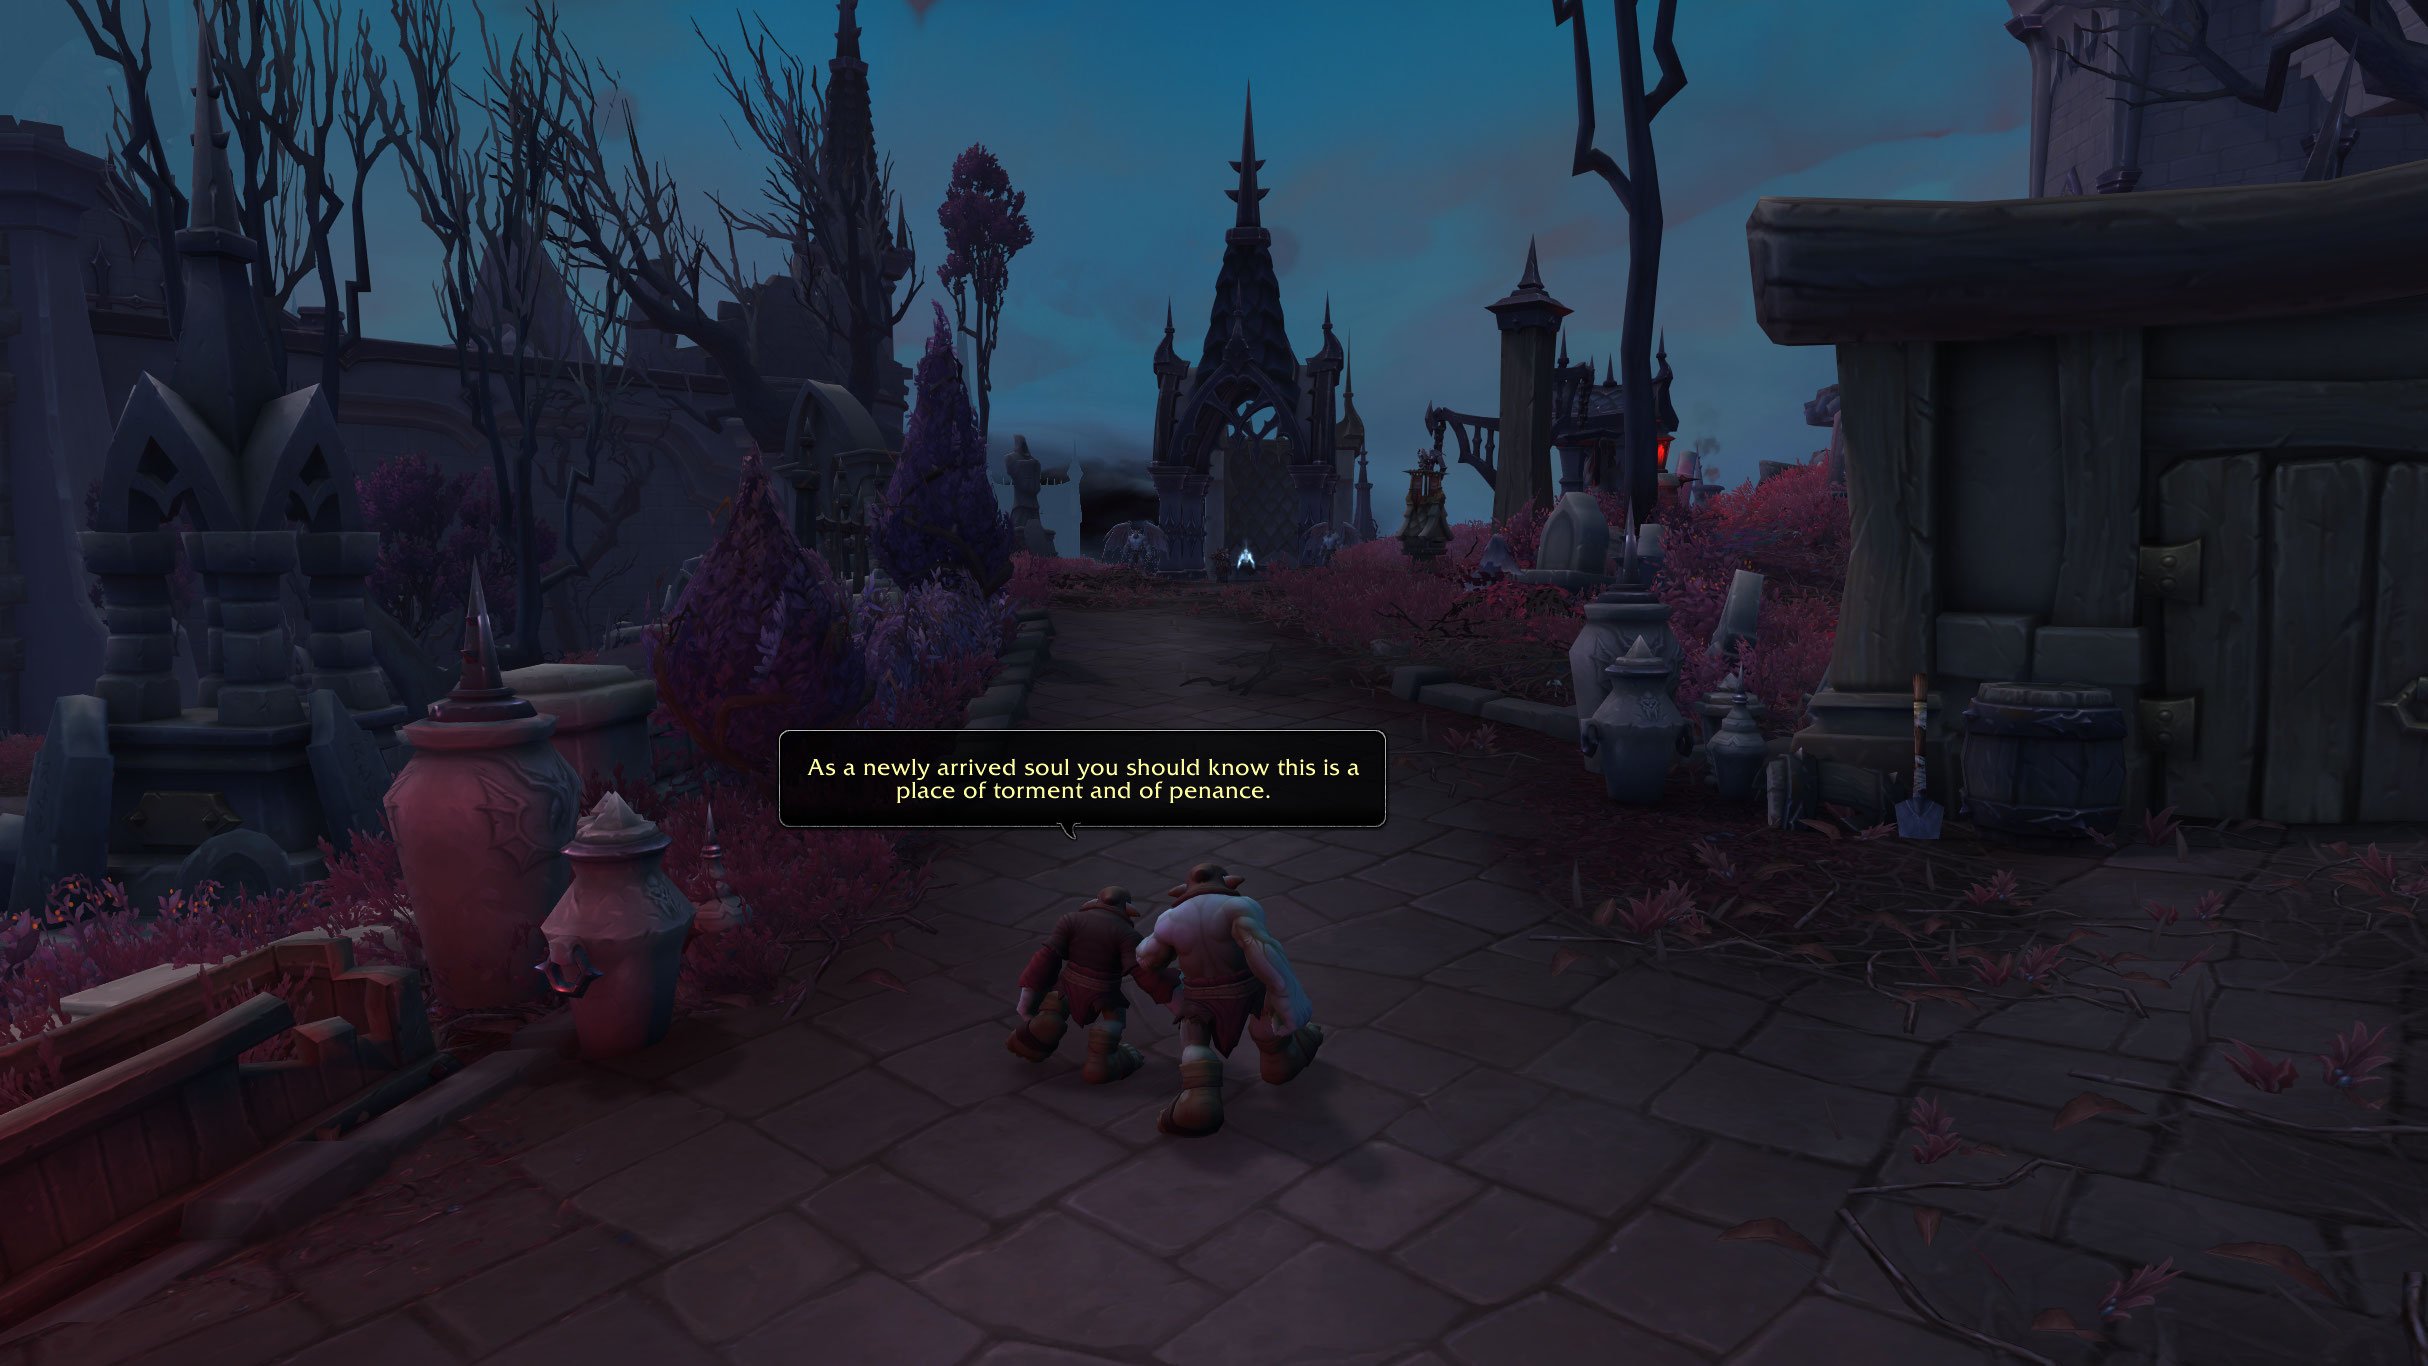
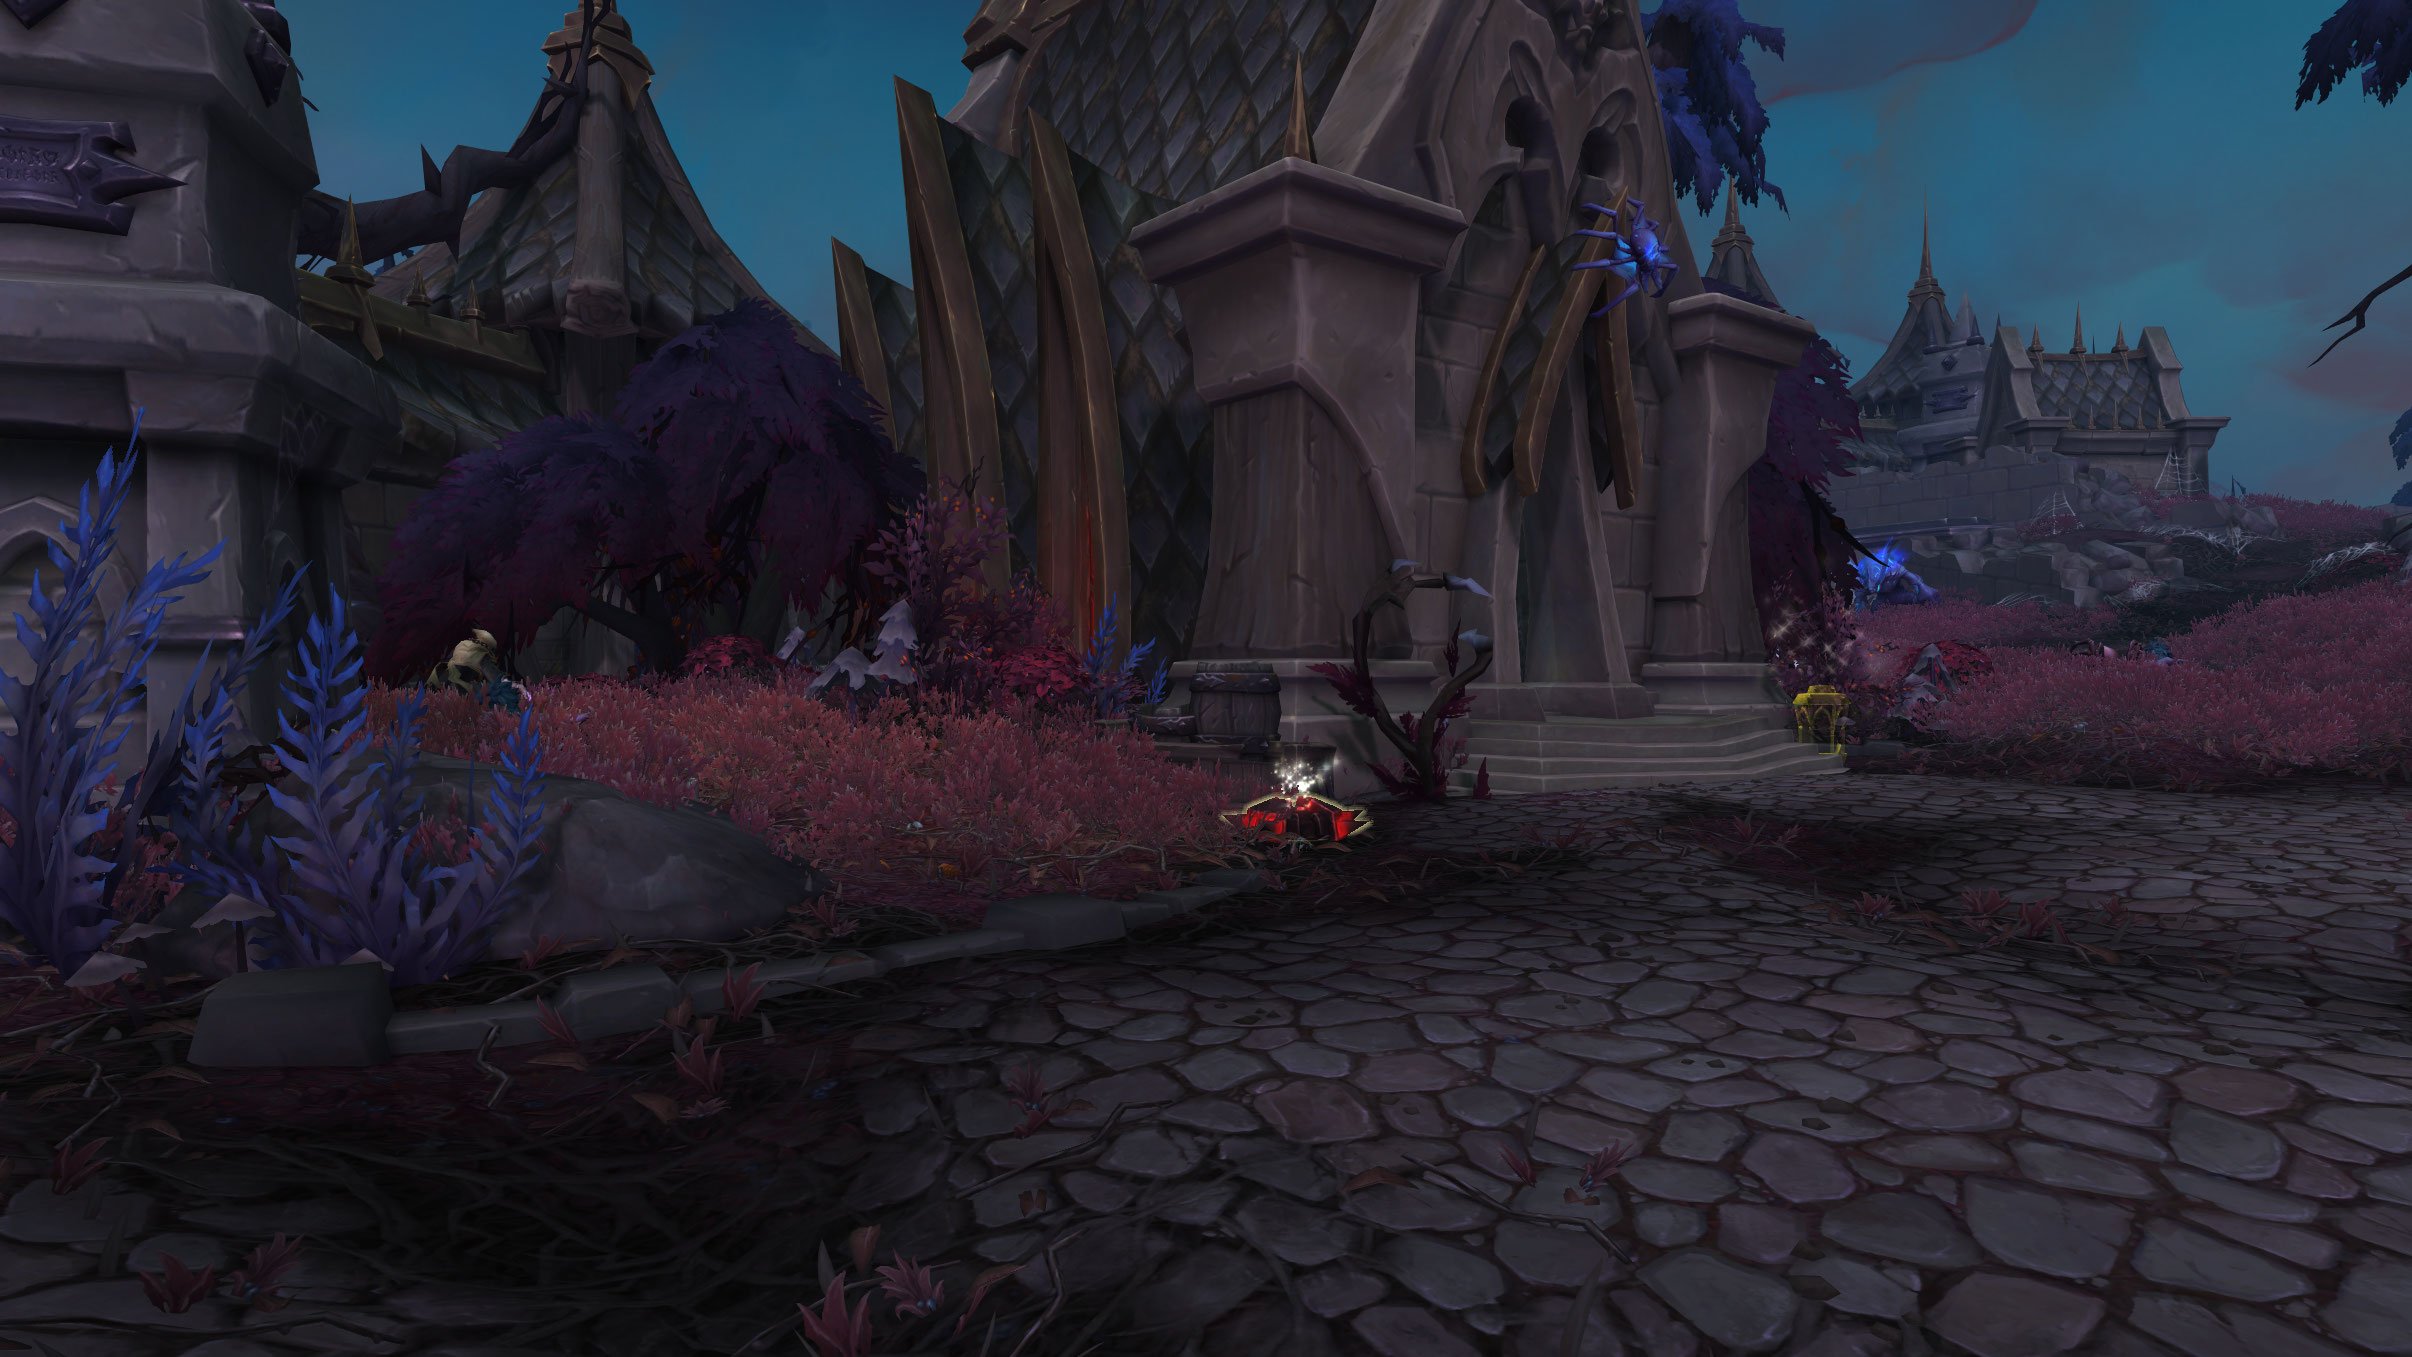
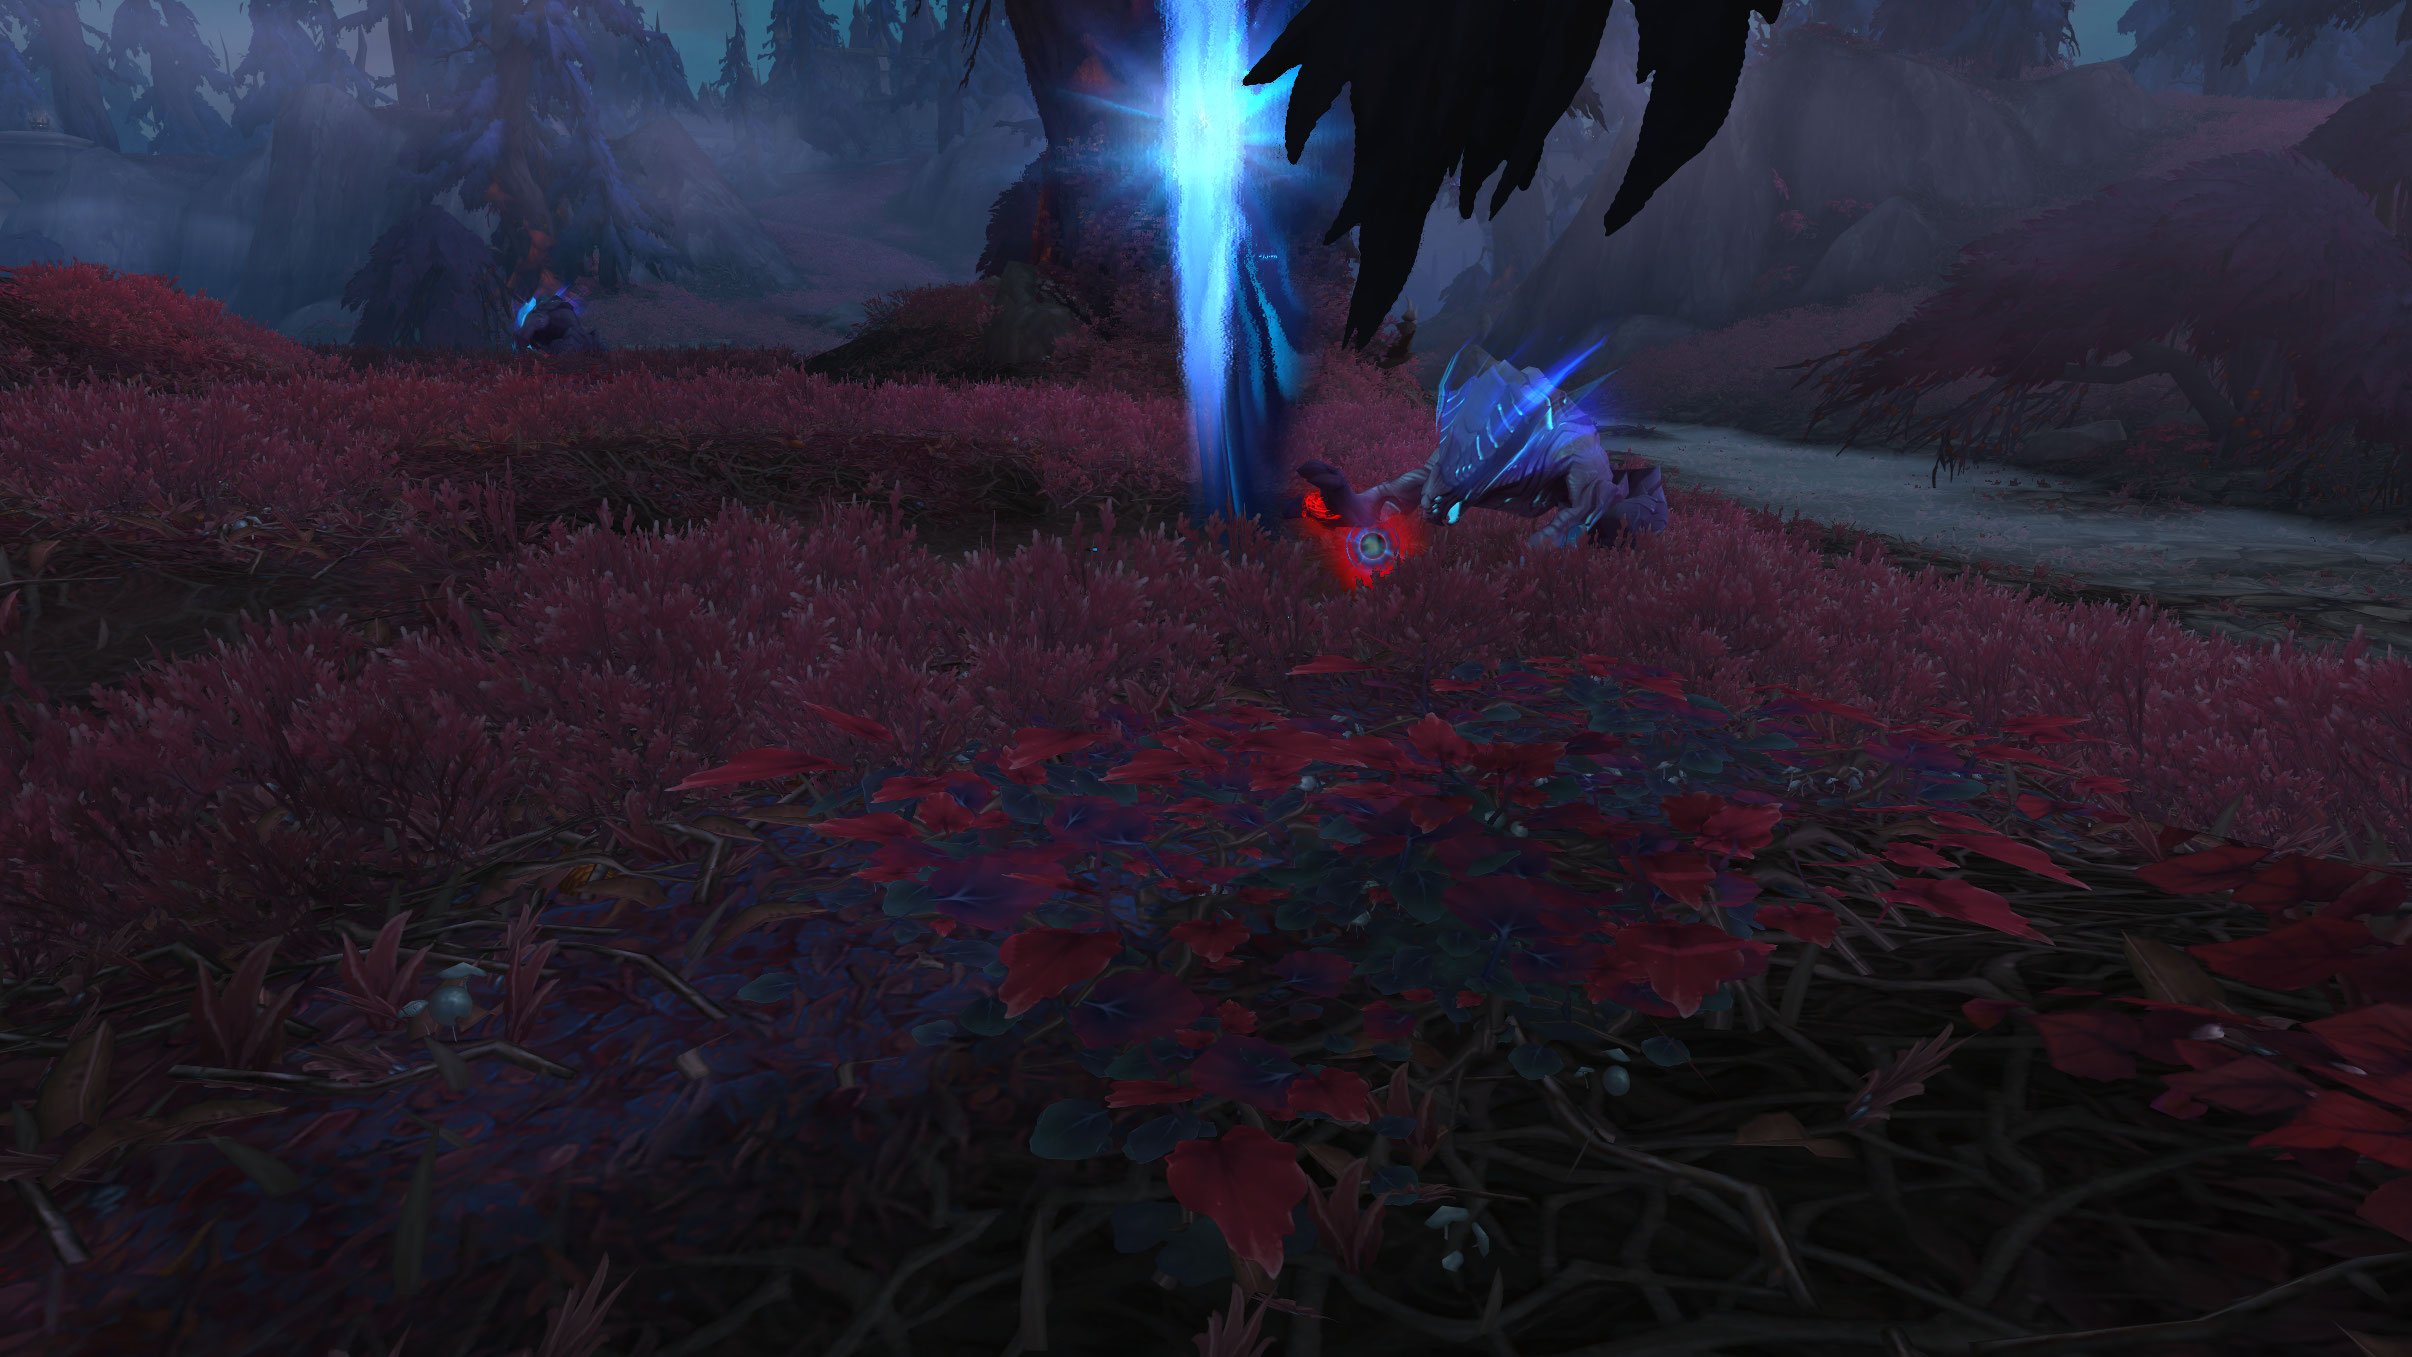
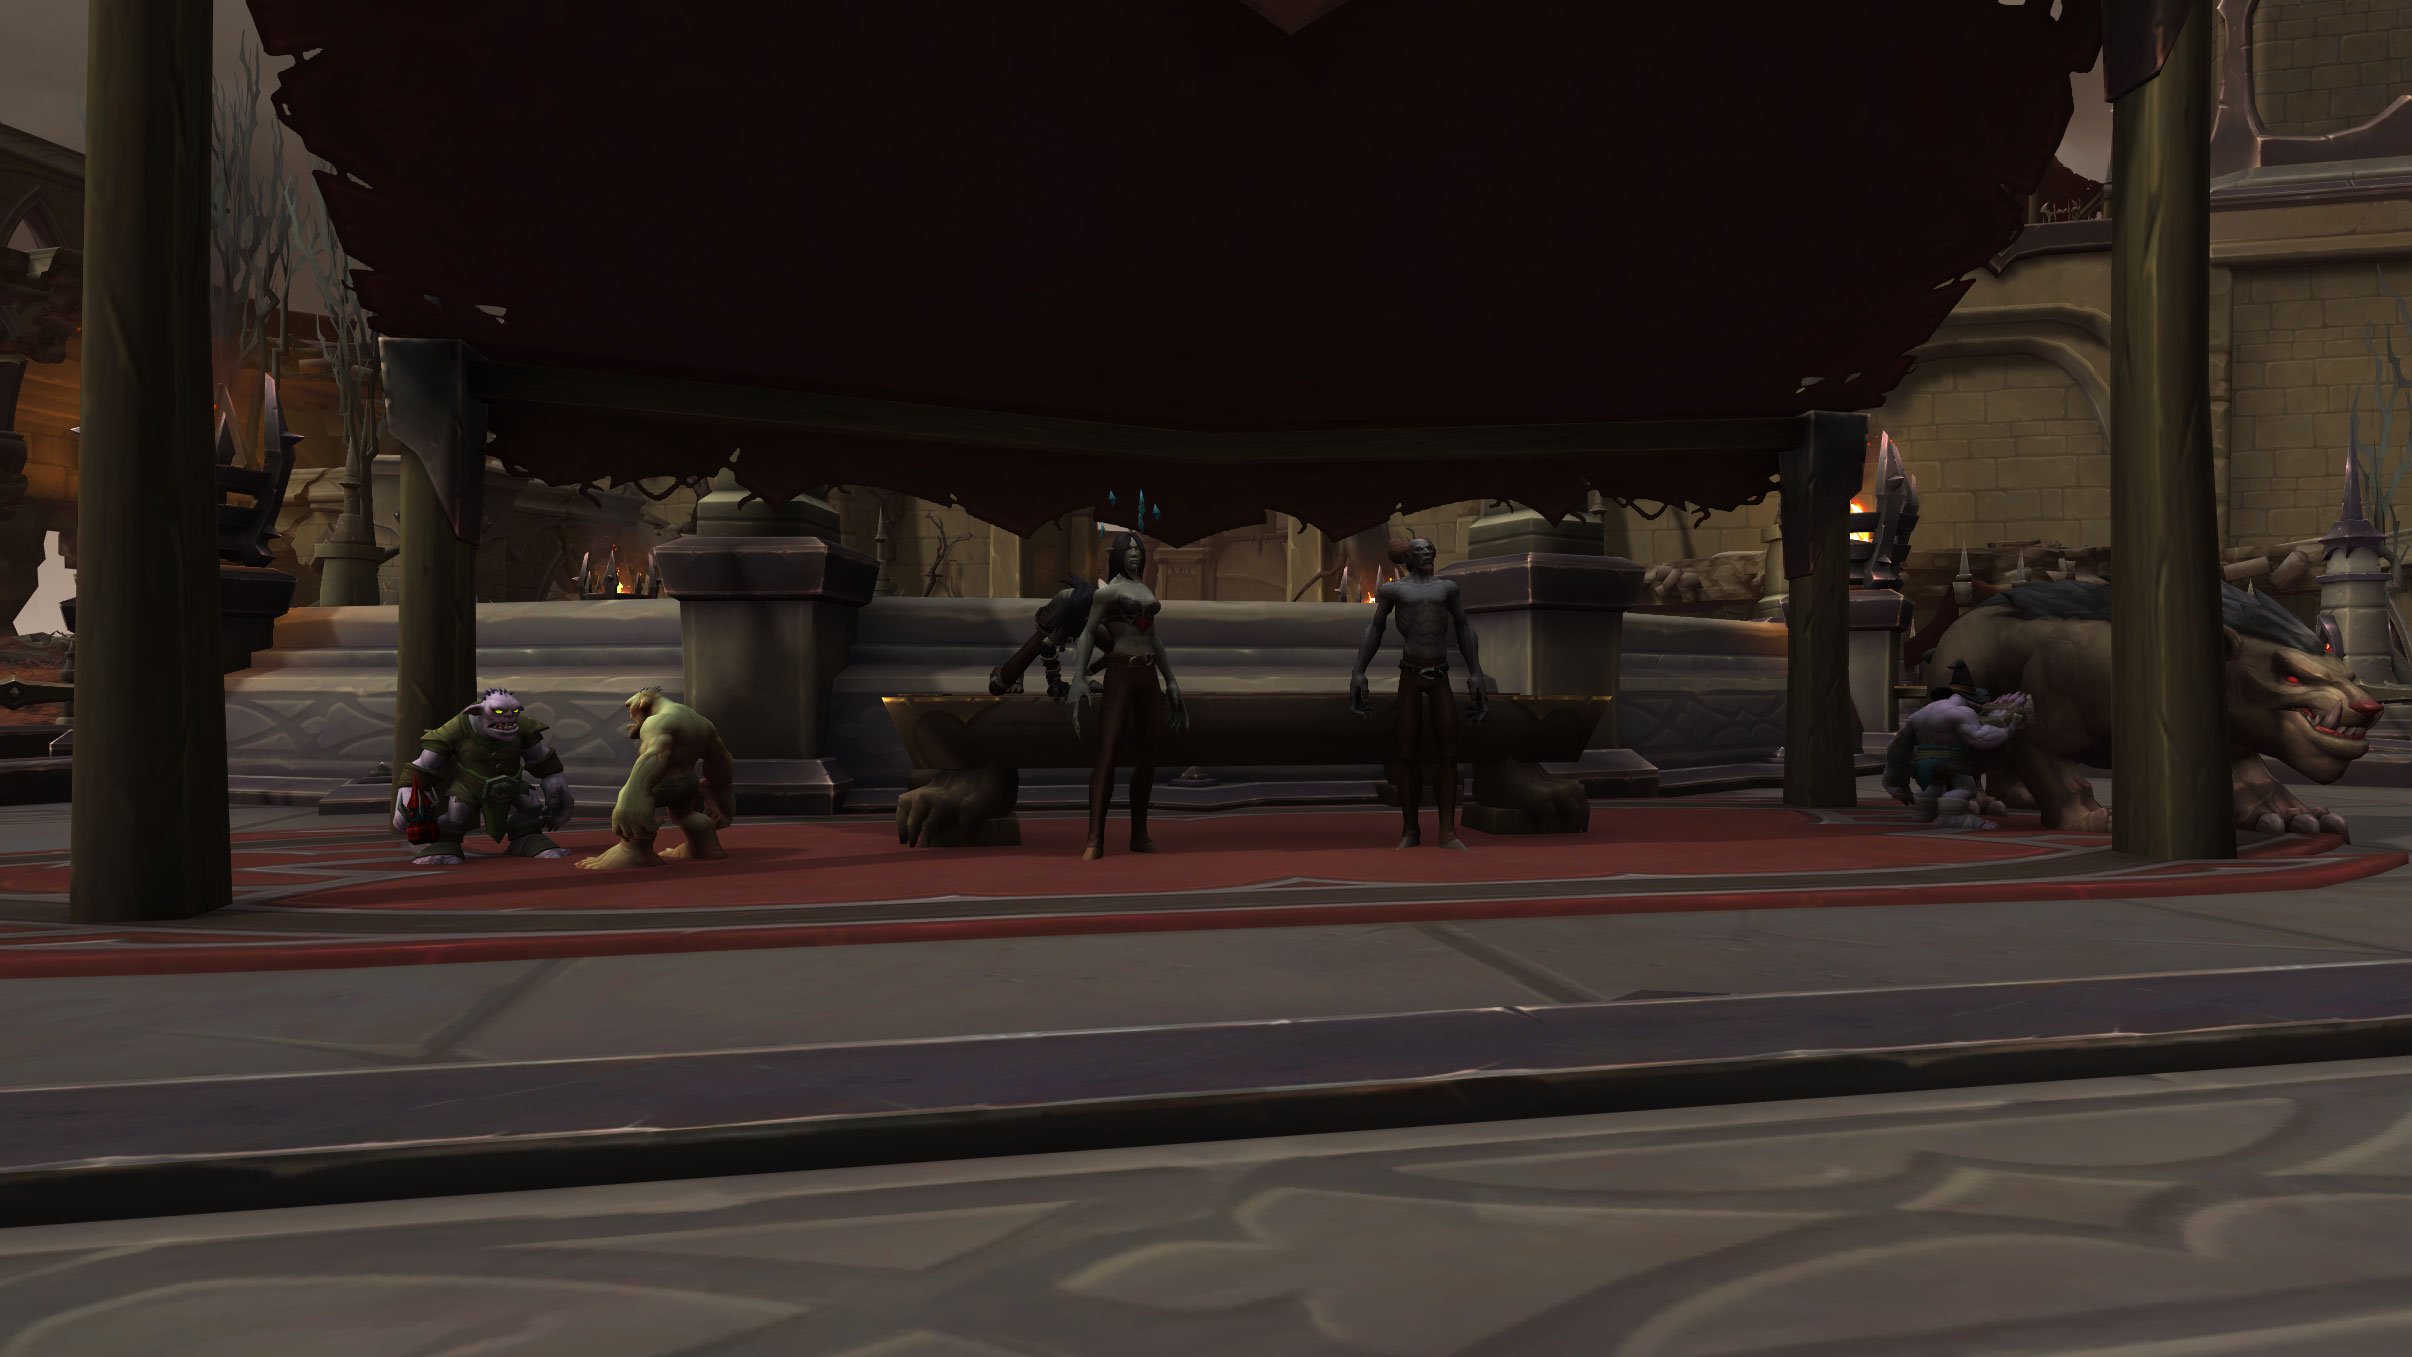
- When you first arrive you are noticed by two dredgers, Cudgelface and Rendle, who realize that you are alive! They apologize that a venthyr isn't there to greet you, but it has been awhile since anyone has come through the gate. They decide to go through the motions anyway and lead you to Maneo, a nearby venthyr who tells you about Sinstones.
- In Revendreth, newly arriving souls receive a sinstone, which is a manifestation of the accumulated burdens of your life. Each sinstone also represents a soul who has come to Revendreth and cleansed themselves of their sins, eventually moving on or accepting the role of a venthyr.
- Maneo doesn't have a sinstone for you, but says he has seen your name on the stone of many souls who have passed through here. You then learn about the Master, Sire Denathrius, the leader of Revendreth who has been here since the beginning. The two dredgers explain that some souls refuse to work for redemption and others don't agree with their sinstone, which gets them sent to the Maw for eternity.
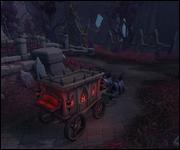
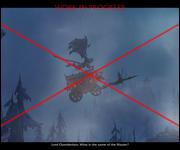
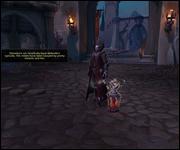
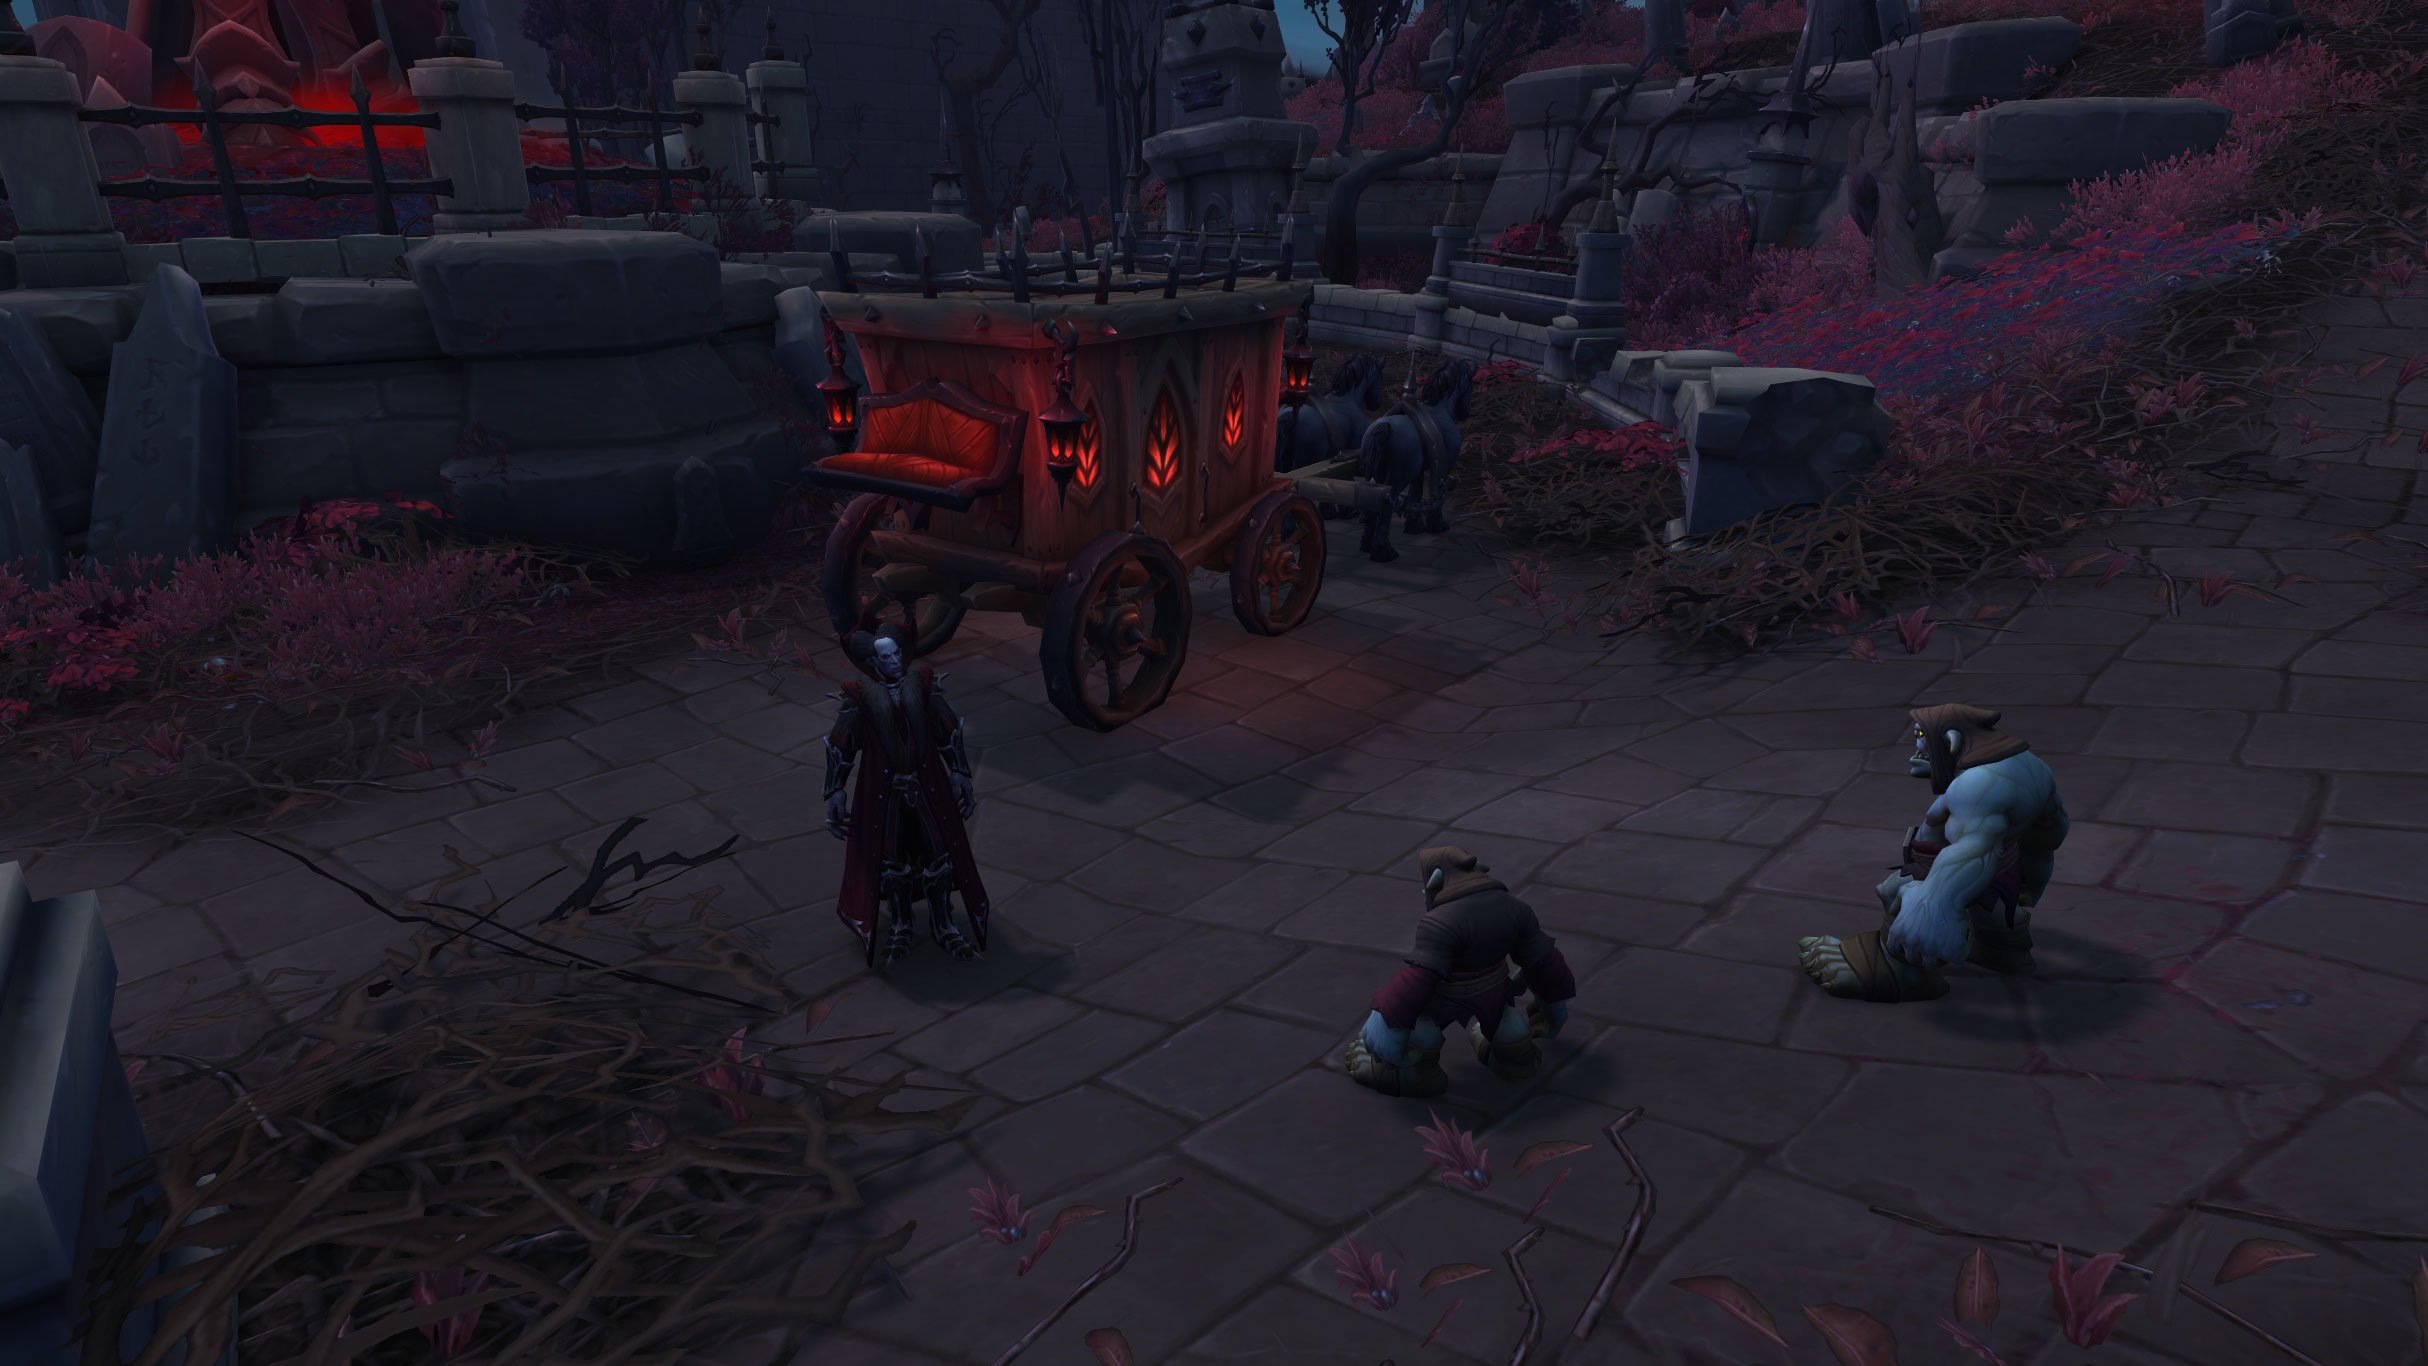
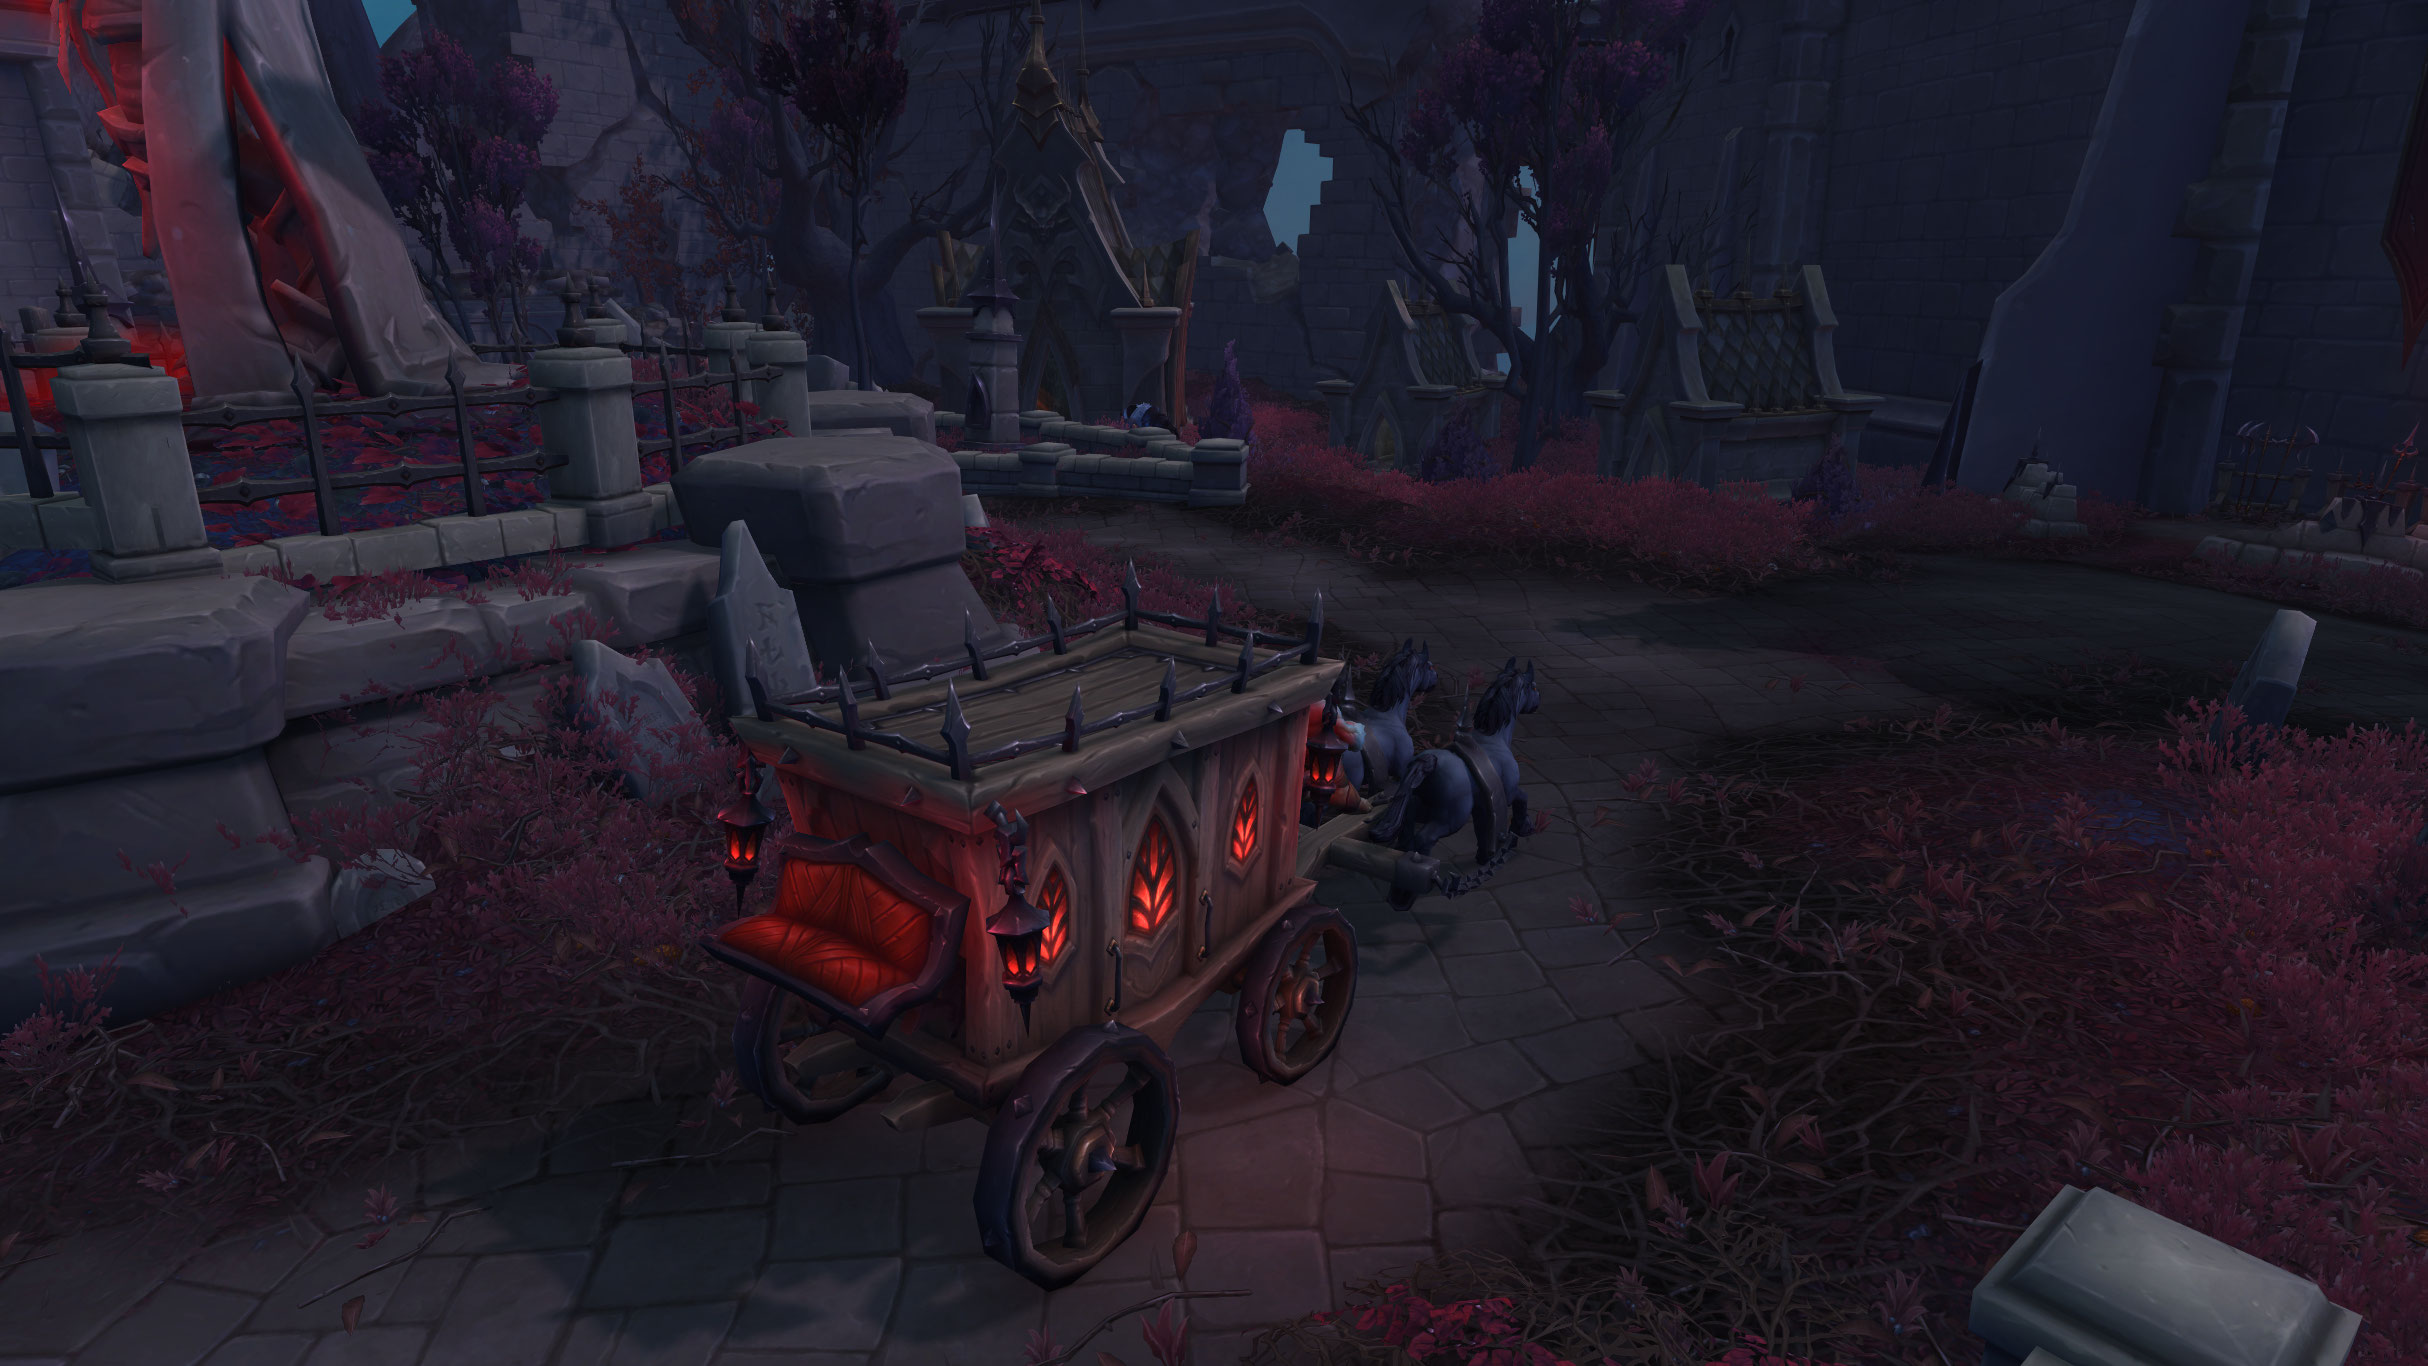
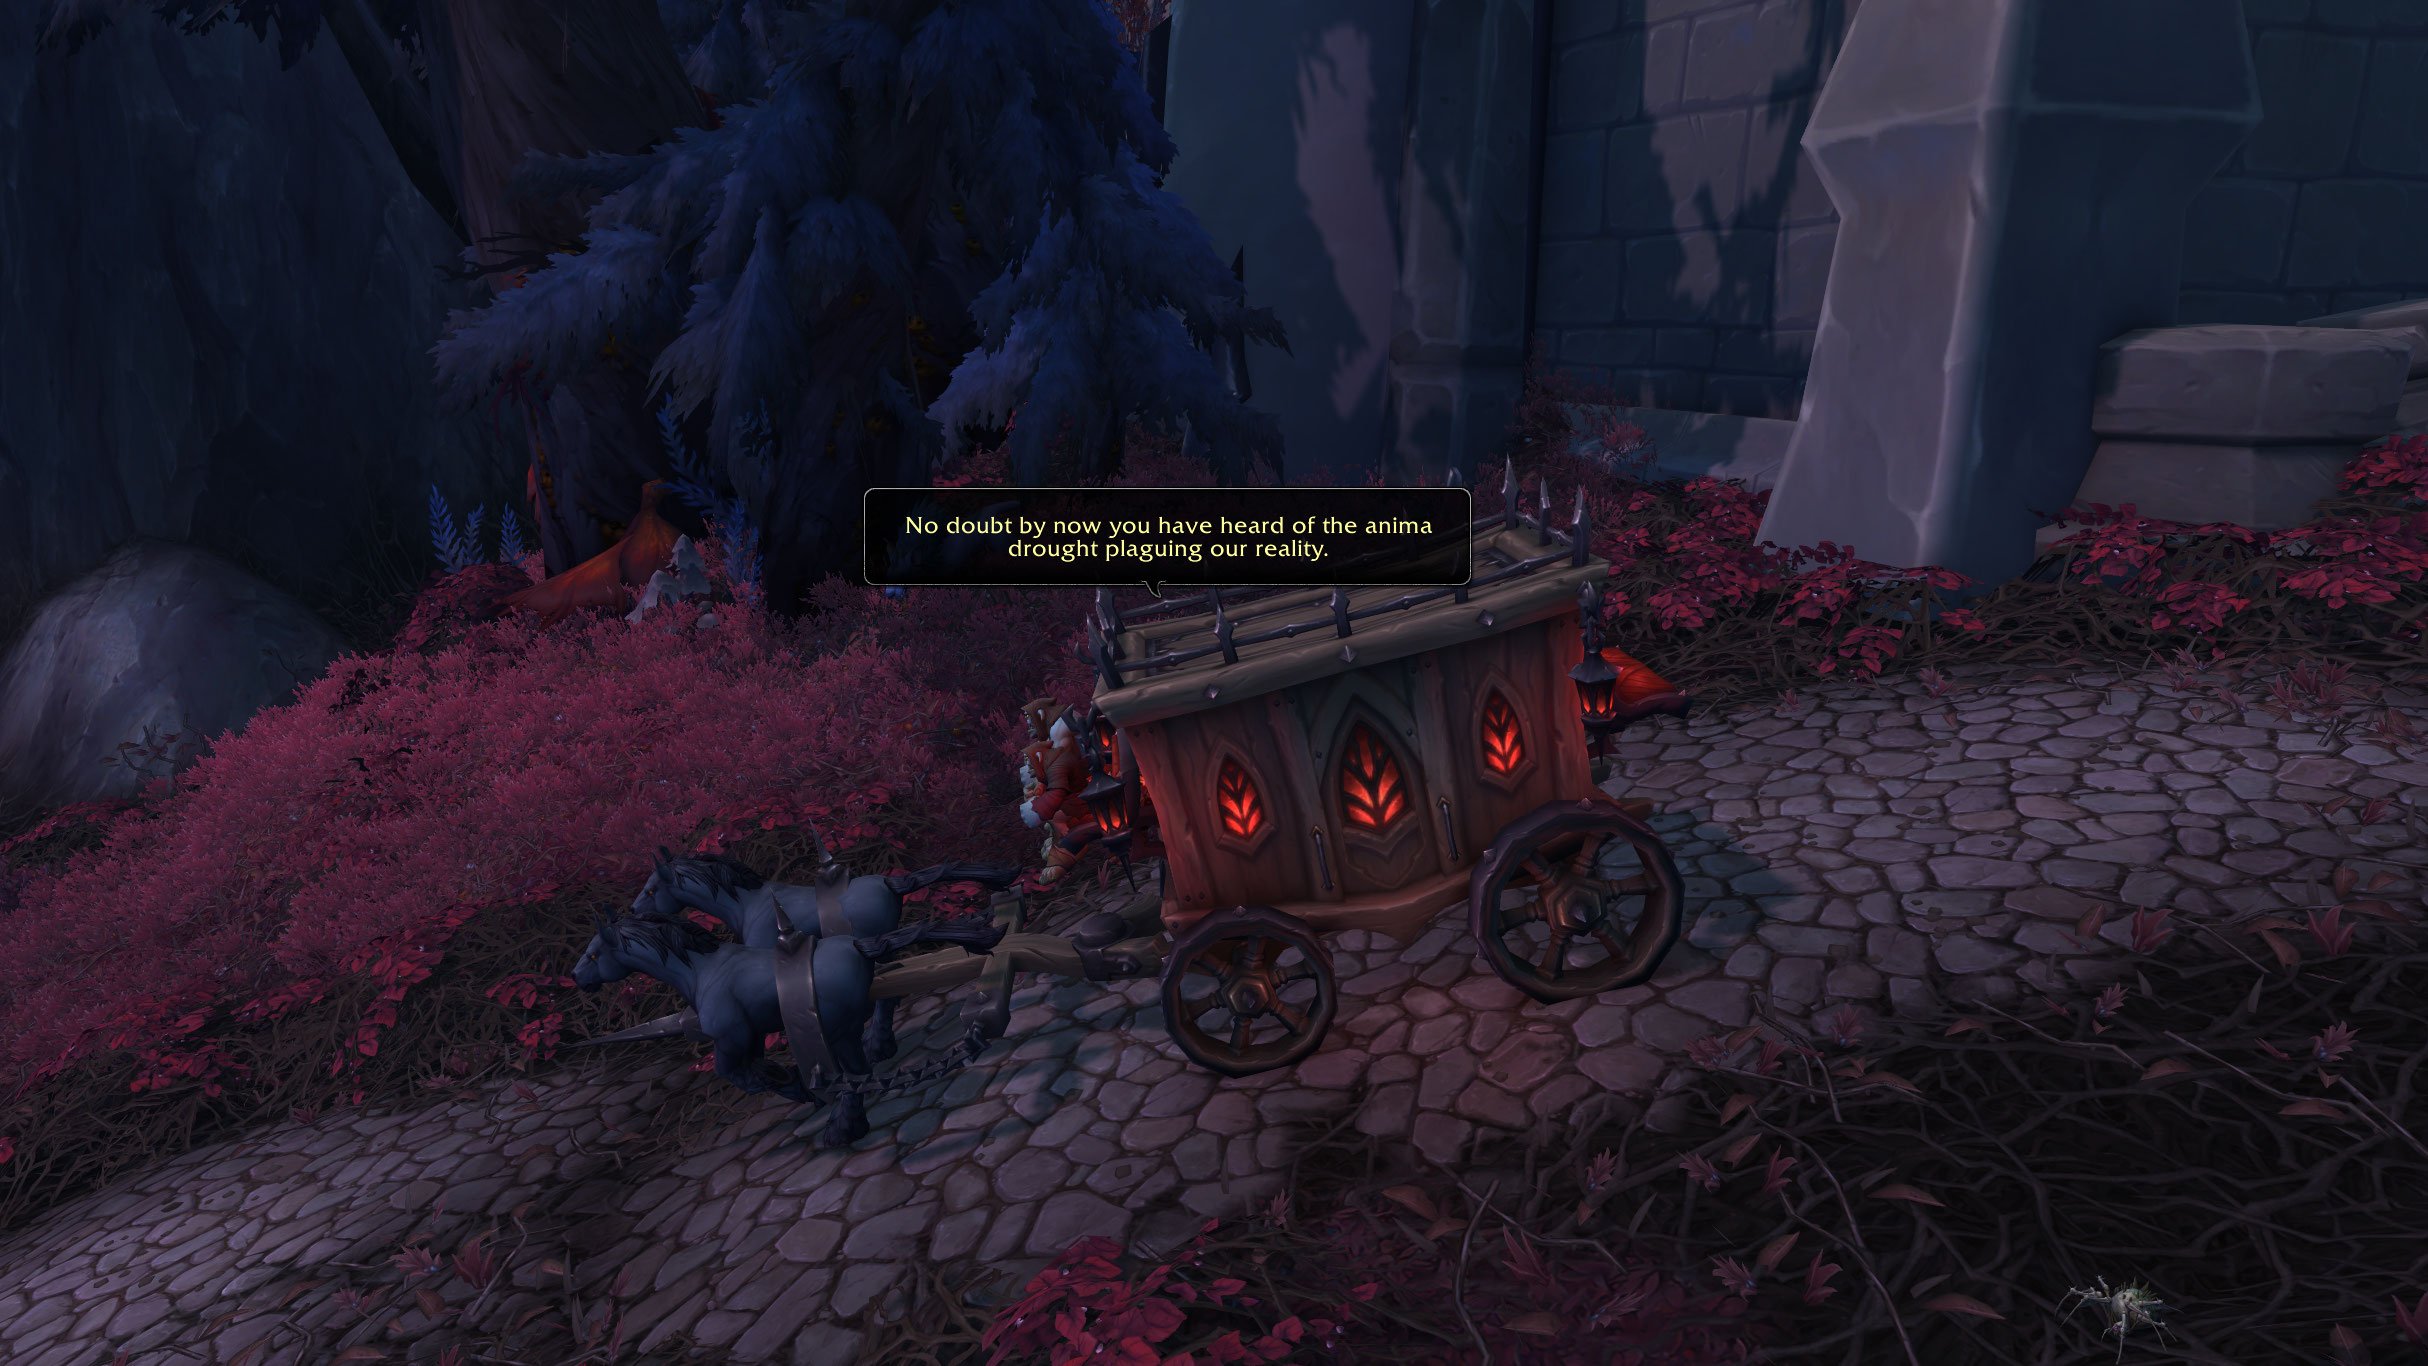
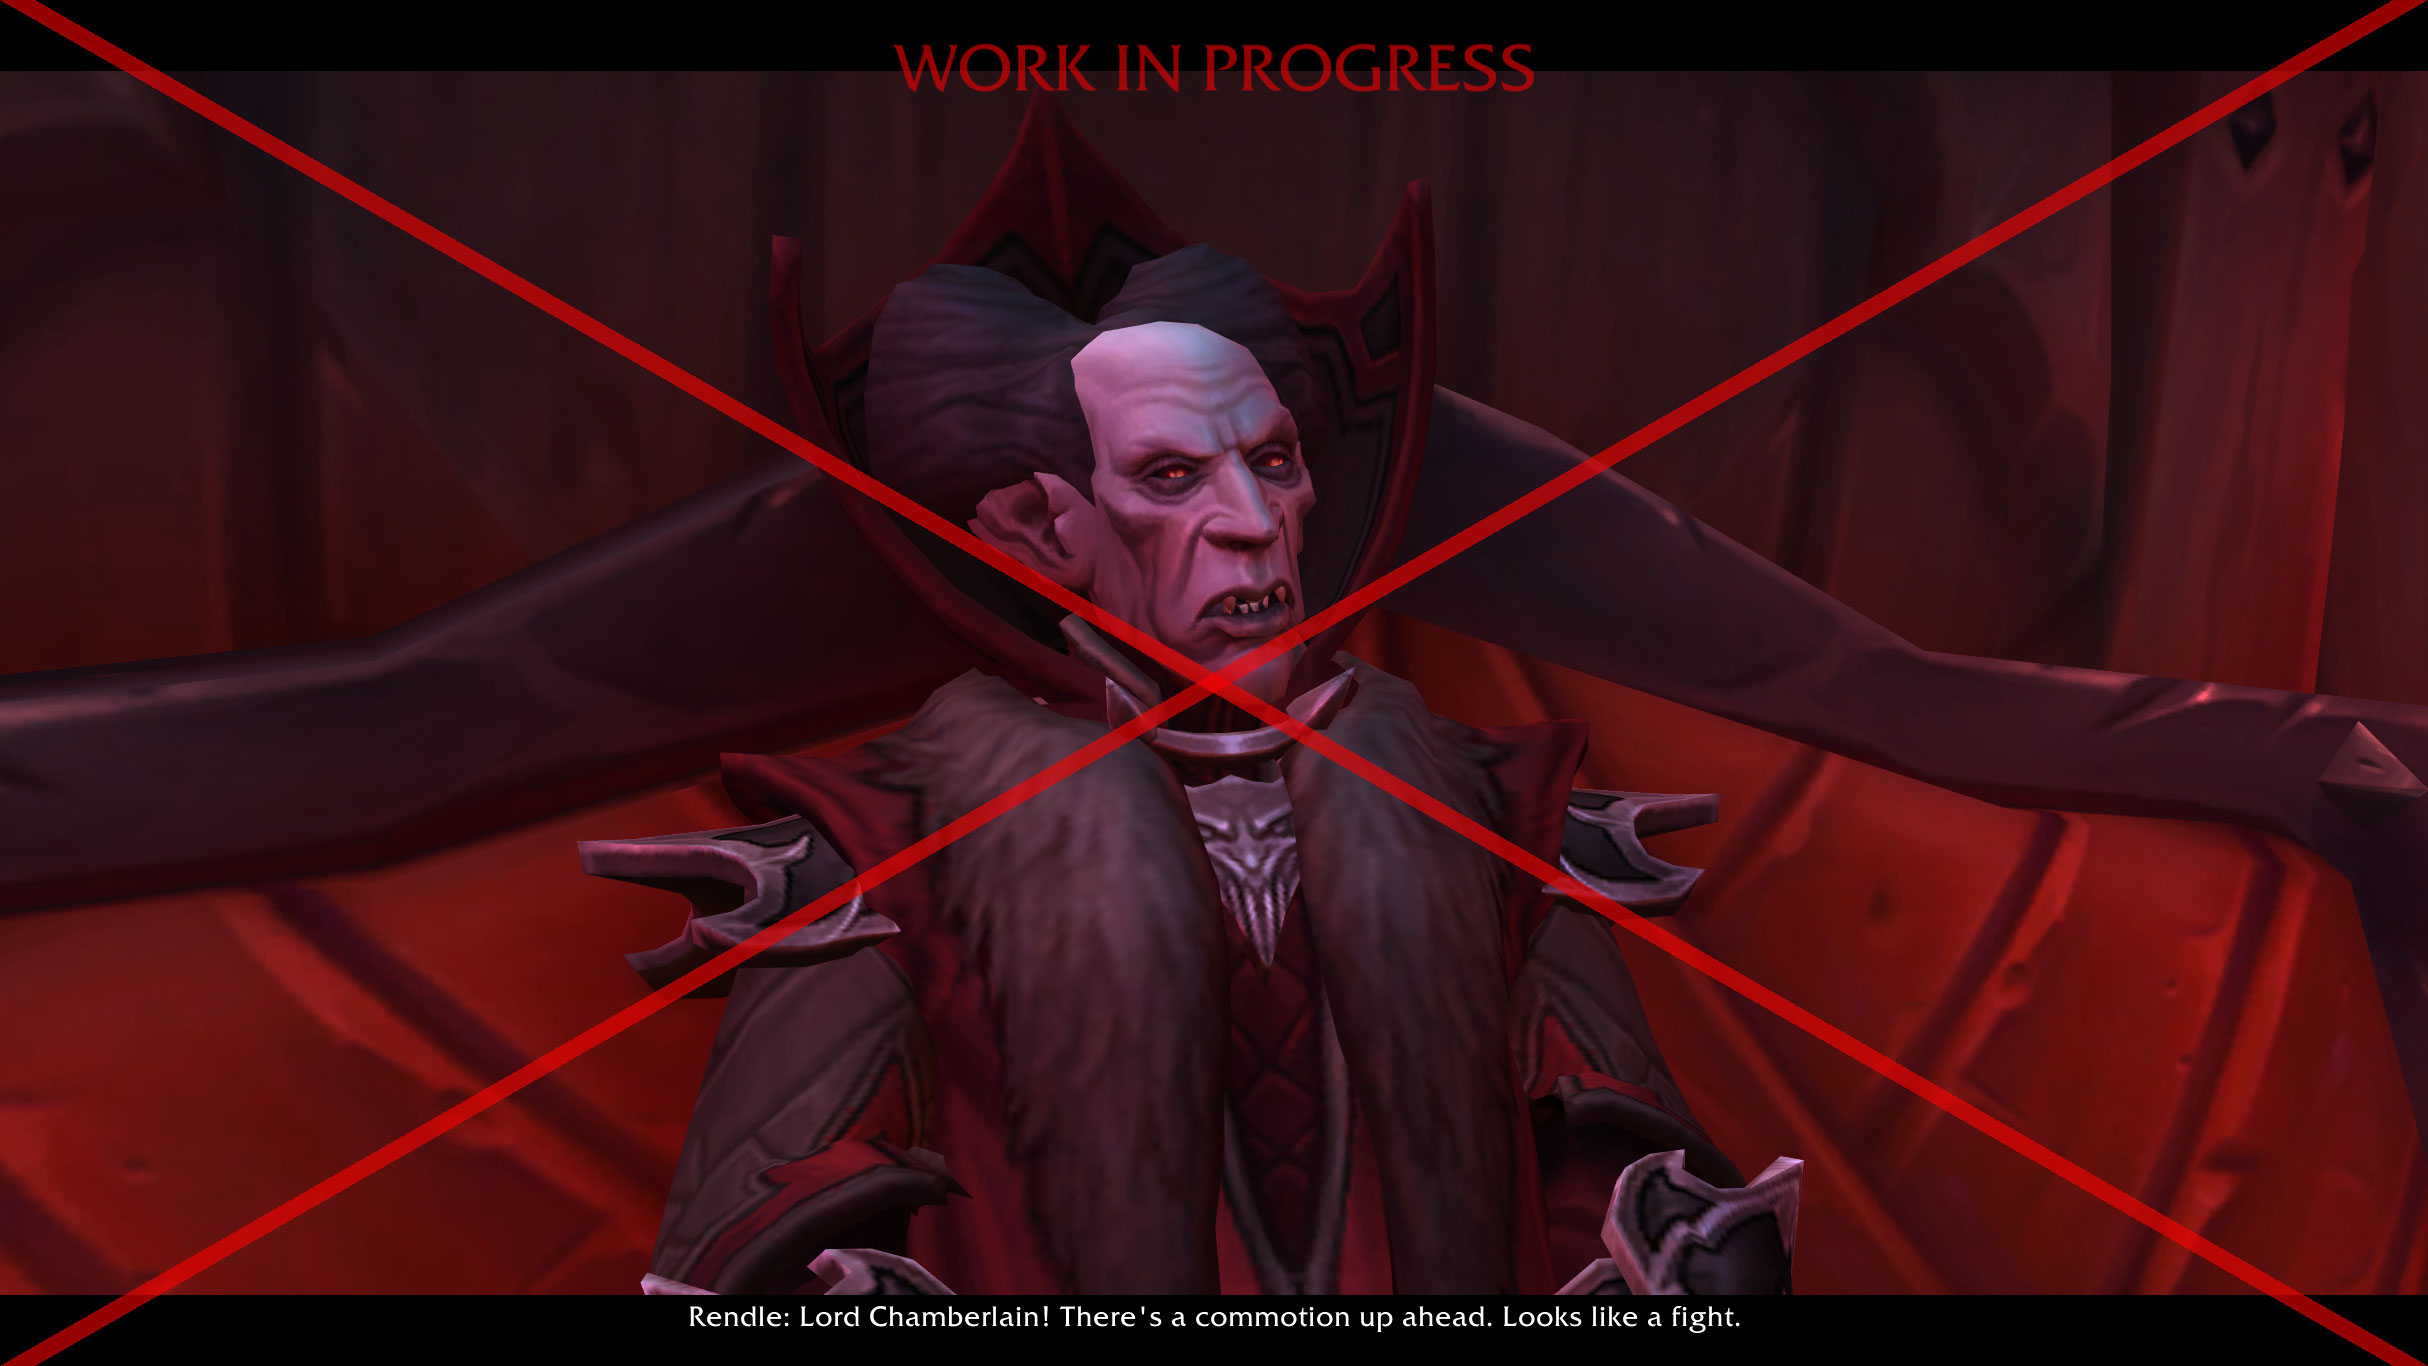
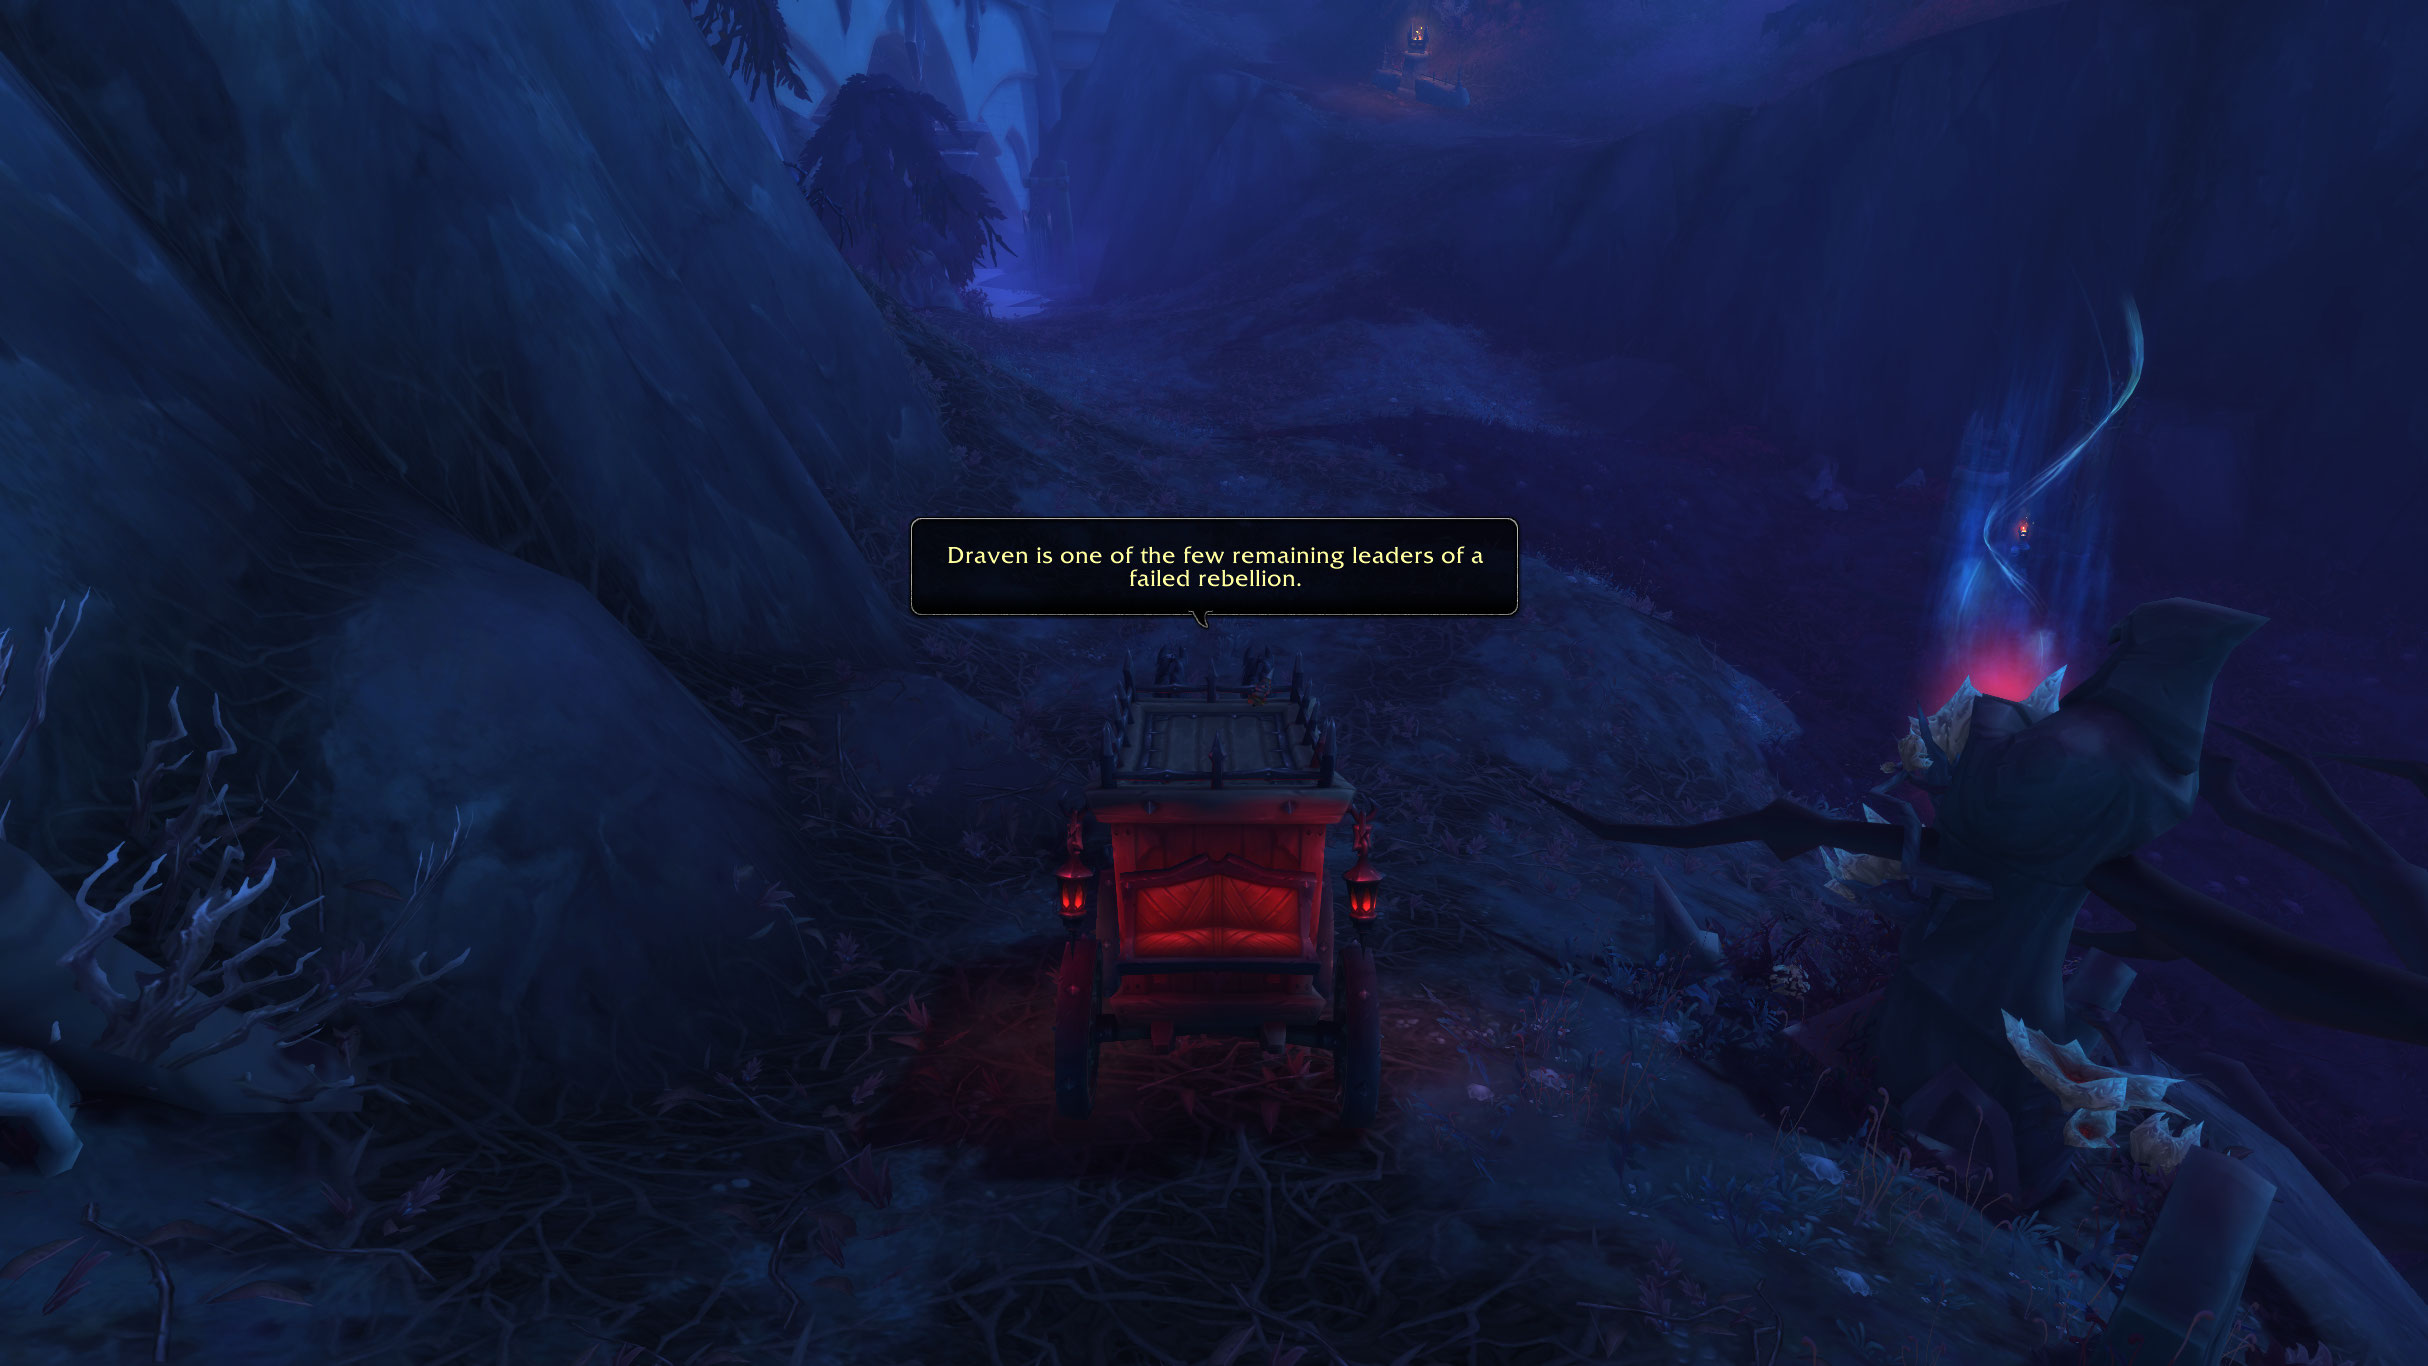
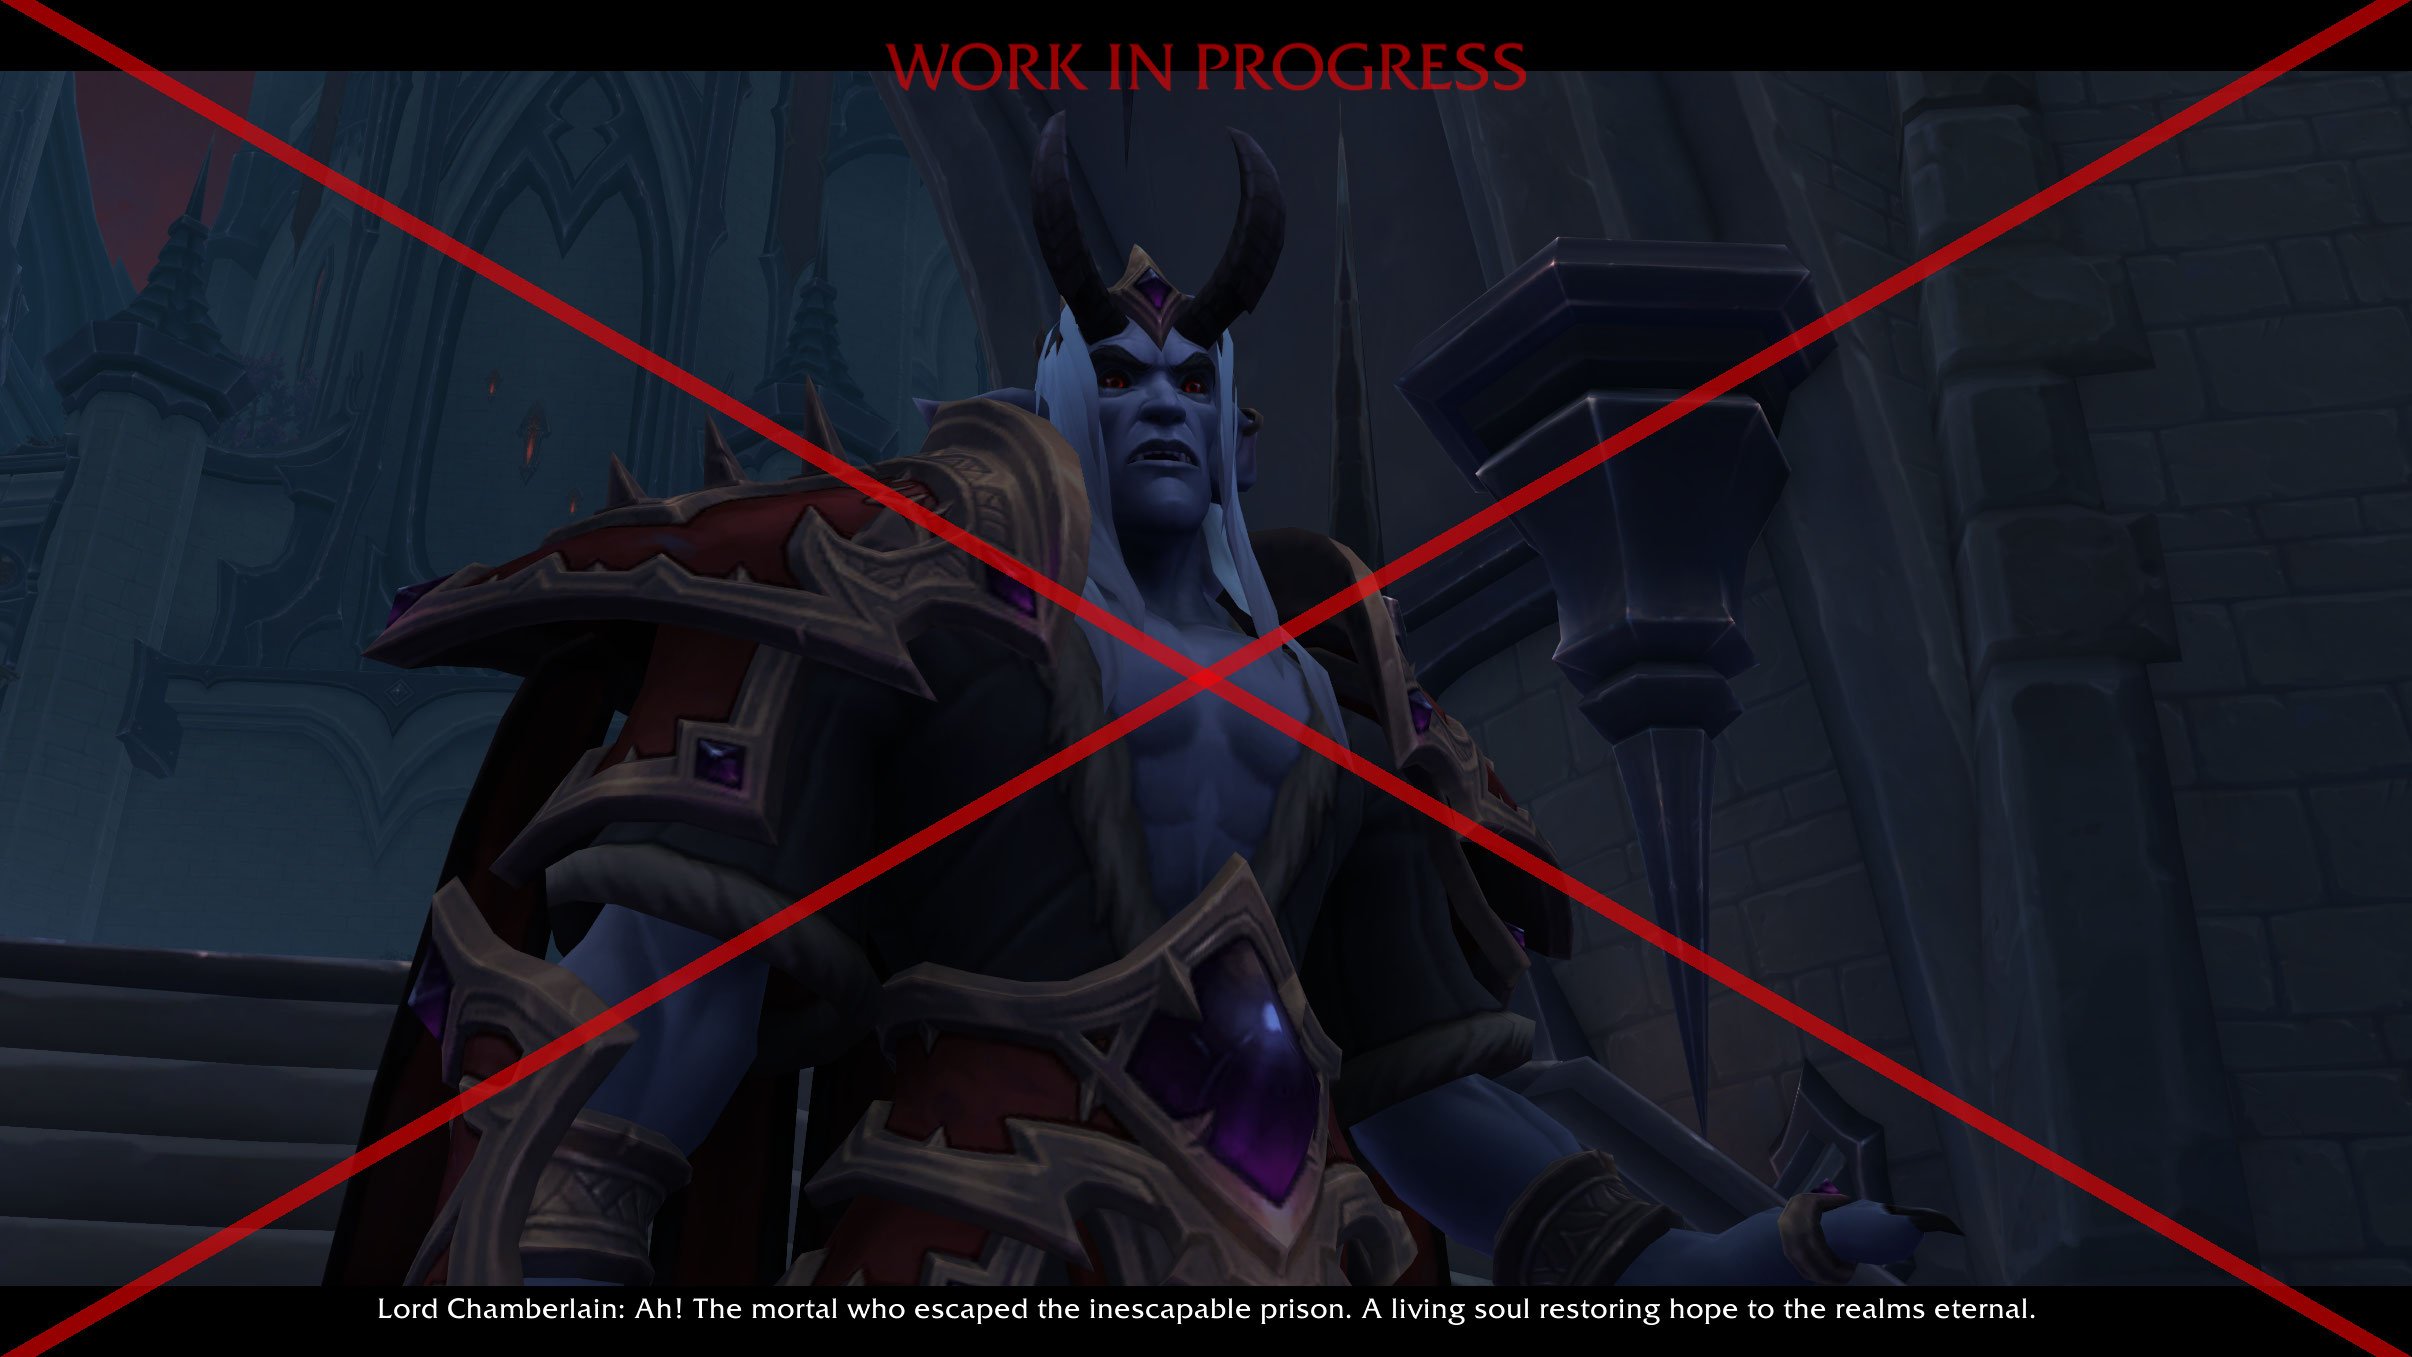
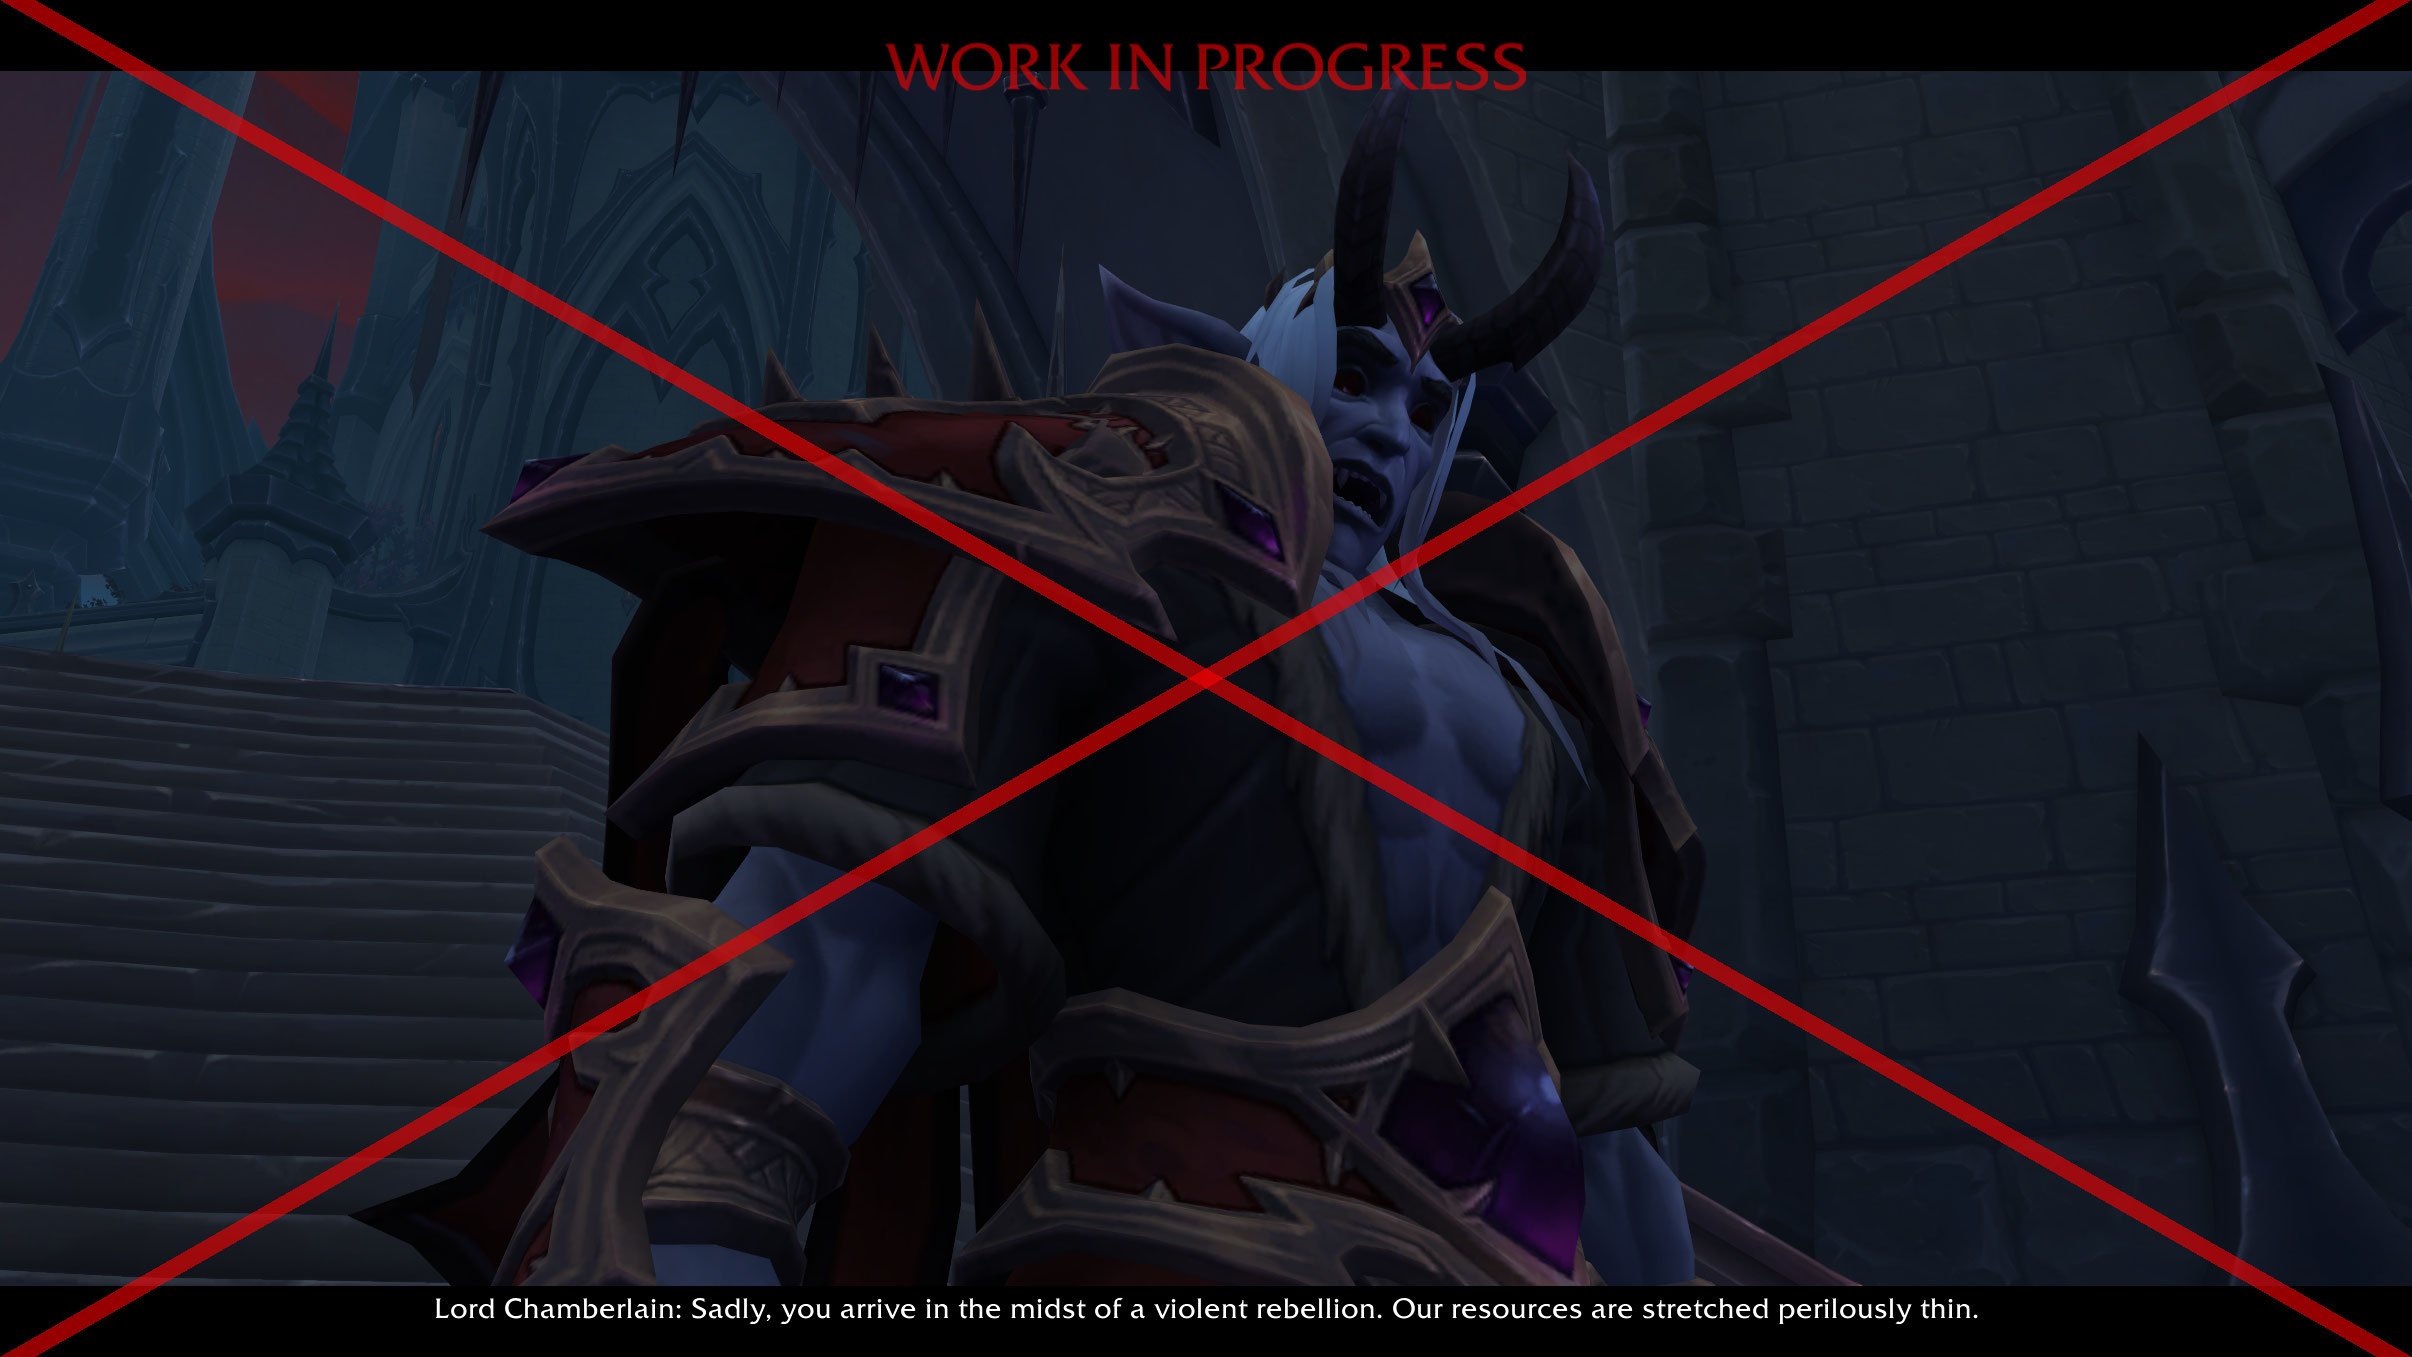
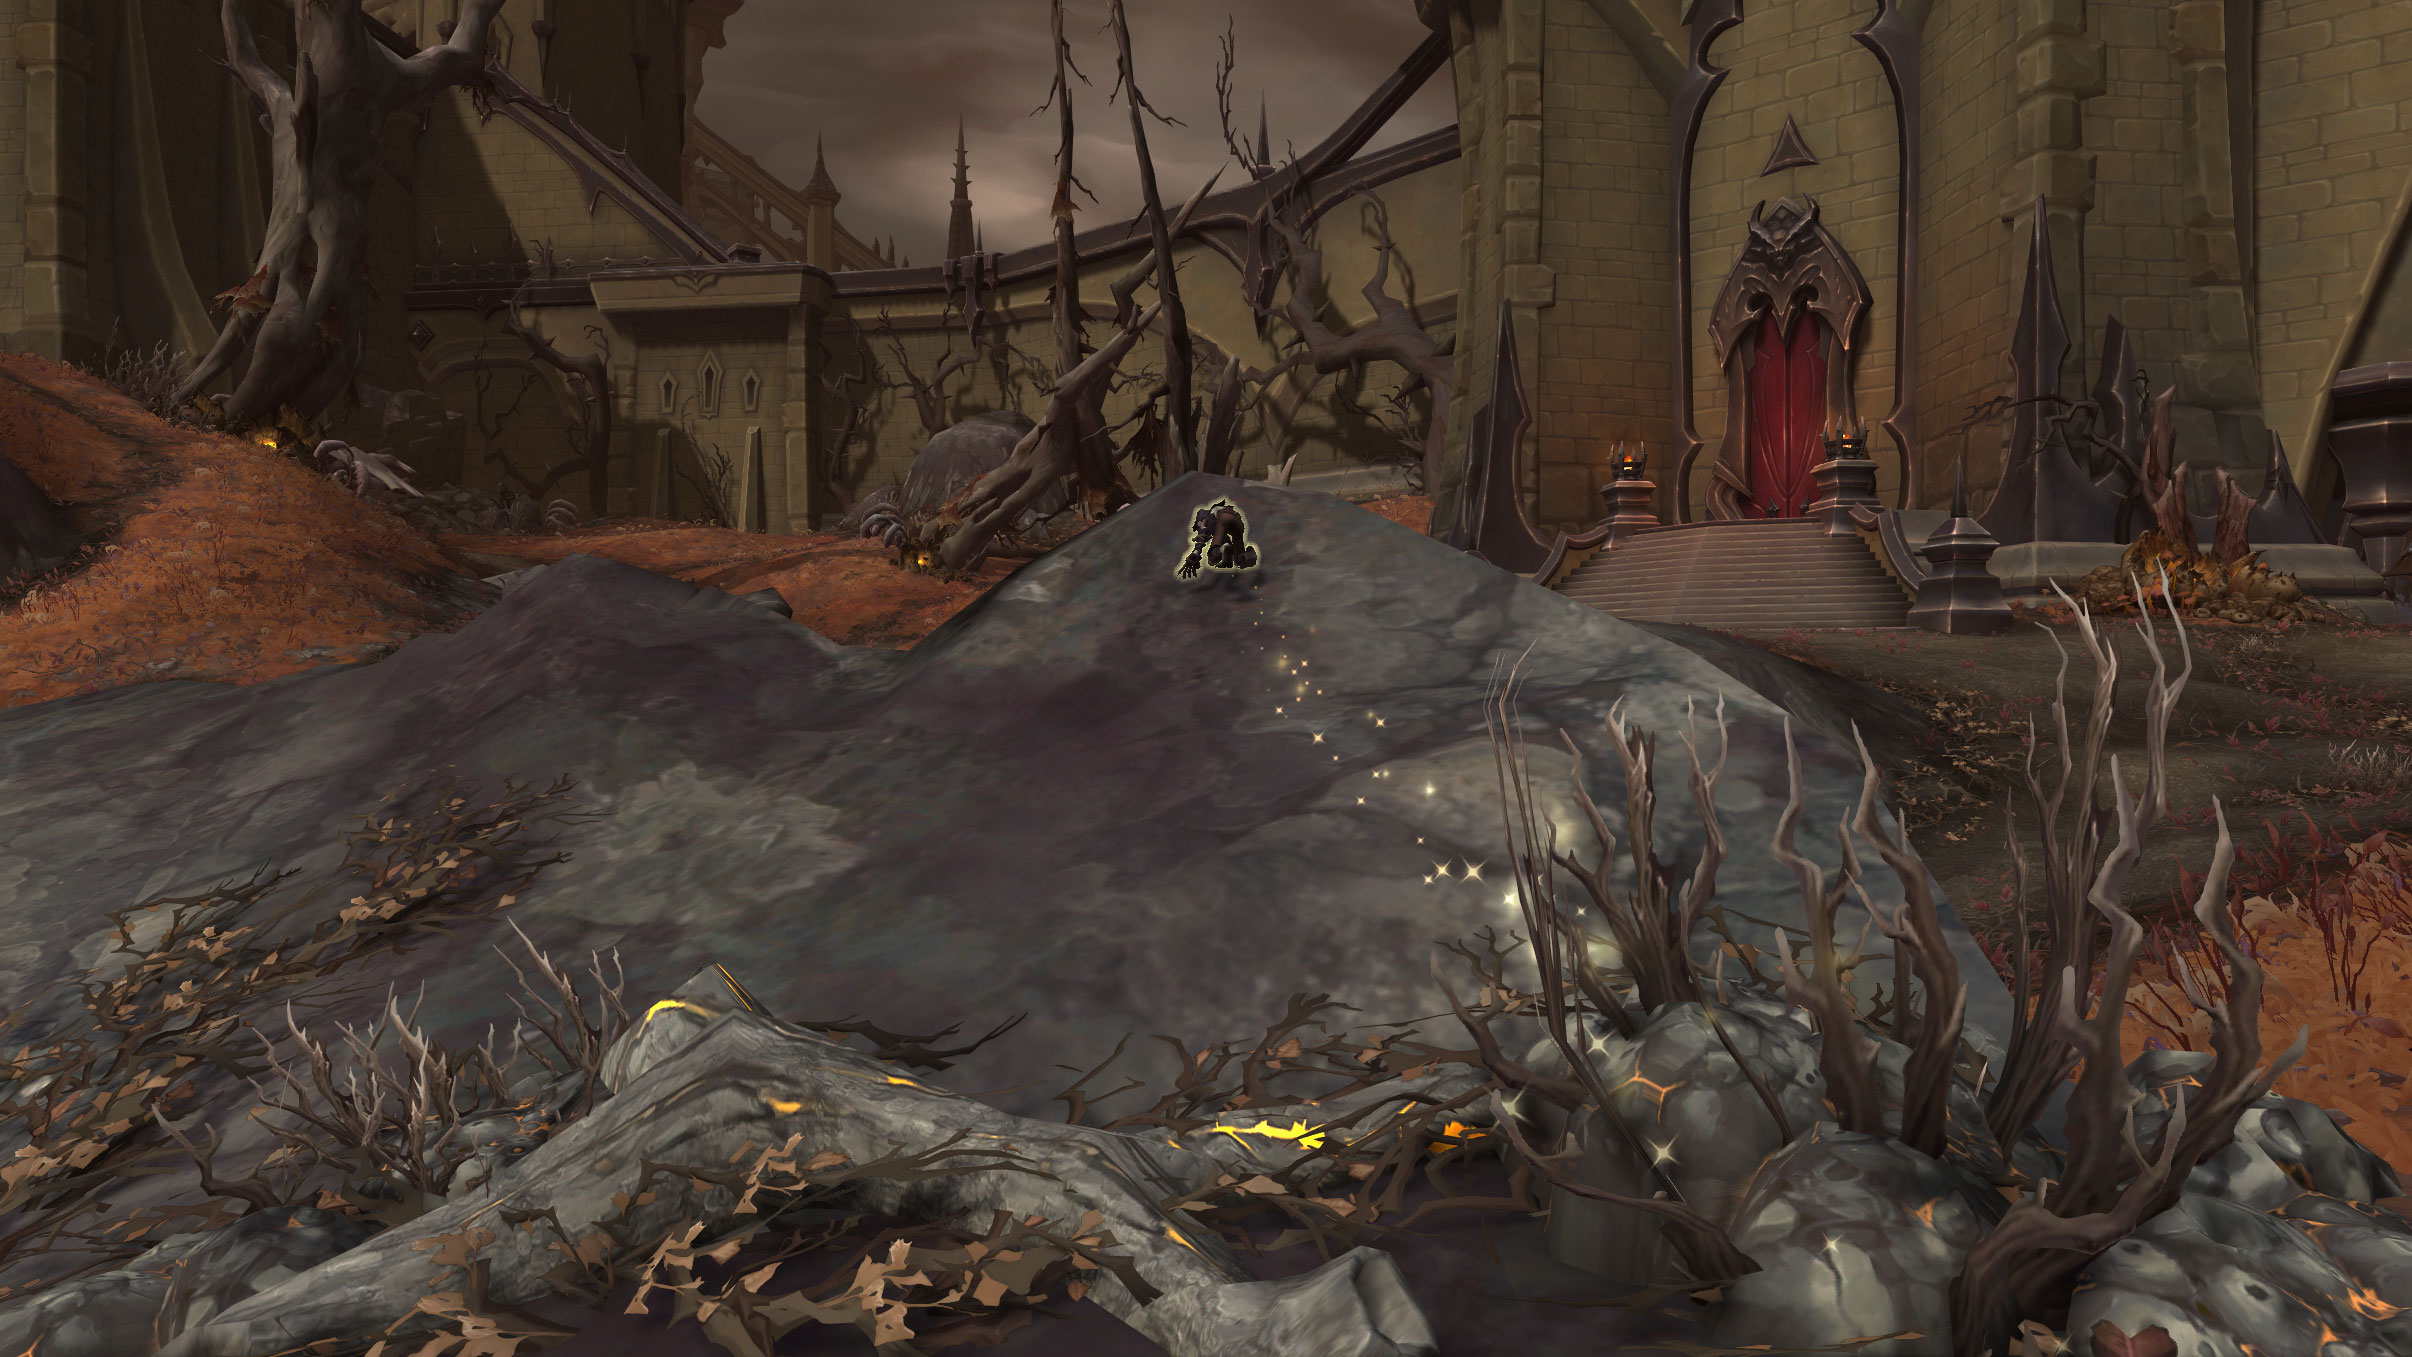
- After taking out a fallen soul, the Lord Chamberlain arrives via carriage and tells the dredgers that you are a guest, not a charge. He says Sire Denathrius has asked him to escort you safely to his personal gardens. You then take a carriage ride where the Chamberlain explains to you that Revendreth has seen an anima drought recently, but the Master has a plan to see them through these dark times.
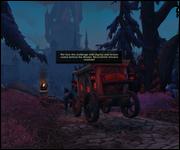
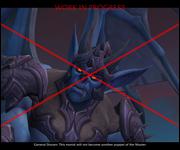
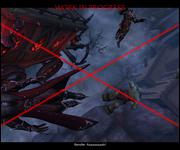
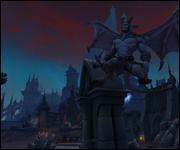
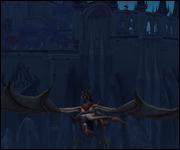
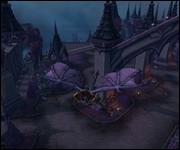
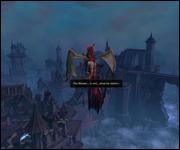
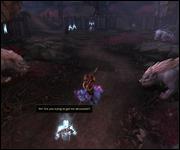
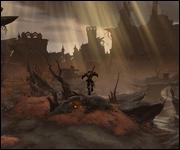
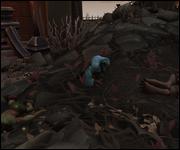
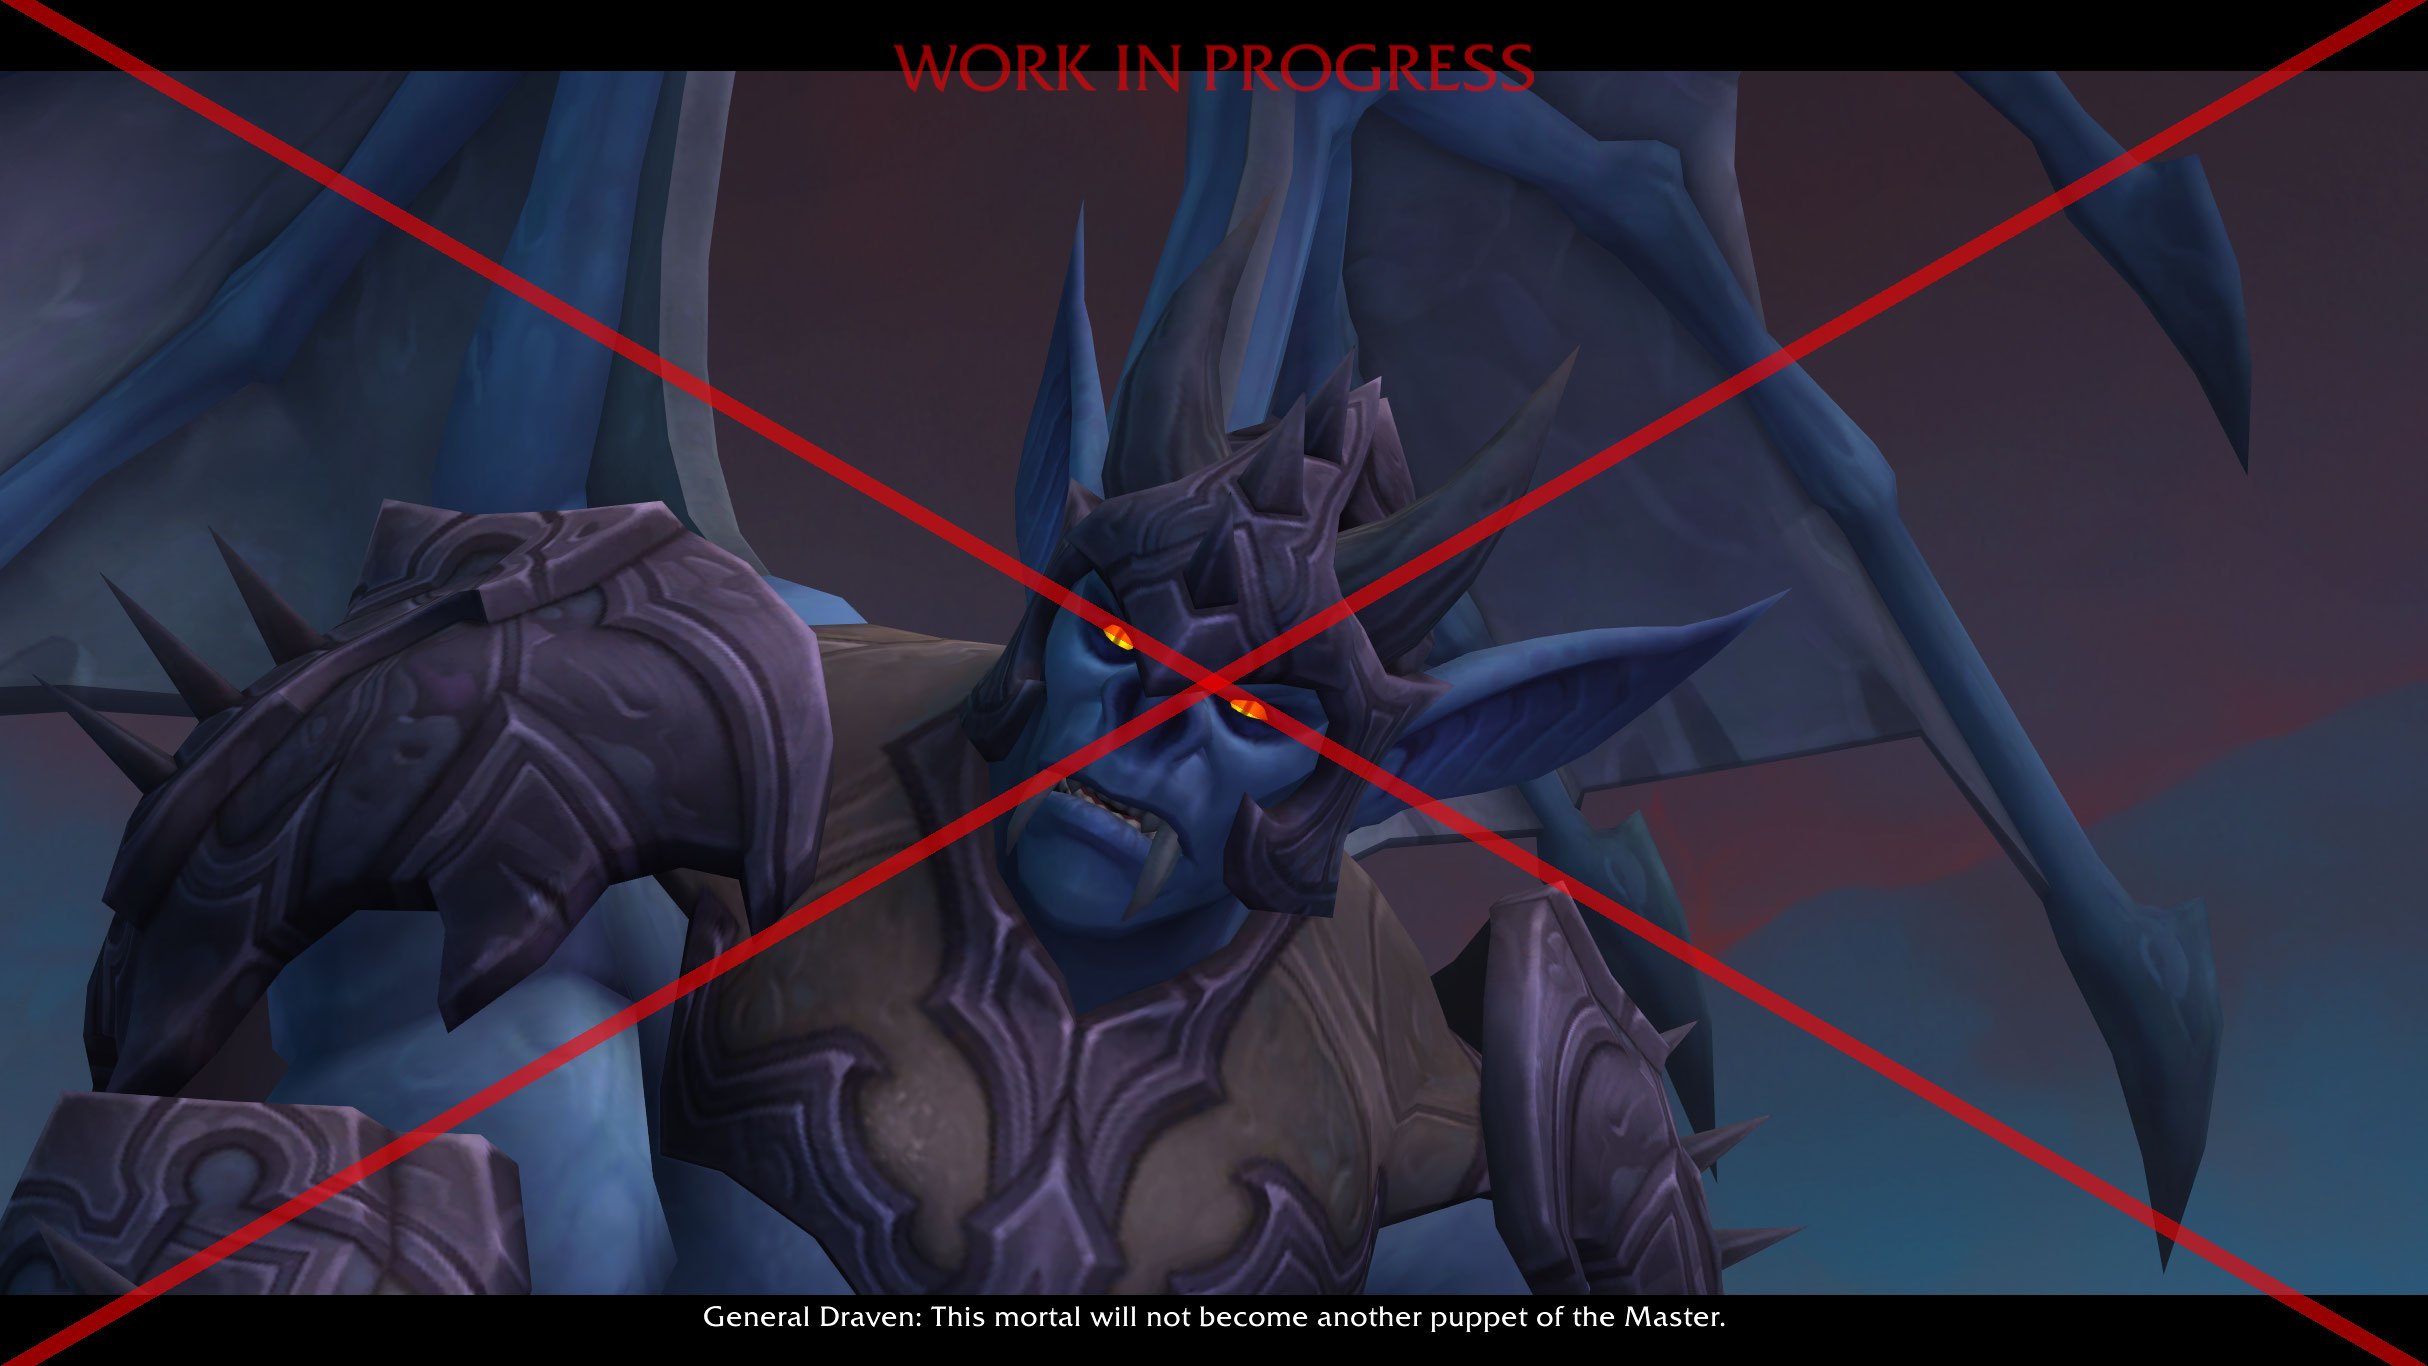
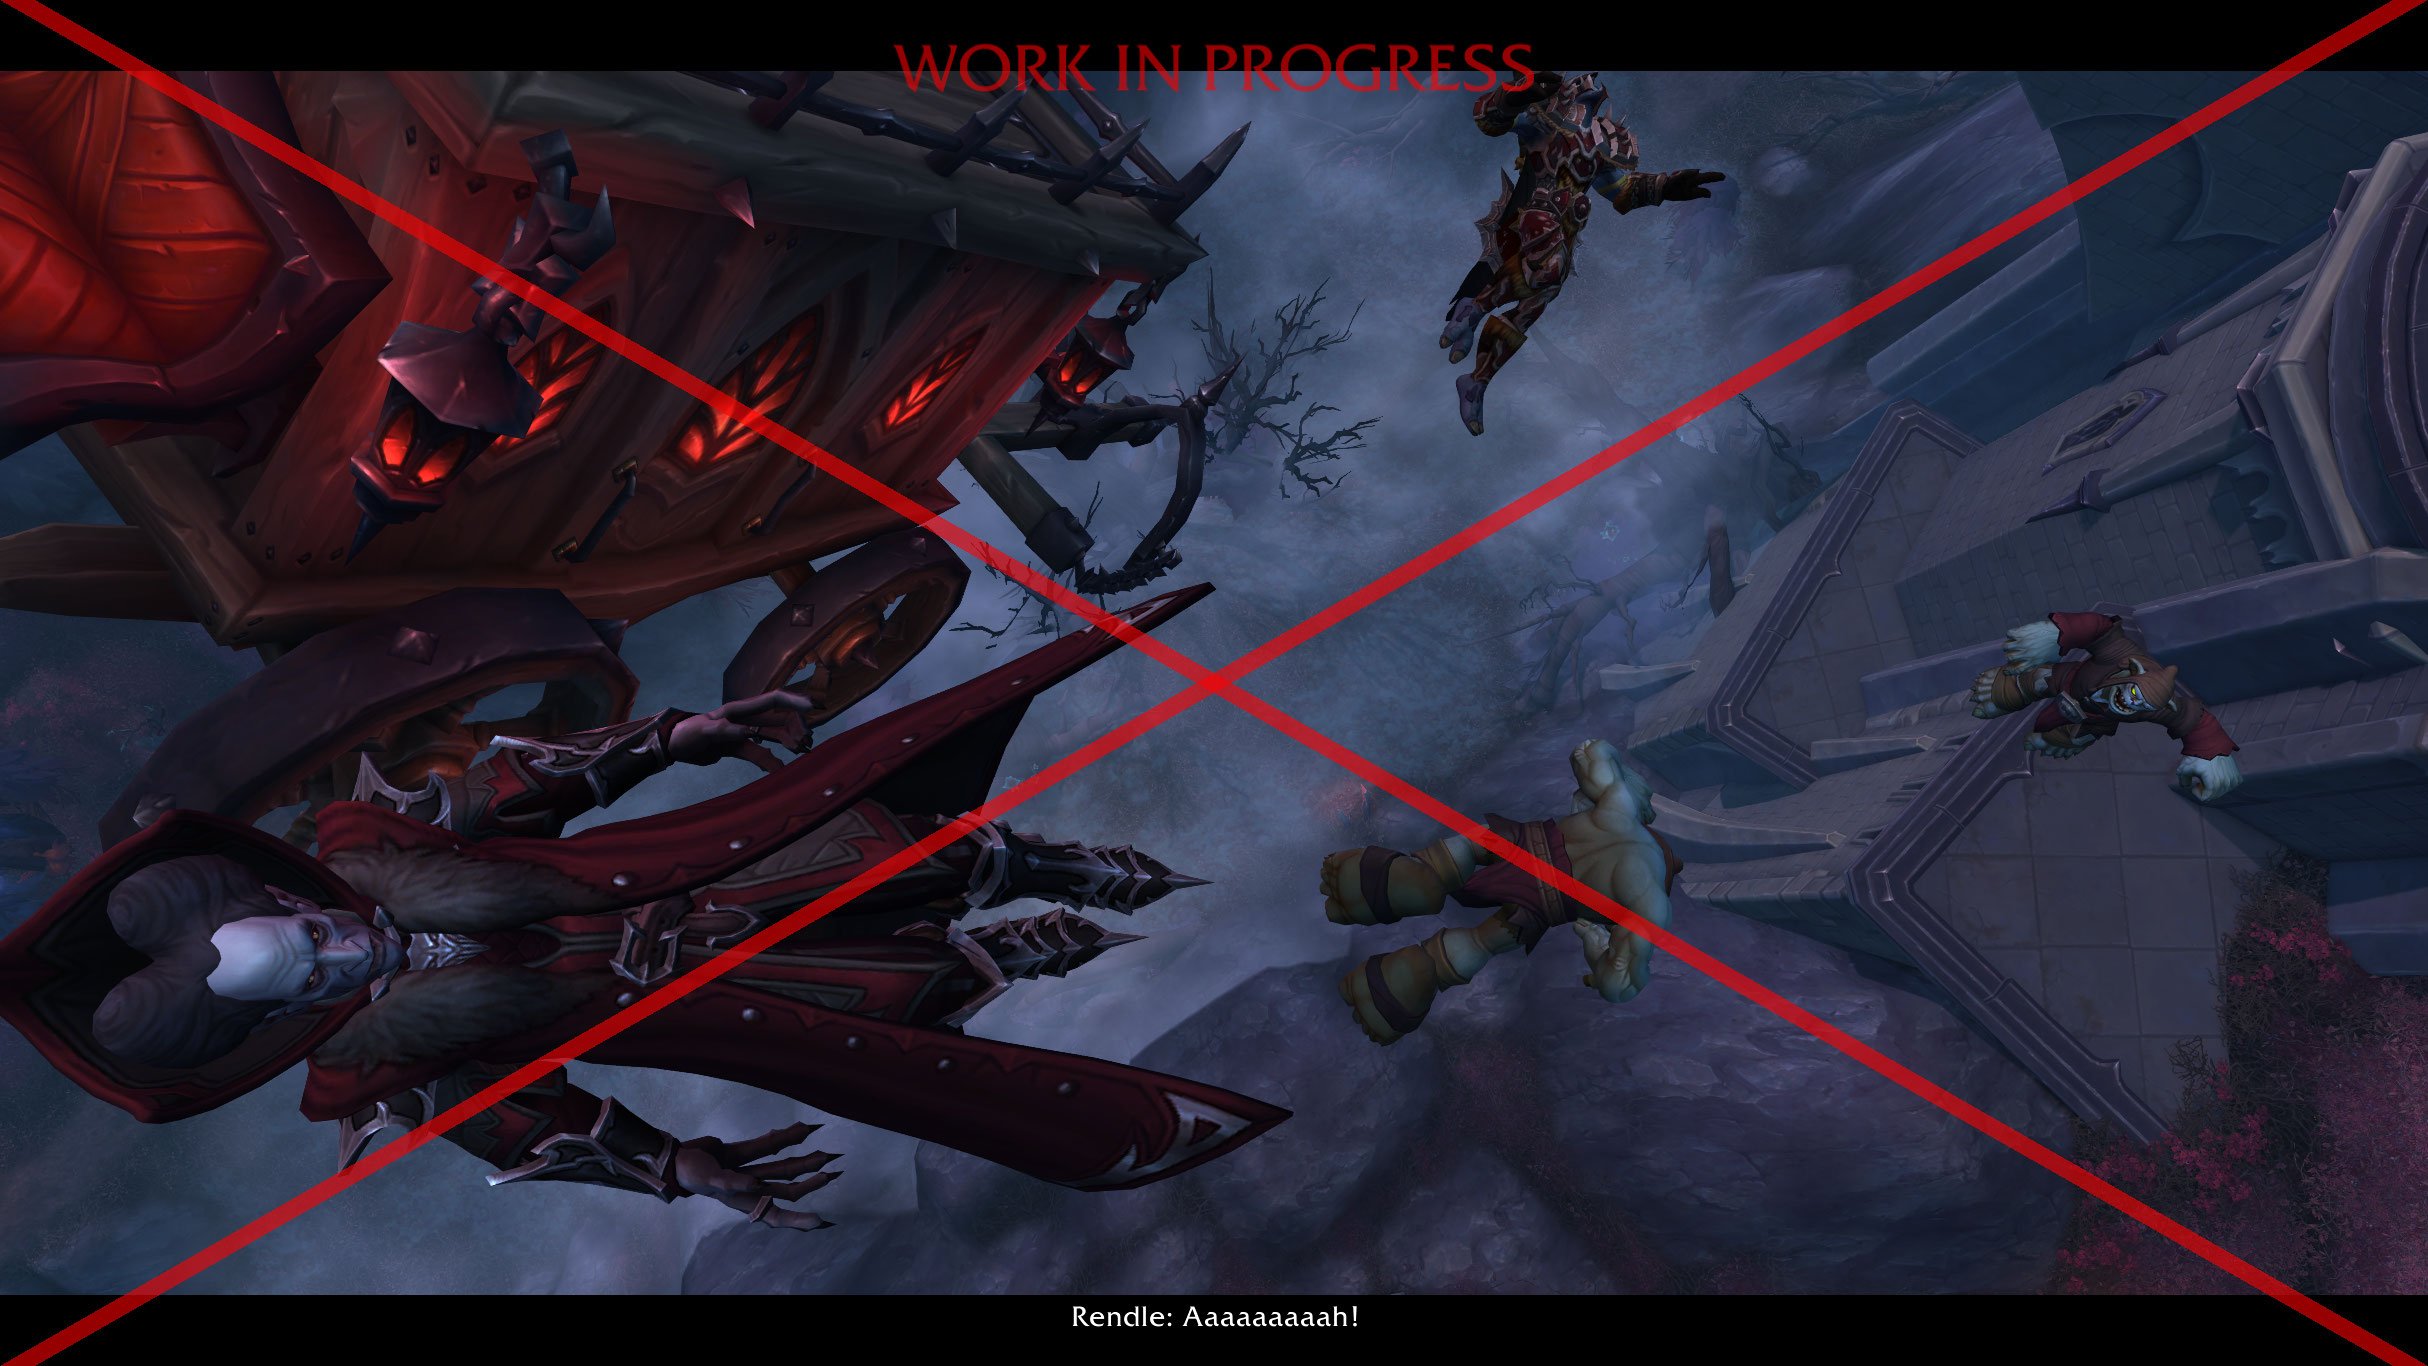
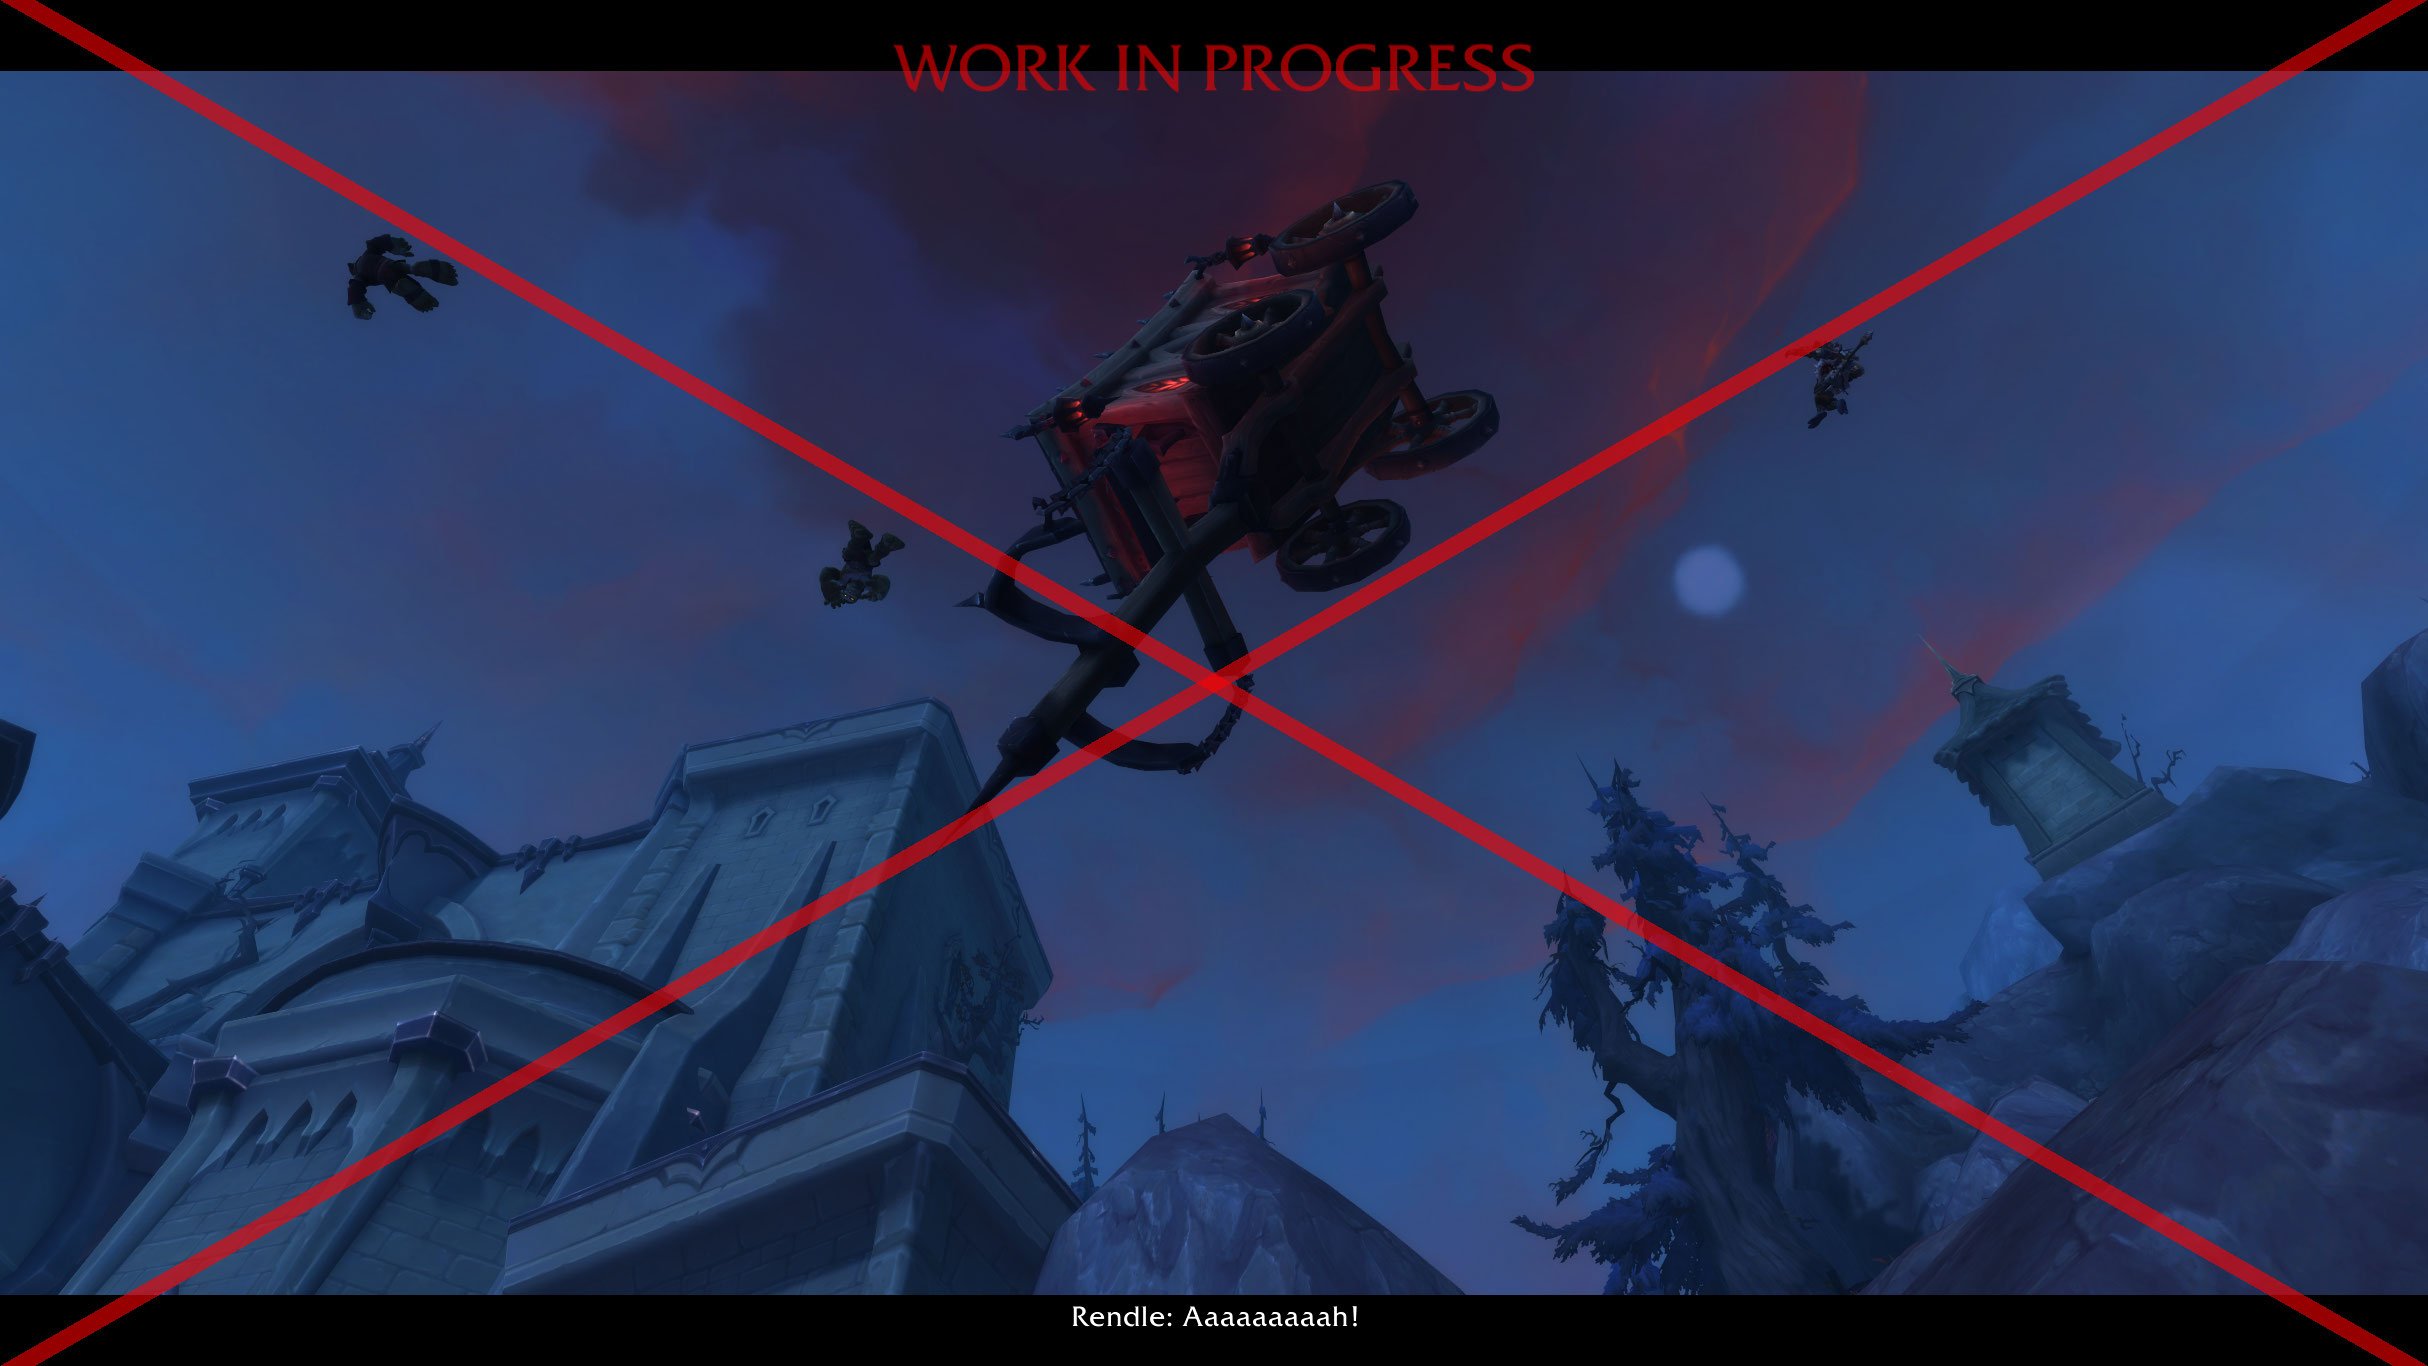
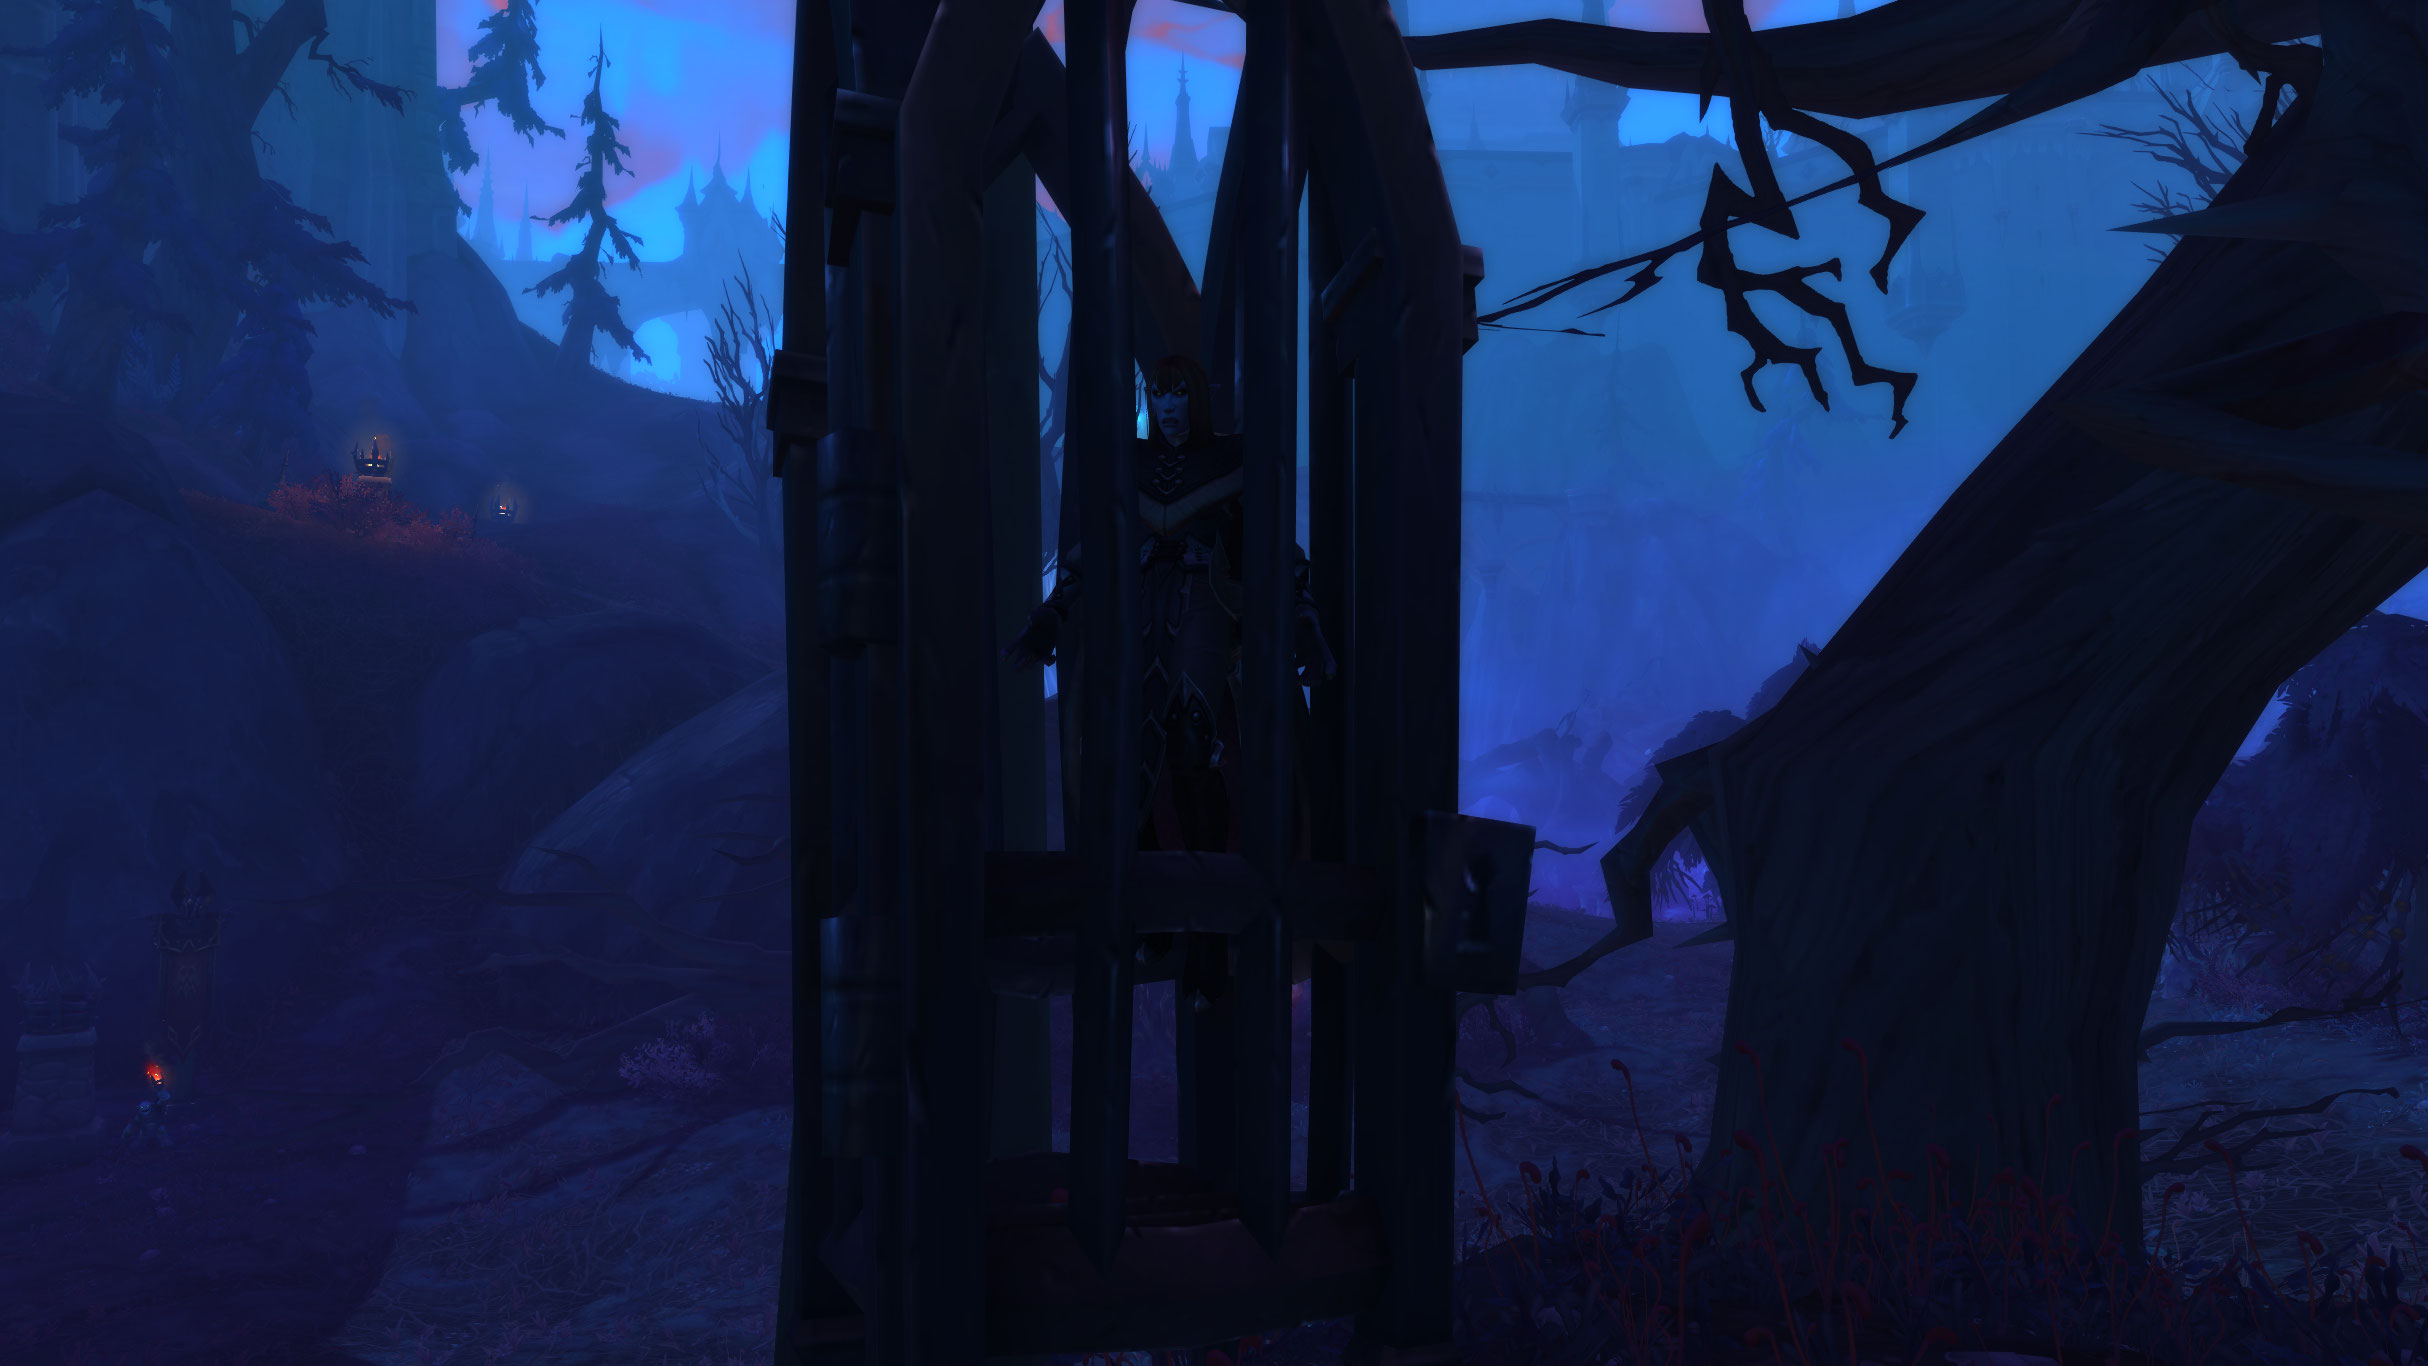
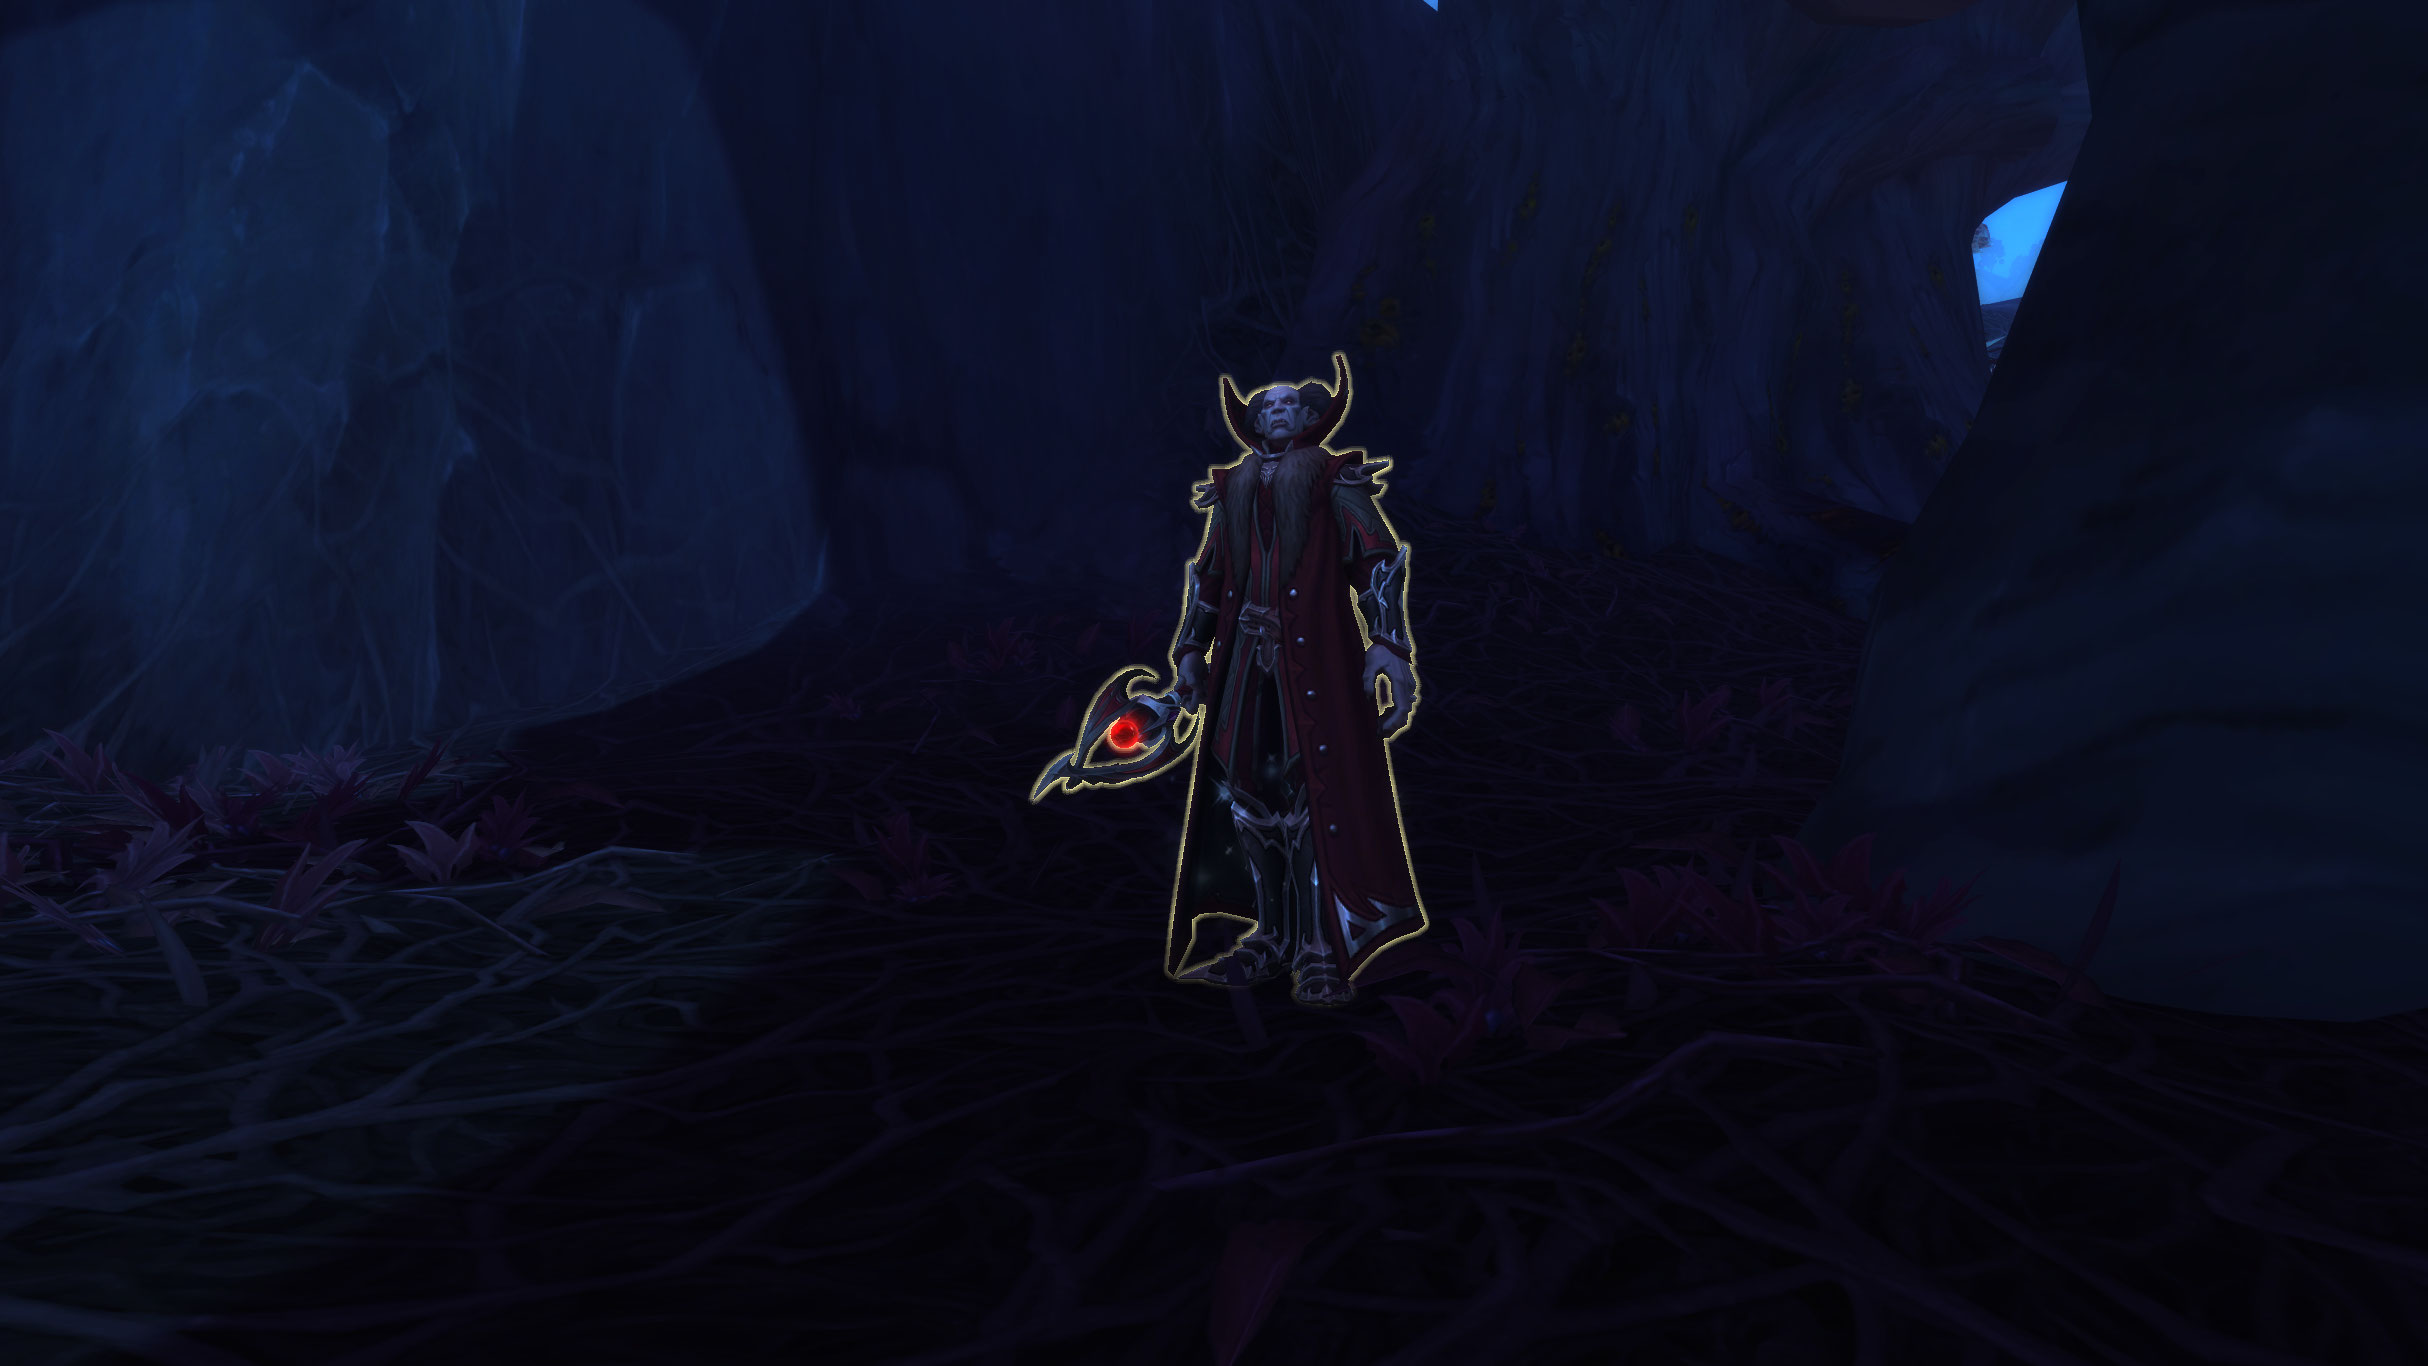
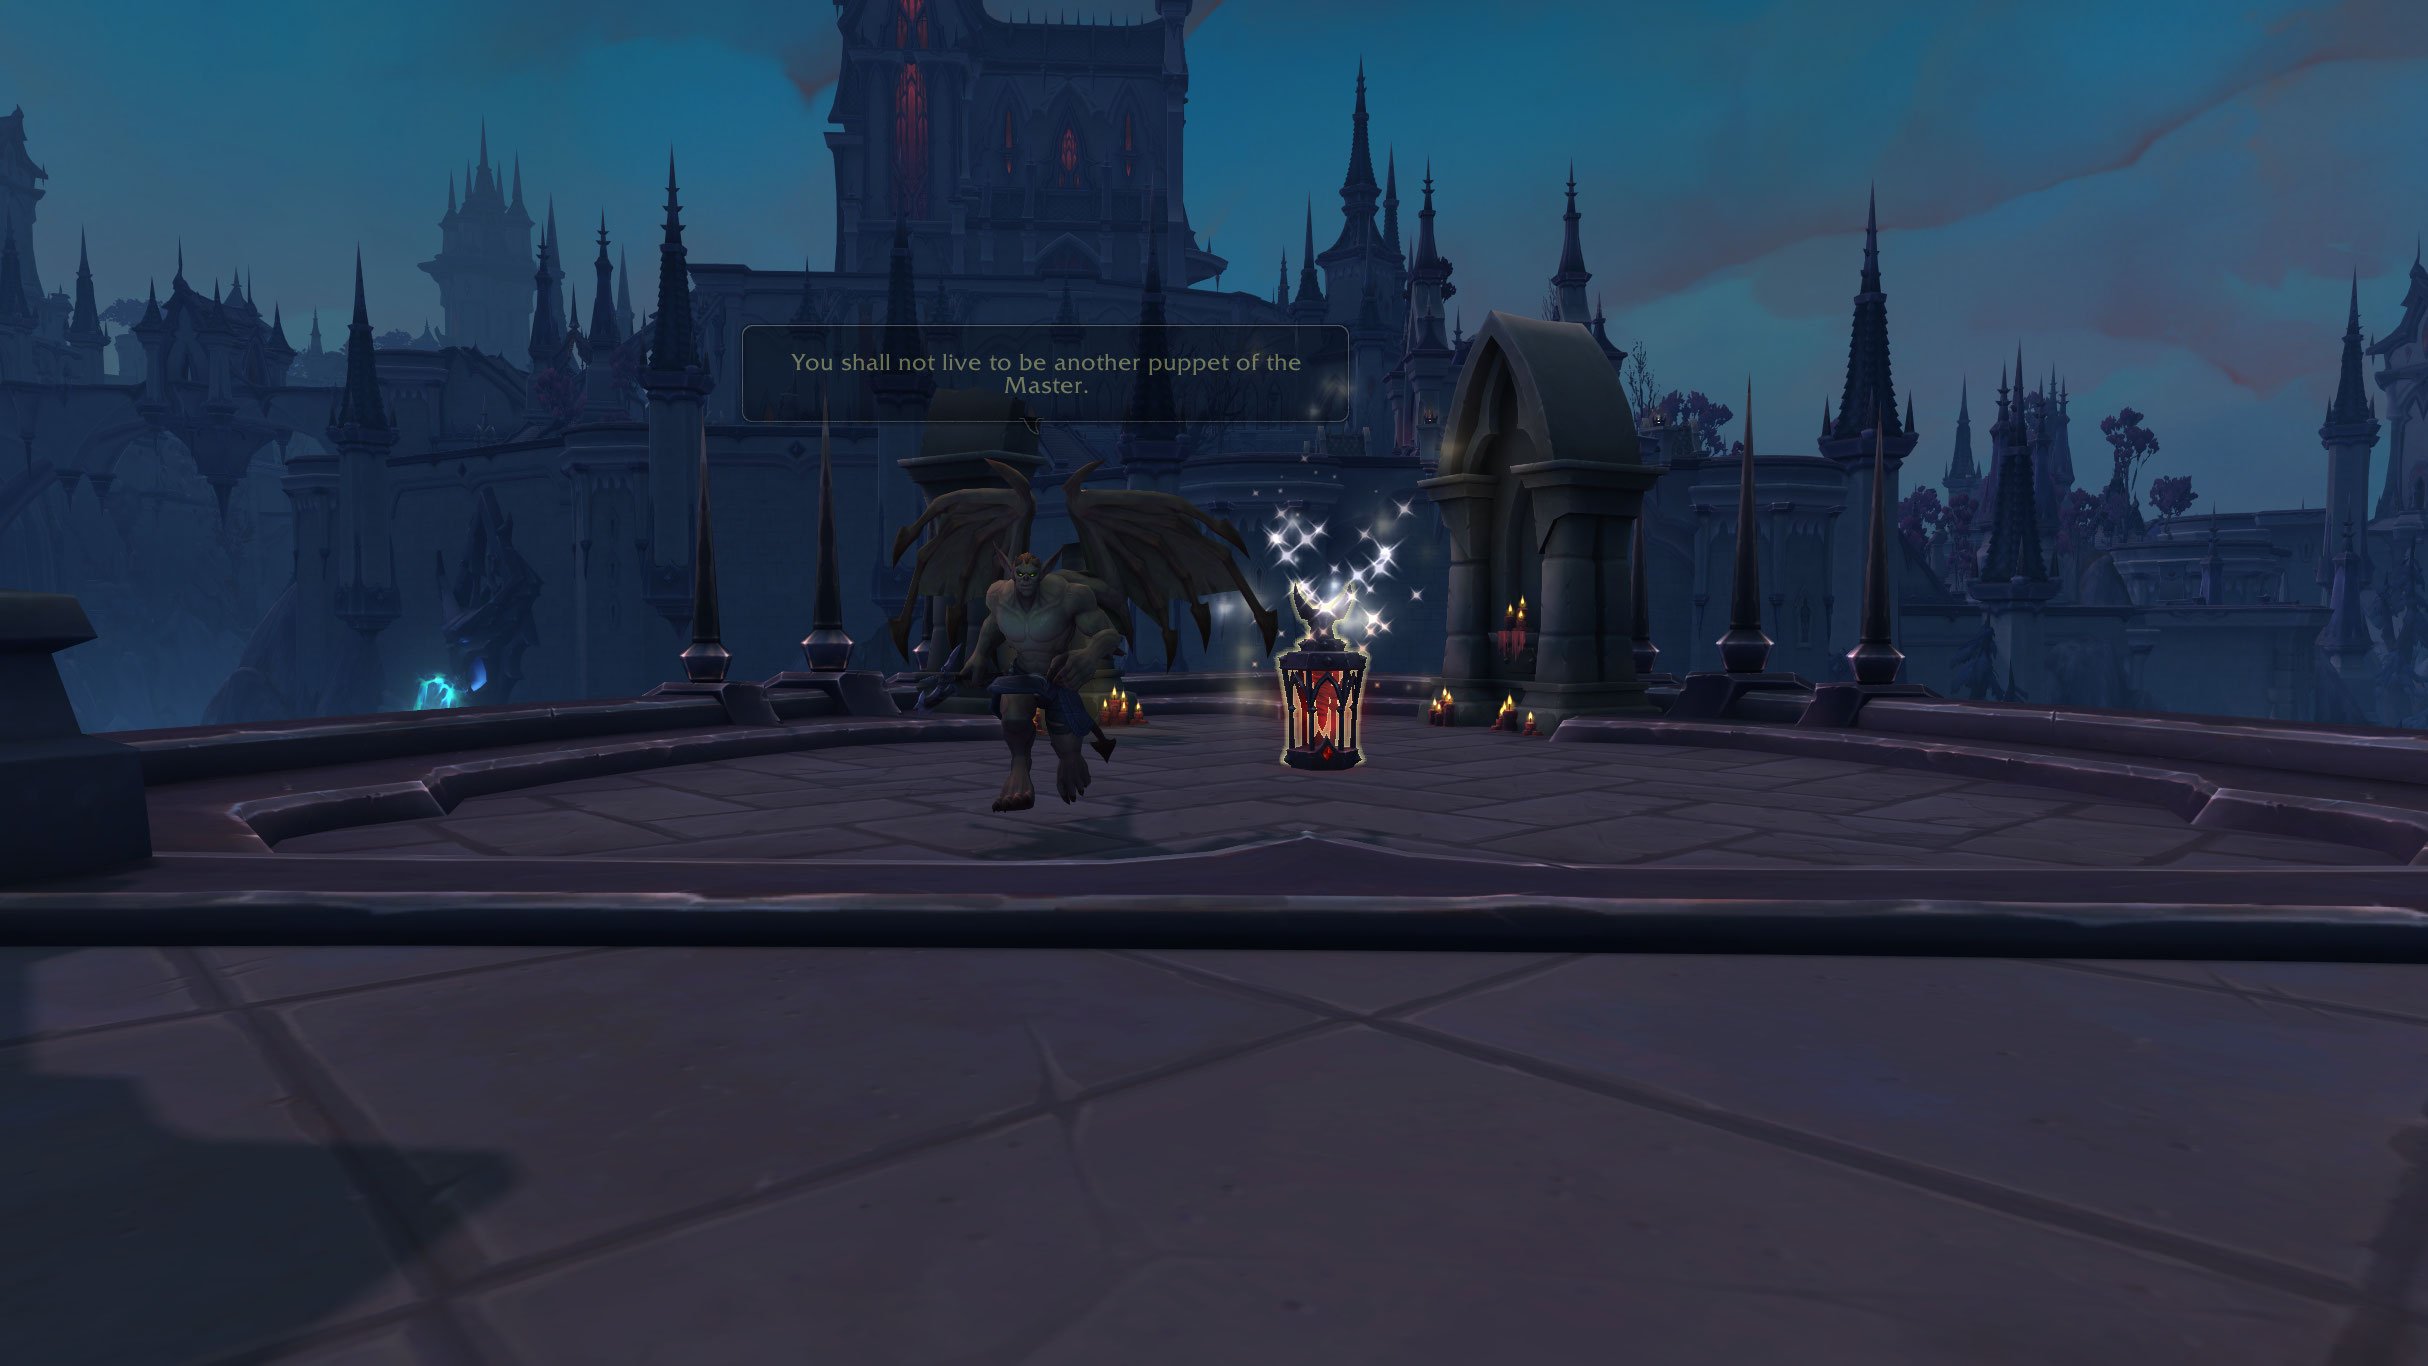
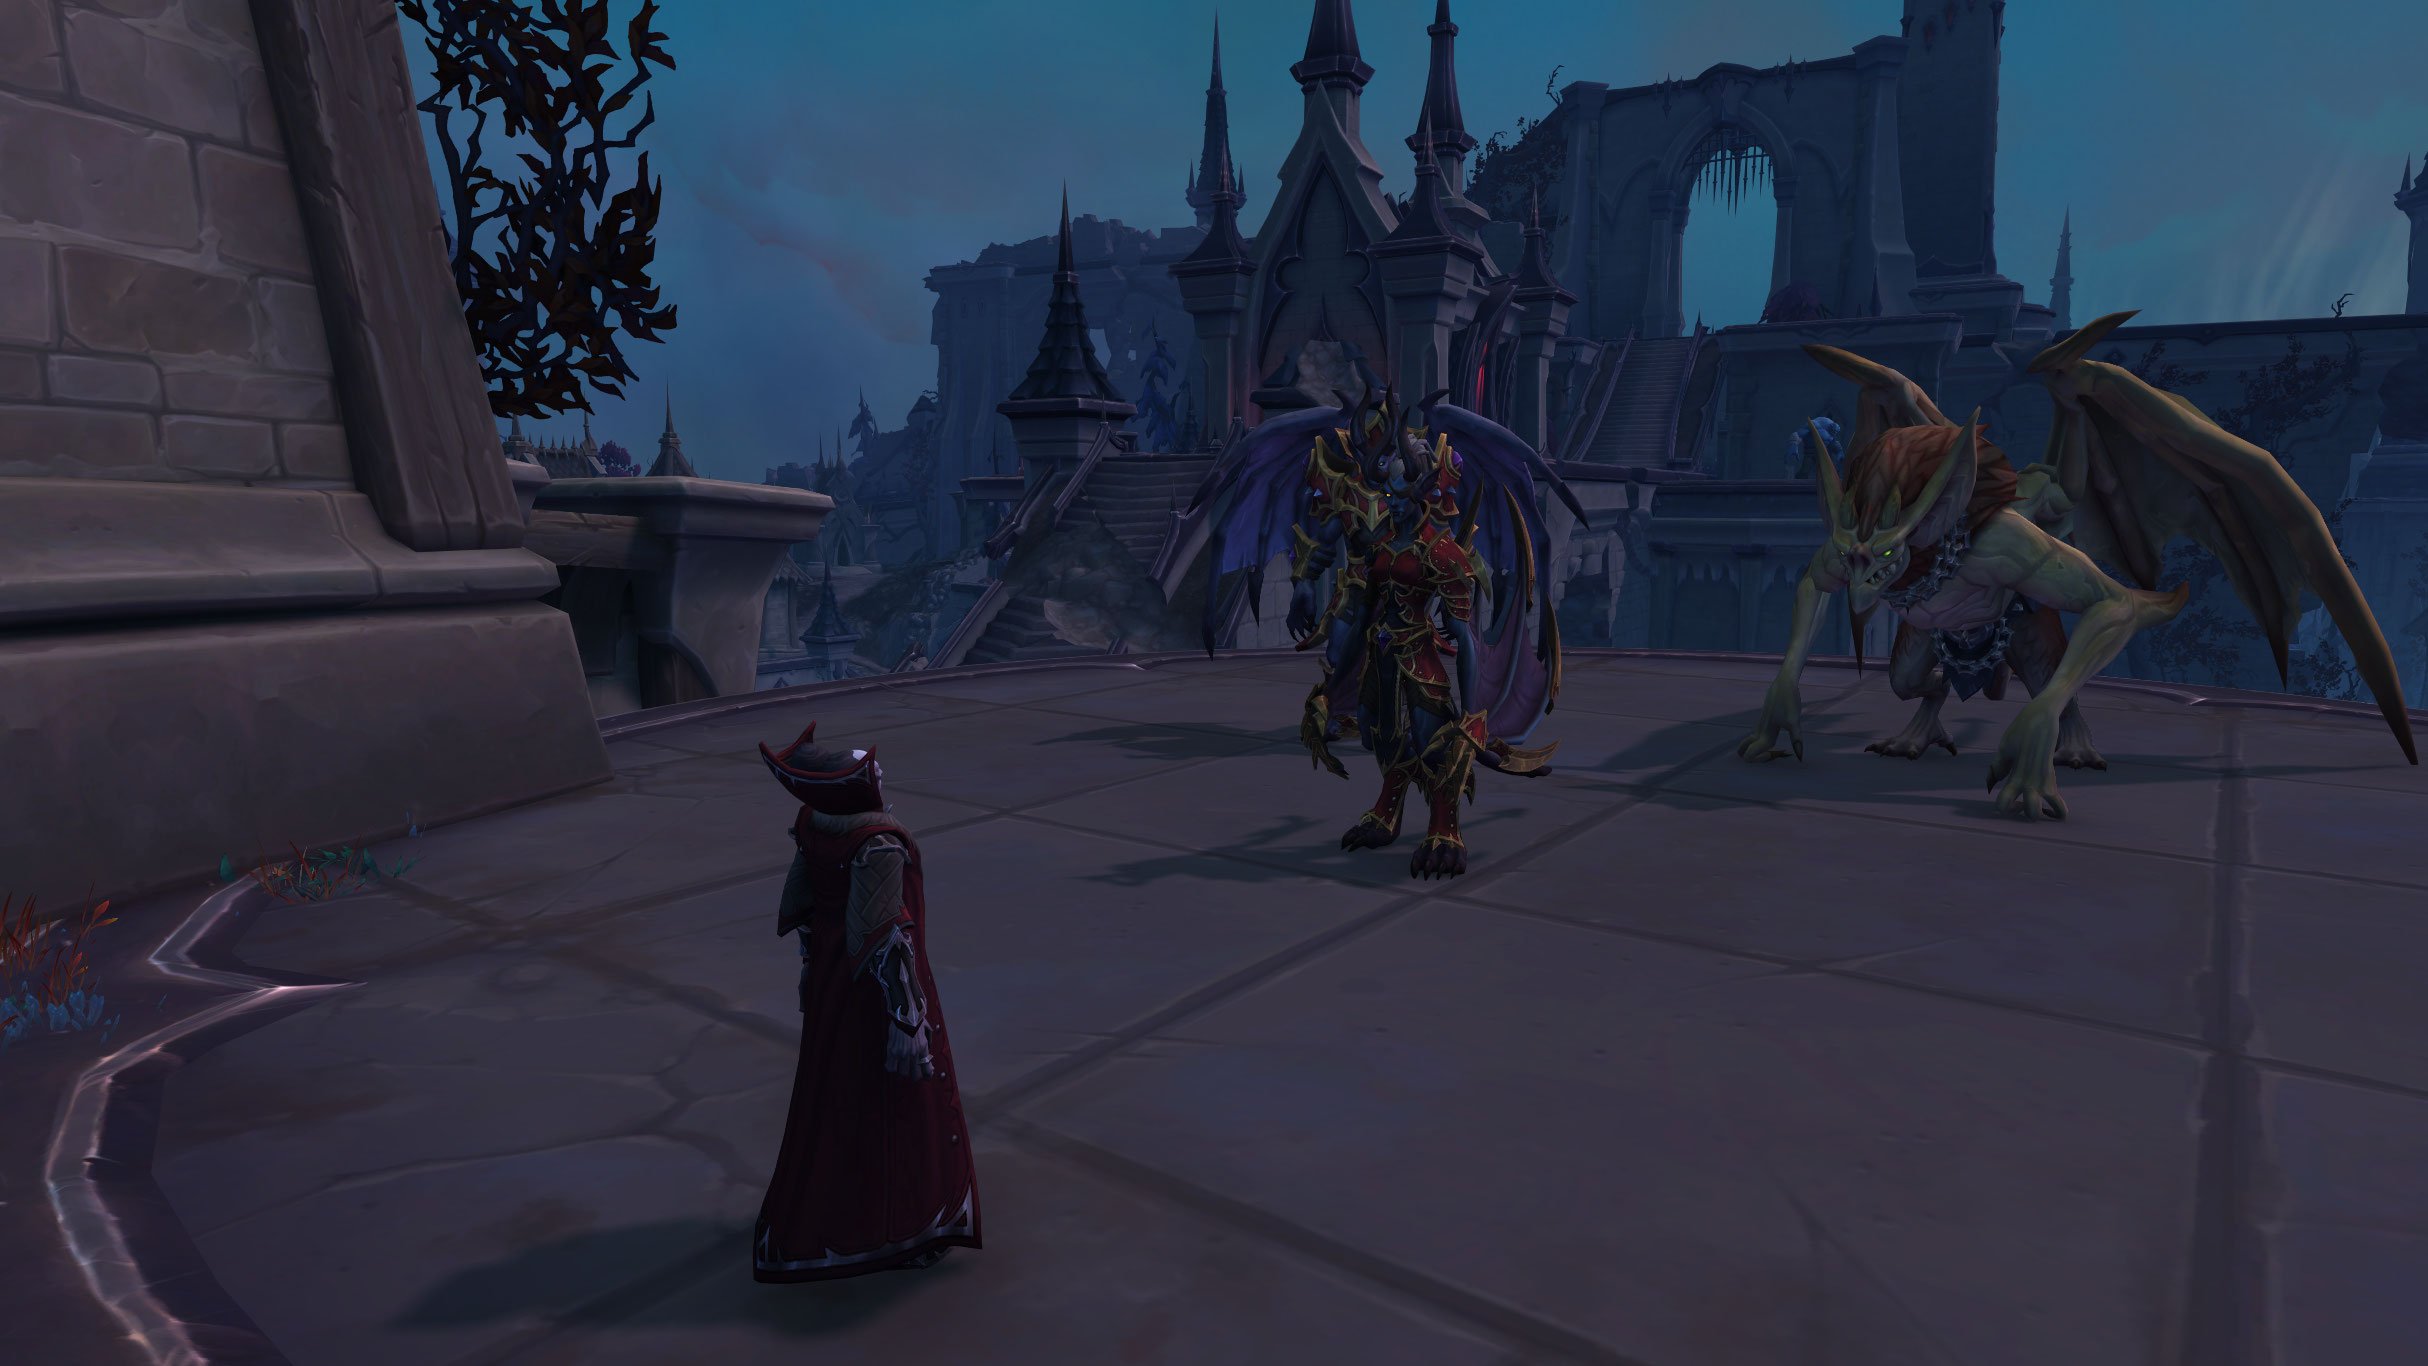
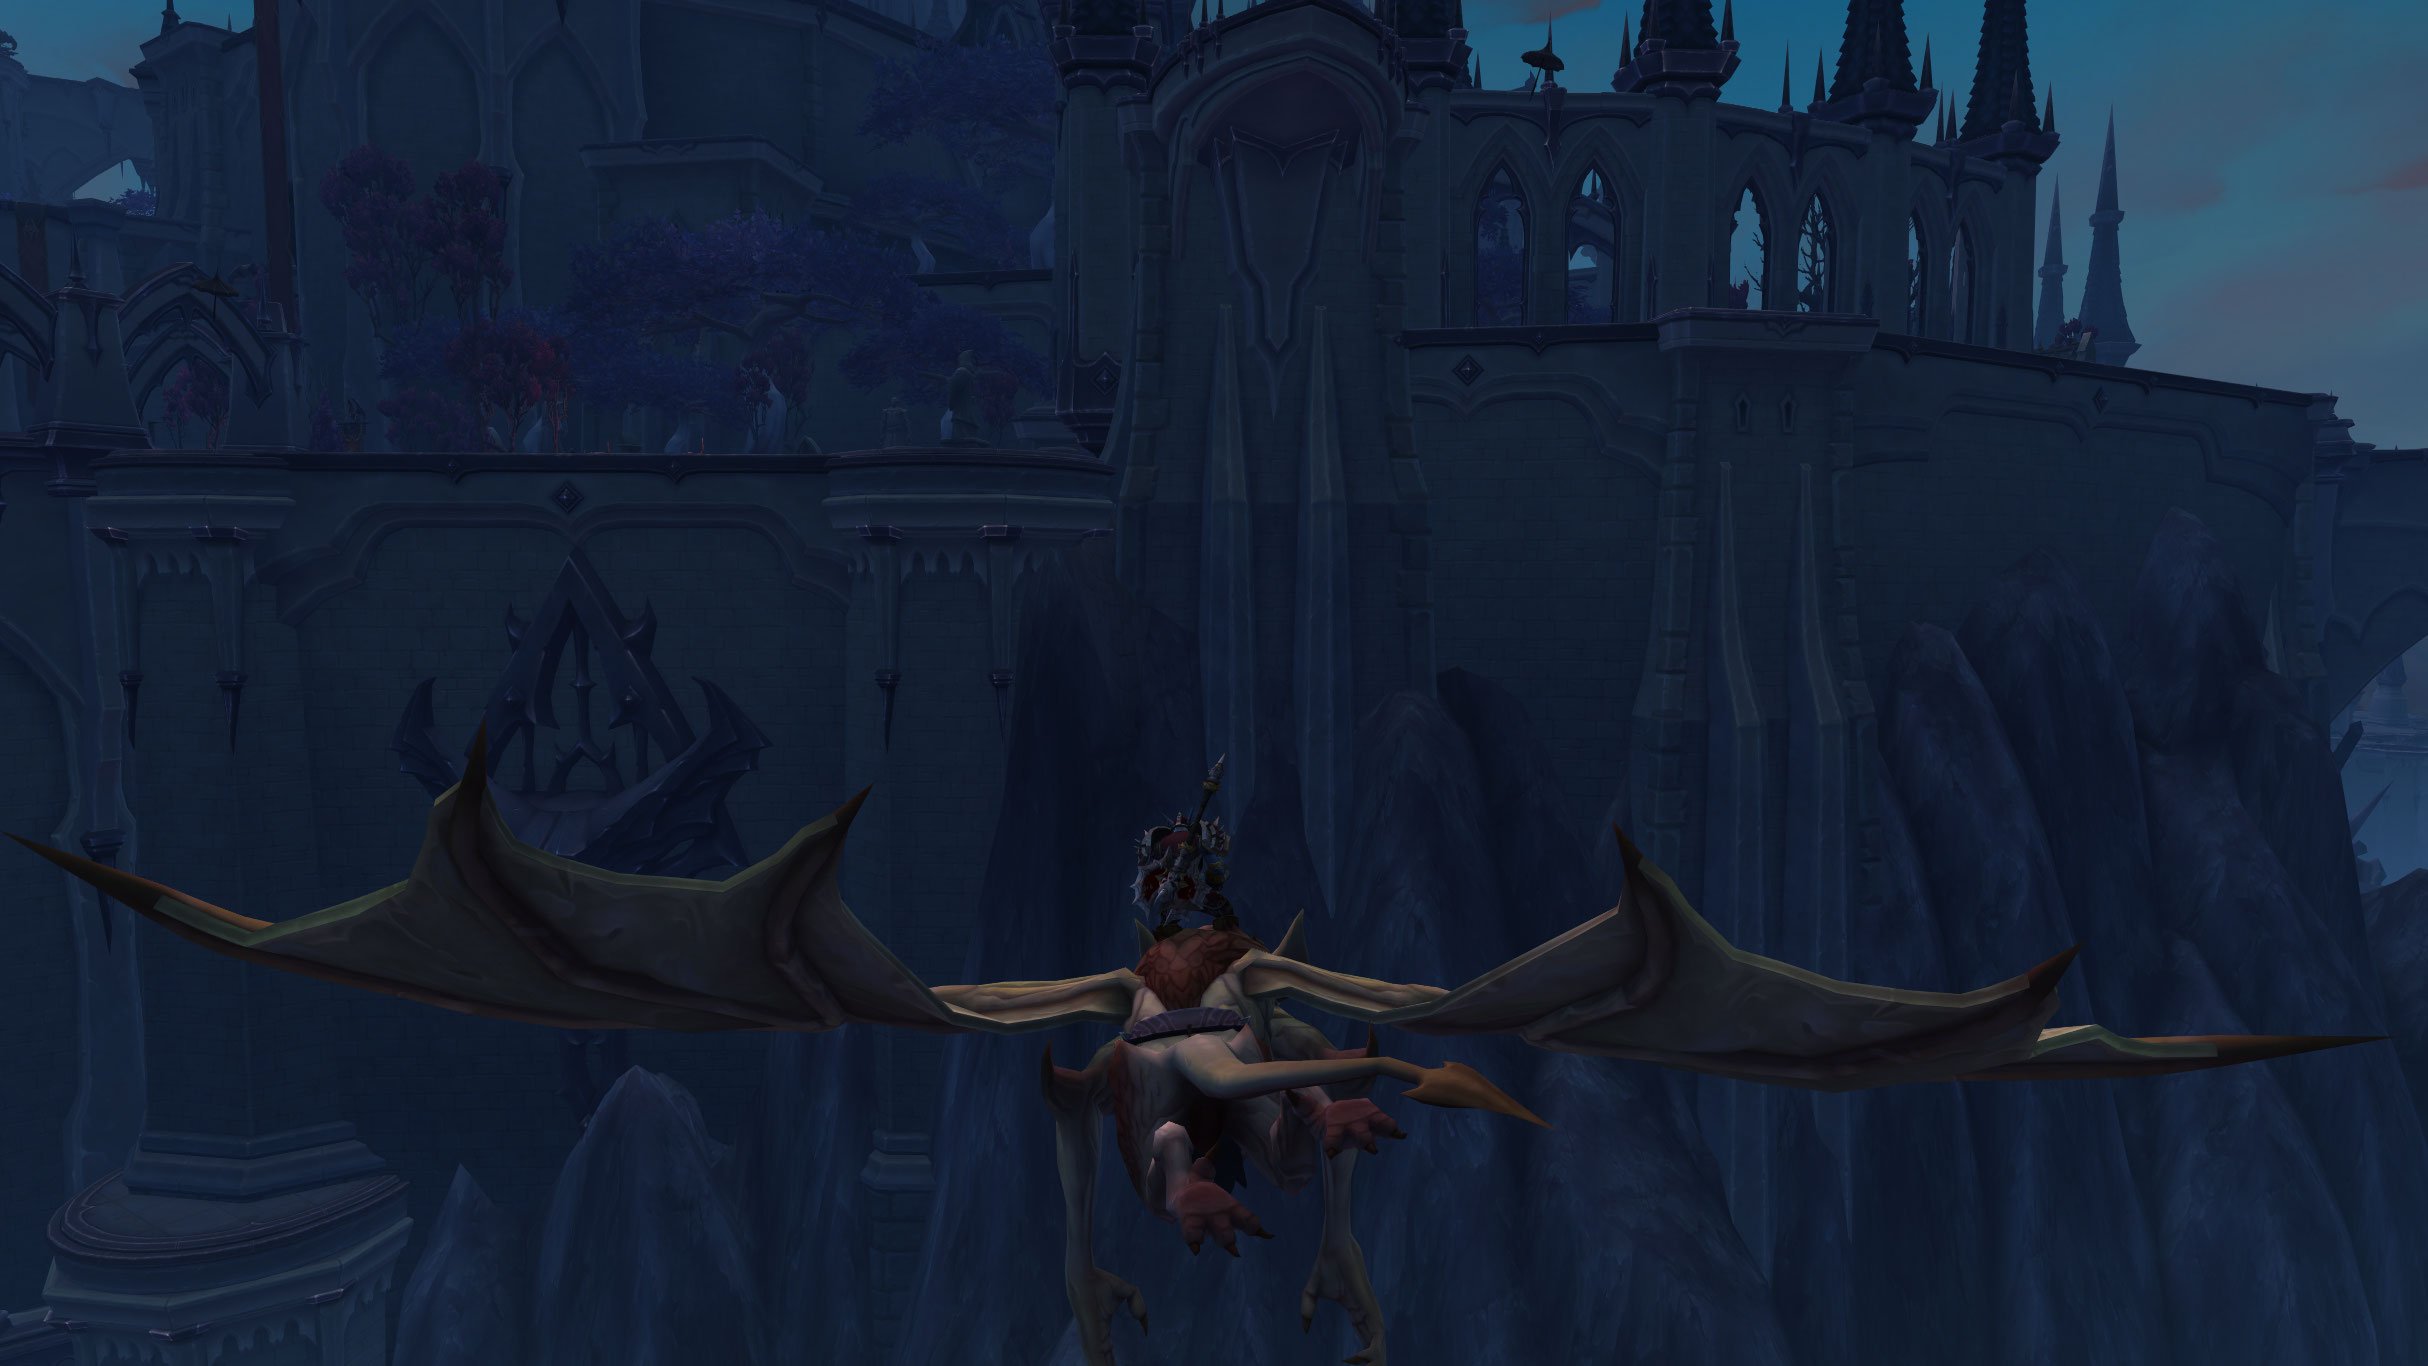
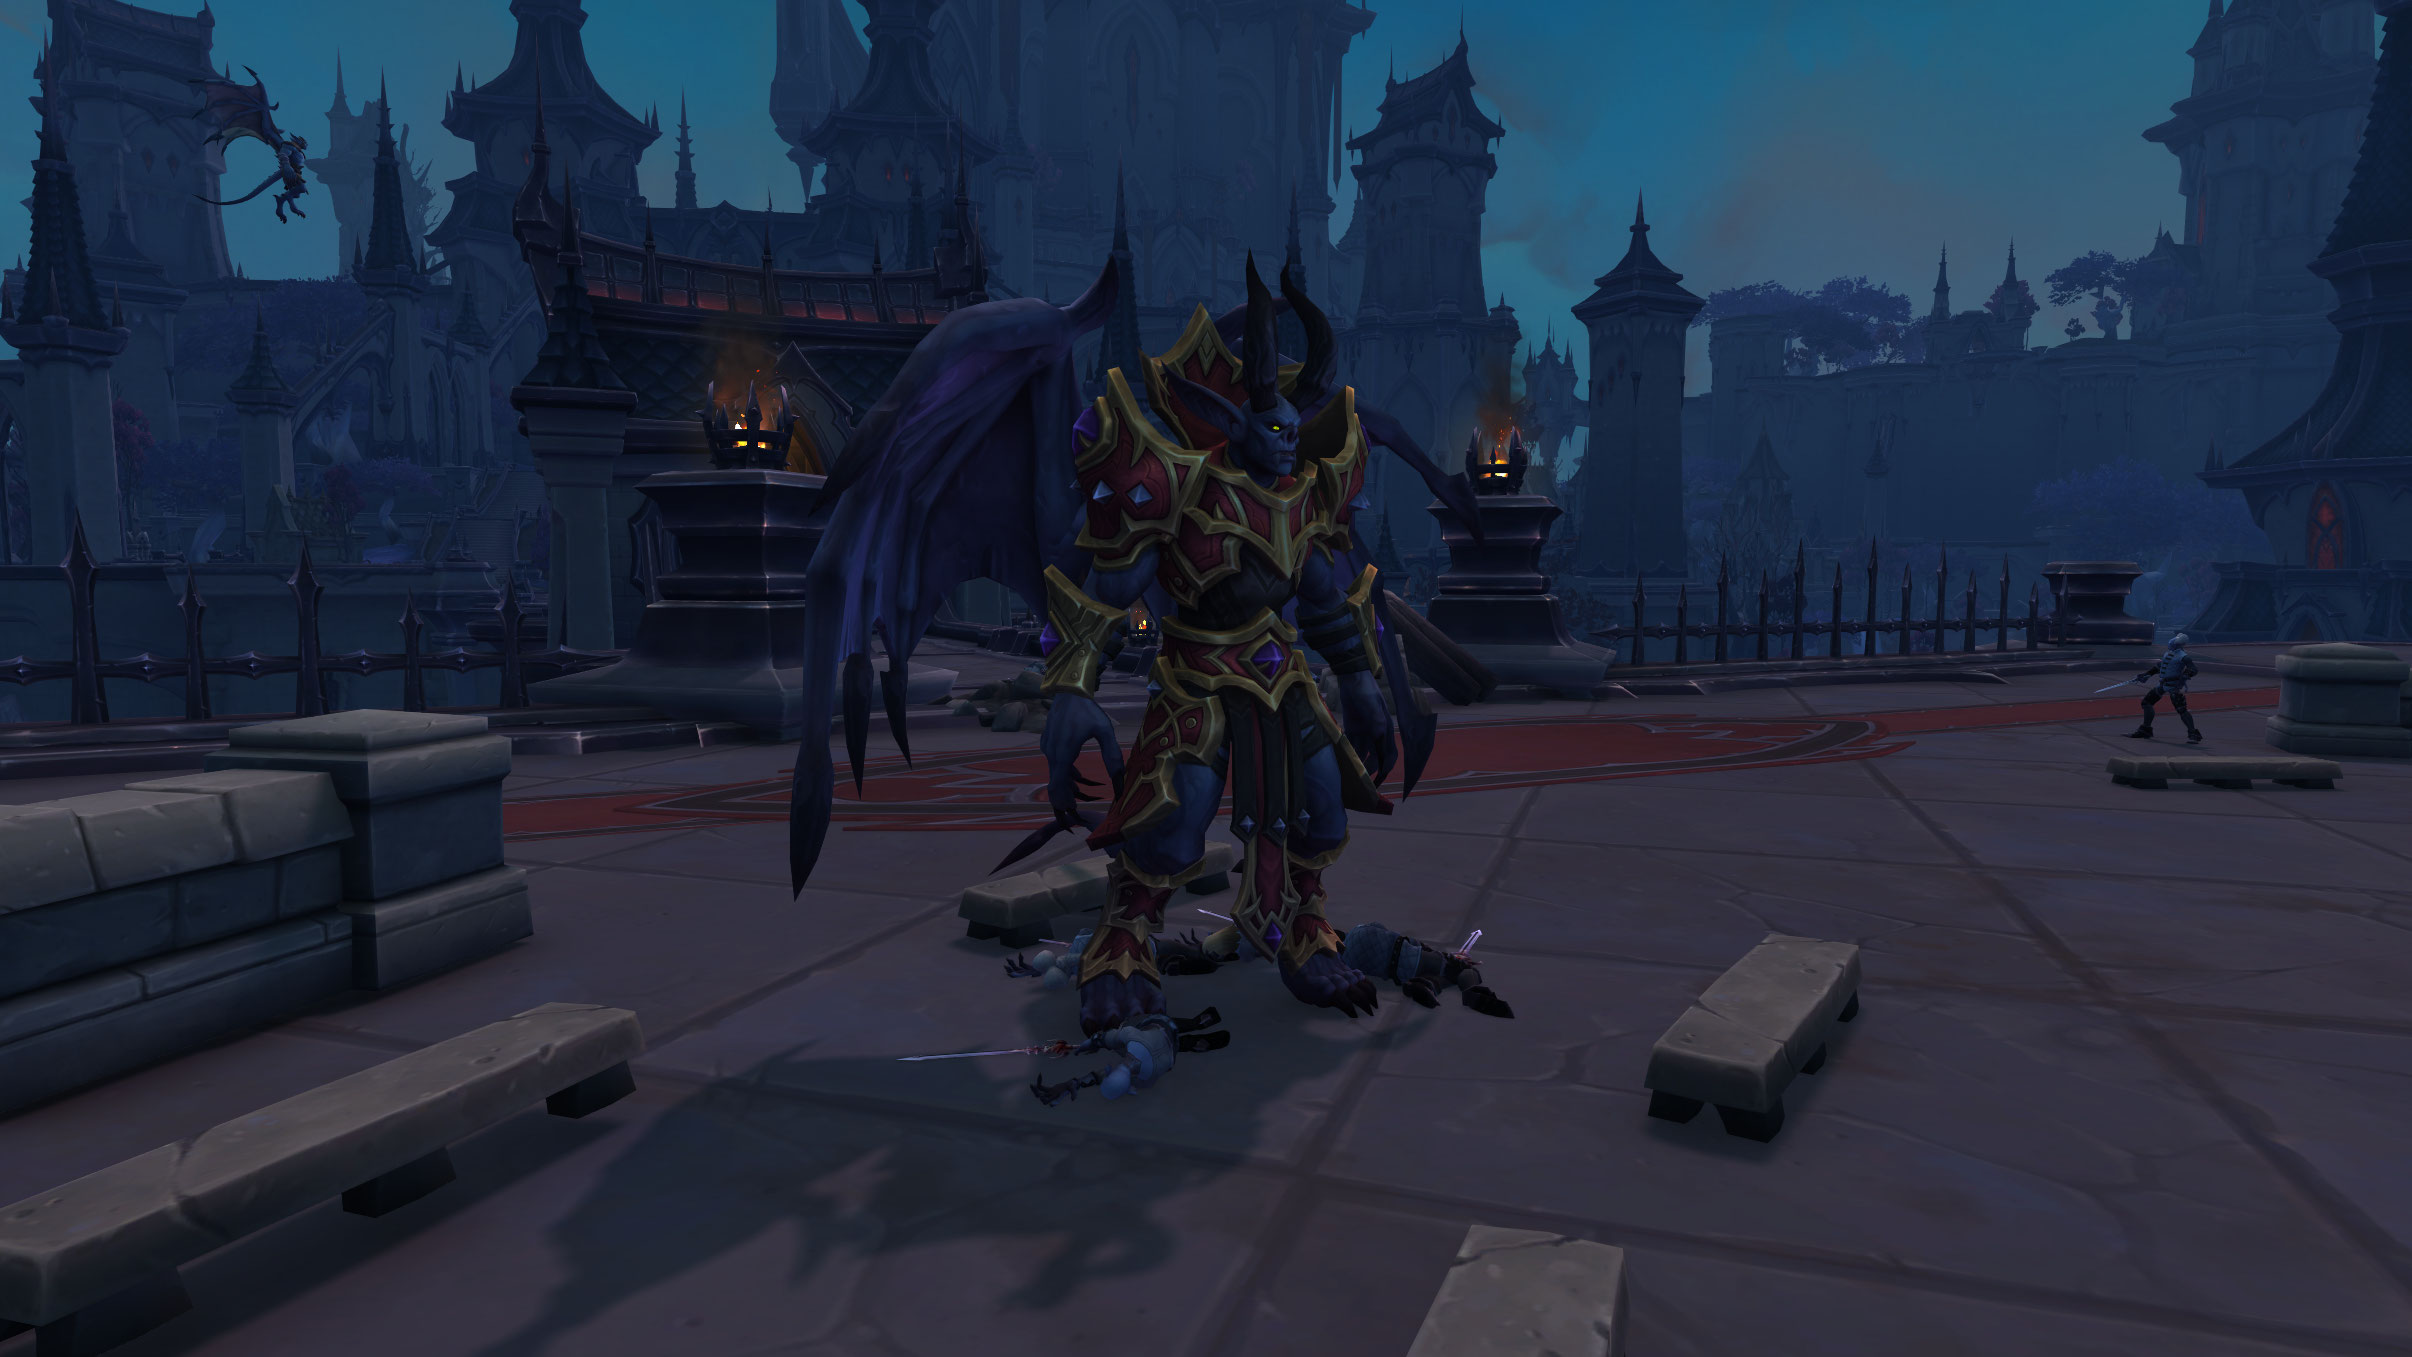
- Stoneborn gargoyles attack the carriage, one of which is General Draven. He lifts the carriage into the sky stating that you will not become another puppet of the Master. Chamberlain yells for them to stop, and so the entire carriage is dropped into the mire below. Cudgelface and the Chamberlain are missing and you are tasked with finding them. On the way you find a female venthyr in a cage named Nadjia the Mistblade. She says she is the finest duelist that ever wielded a sword and the trap she is in was a lesson learned in getting paid in advance. She asks you to release her and her blade will be yours to command for as long as she finds you interesting. You kill some creatures to gain her favor, and then find the two missing comrades.
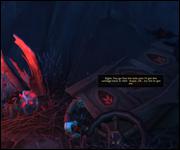
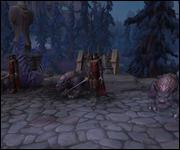
- The carriage is repaired and you continue on while Nadjia leaves to dish out some payback. On the way, Lord Chamberlain tells you that General Draven is a member of a rebel group who believes the Master is responsible for the anima drought. The carriage bumps into some rebels who have ambushed a convoy intended for the Grand Steward, the local Harvester who rules this Ward. Chamberlain tasks you with slaying 5 rebels and acquiring an Anima Canister so you can proceed across the bridge to Darkhaven. He flies off, telling Cudgelface to create a diversion by riding the carriage in a different direction.
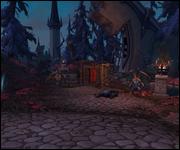
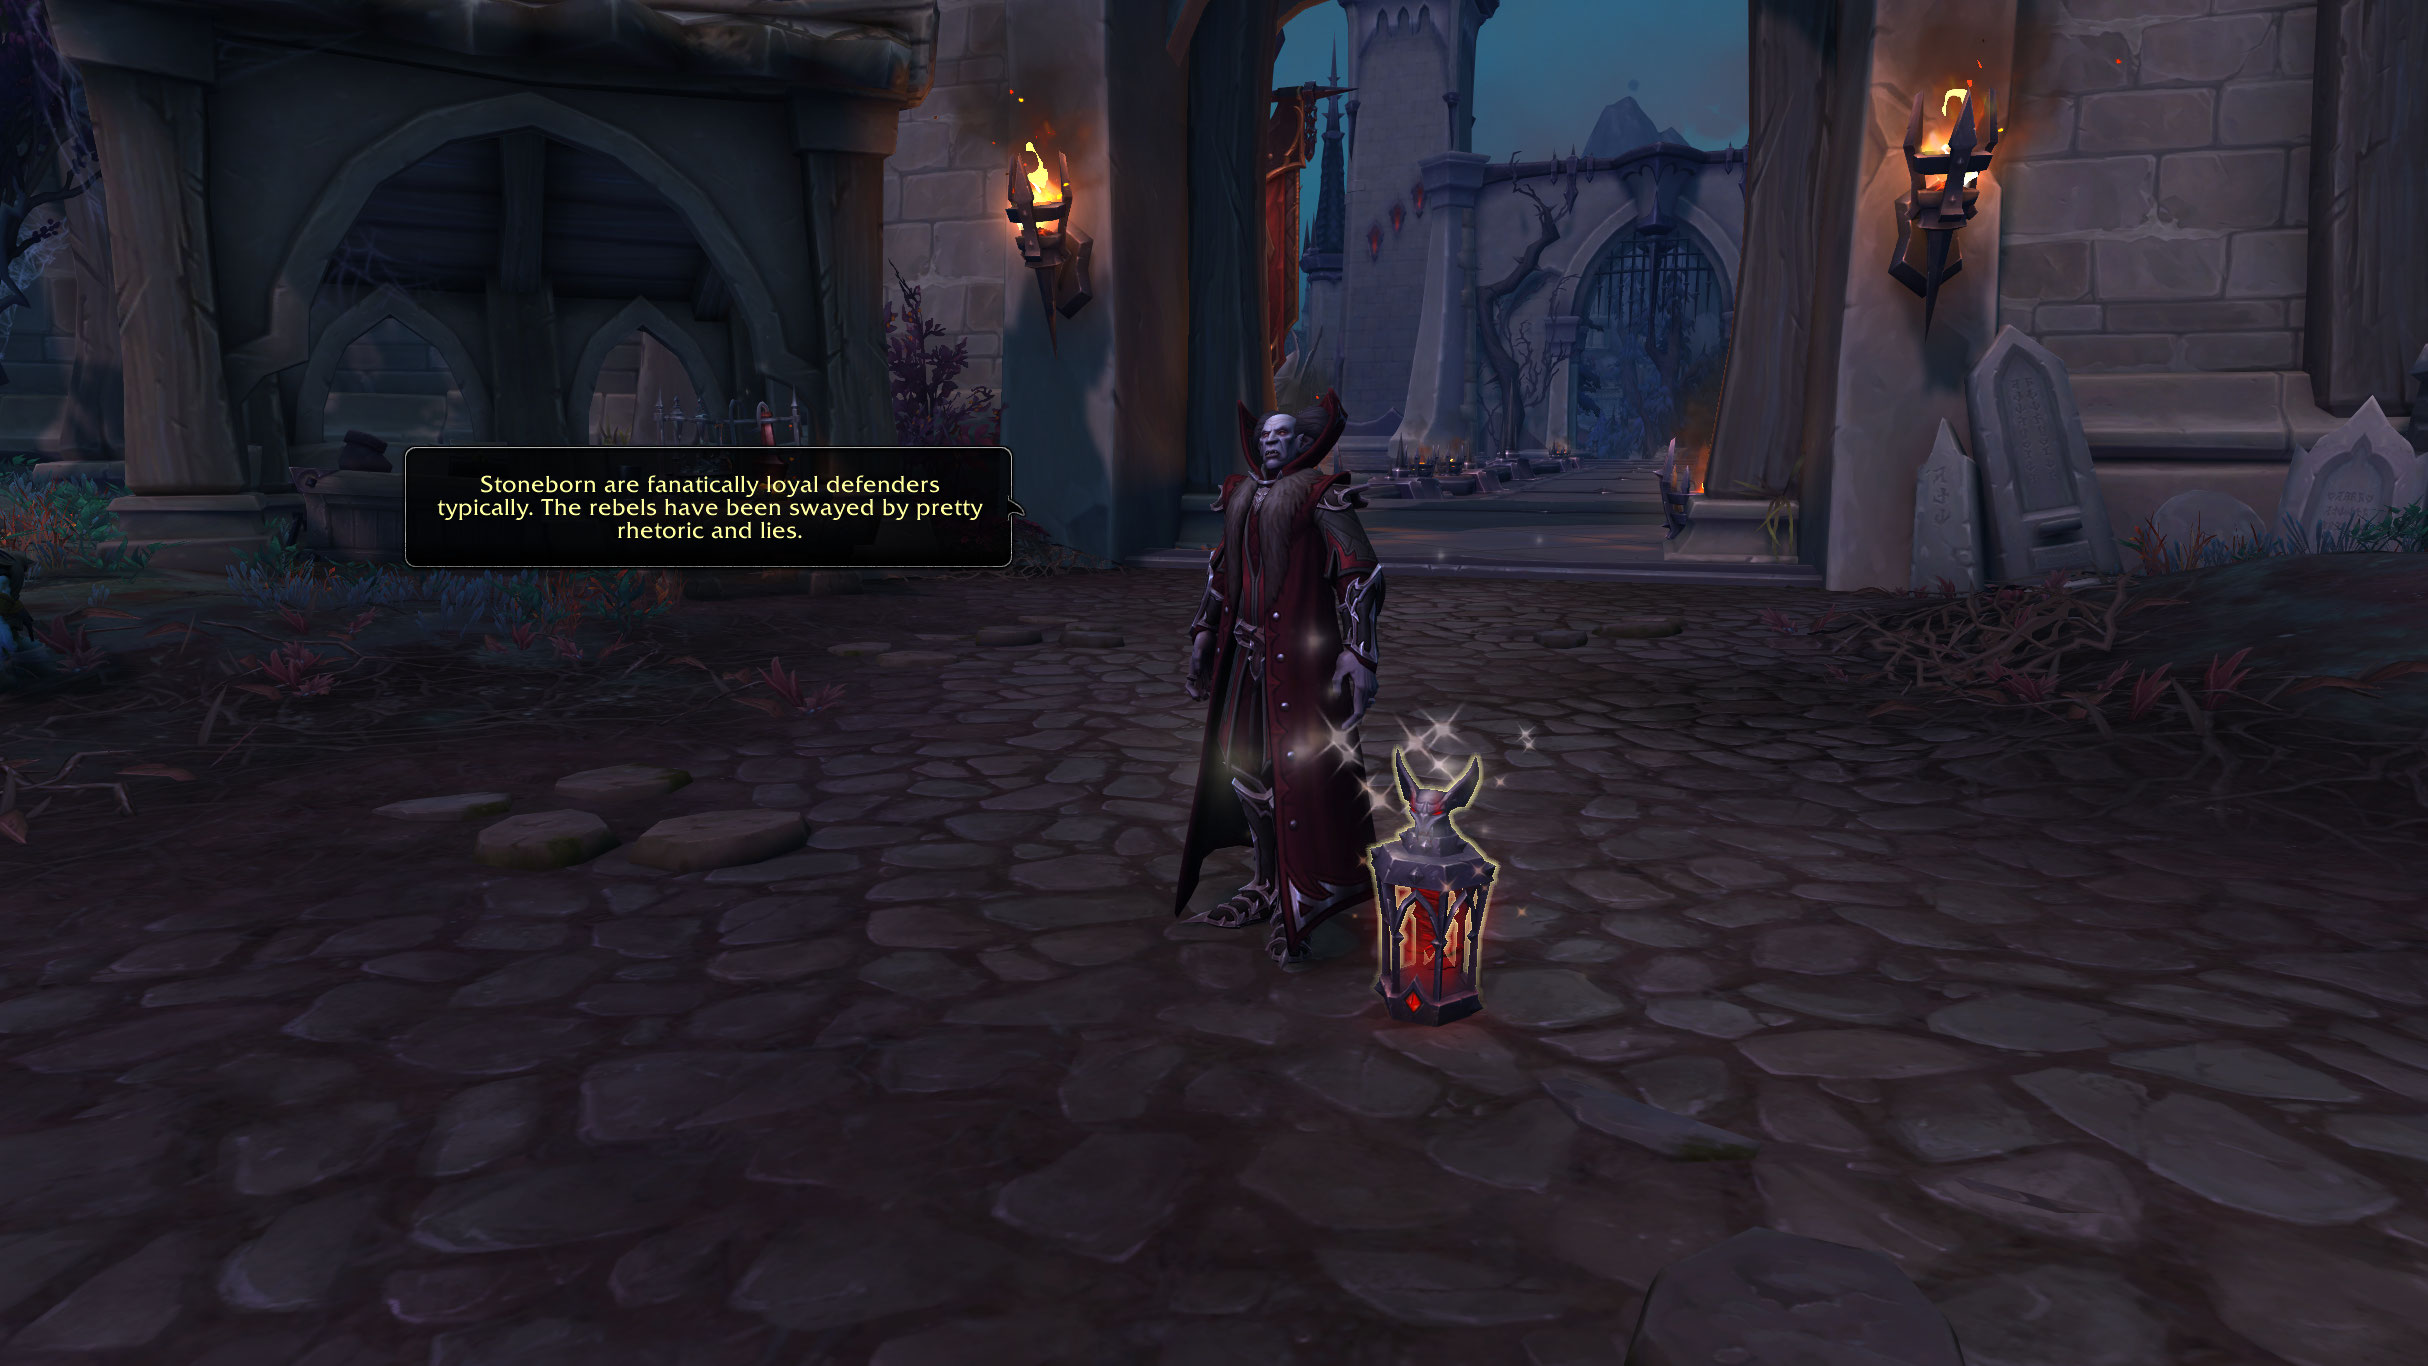
- You then escort the Chamberlain across the bridge and defeat any rebels who try to interfere. In Darkhaven, you take the anima canister and activate 6 Stoneborn.
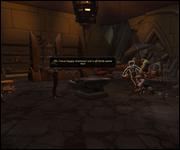
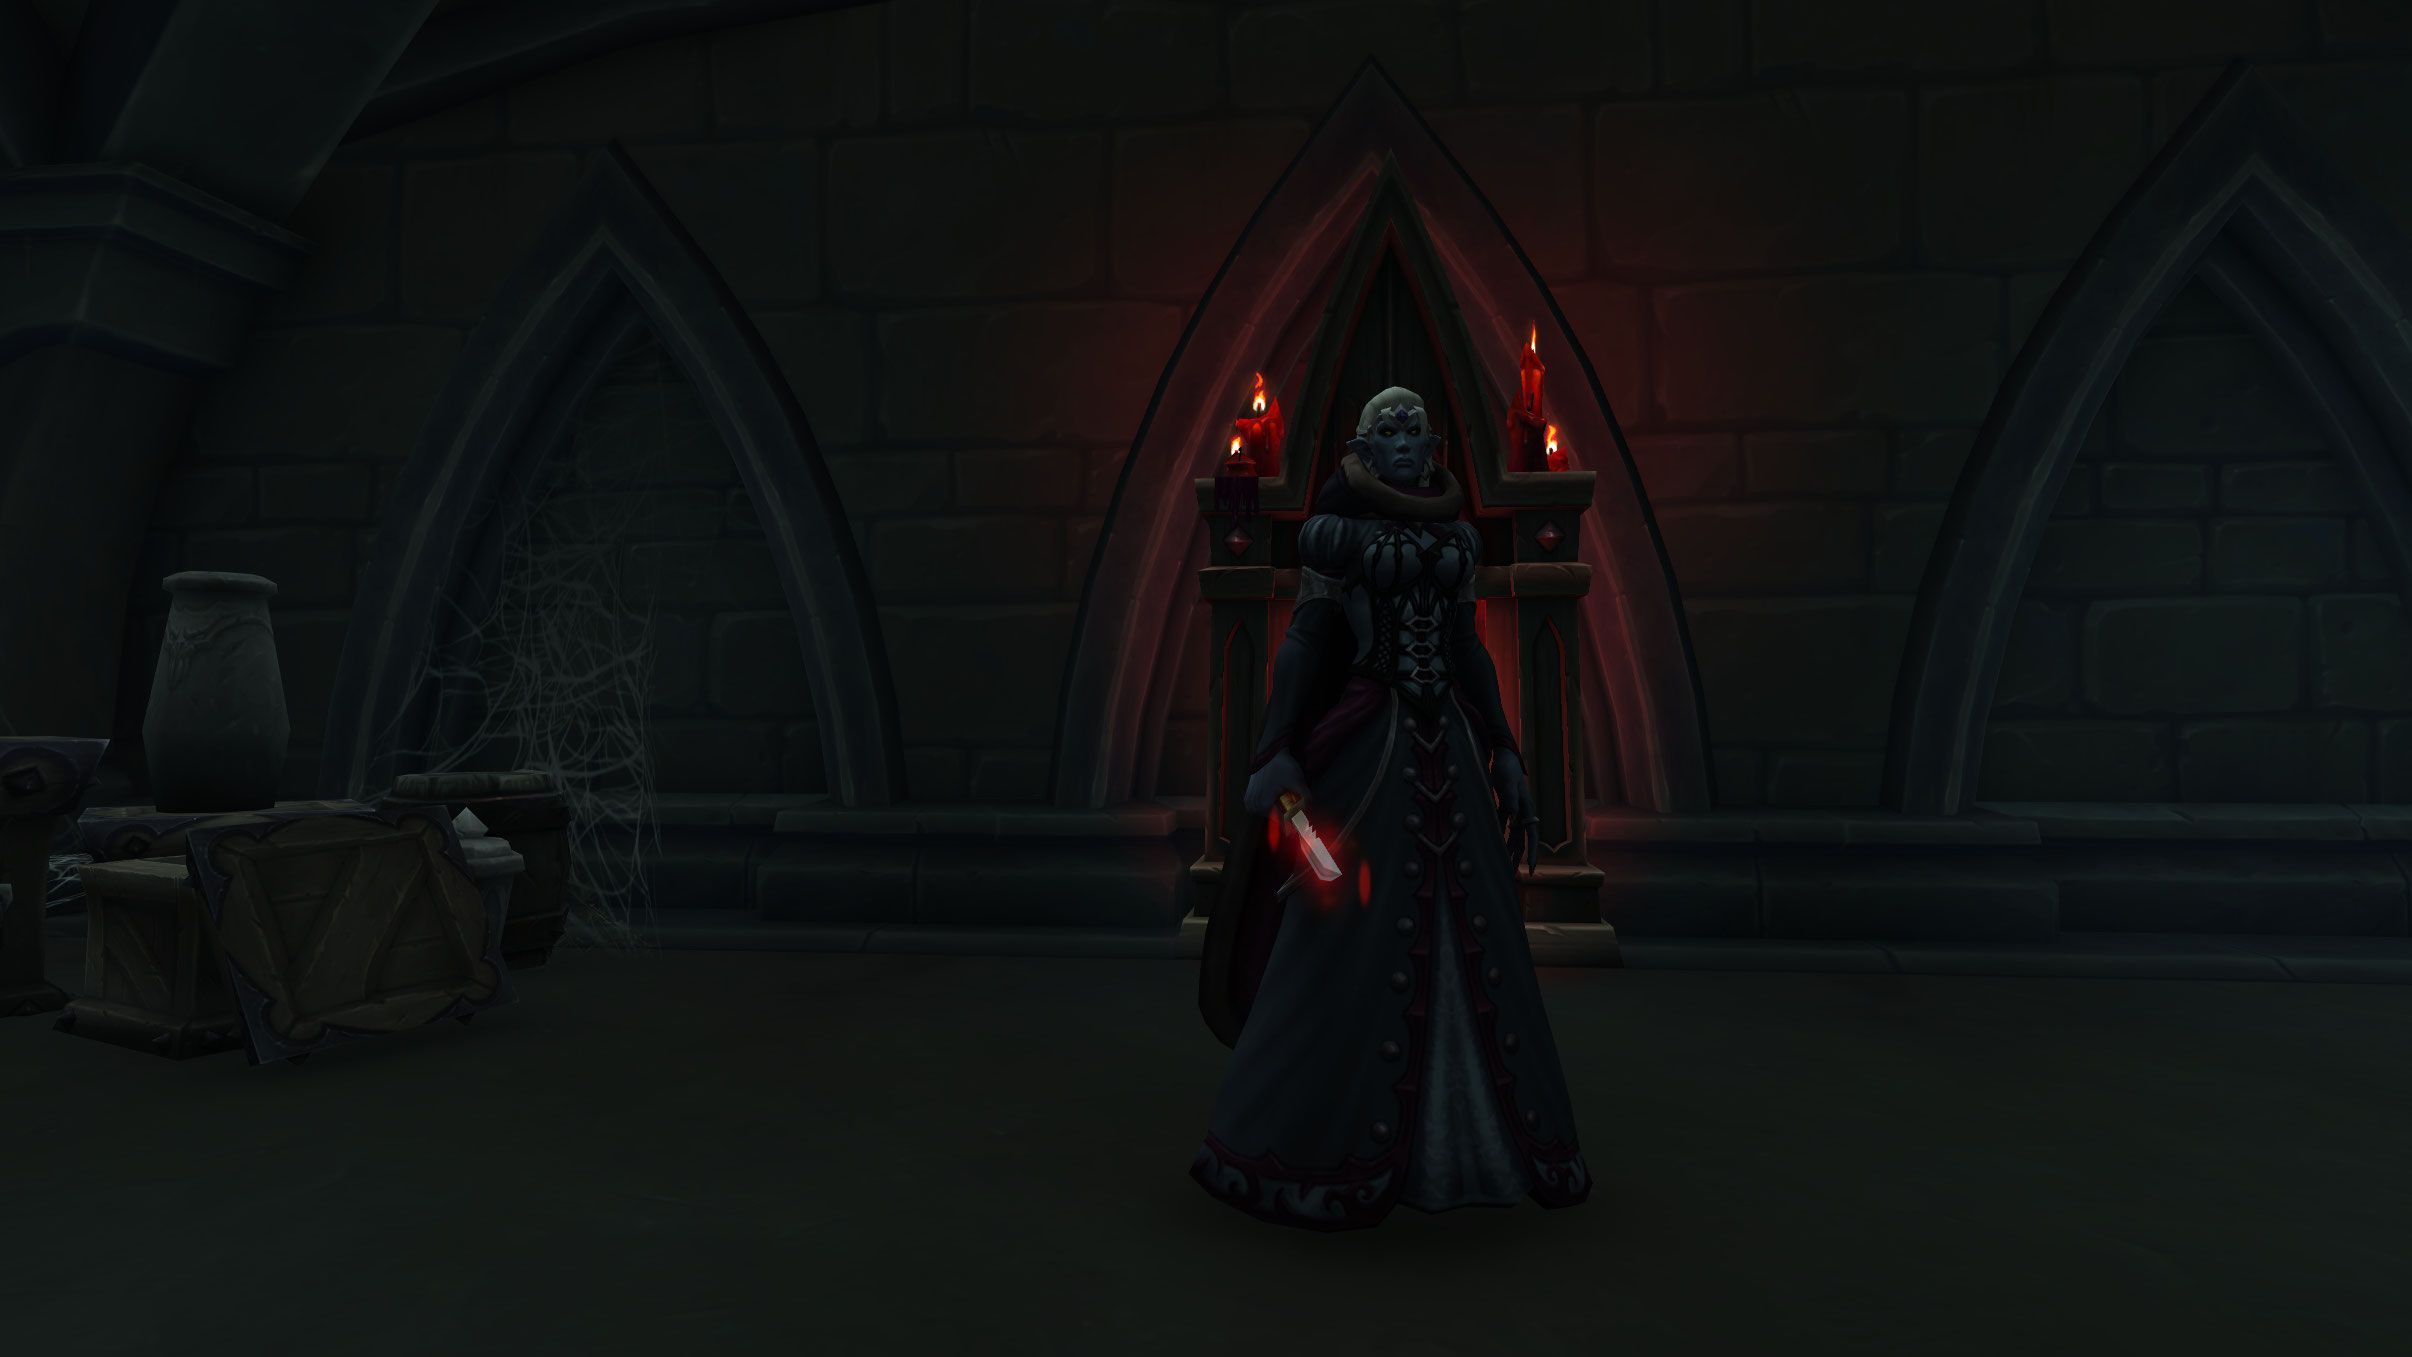
- You then head inside a nearby building to find The Grand Steward telling Mistress Mihaela that he will hear no more excuses, and the Master will have his tithe of anima or he will see to it that everyone in Darkhaven are exiled to the Ember Ward. She notices you when he leaves, and says you have come at a strange time. The tithes are increasing daily and the ability to get anima dwindles. Most souls here are on their final judgement and cannot be harvested without endangering the hamlet. She requests that you take a letter to the Chamberlain.
- He laughs that peasants are asking for help and says that those who are loyal would know that sacrifices are essential the the survival of Revendreth.
- General Kaal, the leader of the loyal Stoneborn, has been sent to bring you directly to Sire Denathrius. She says that the path between Darkhaven and the Sire is no longer secured, and she will be pulling her troops from this Ward to support the Master's will elsewhere.


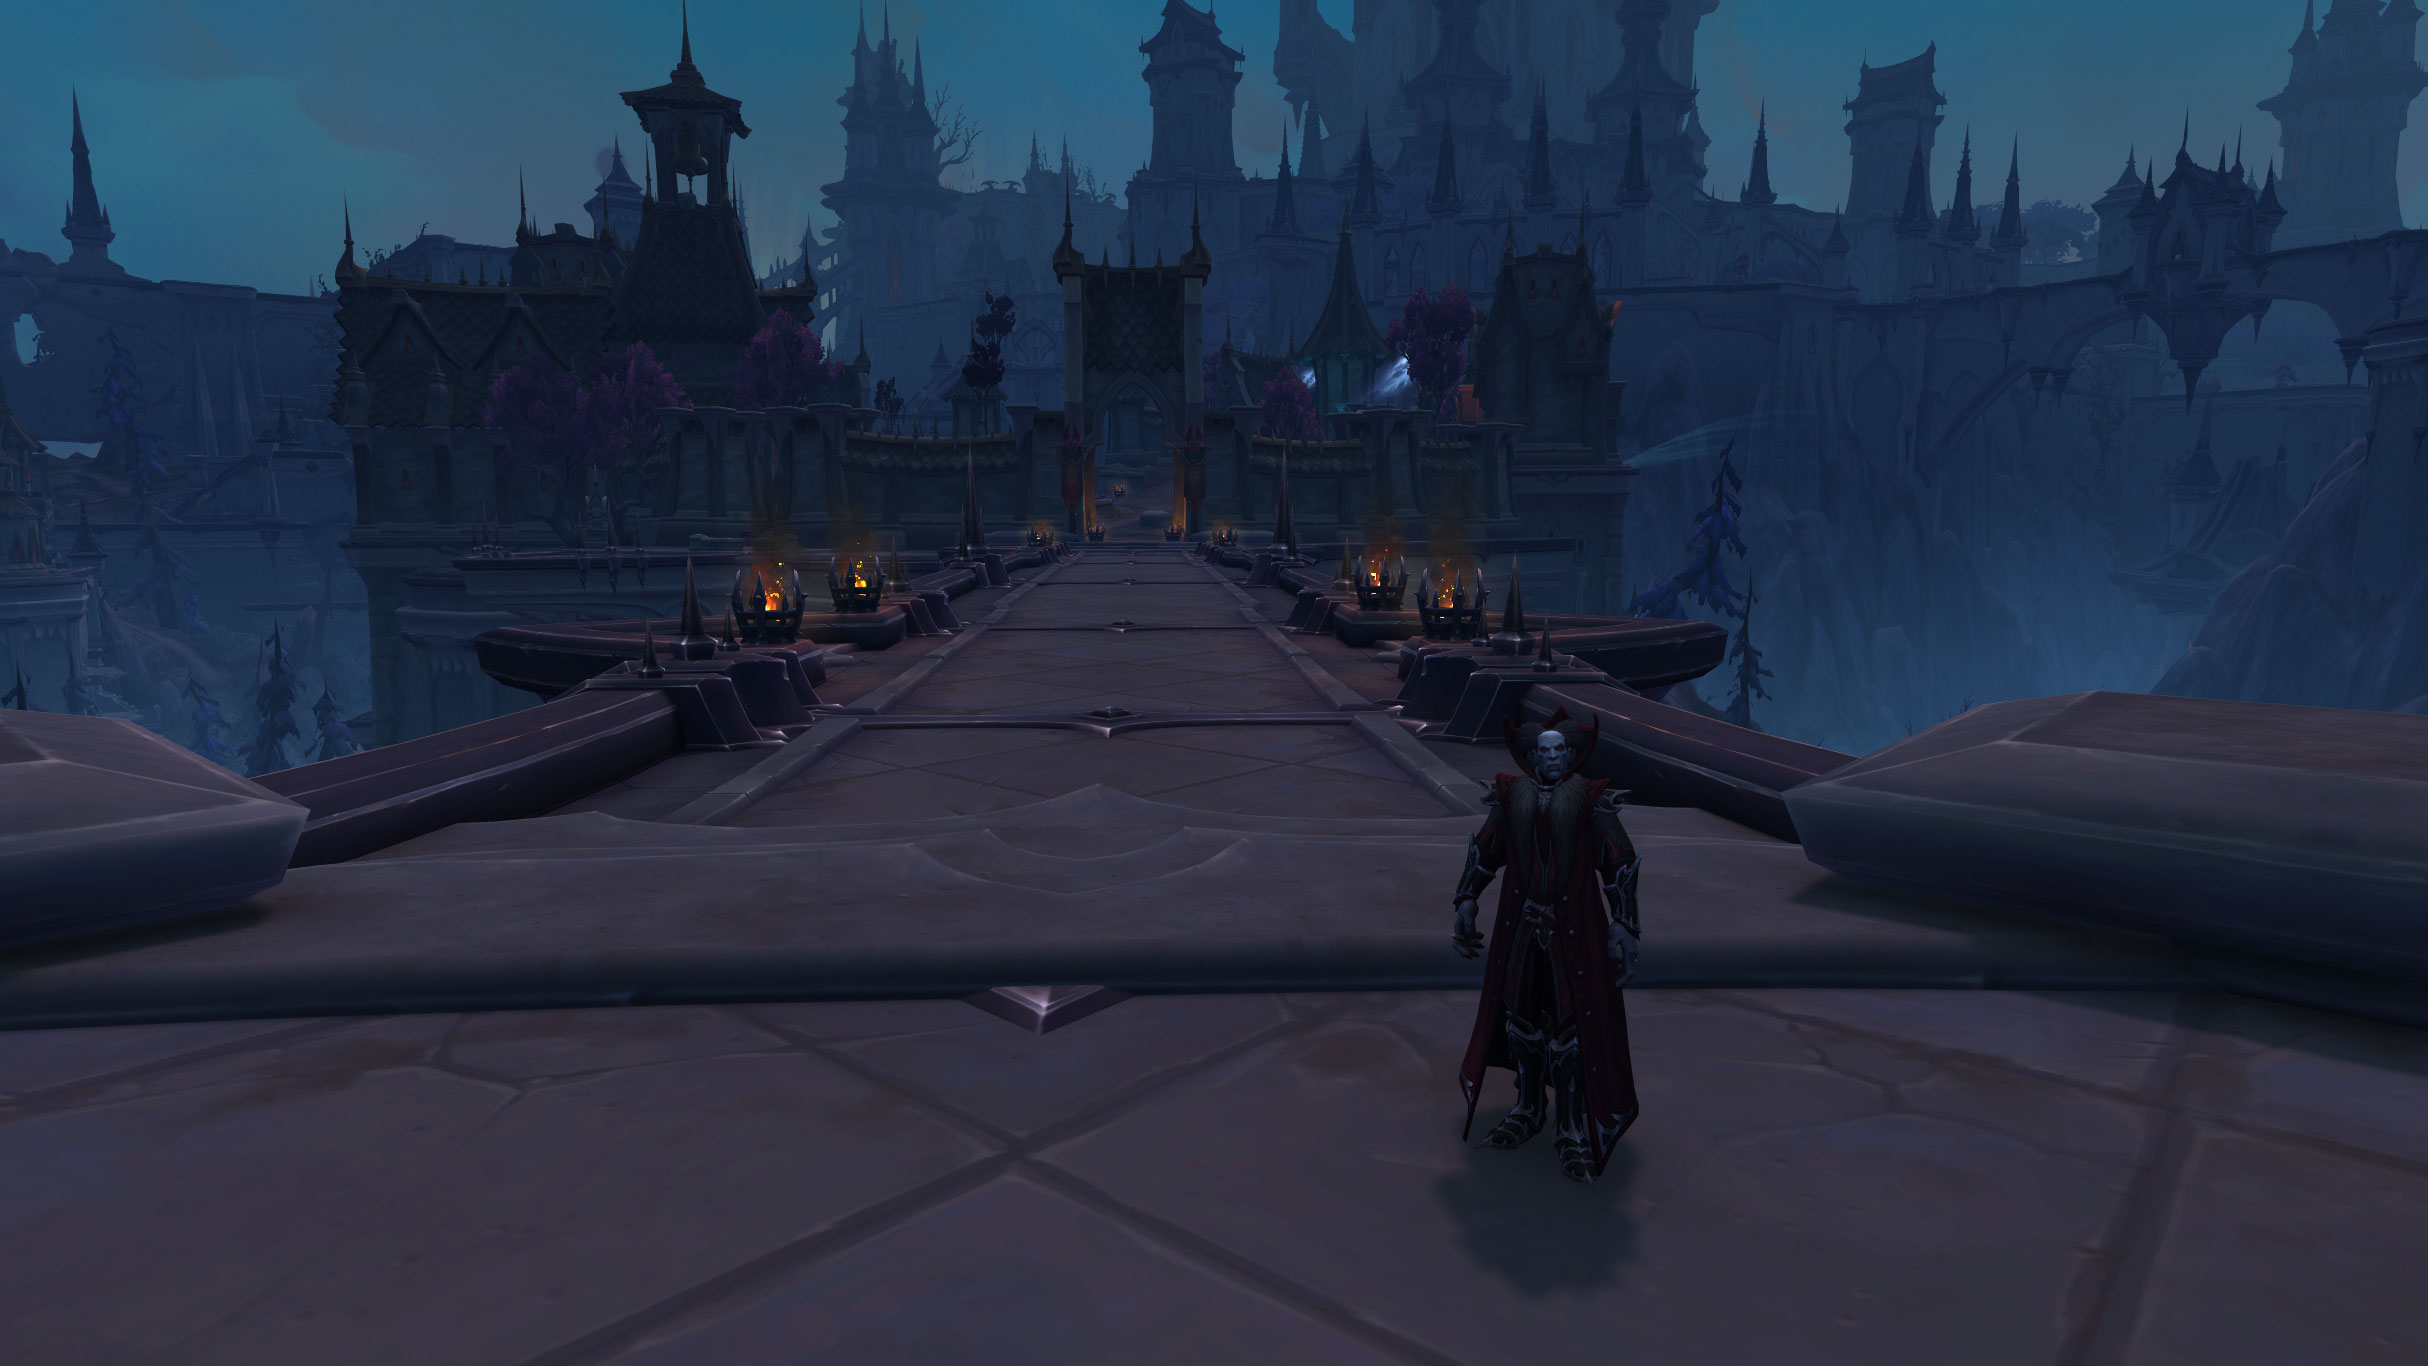


Chapter 2
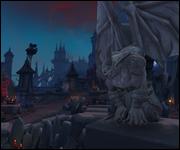
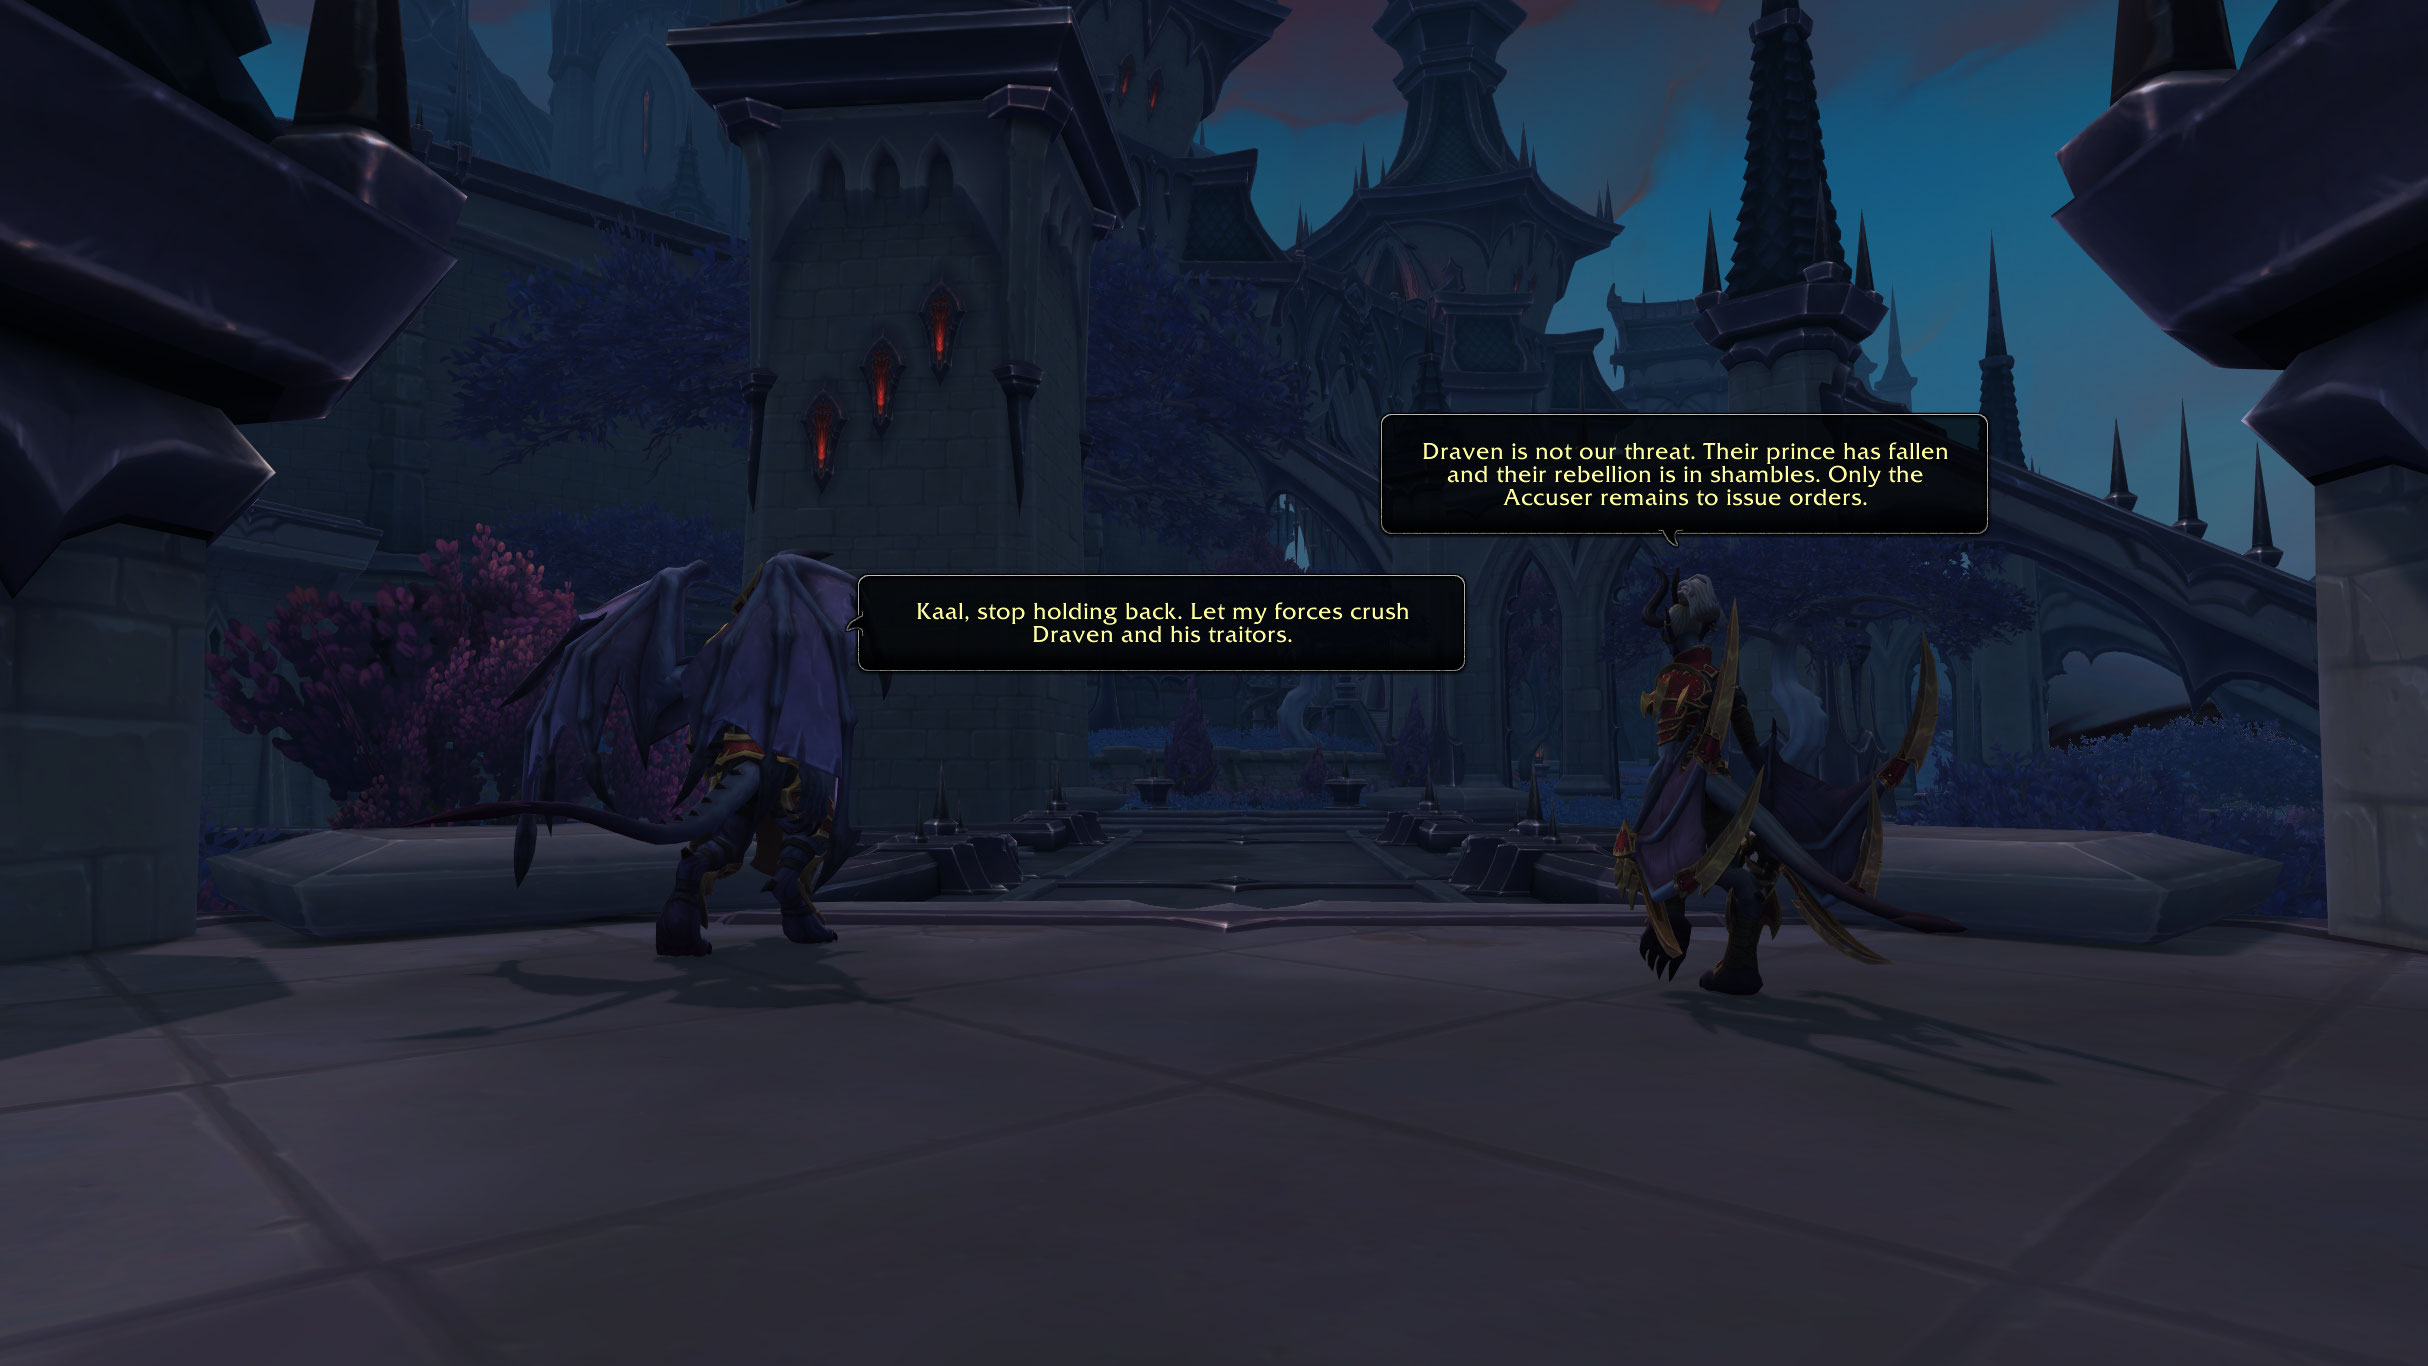
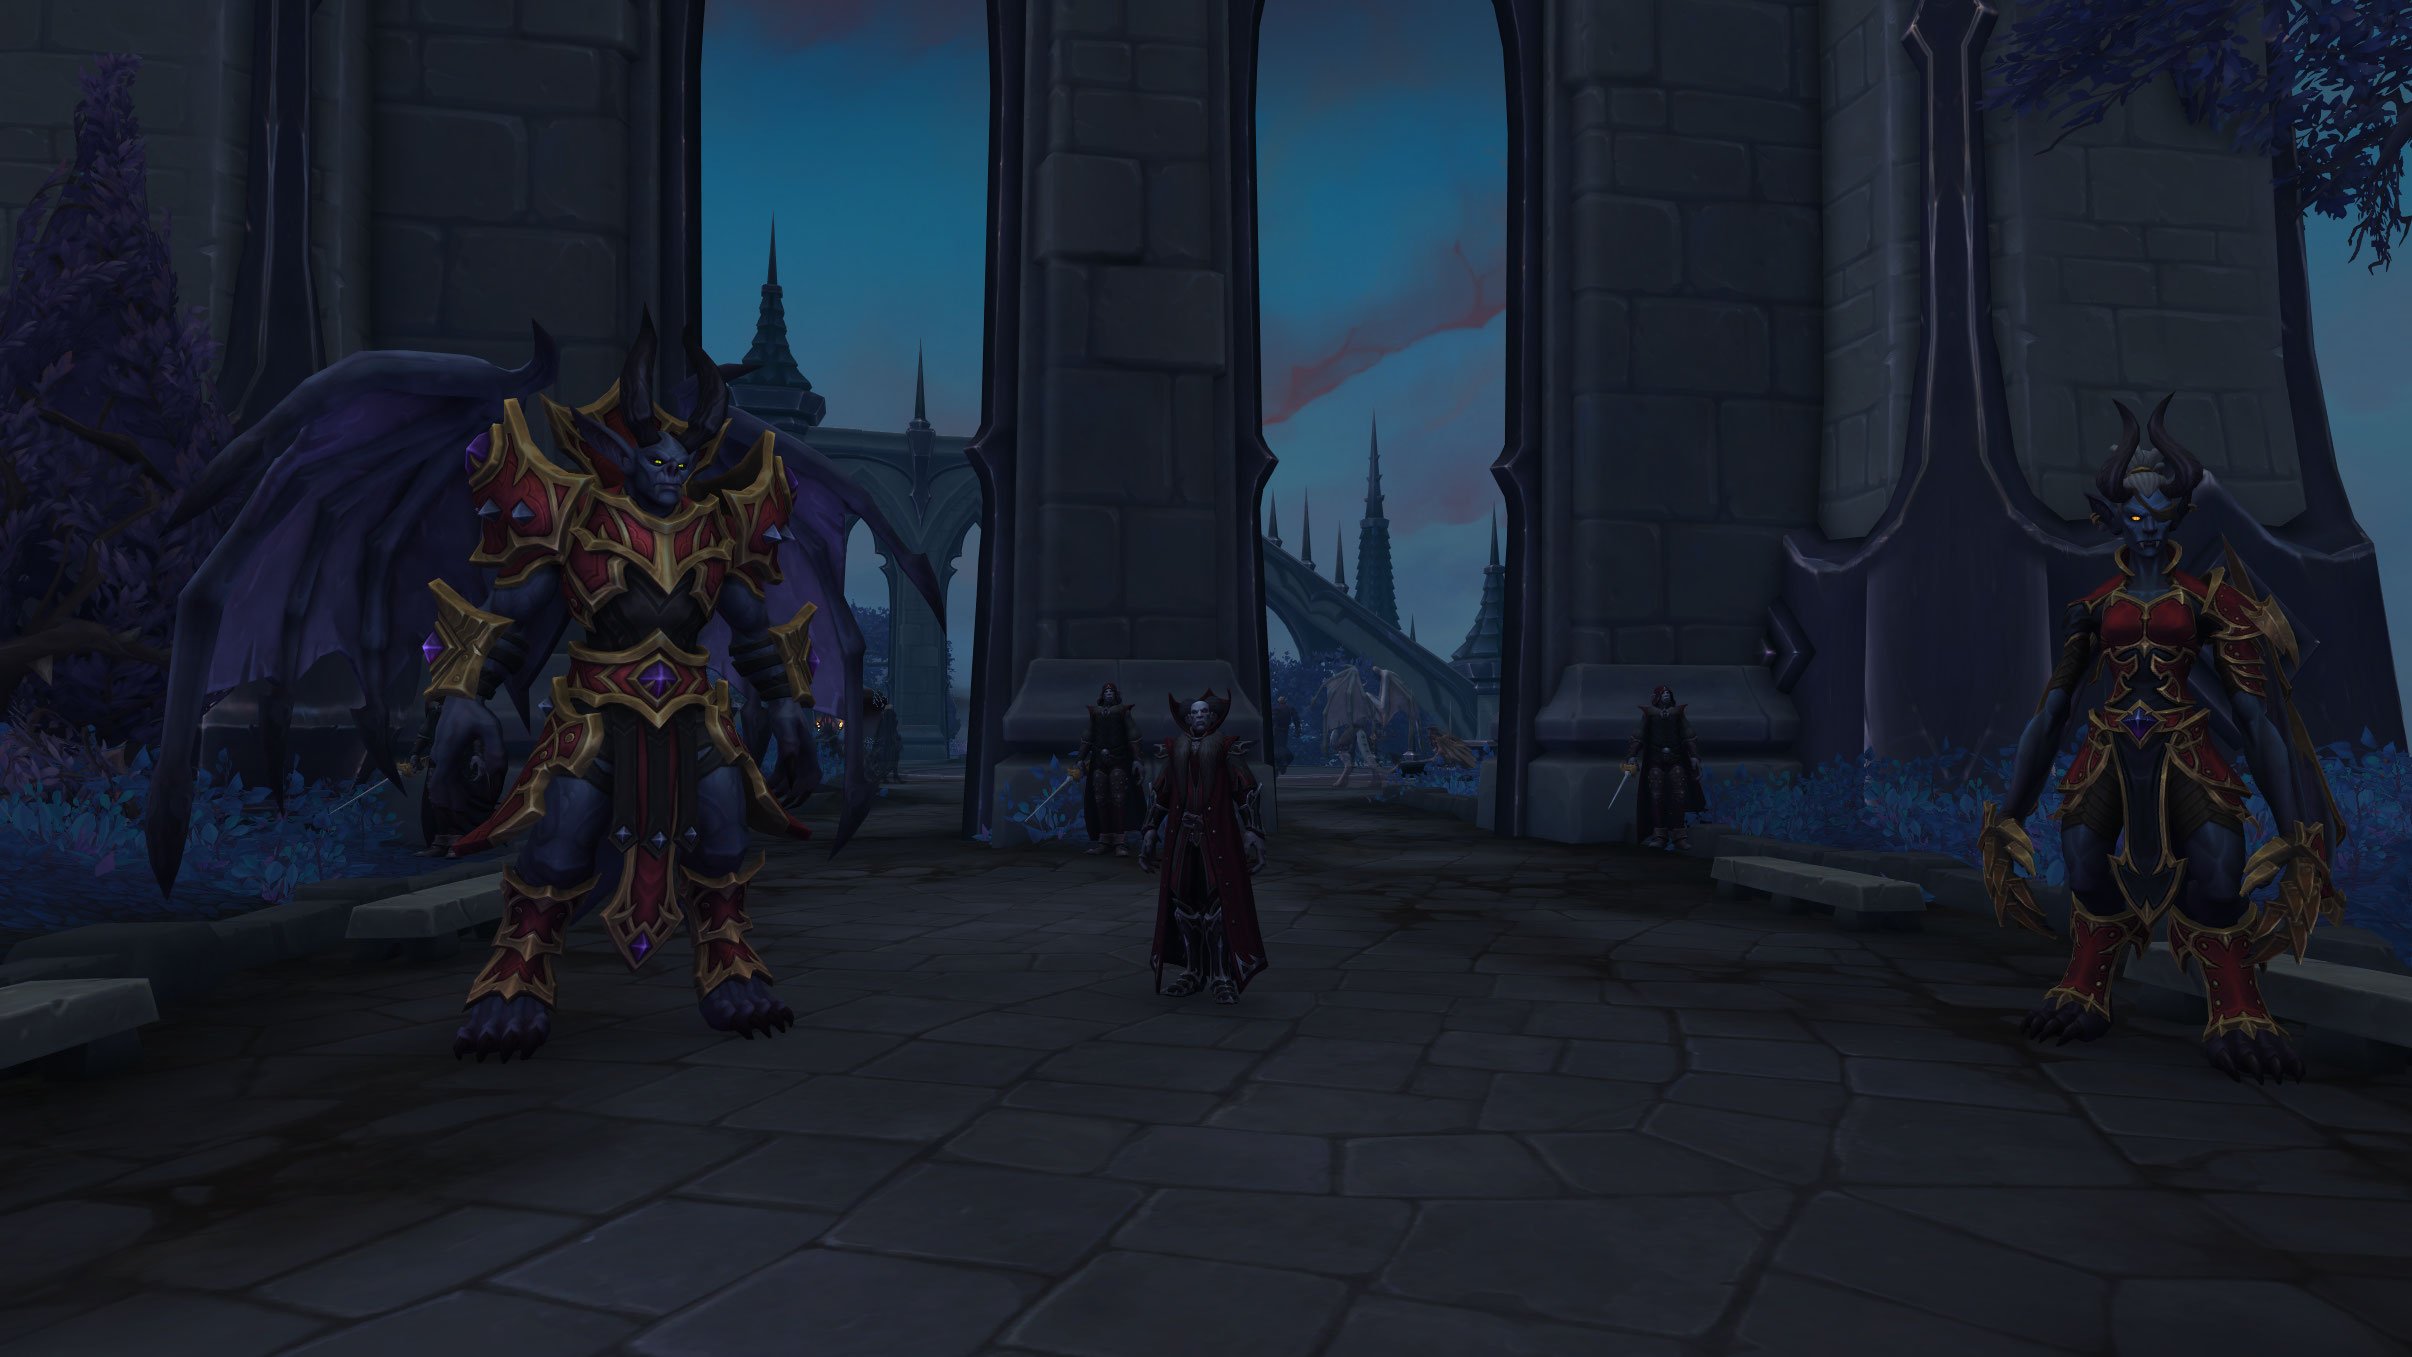
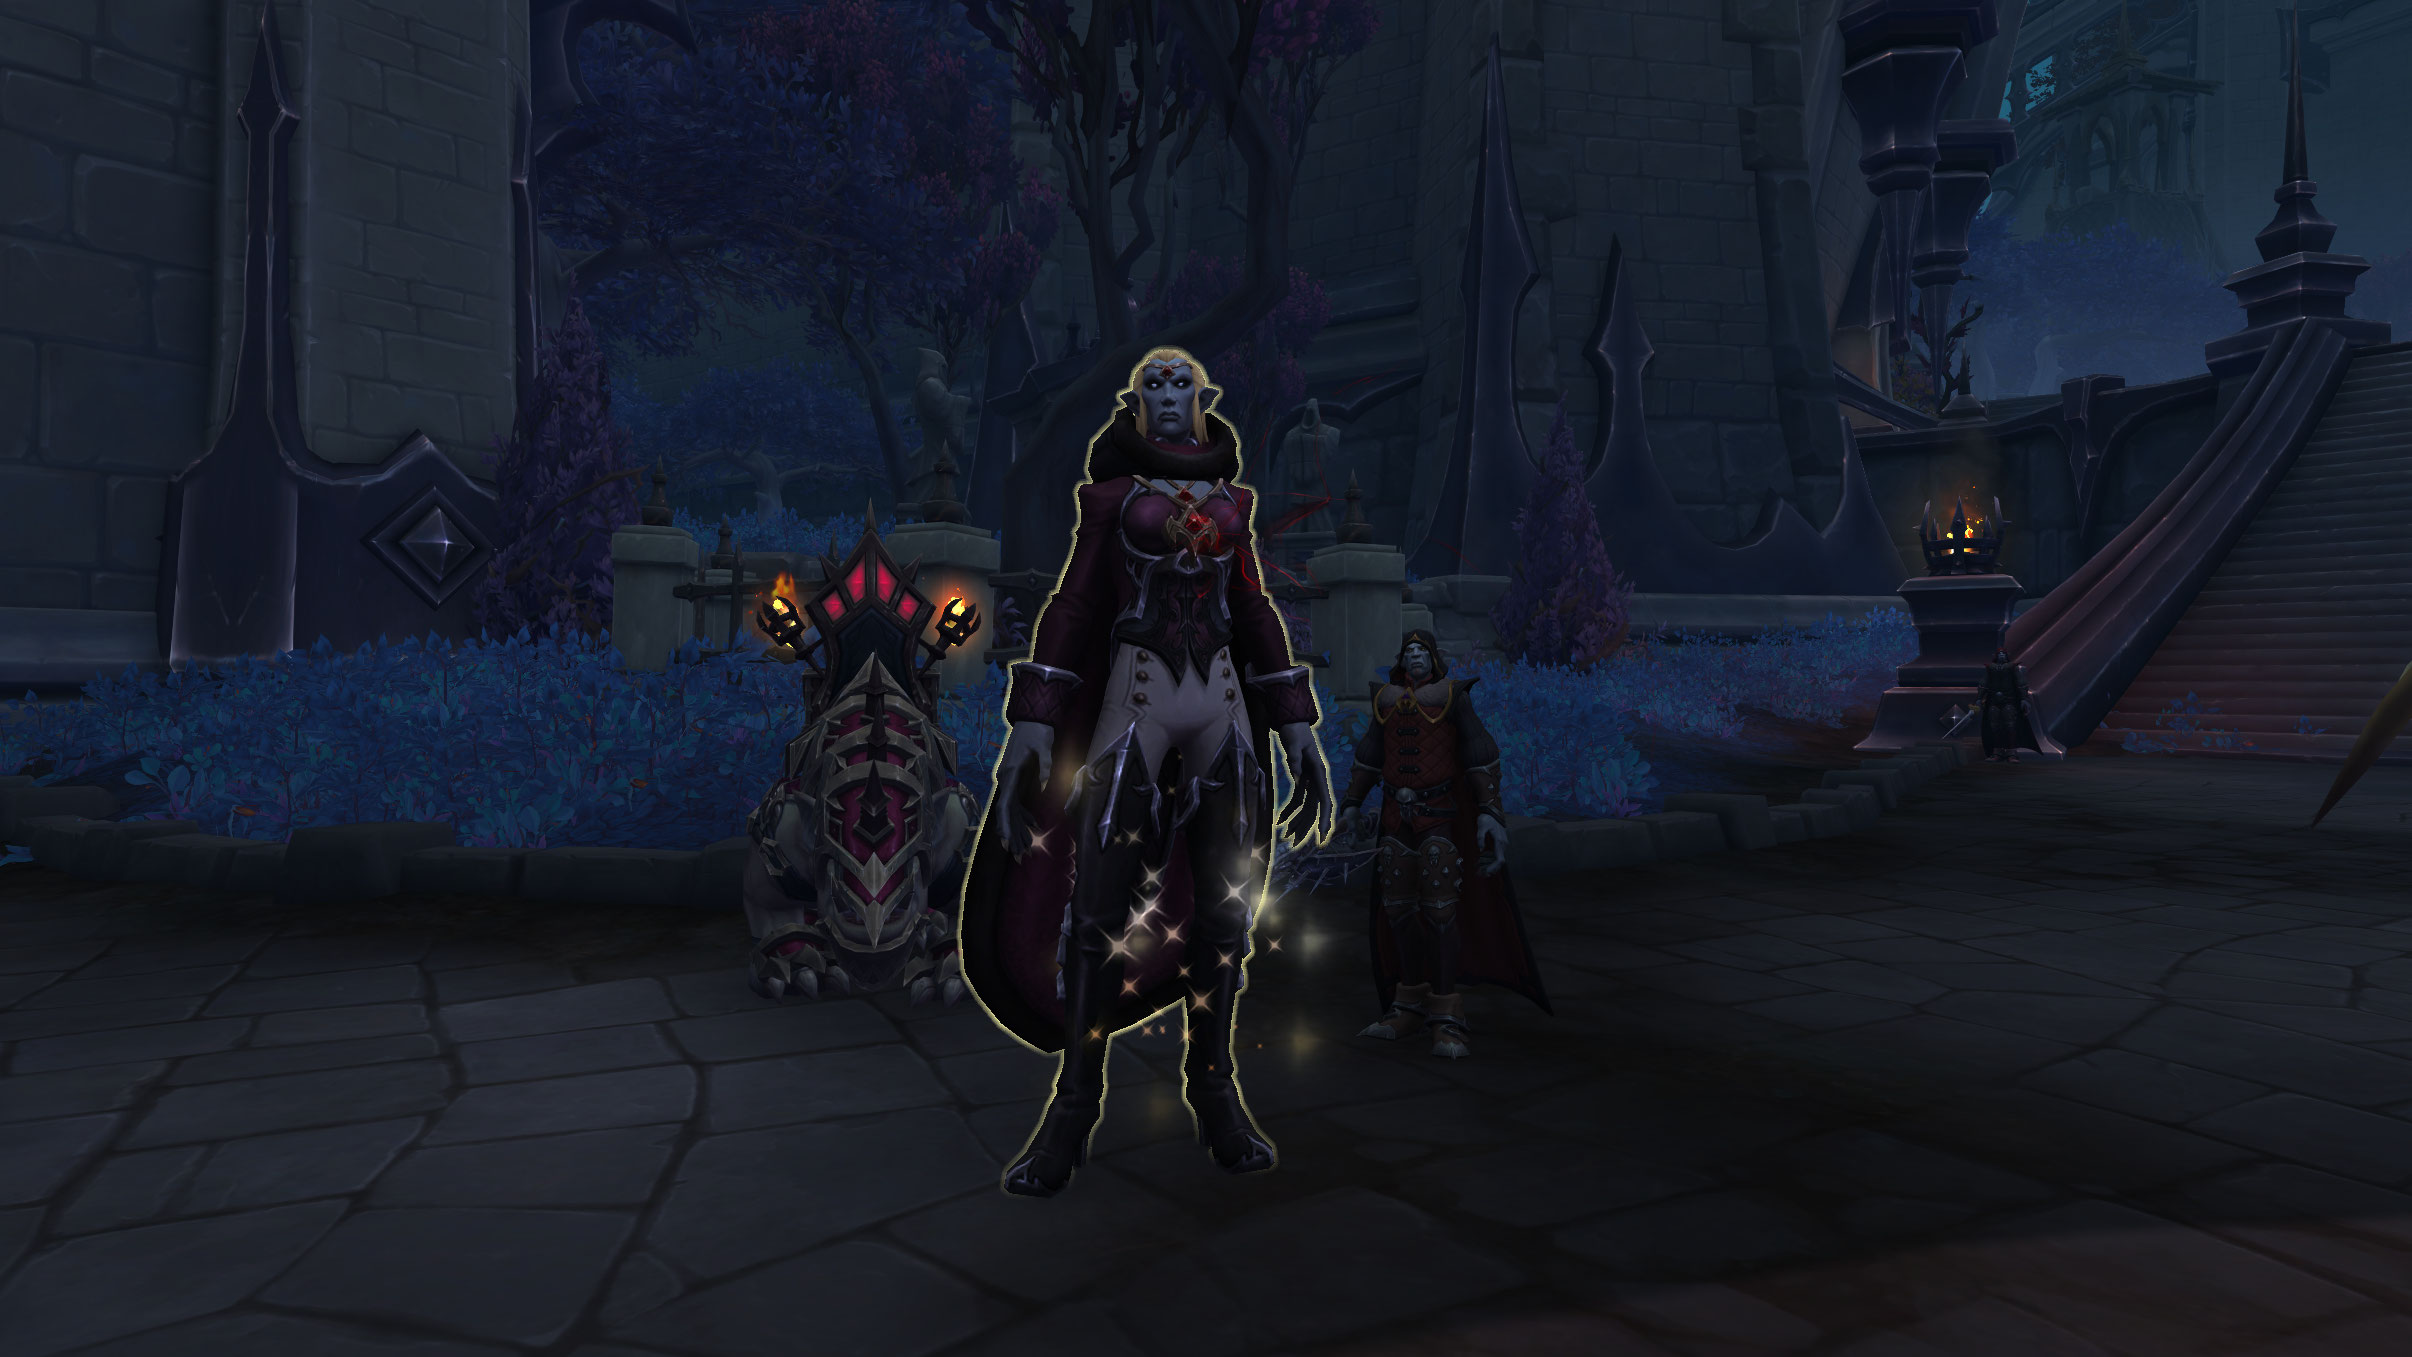
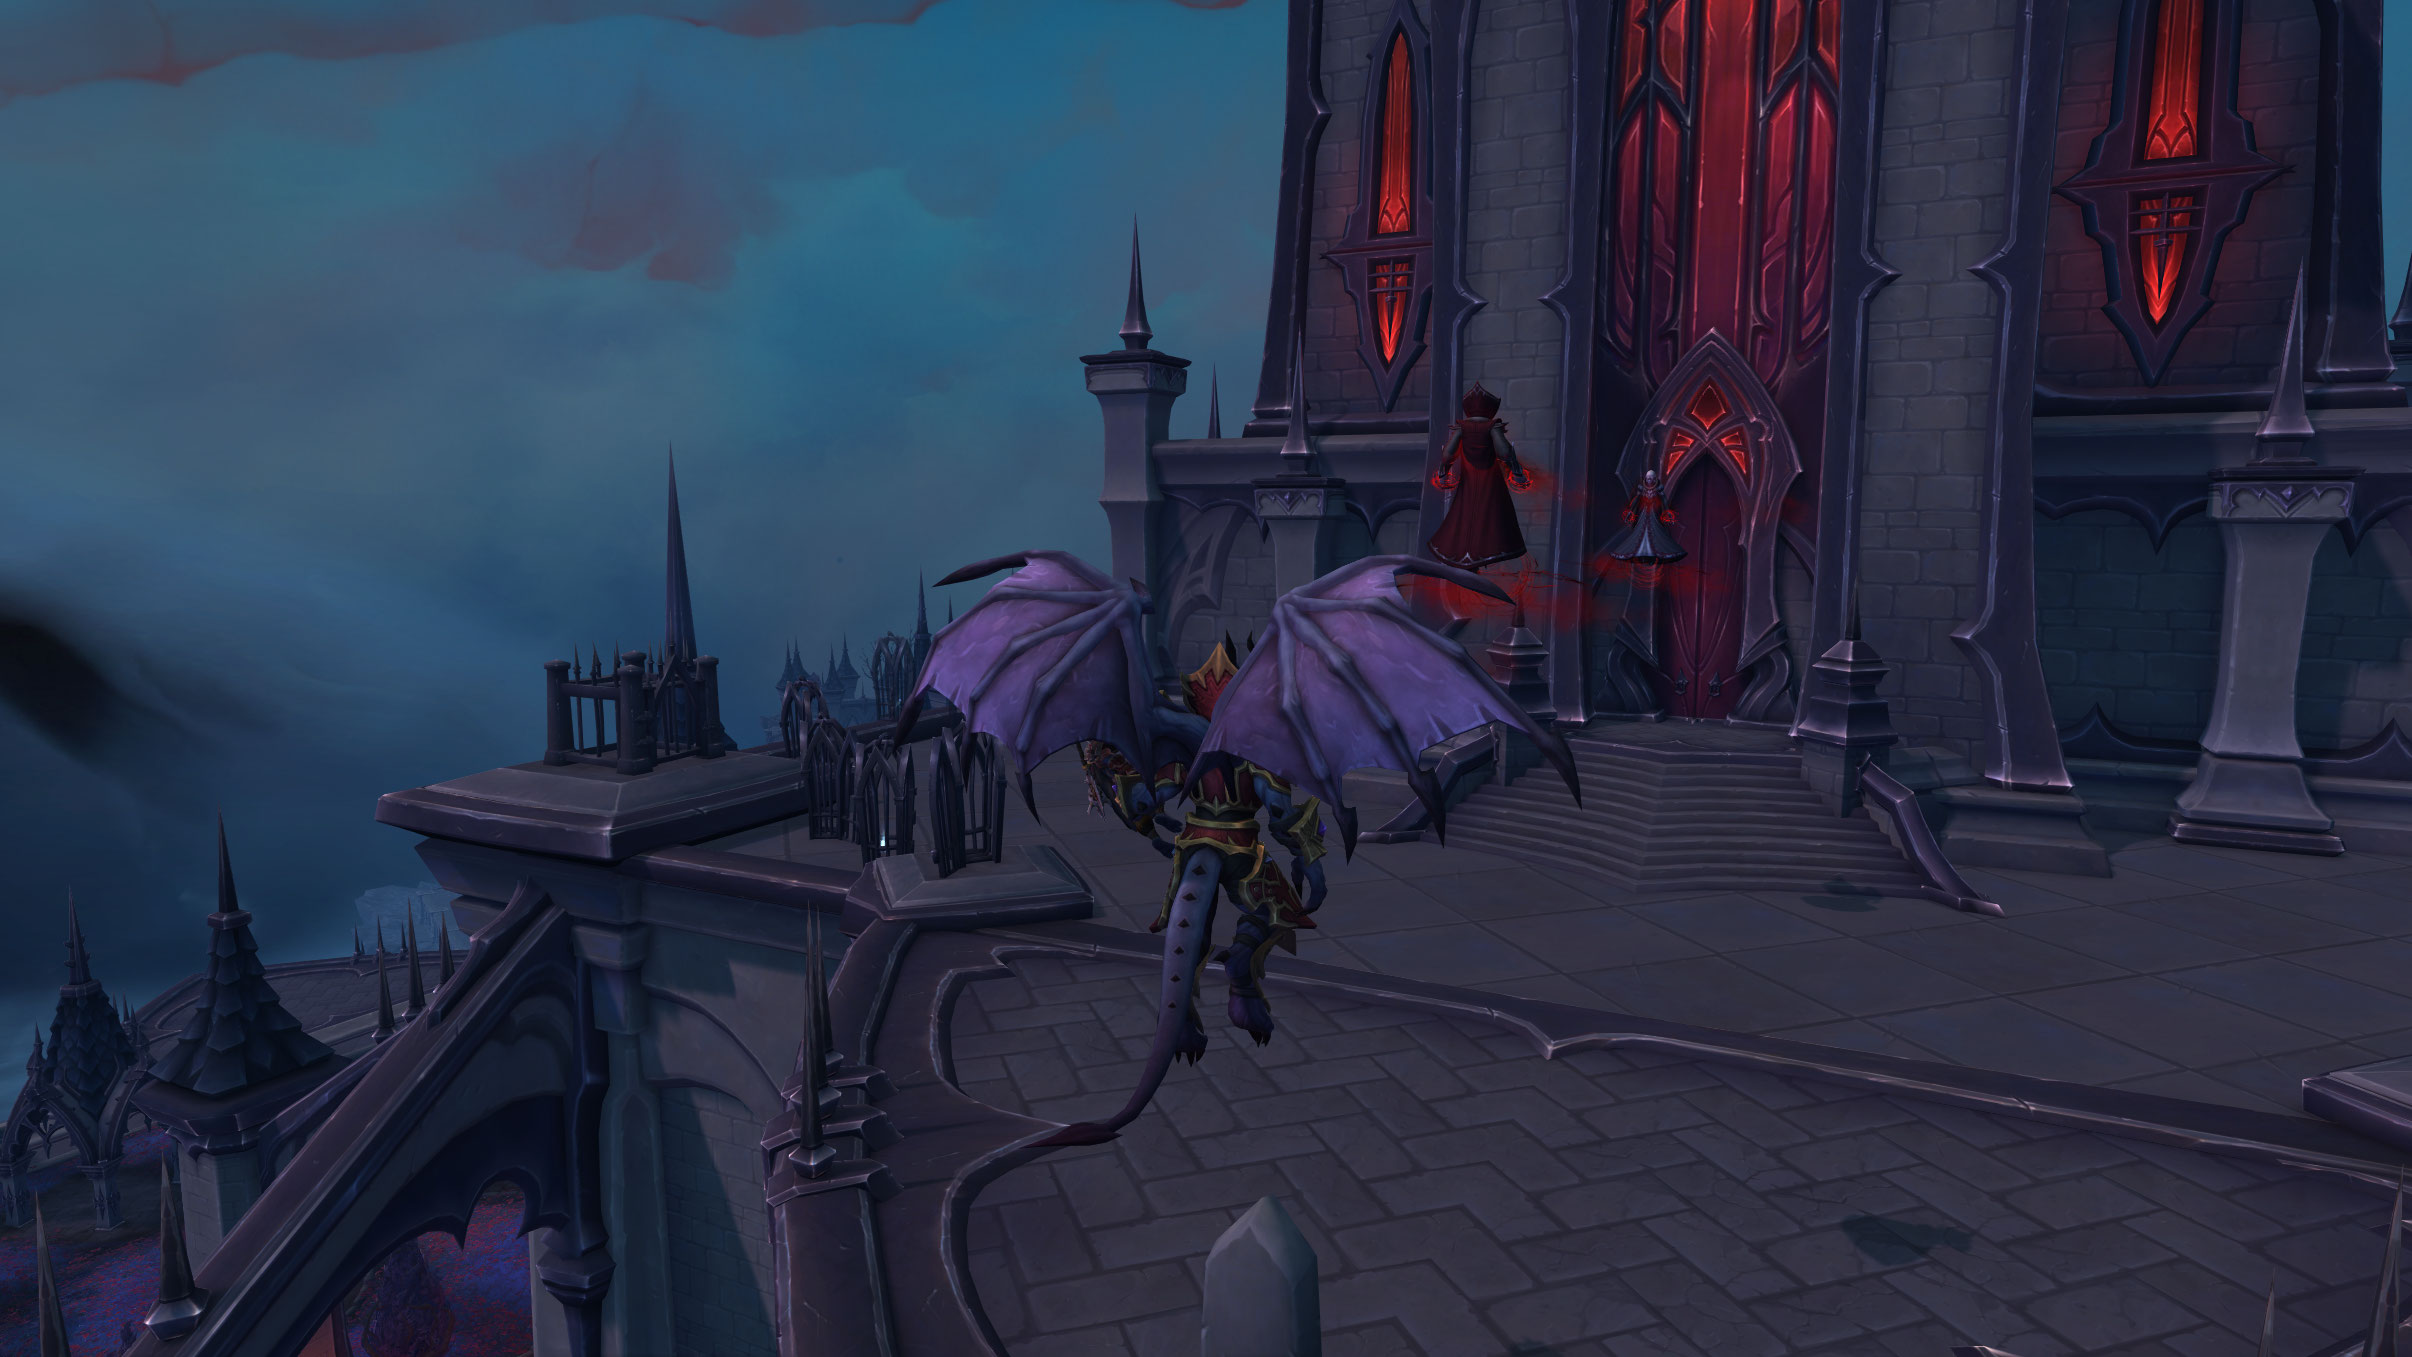
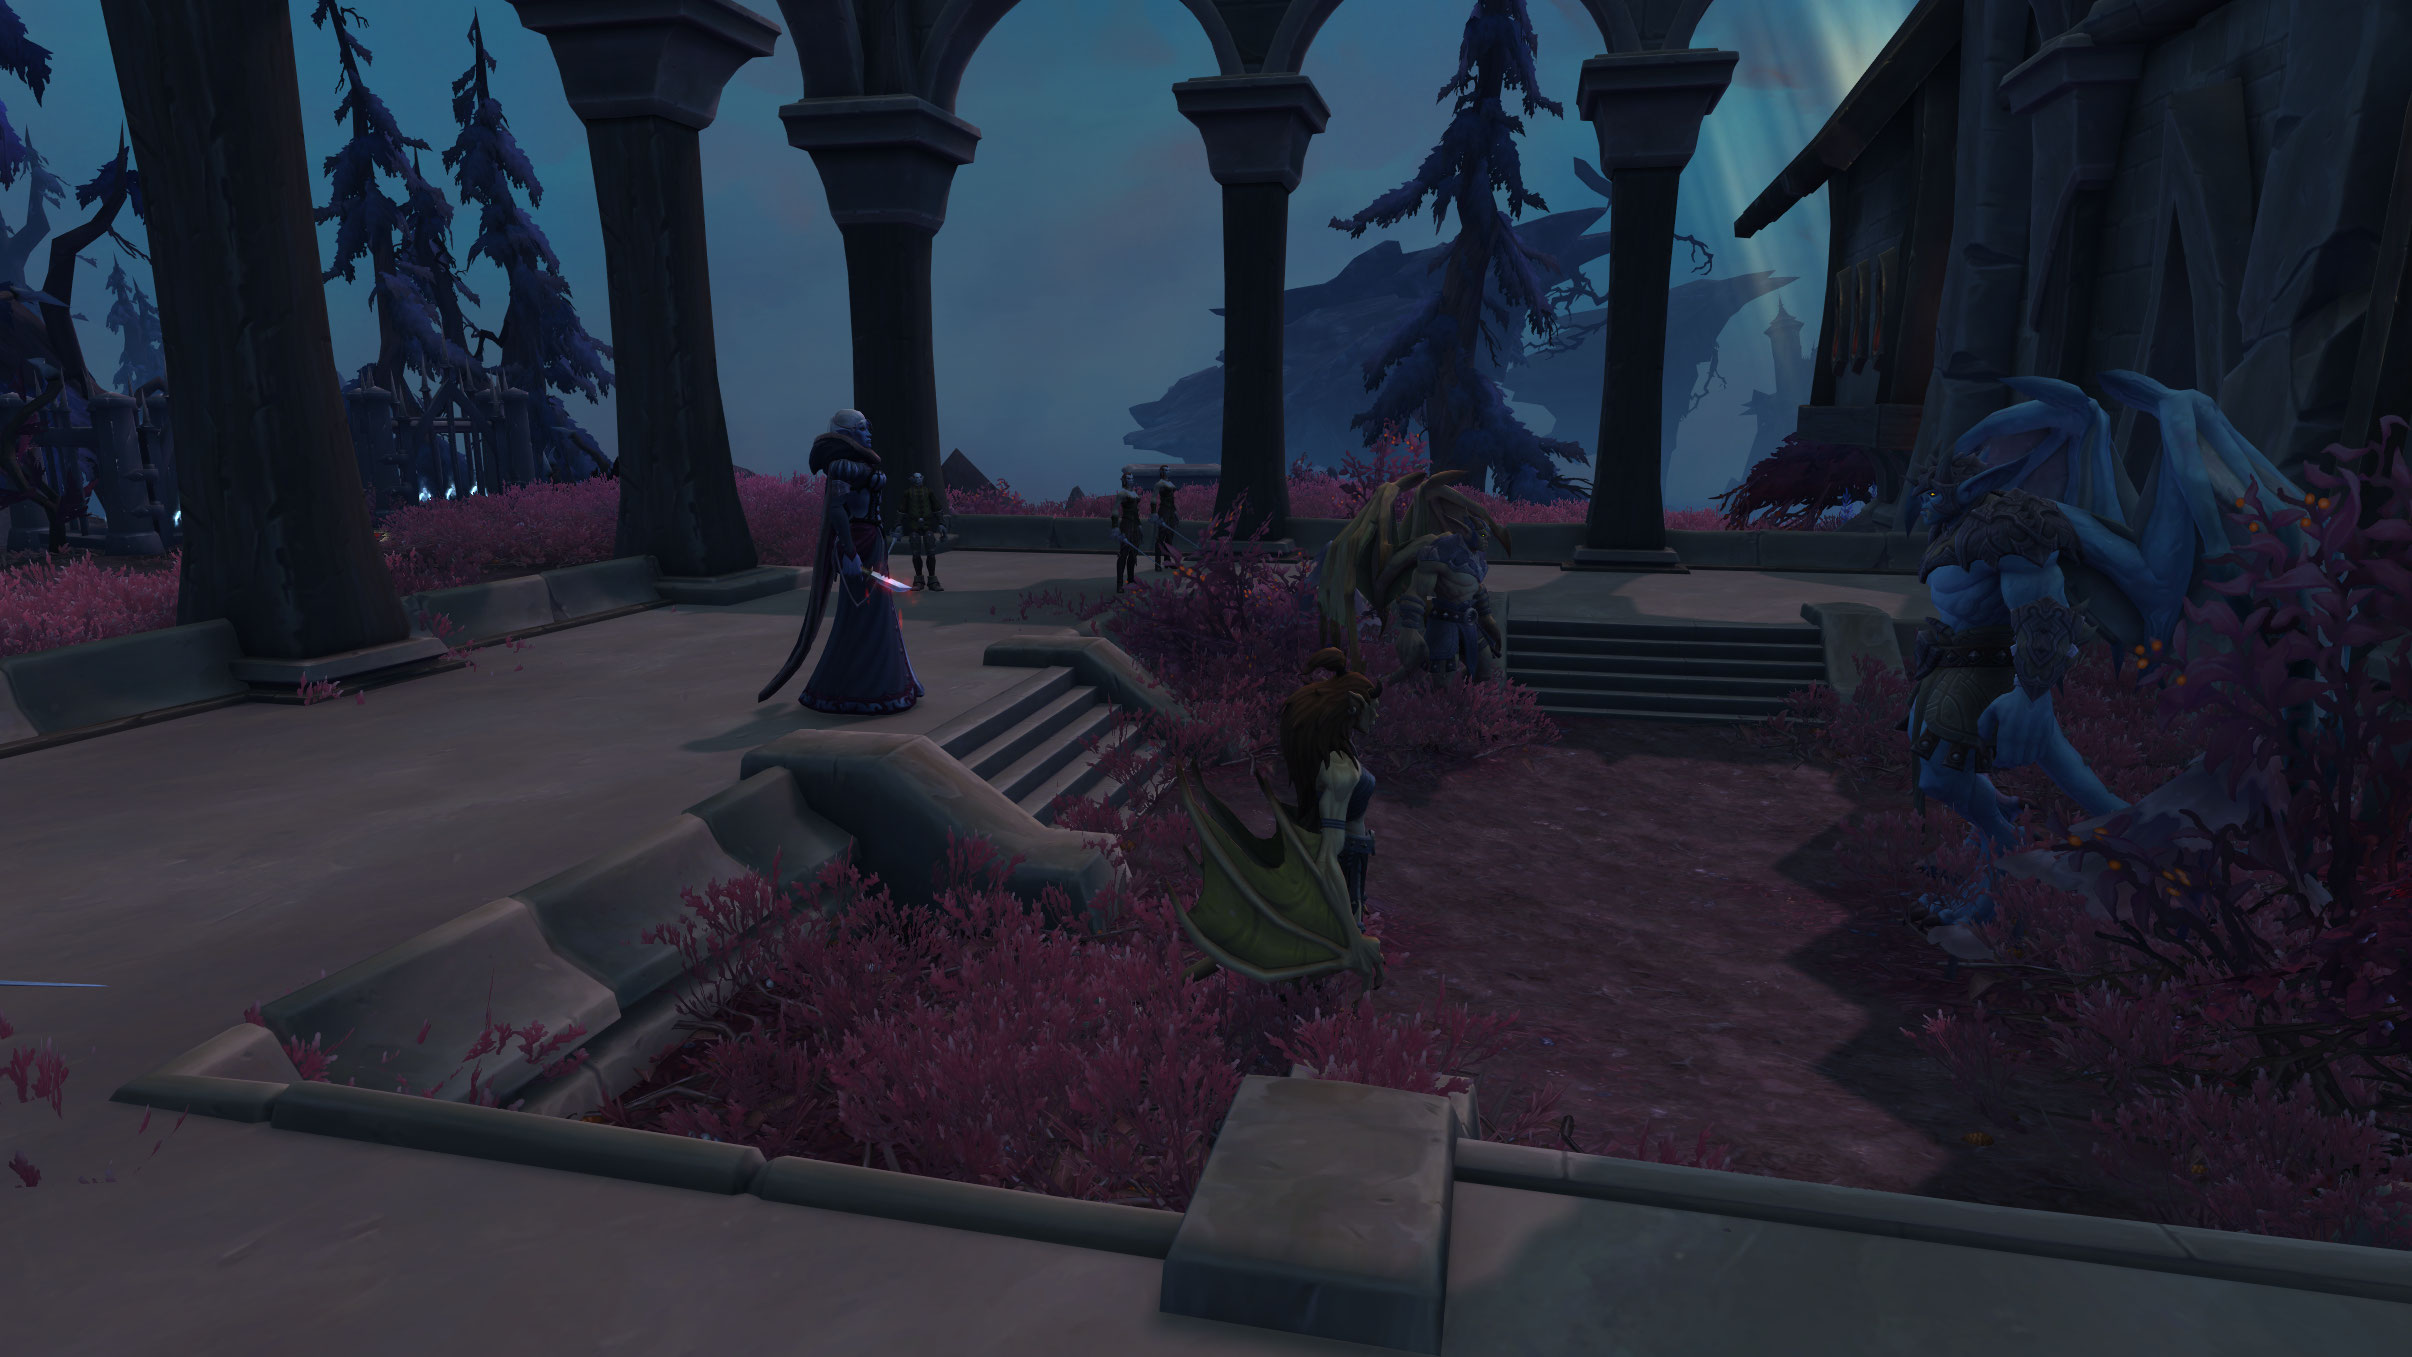
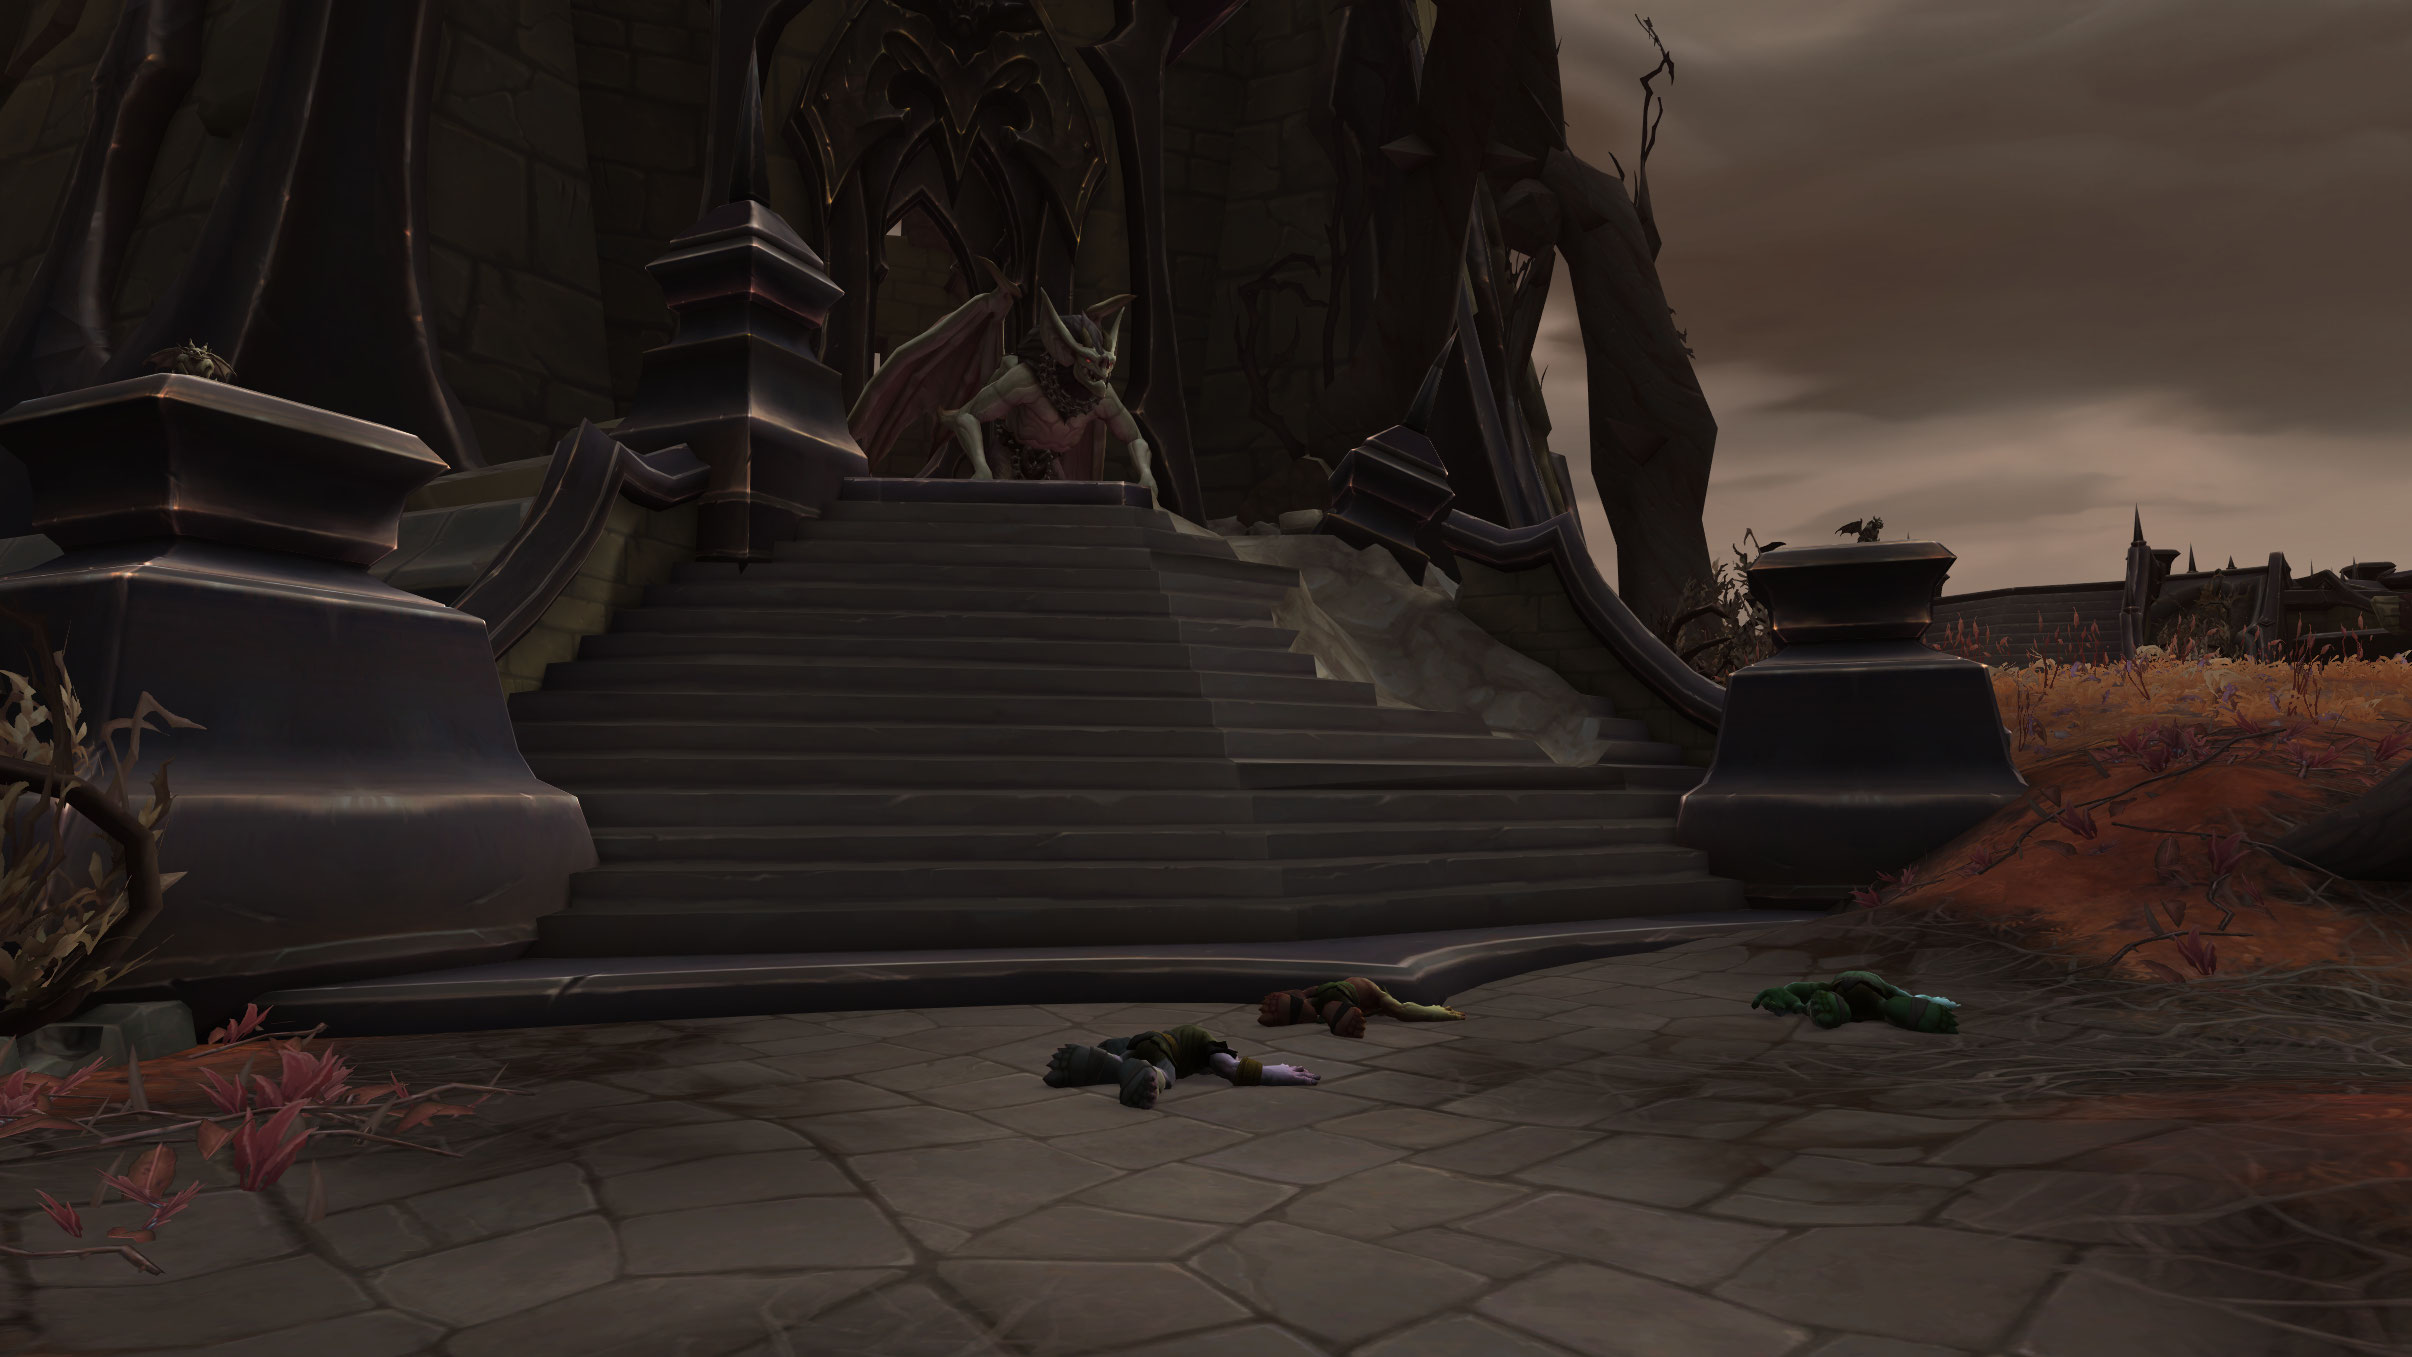
- When you arrive at the Grand Palisade, you follow General Kaal and her lieutenant Grashaal to meet The Master. Grashaal requests he and his forces be allowed to crush Draven and the traitors, but Kaal dismisses them explaining that their prince has fallen and the rebellion is in shambles. Only the accuser remains to issue orders. Grashaal is concerned because the Accuser still holds a Harvester's medallion and will not go down easily. Kaal responds by saying this is why they need the Maw Walker alive.
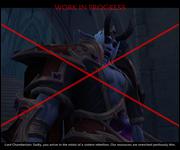
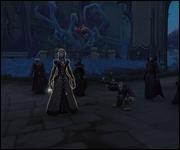
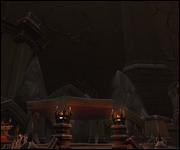
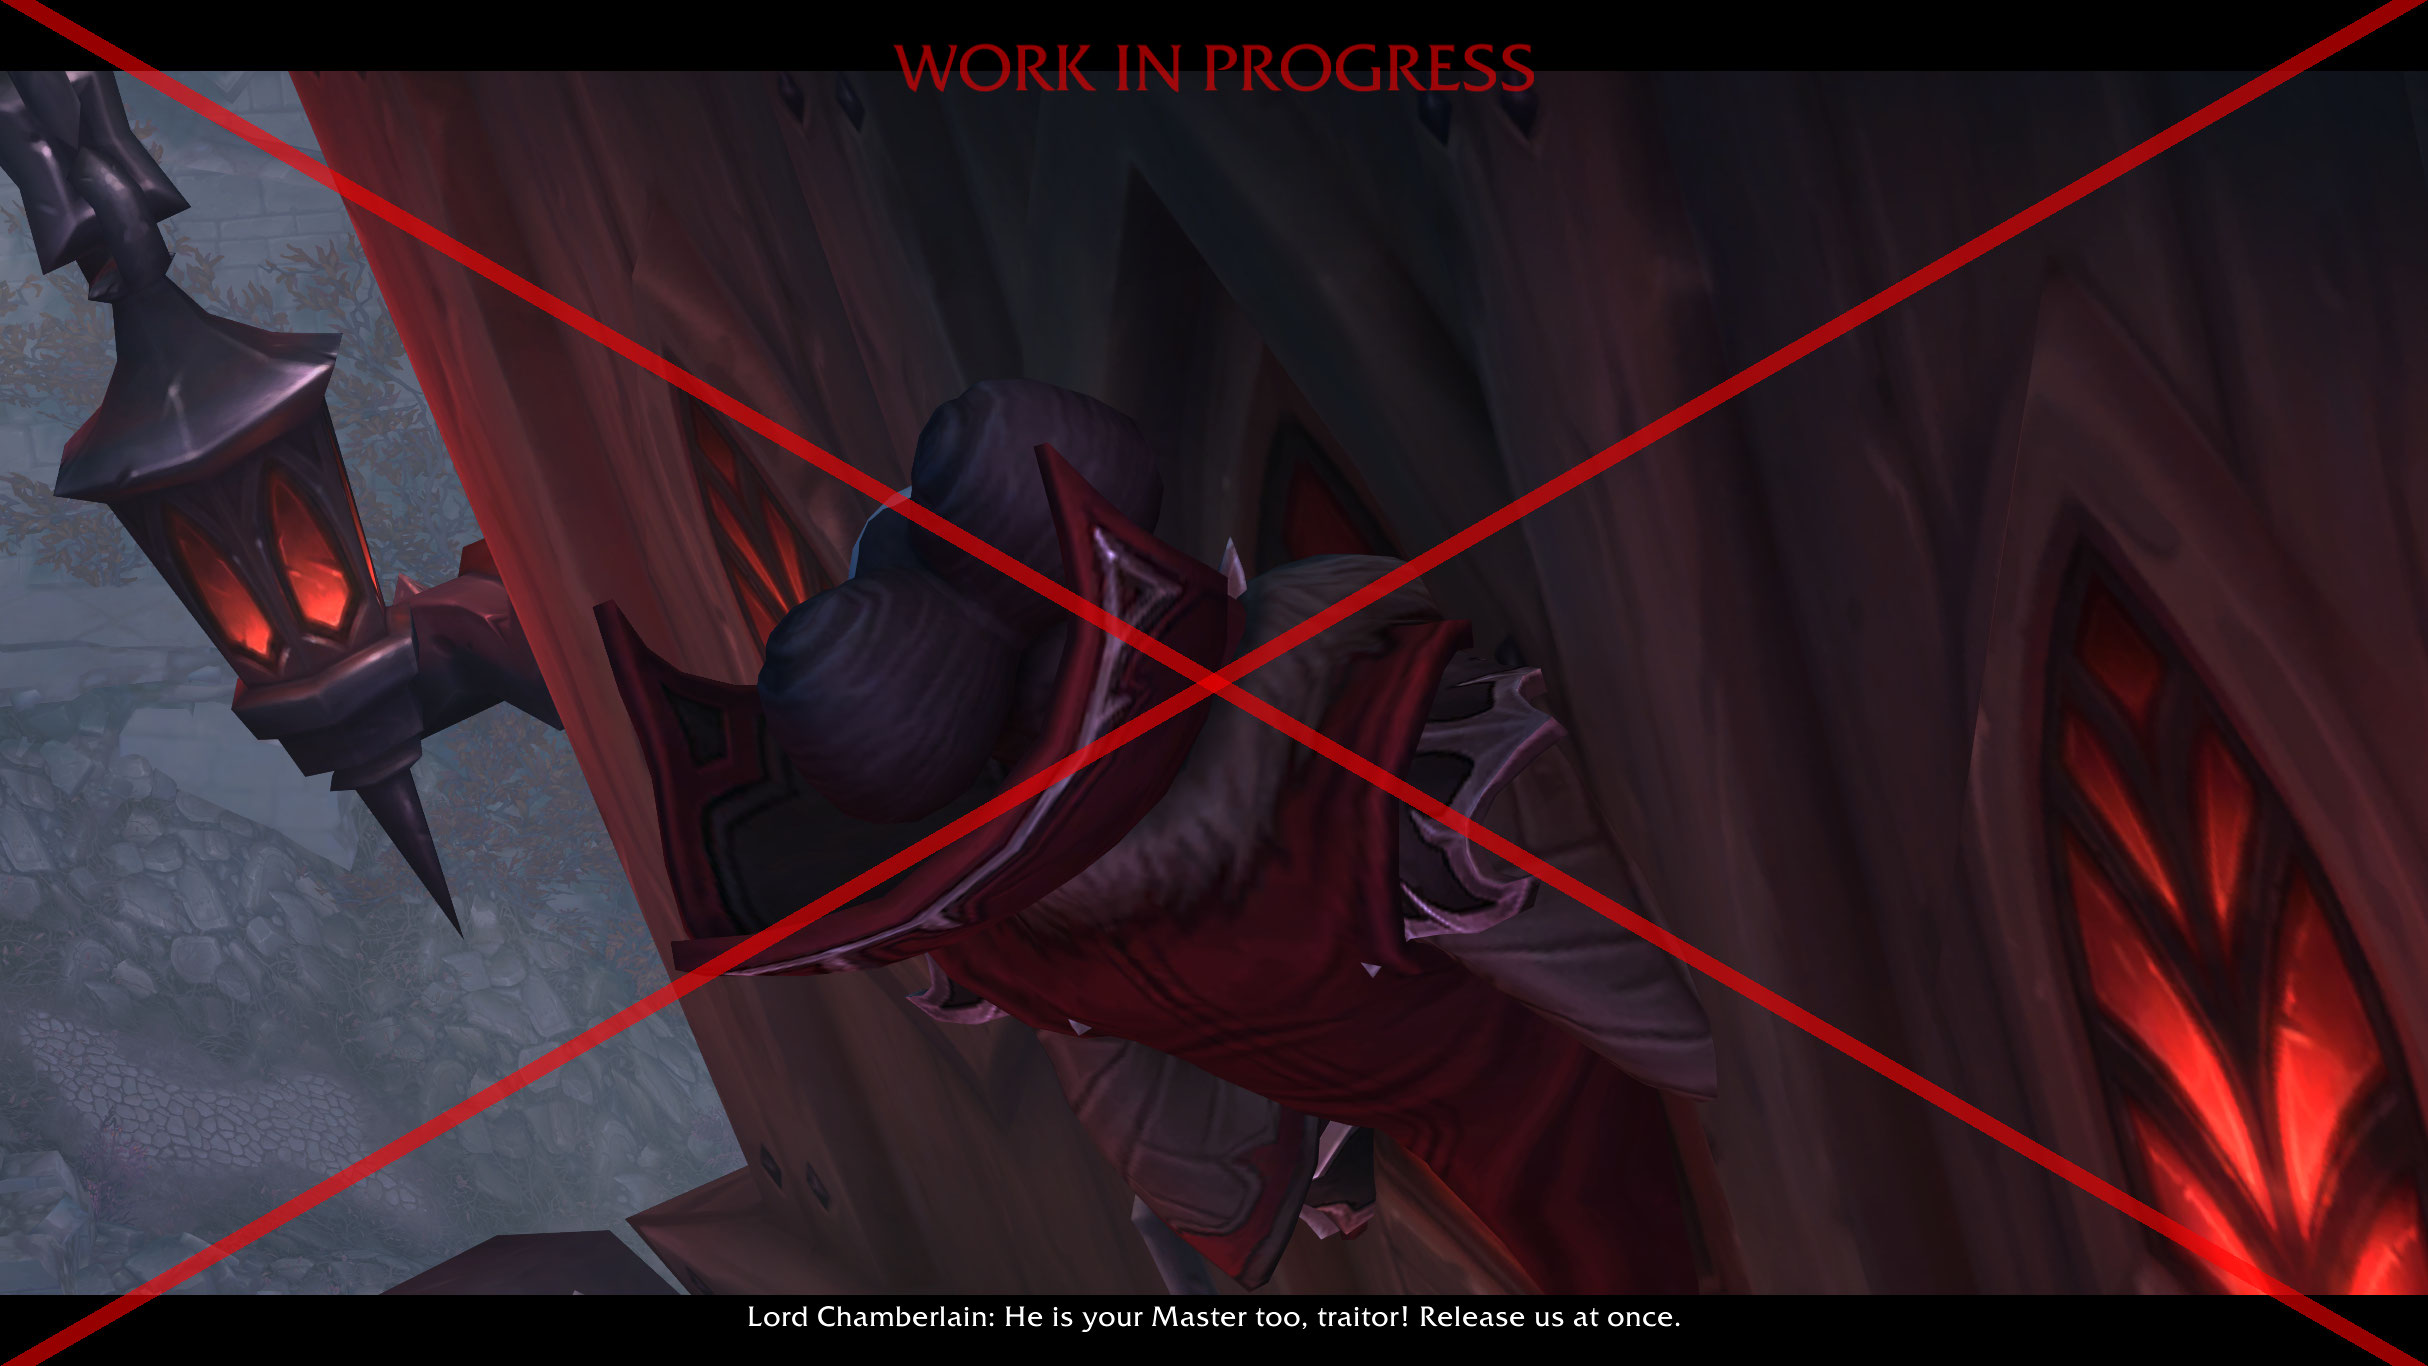
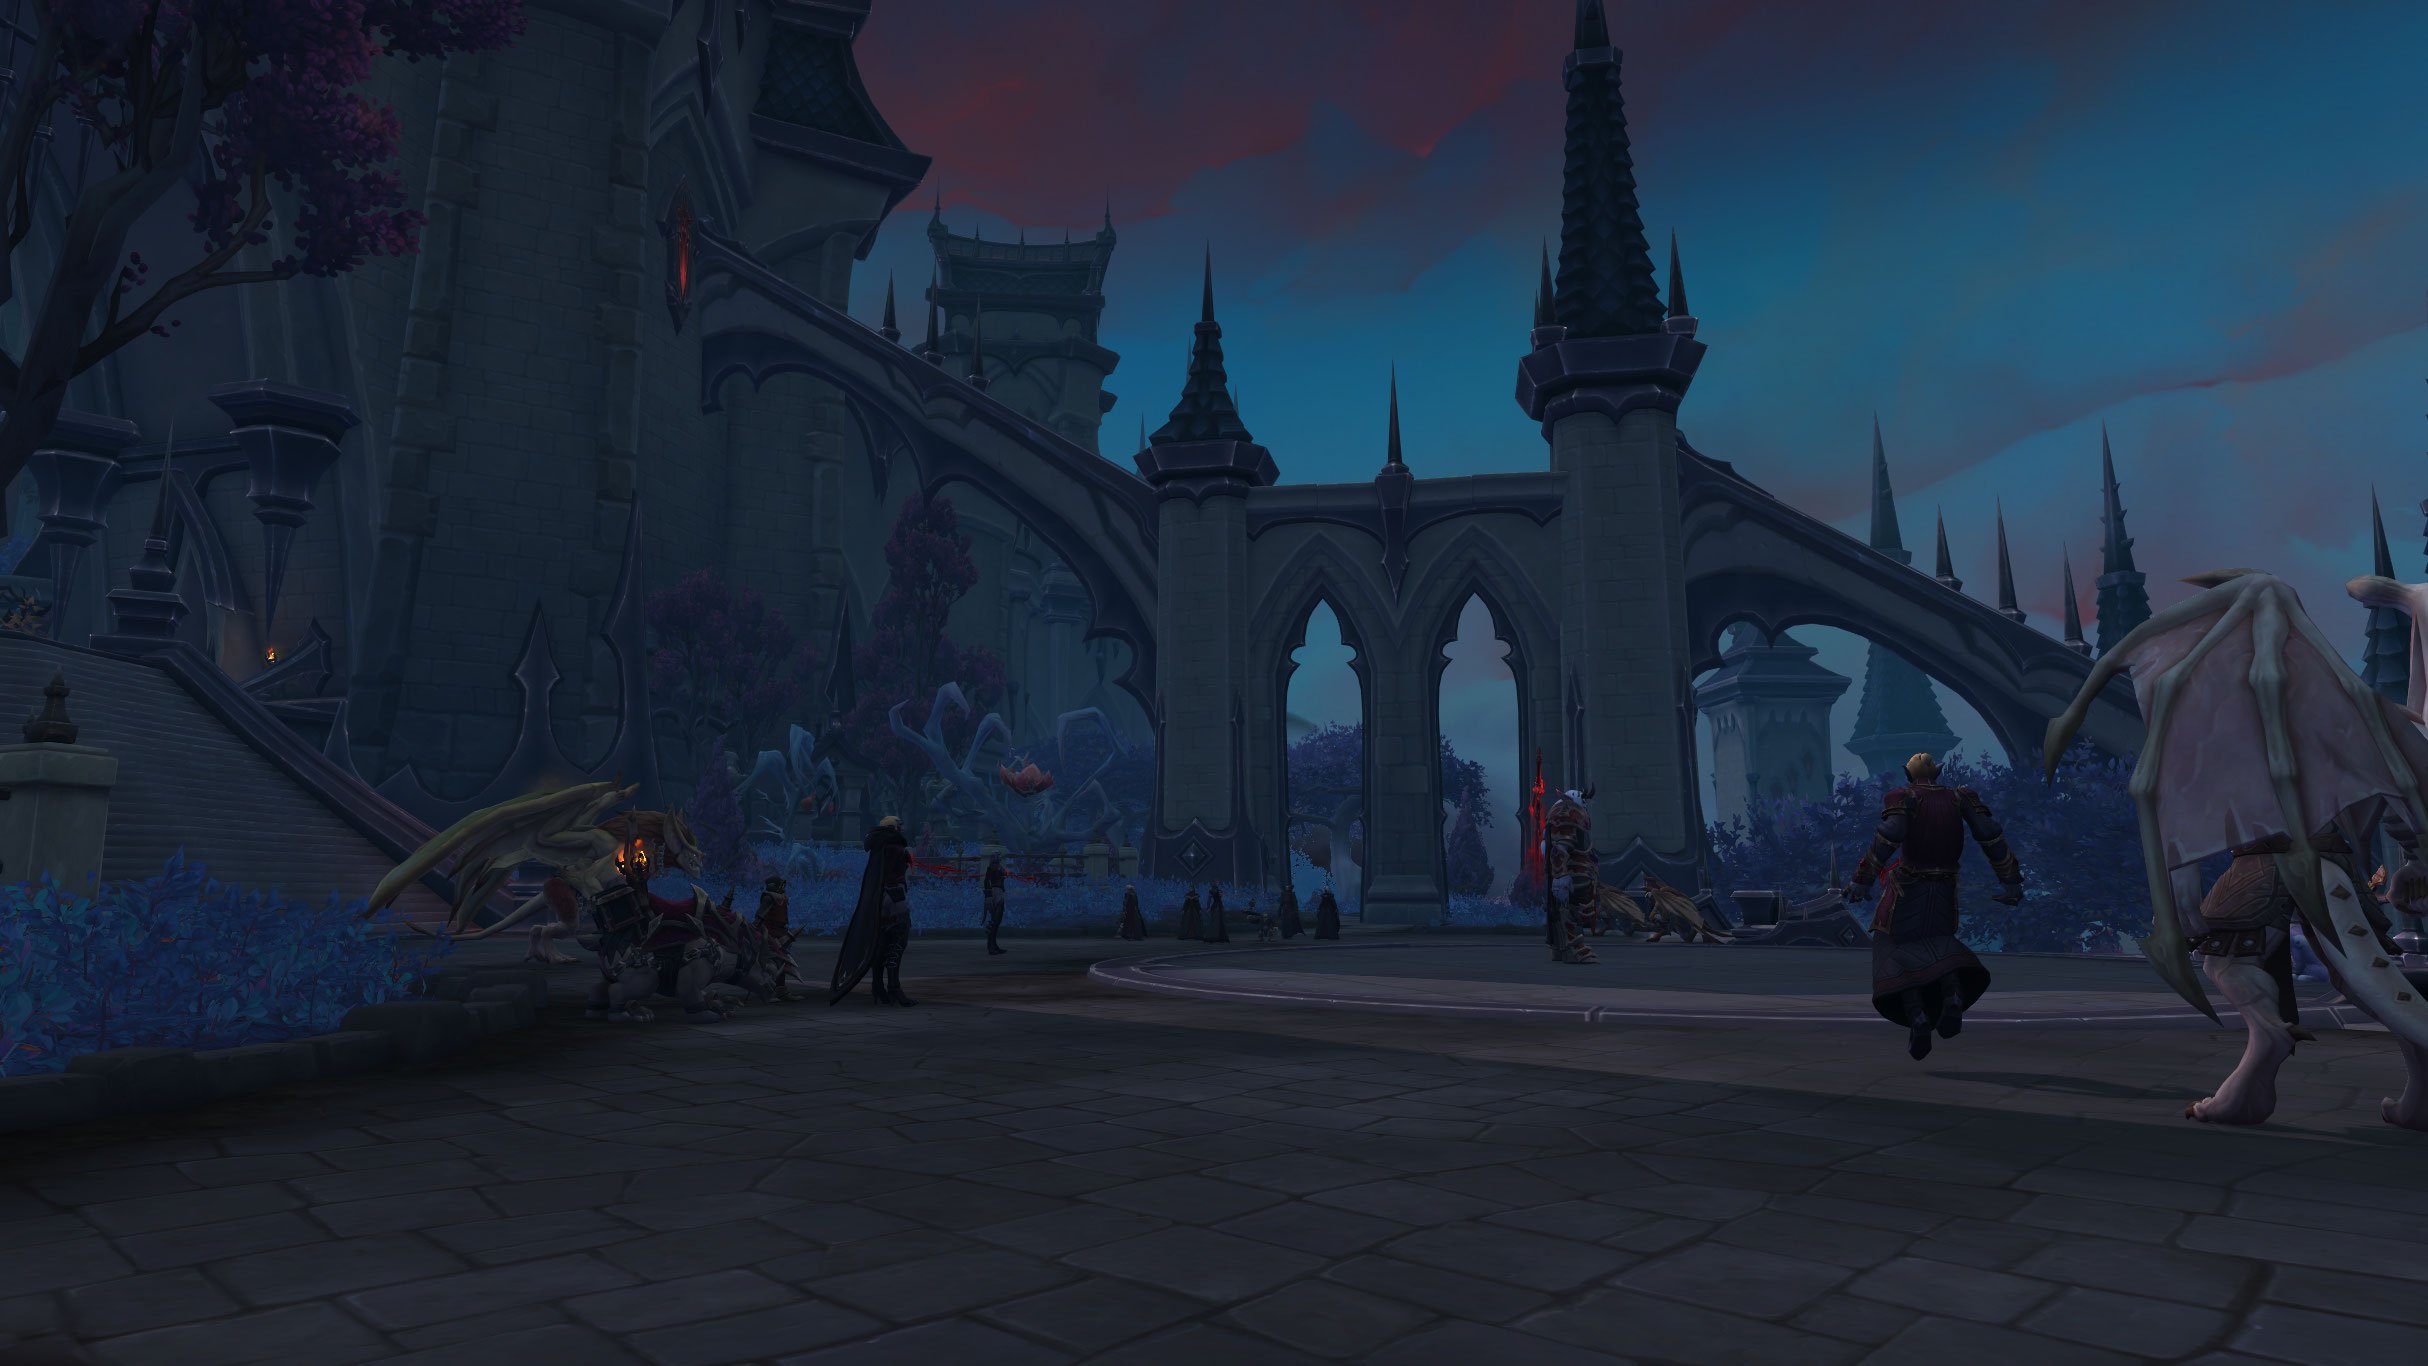
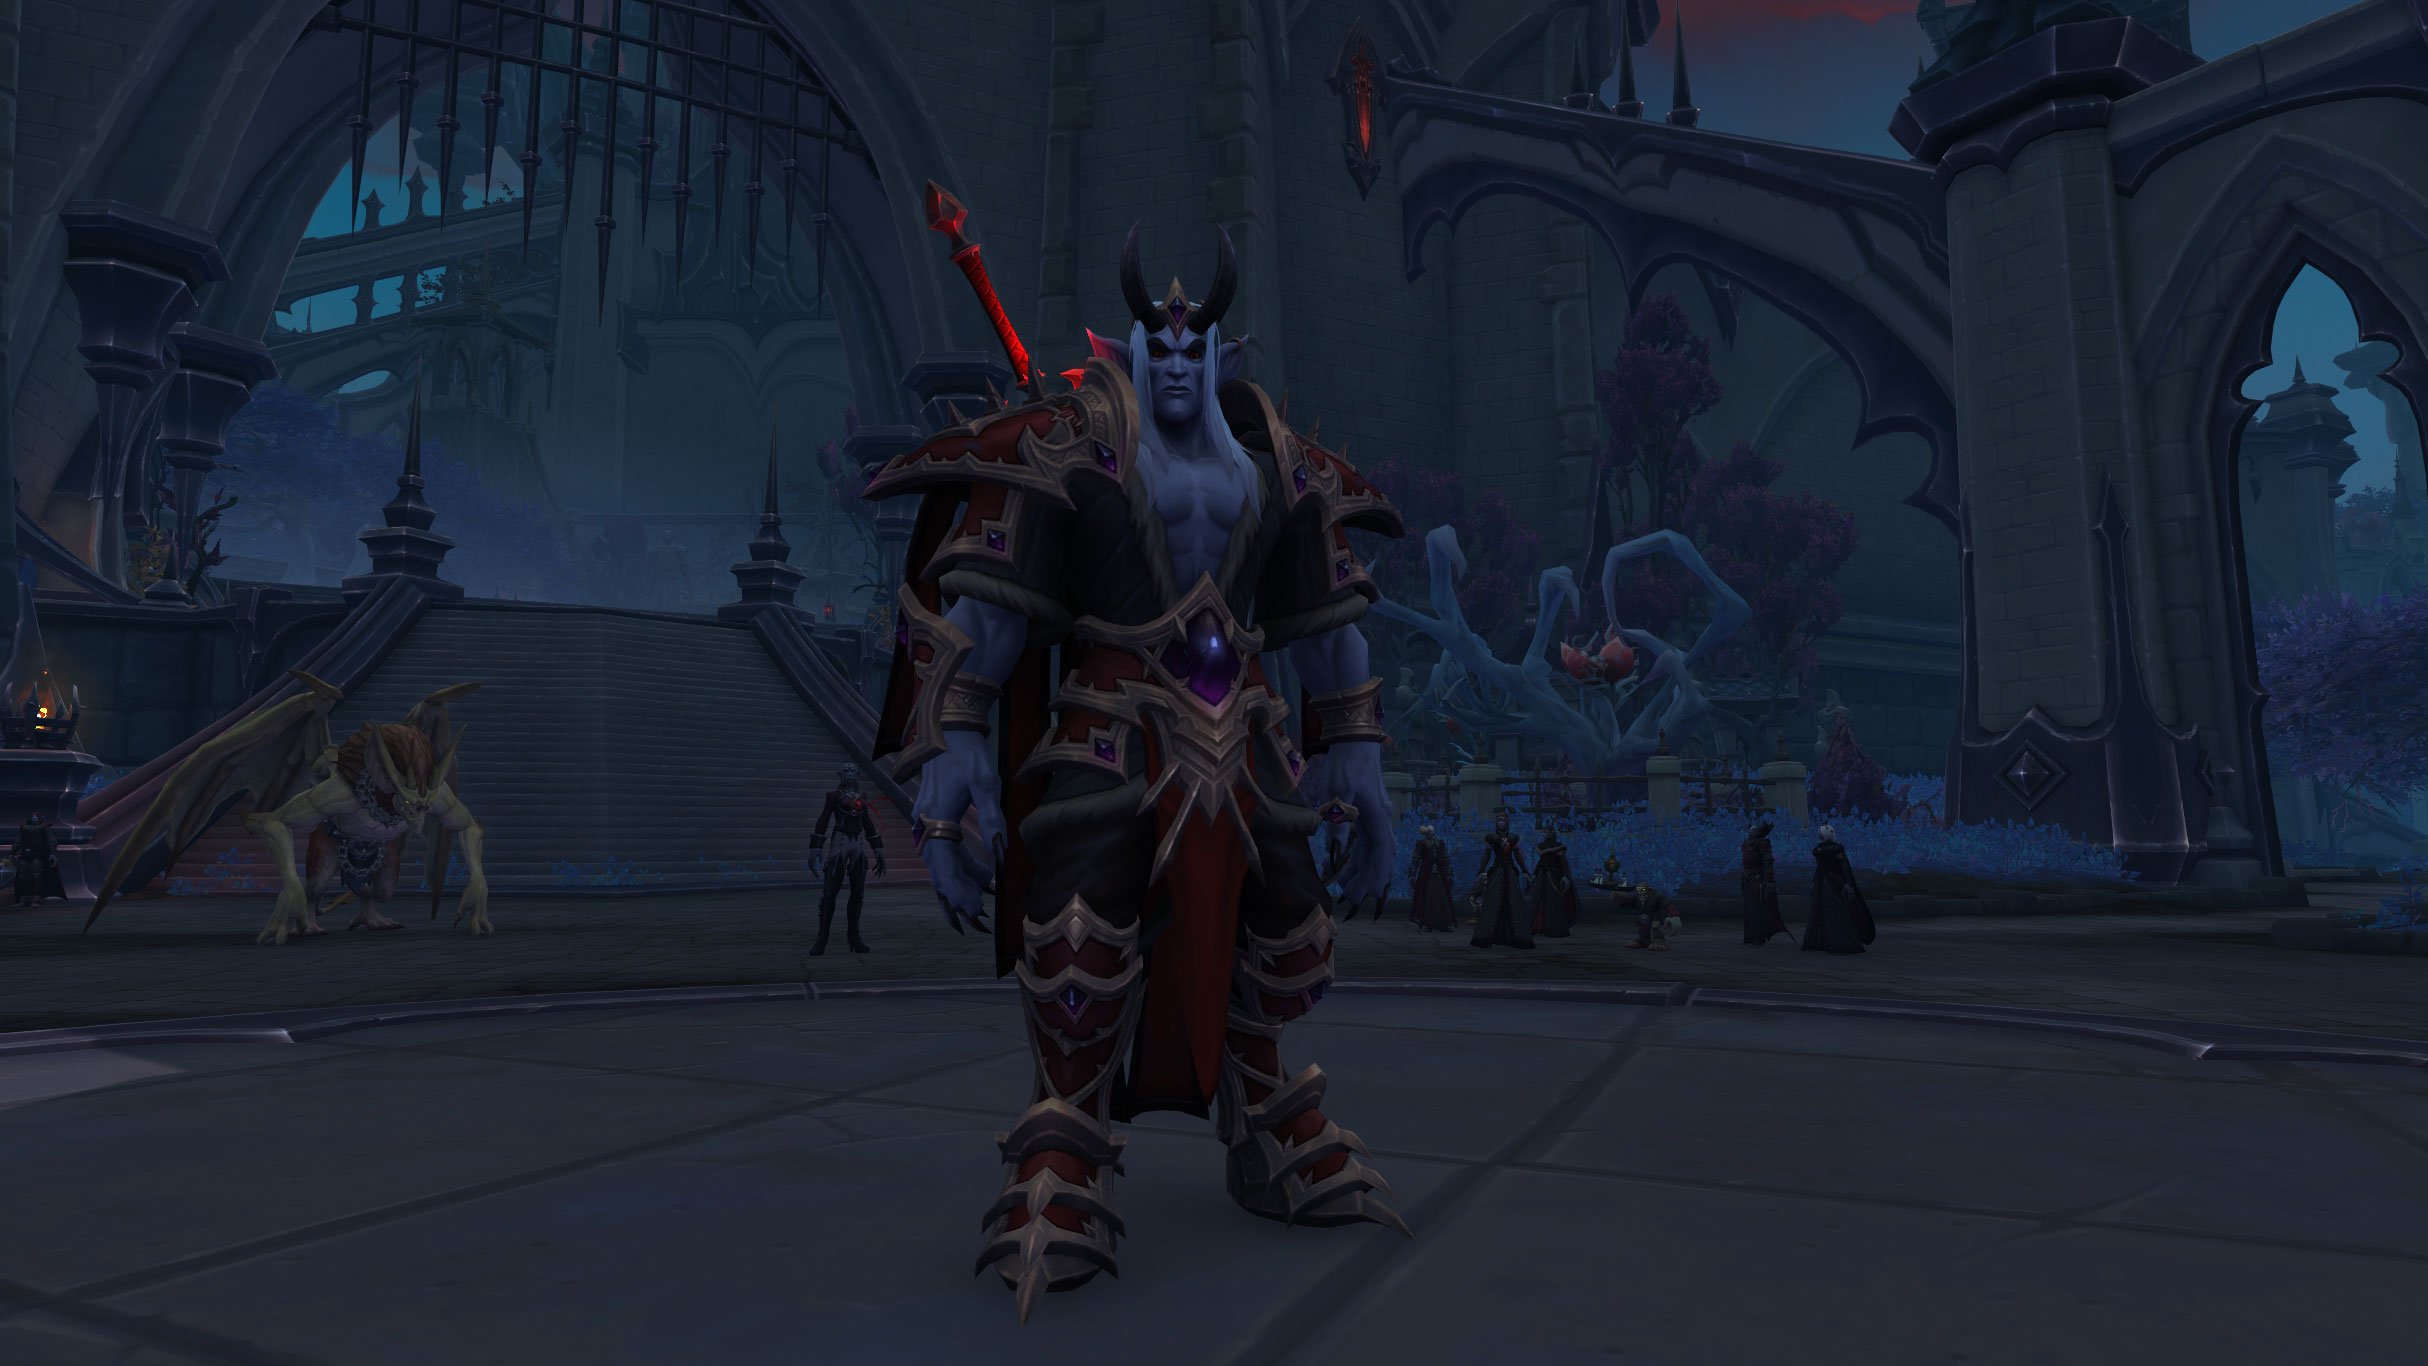
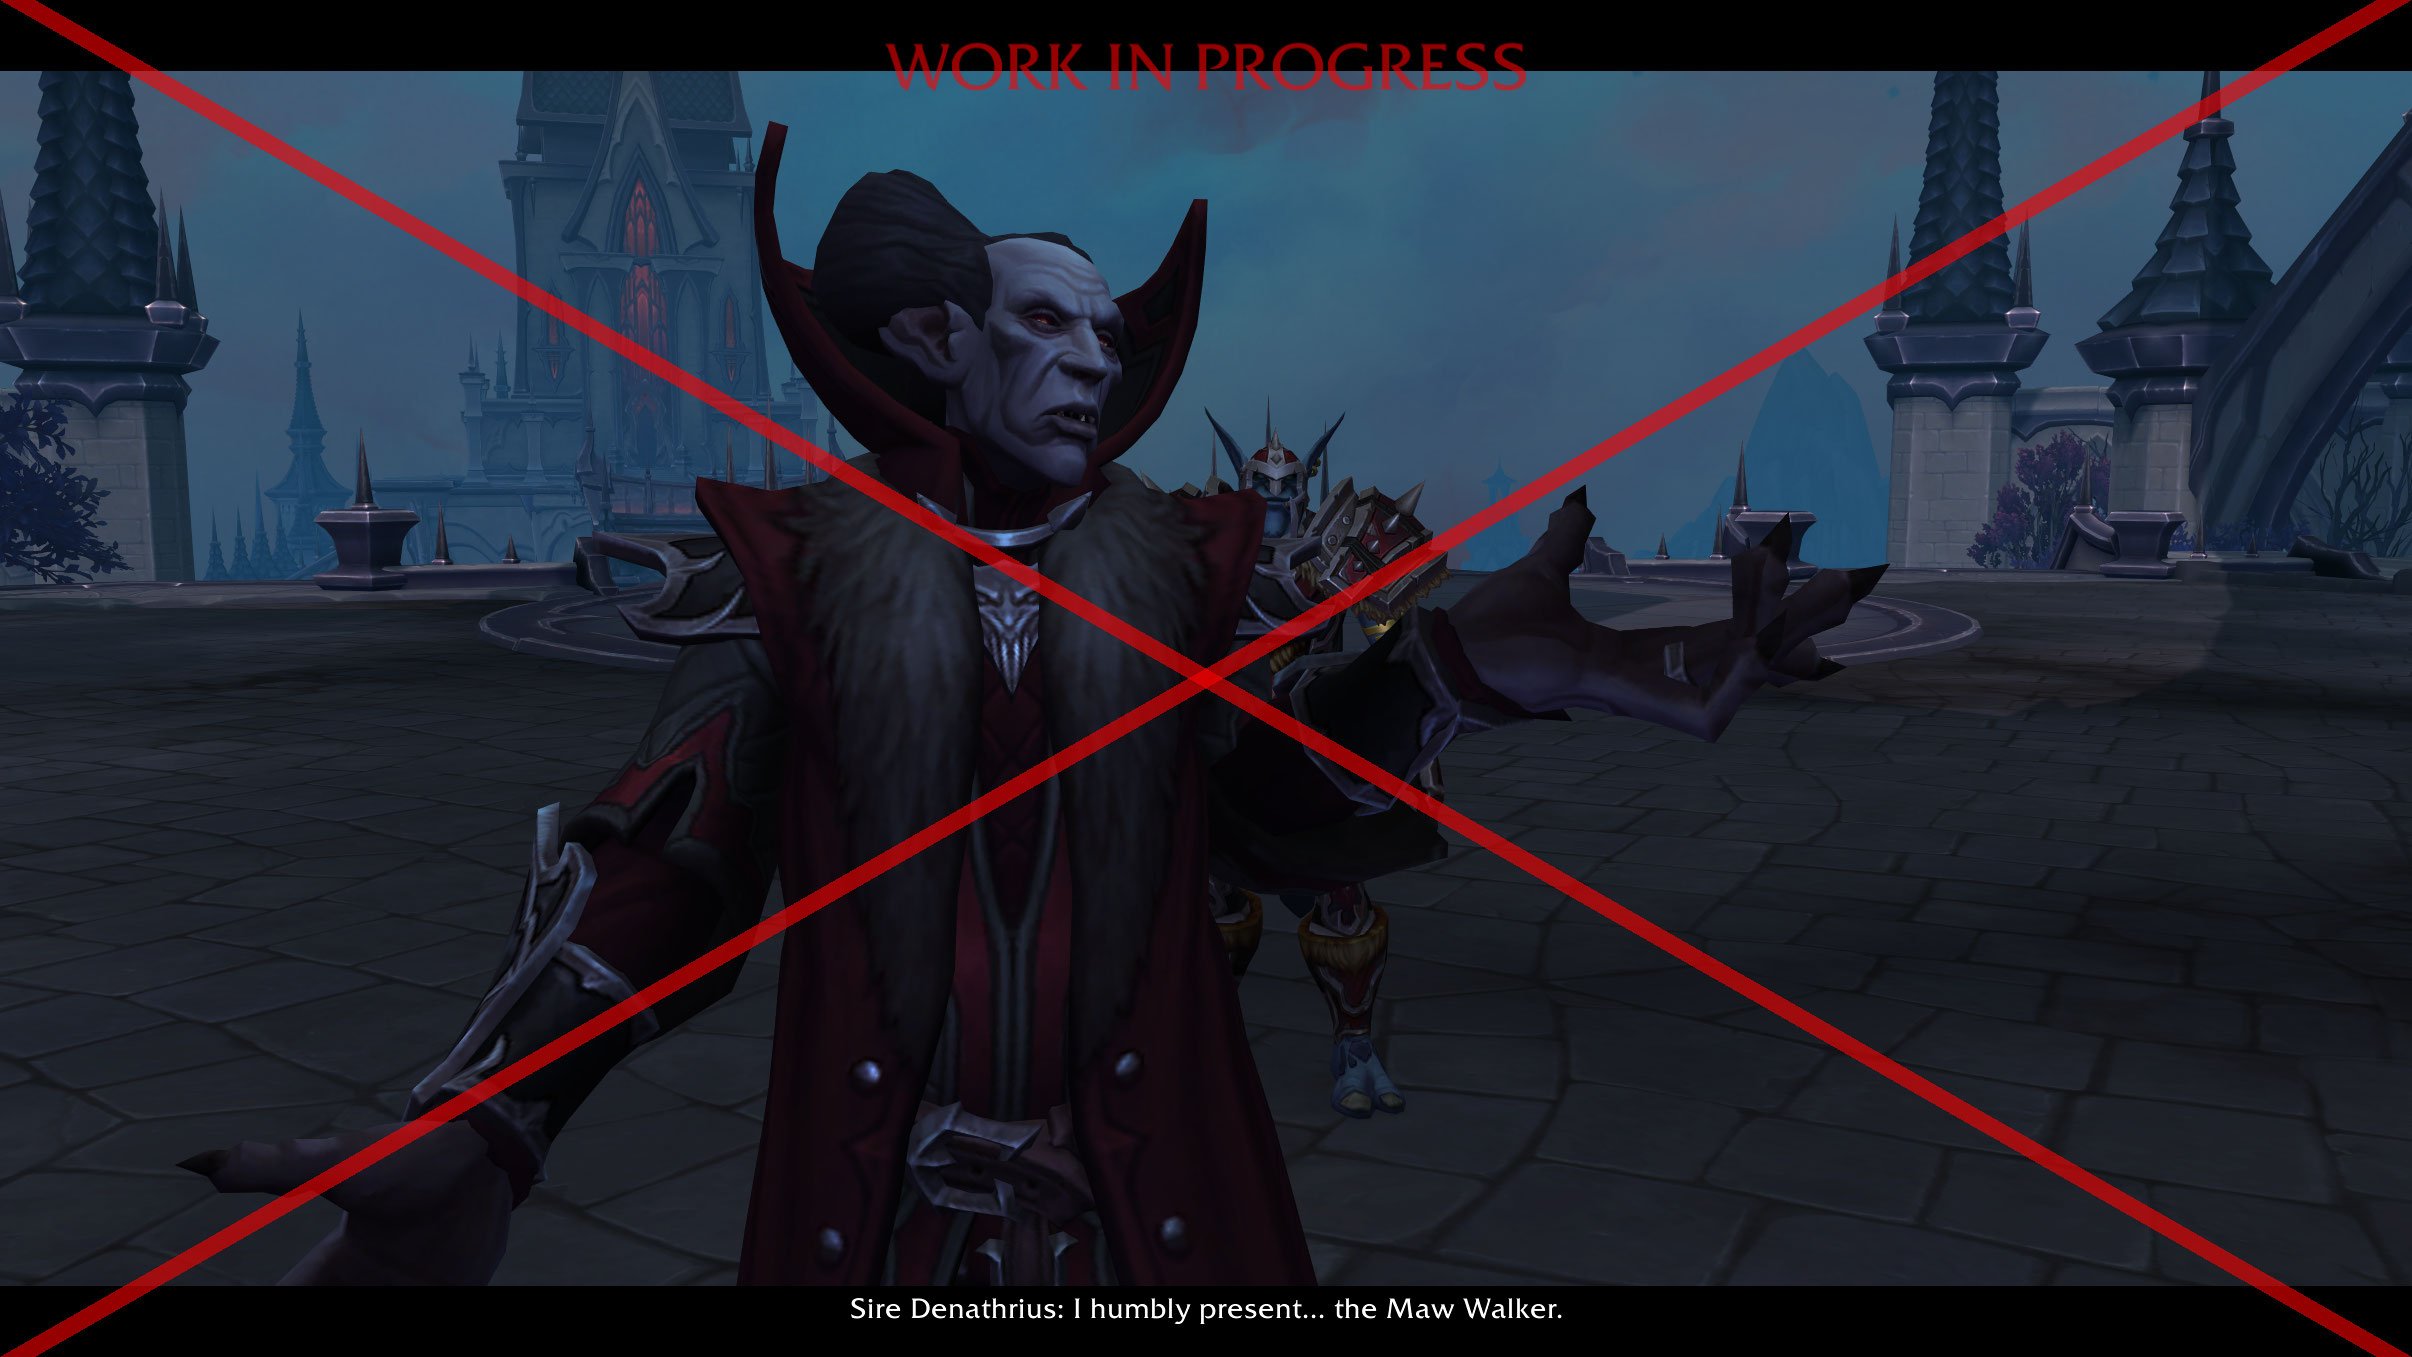
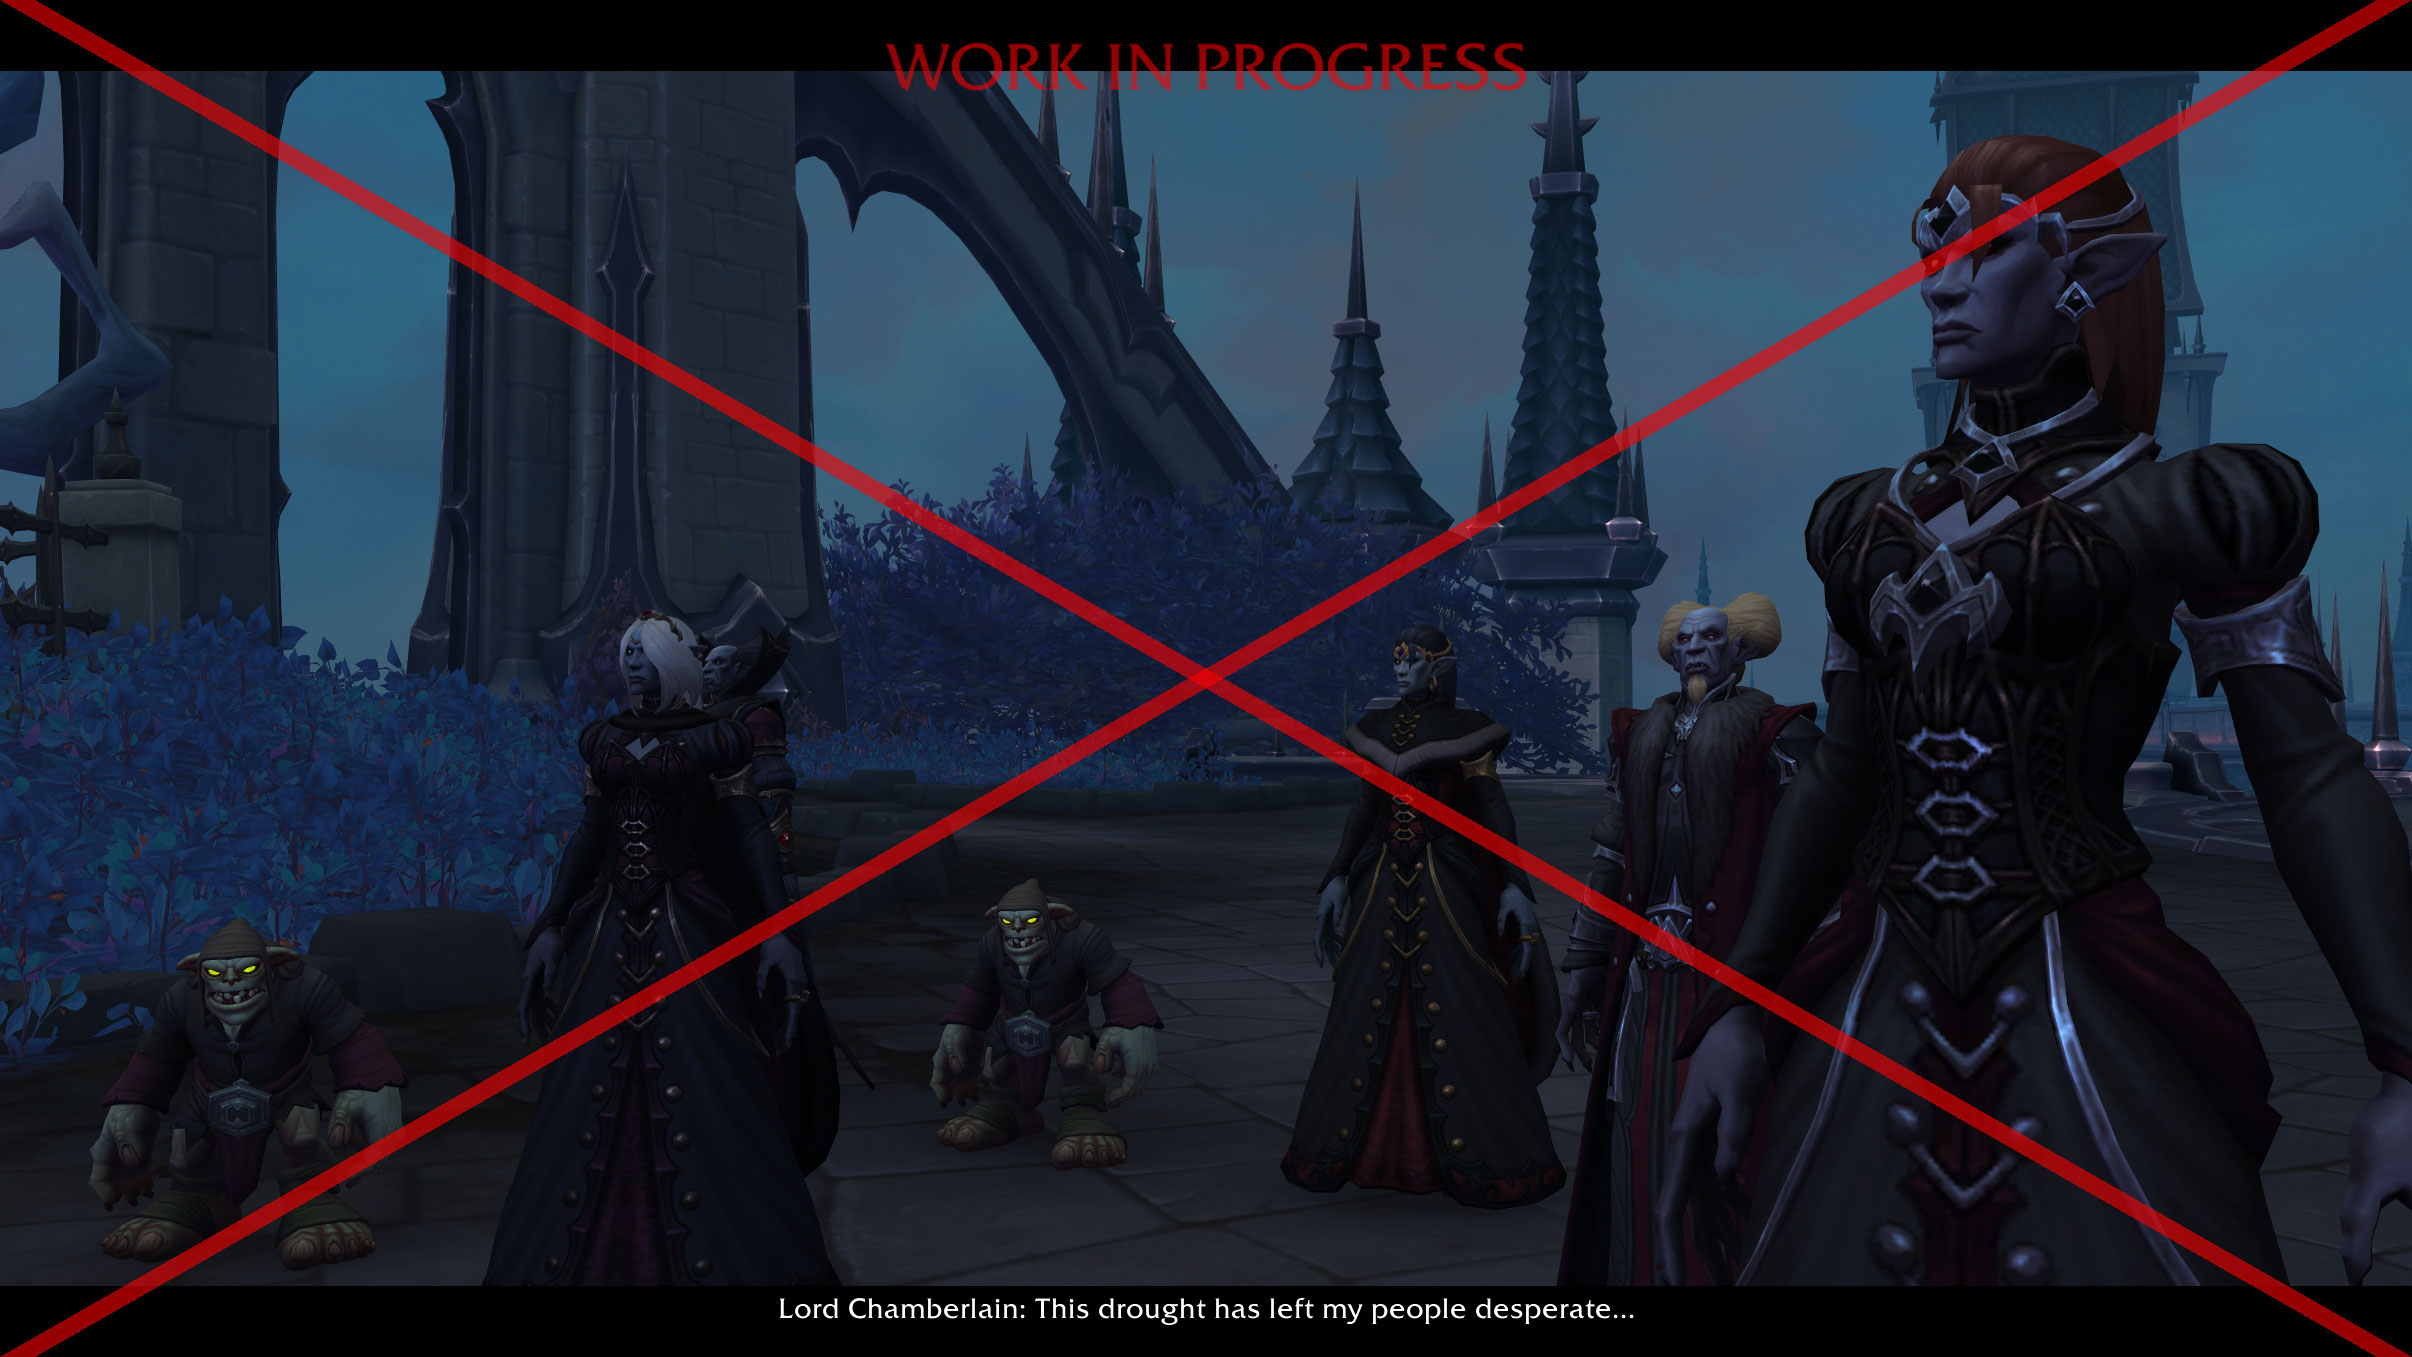
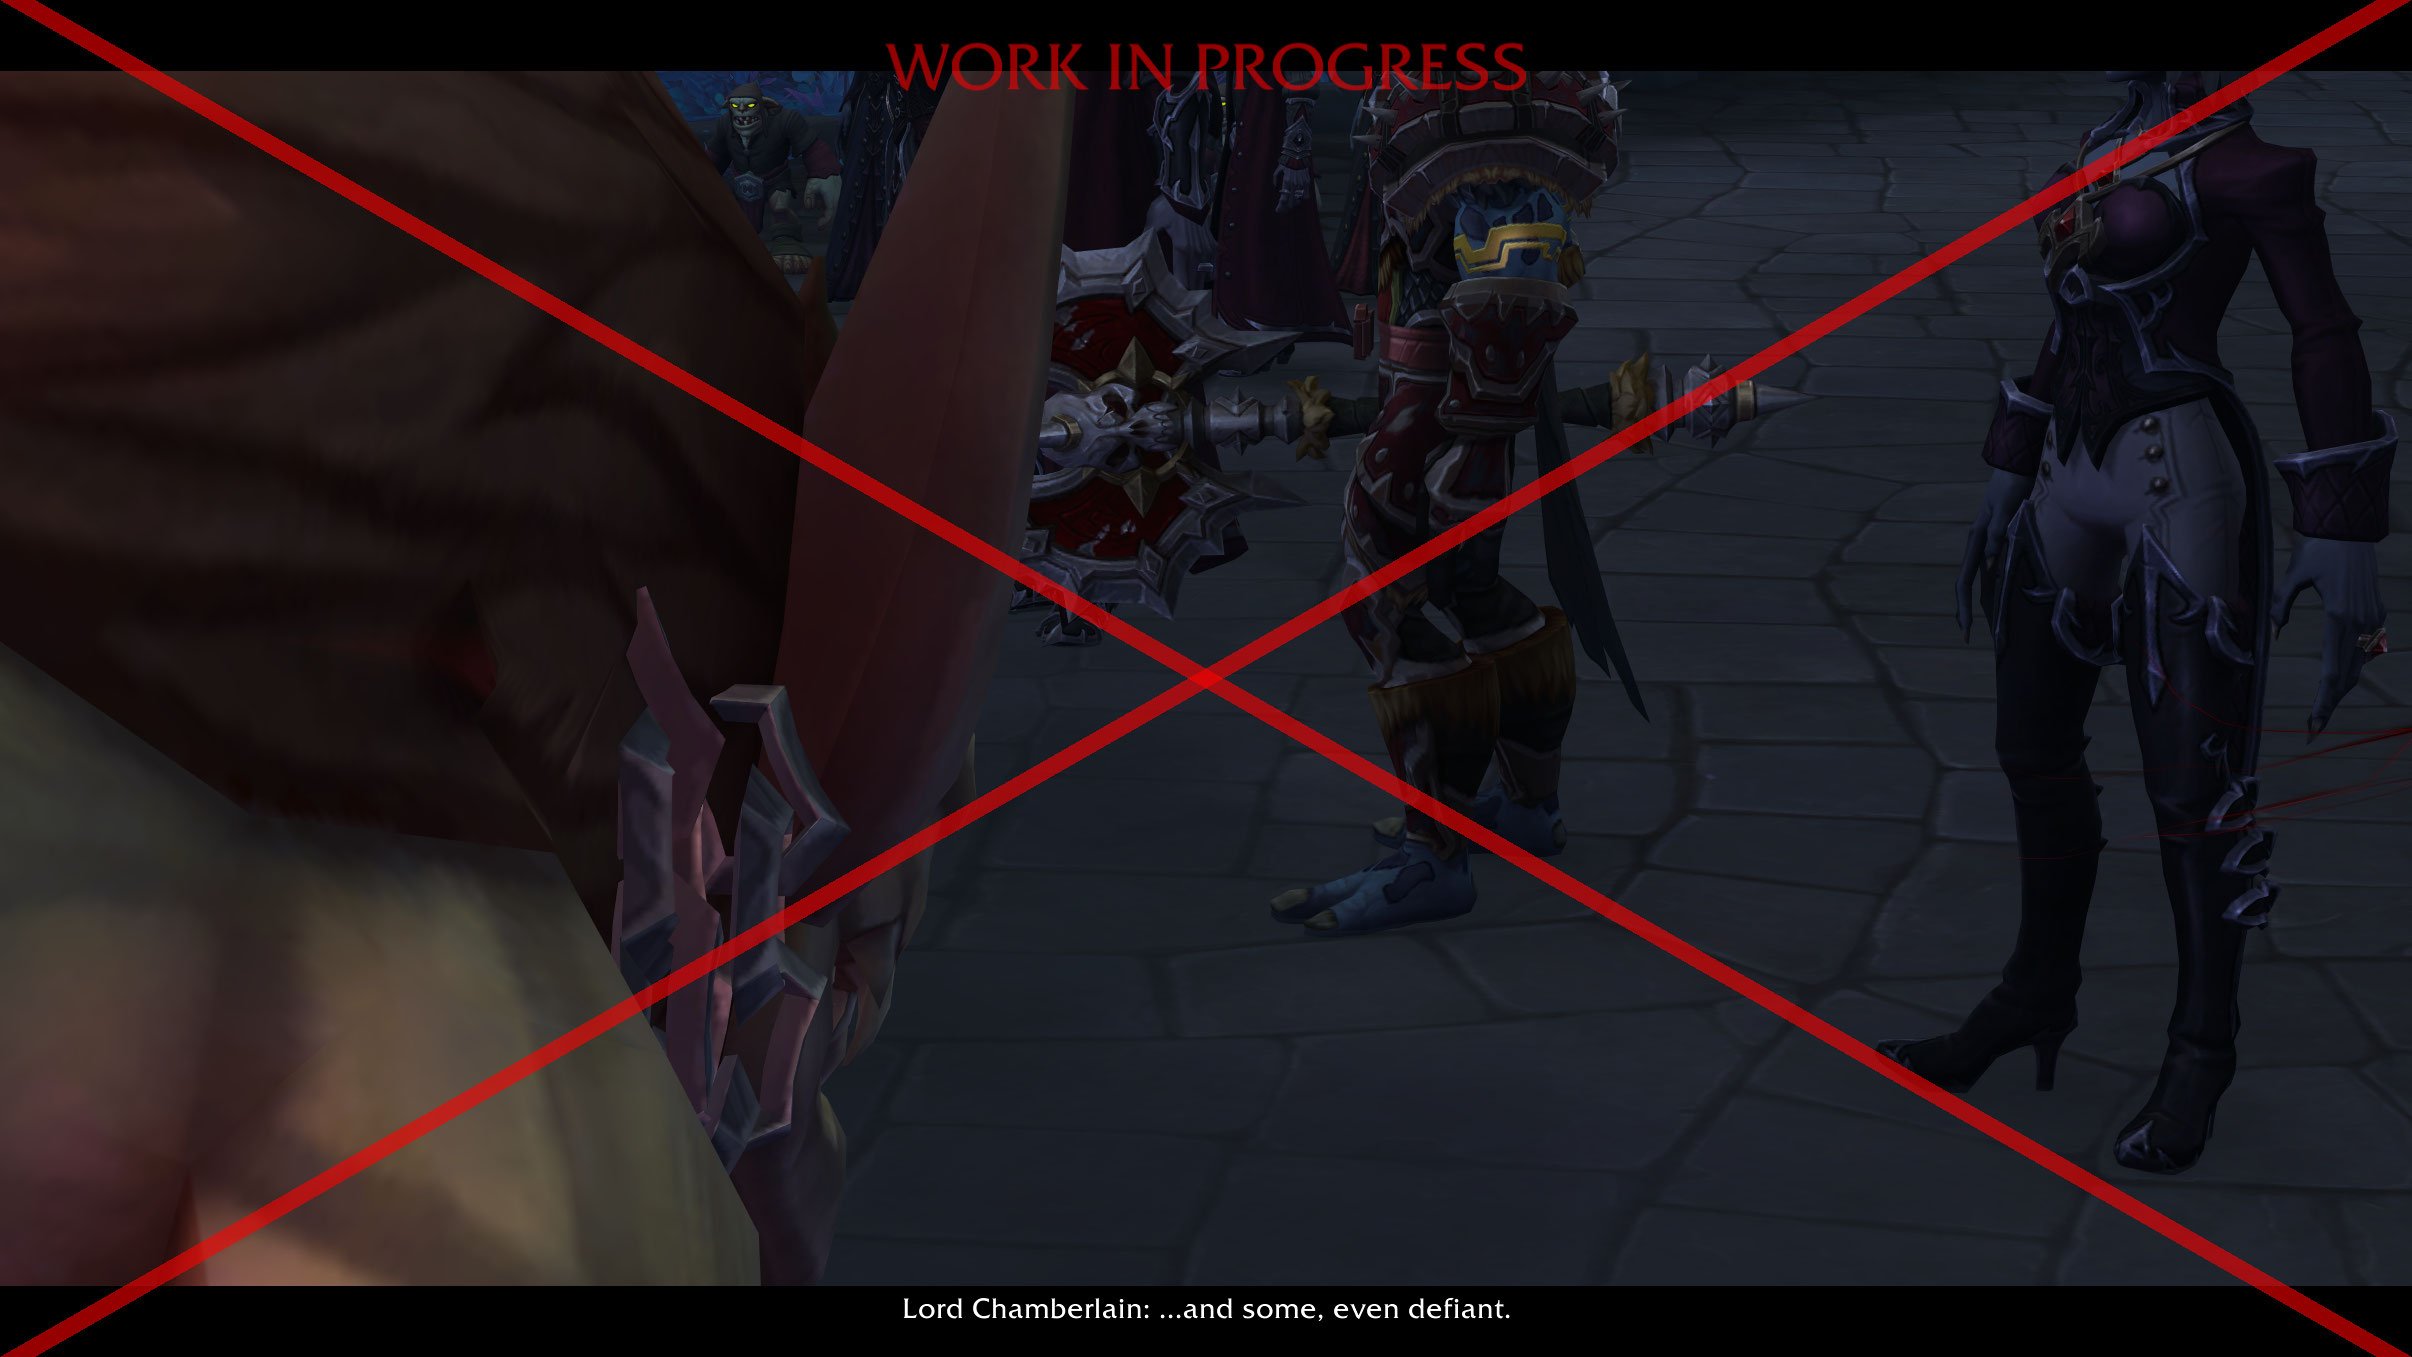
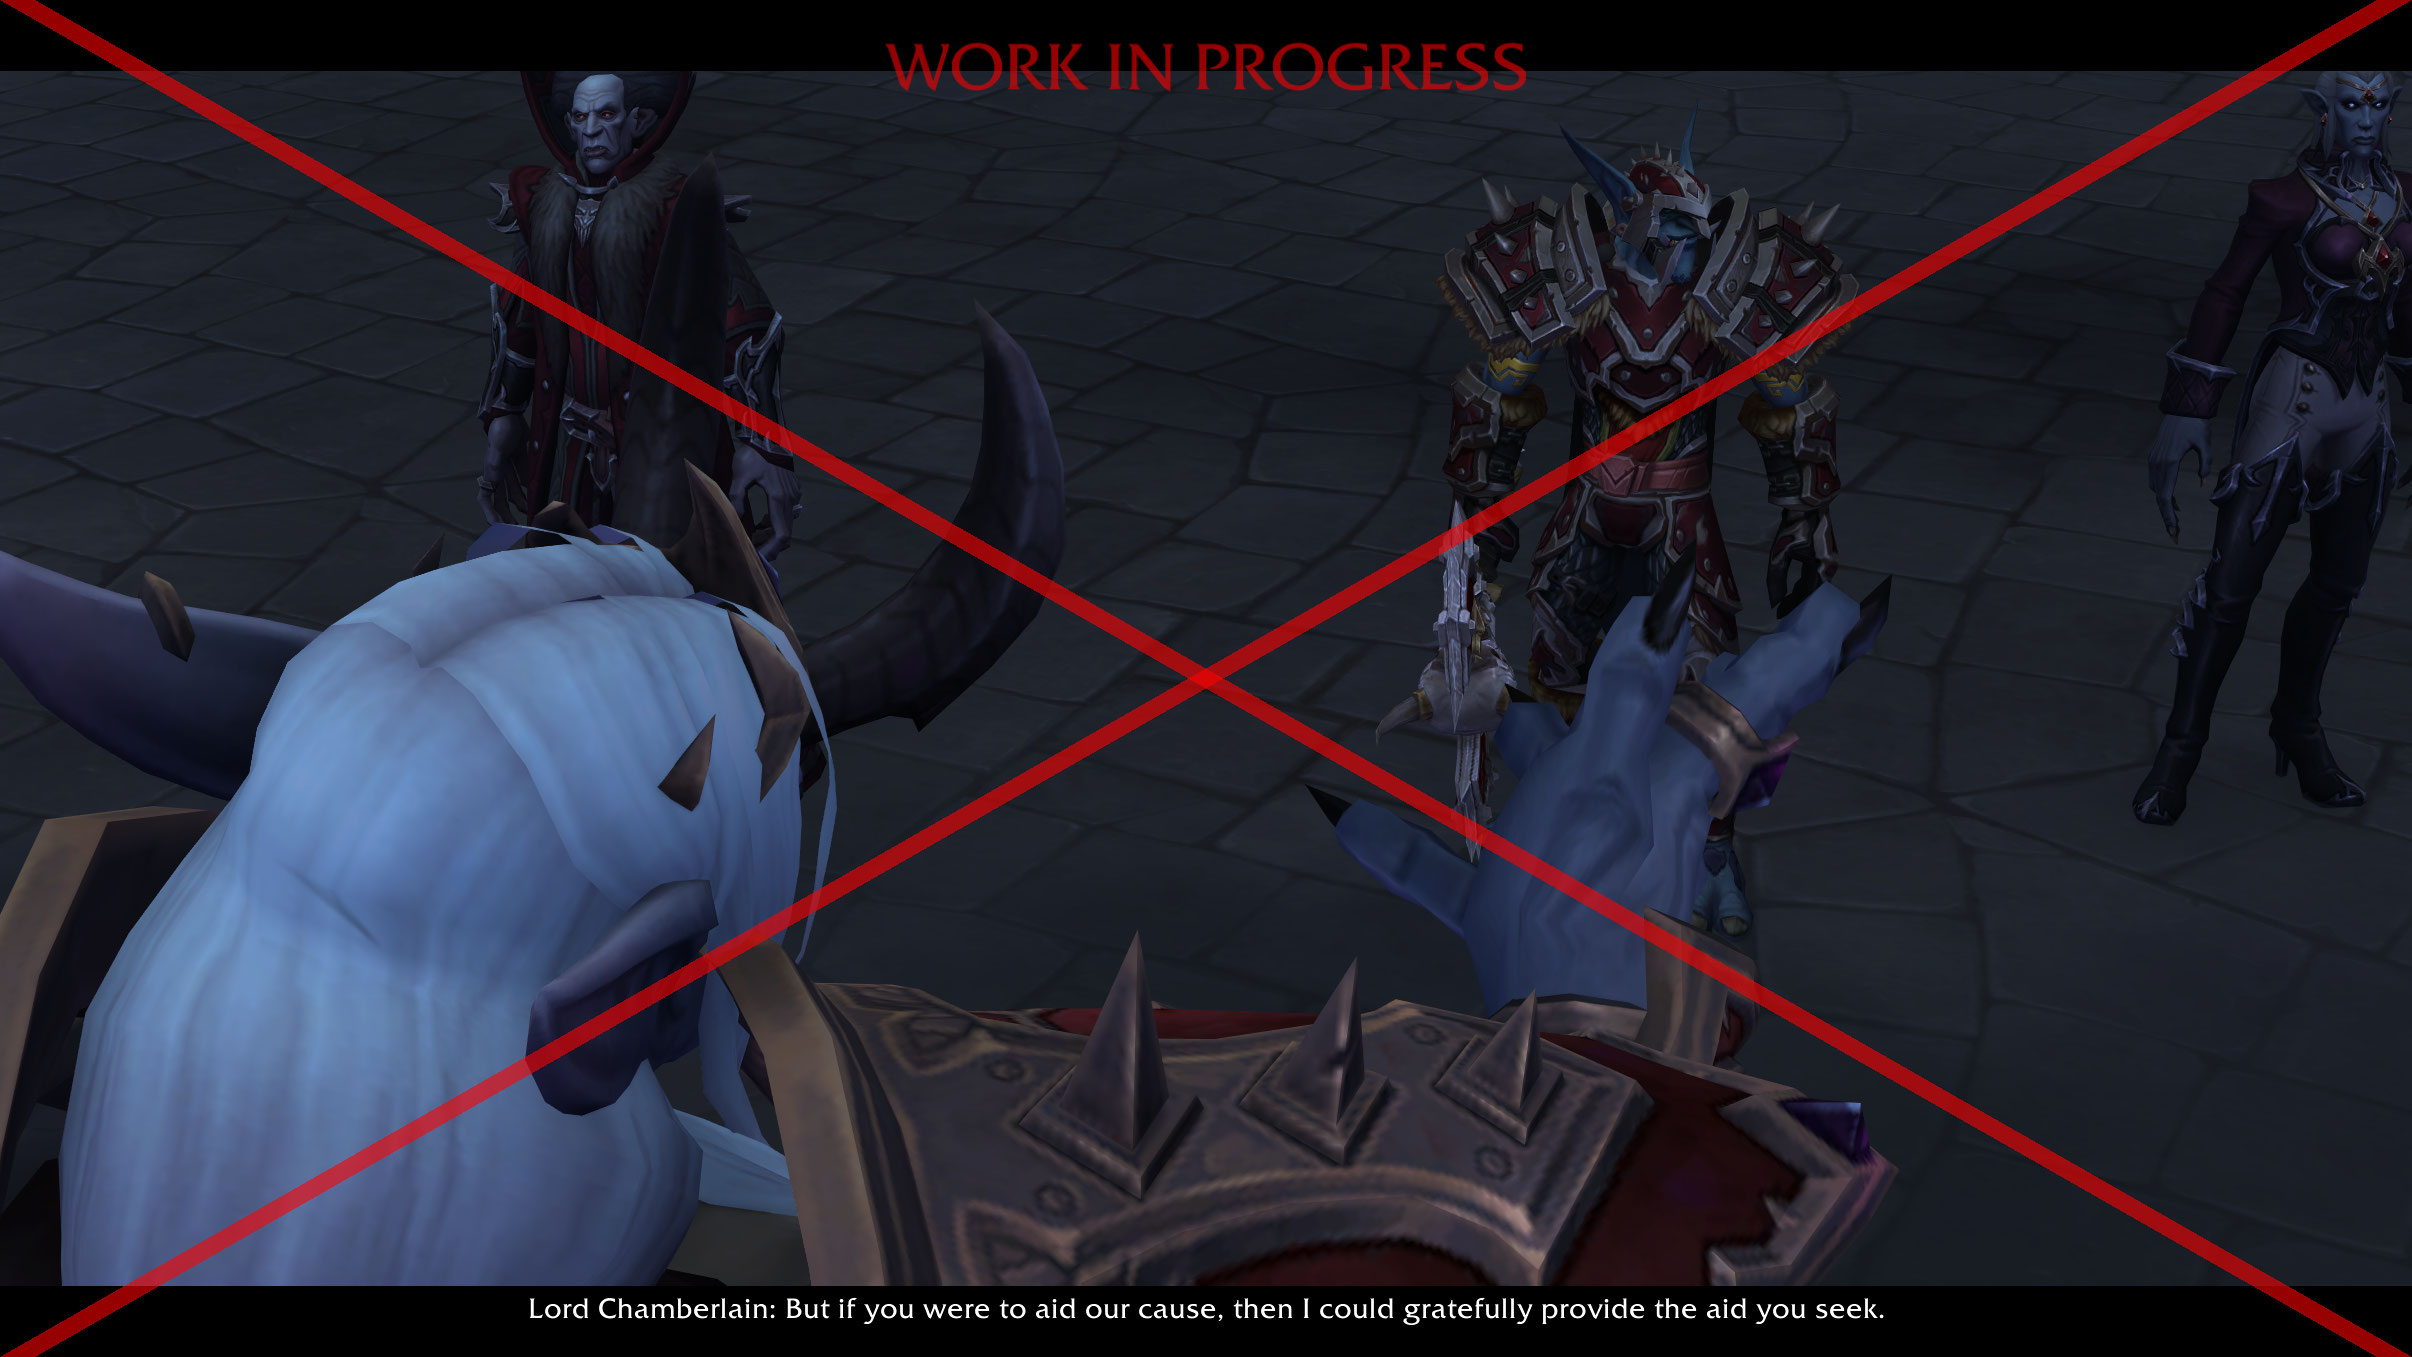
- A work in progress scene follows where Sire Denathrius explains to his subjects that further sacrifices will have to be made due to the anima drought. Lord Chamberlain interrupts to introduce you, to which Sire Denathrius responds by welcoming you and saying he is aware of your urgent request for anima, but sadly cannot oblige right now as resources are stretched thin. He requests you aid their cause and then he can help you in return.
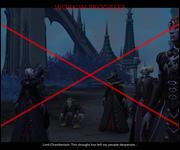
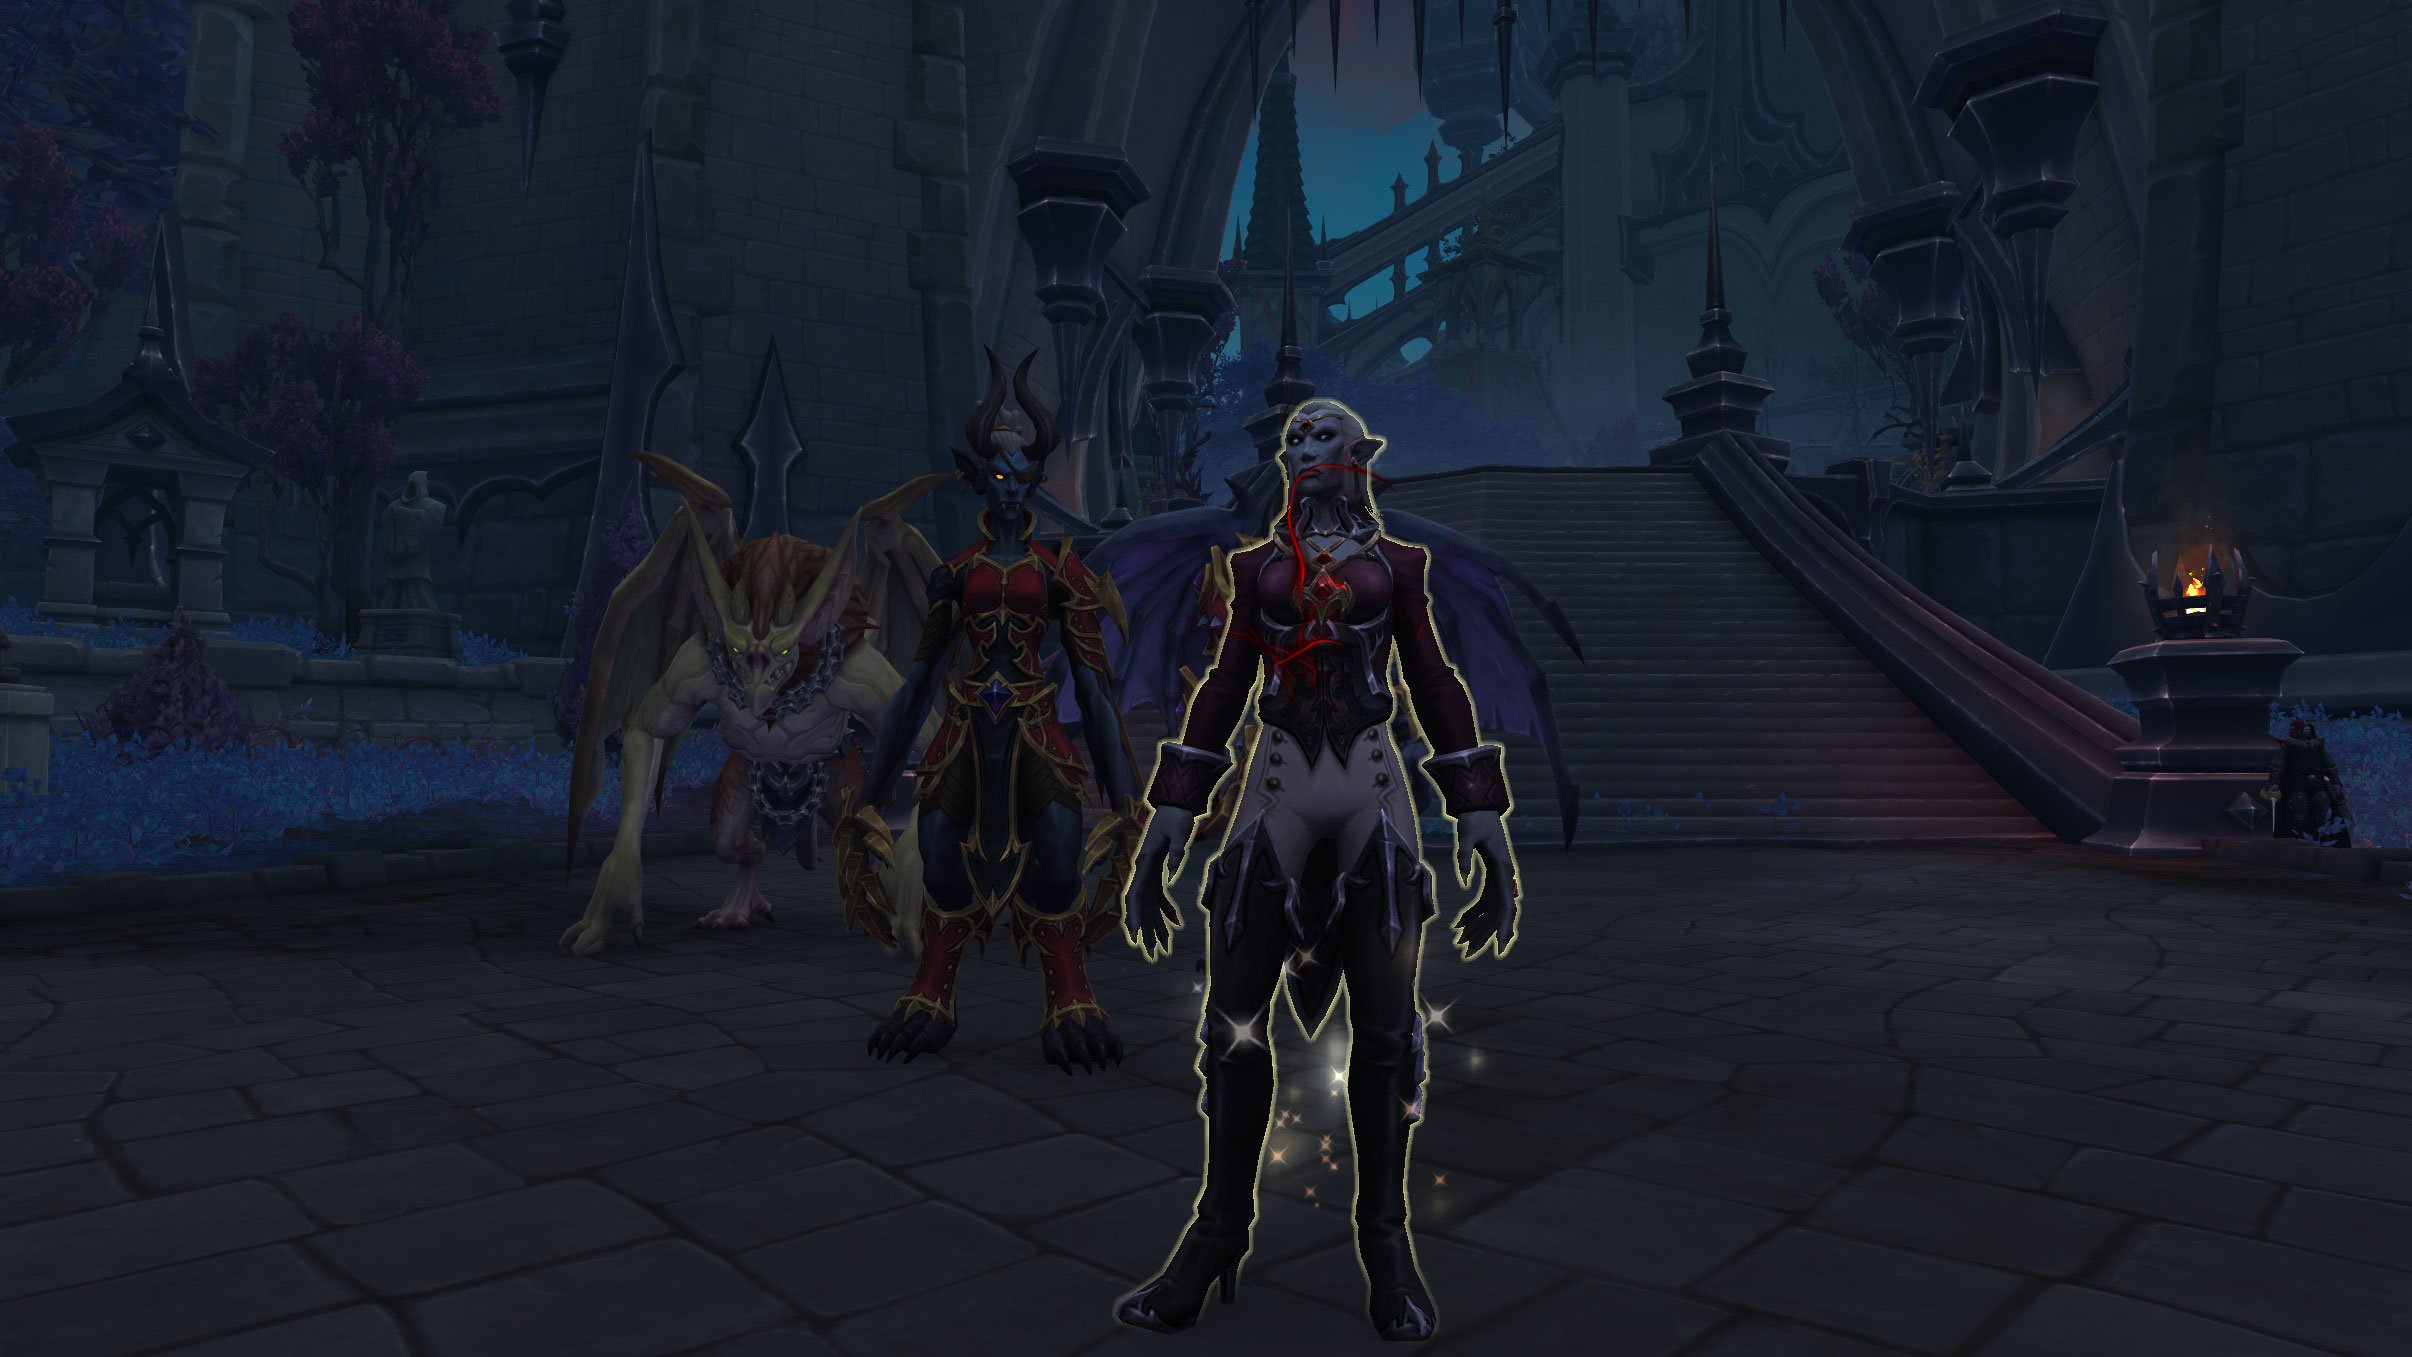
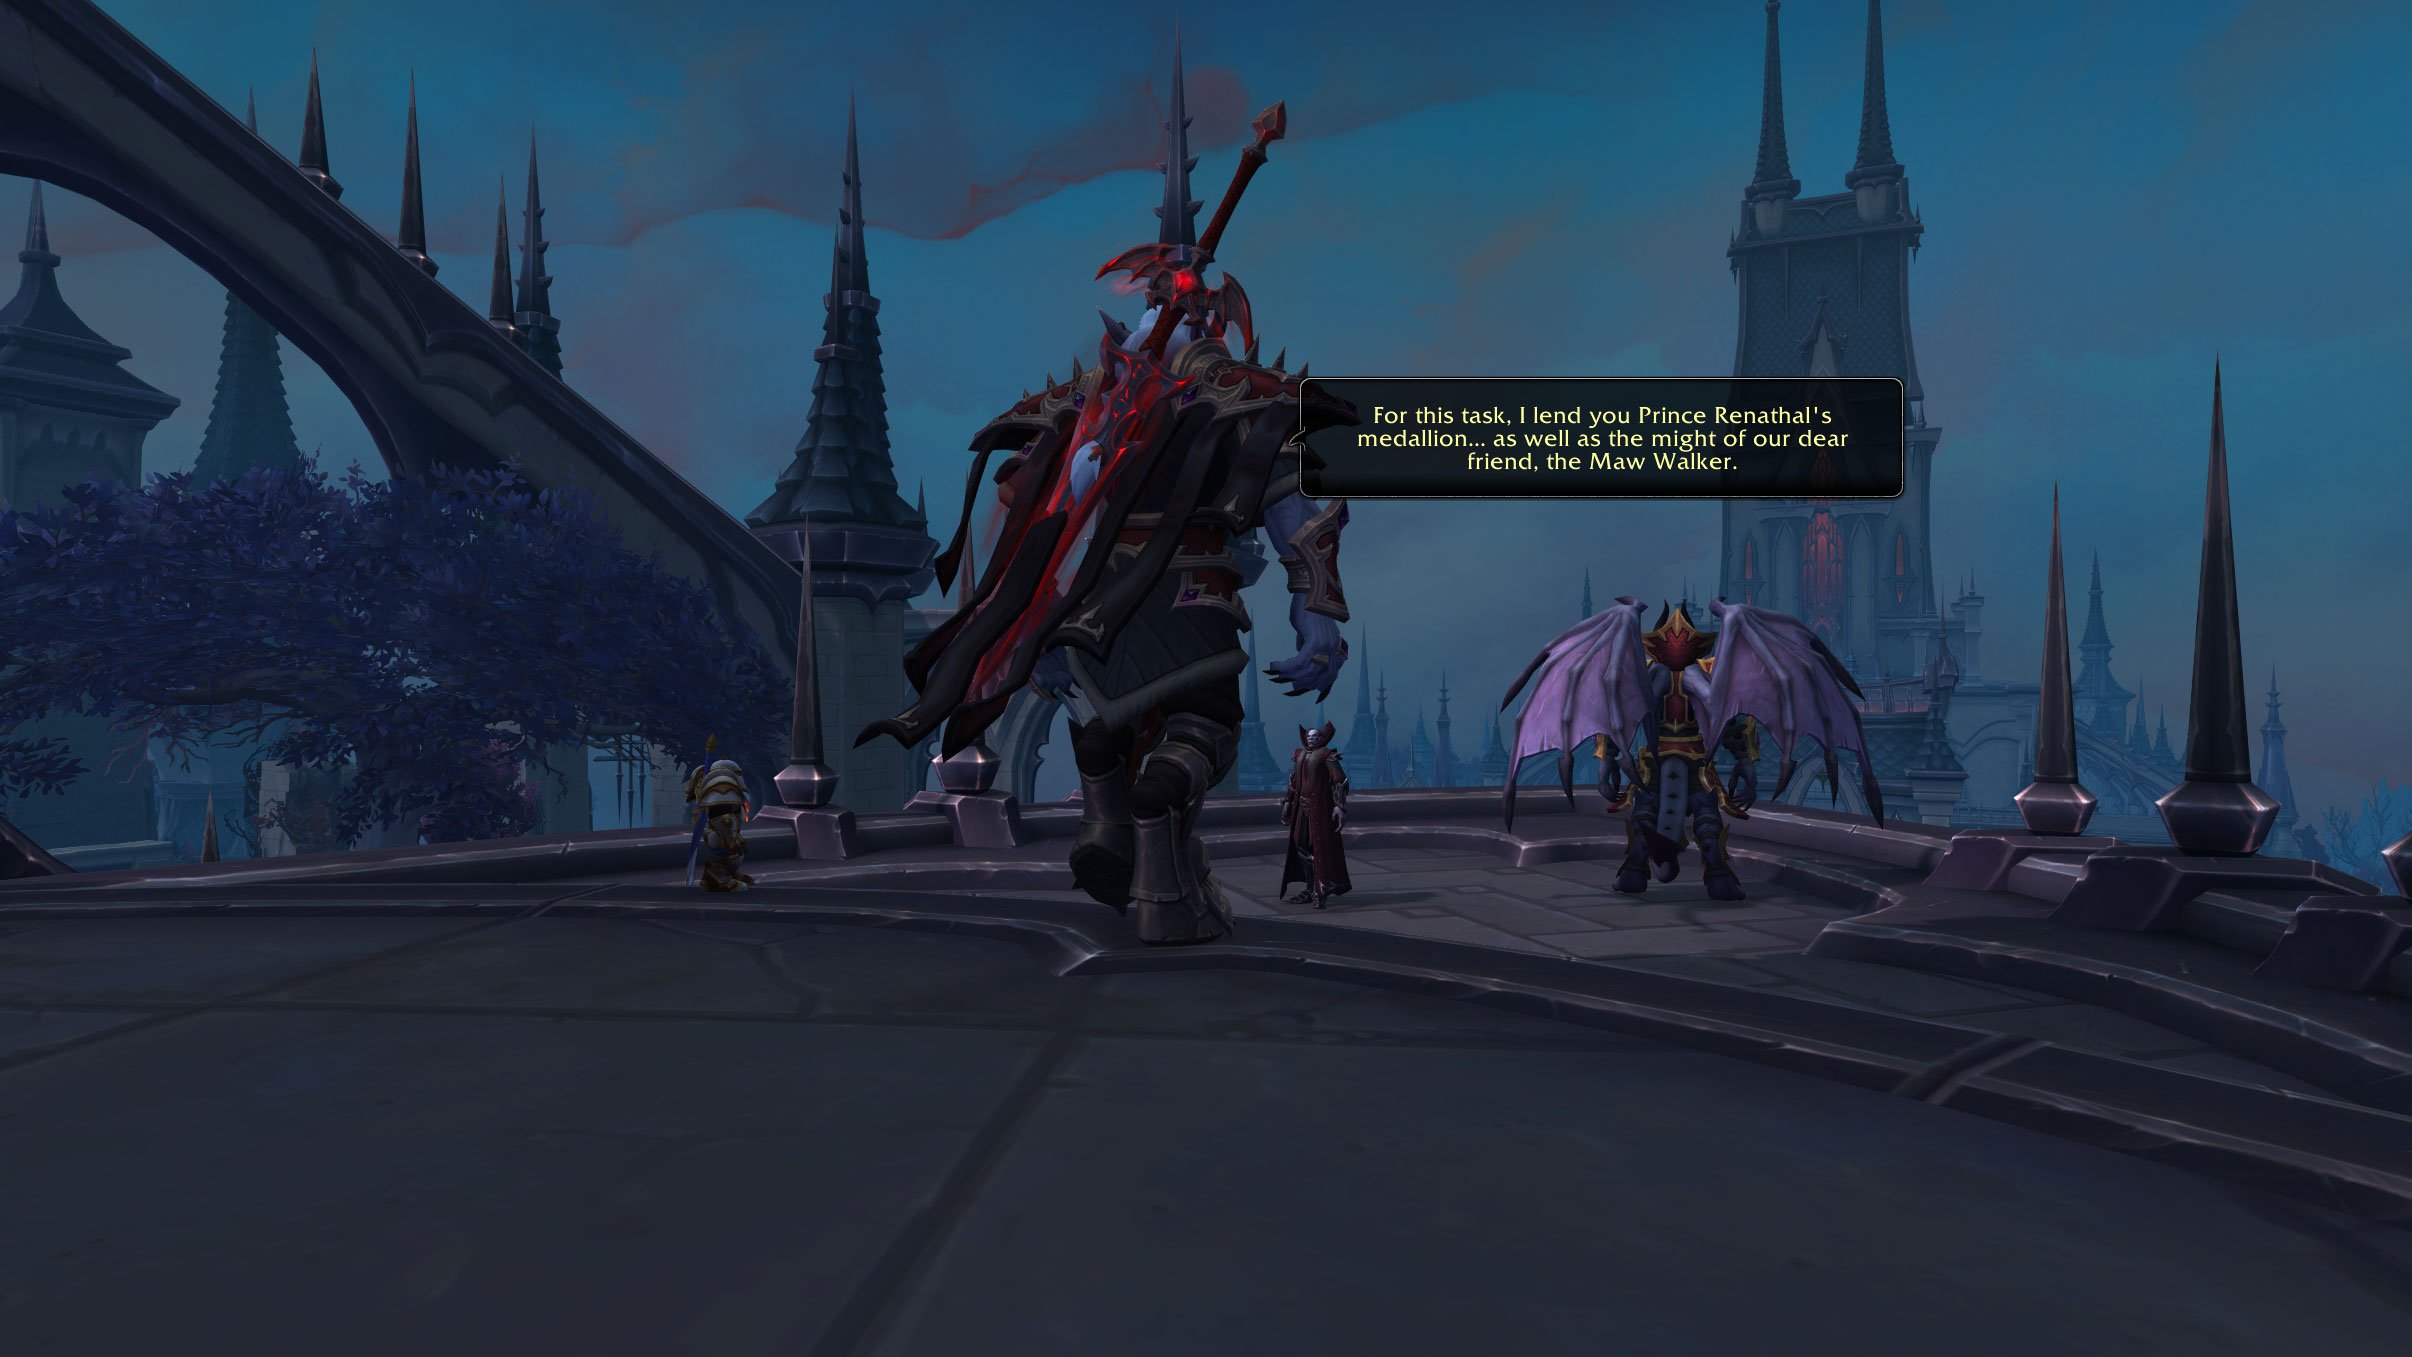
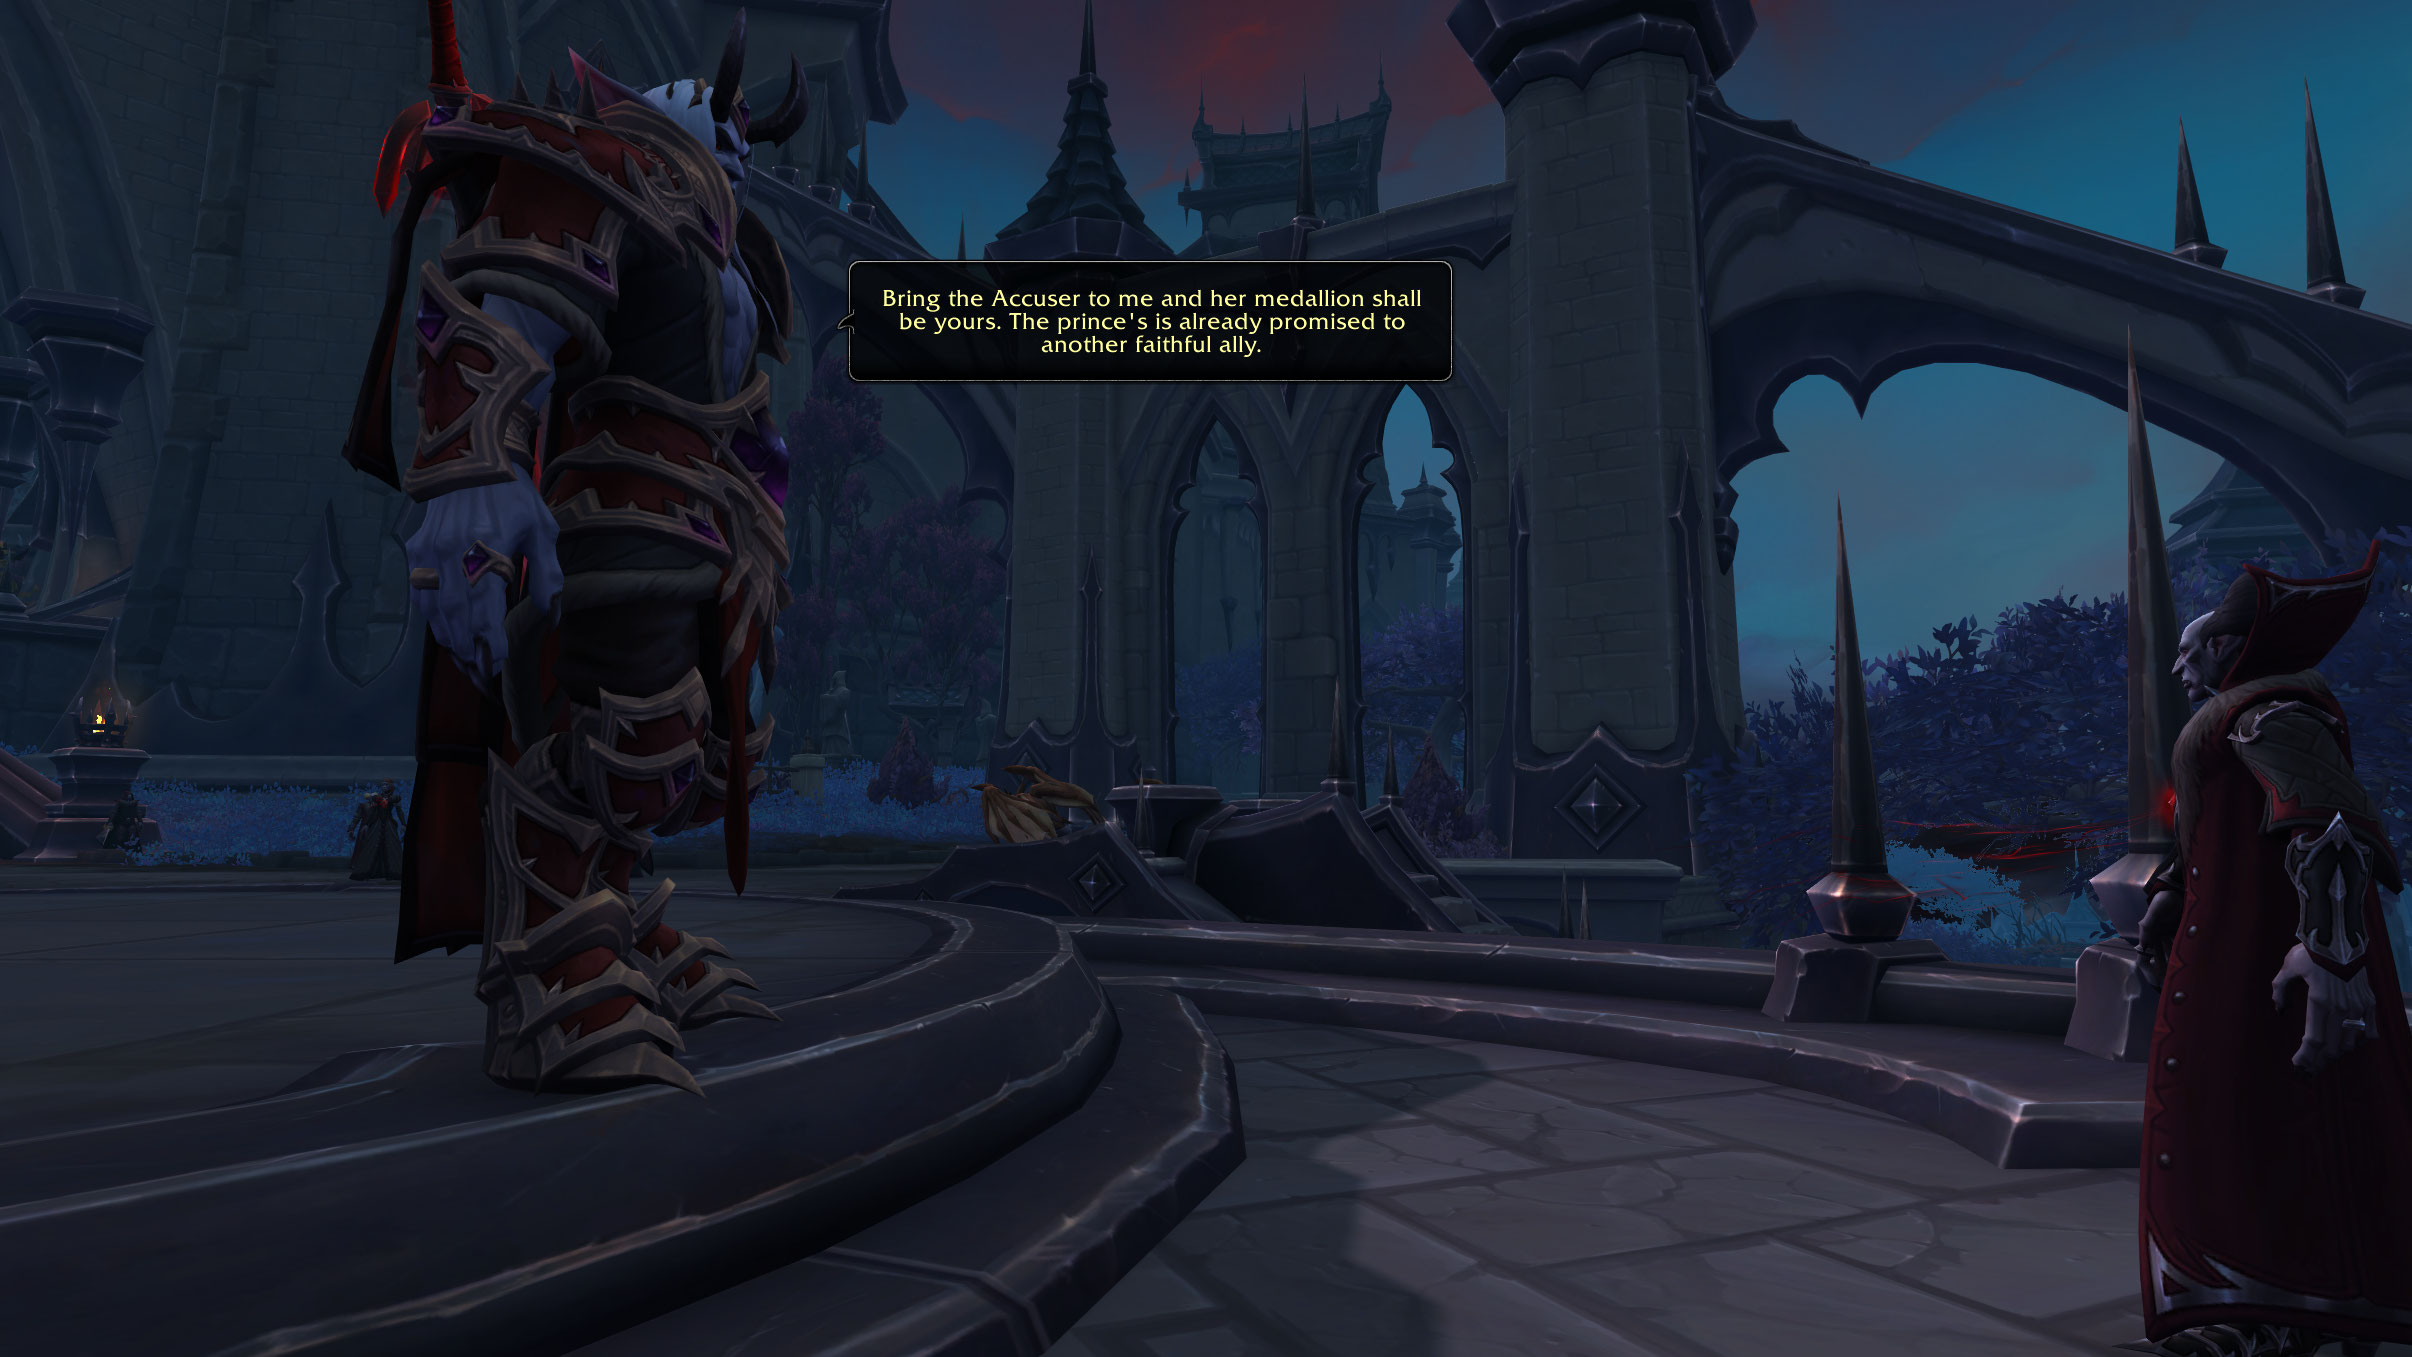
- You then introduce yourself to each member of the Court of Harvesters before the Master bestows upon you your Revendreth covenant ability to use while in the zone. He then commands Lord Chamberlain to put an end to this failed rebellion, granting him Prince Renathal's Medallion and asking you to bring the Accuser to him.


Chapter 3
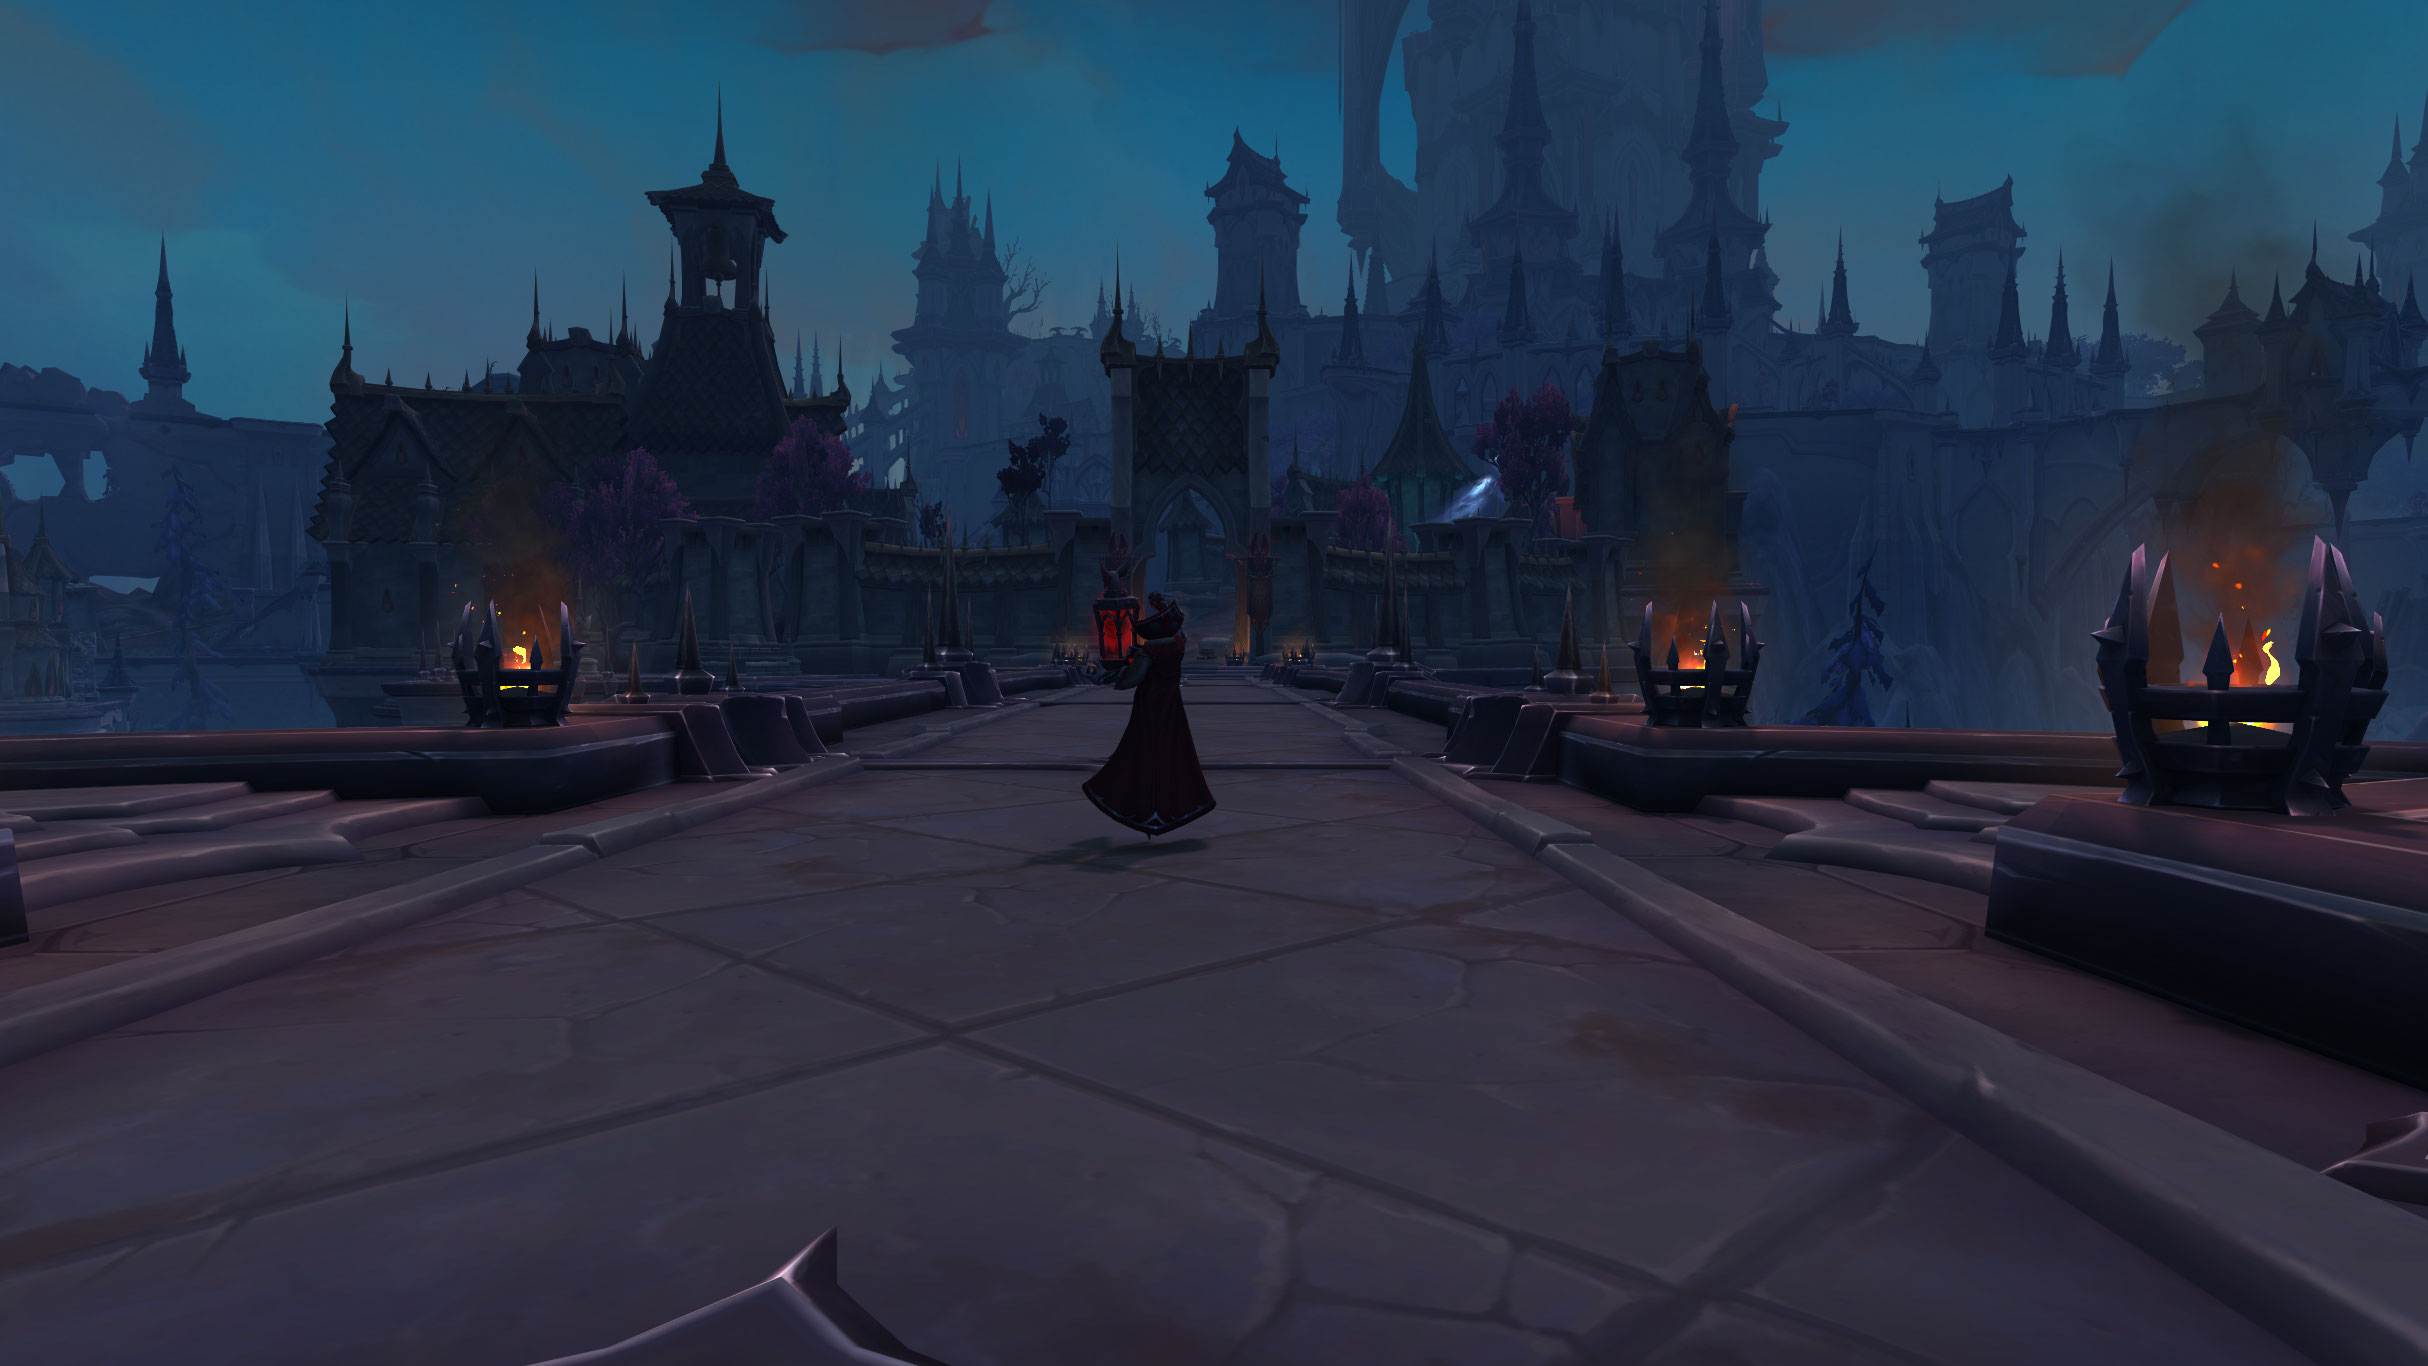
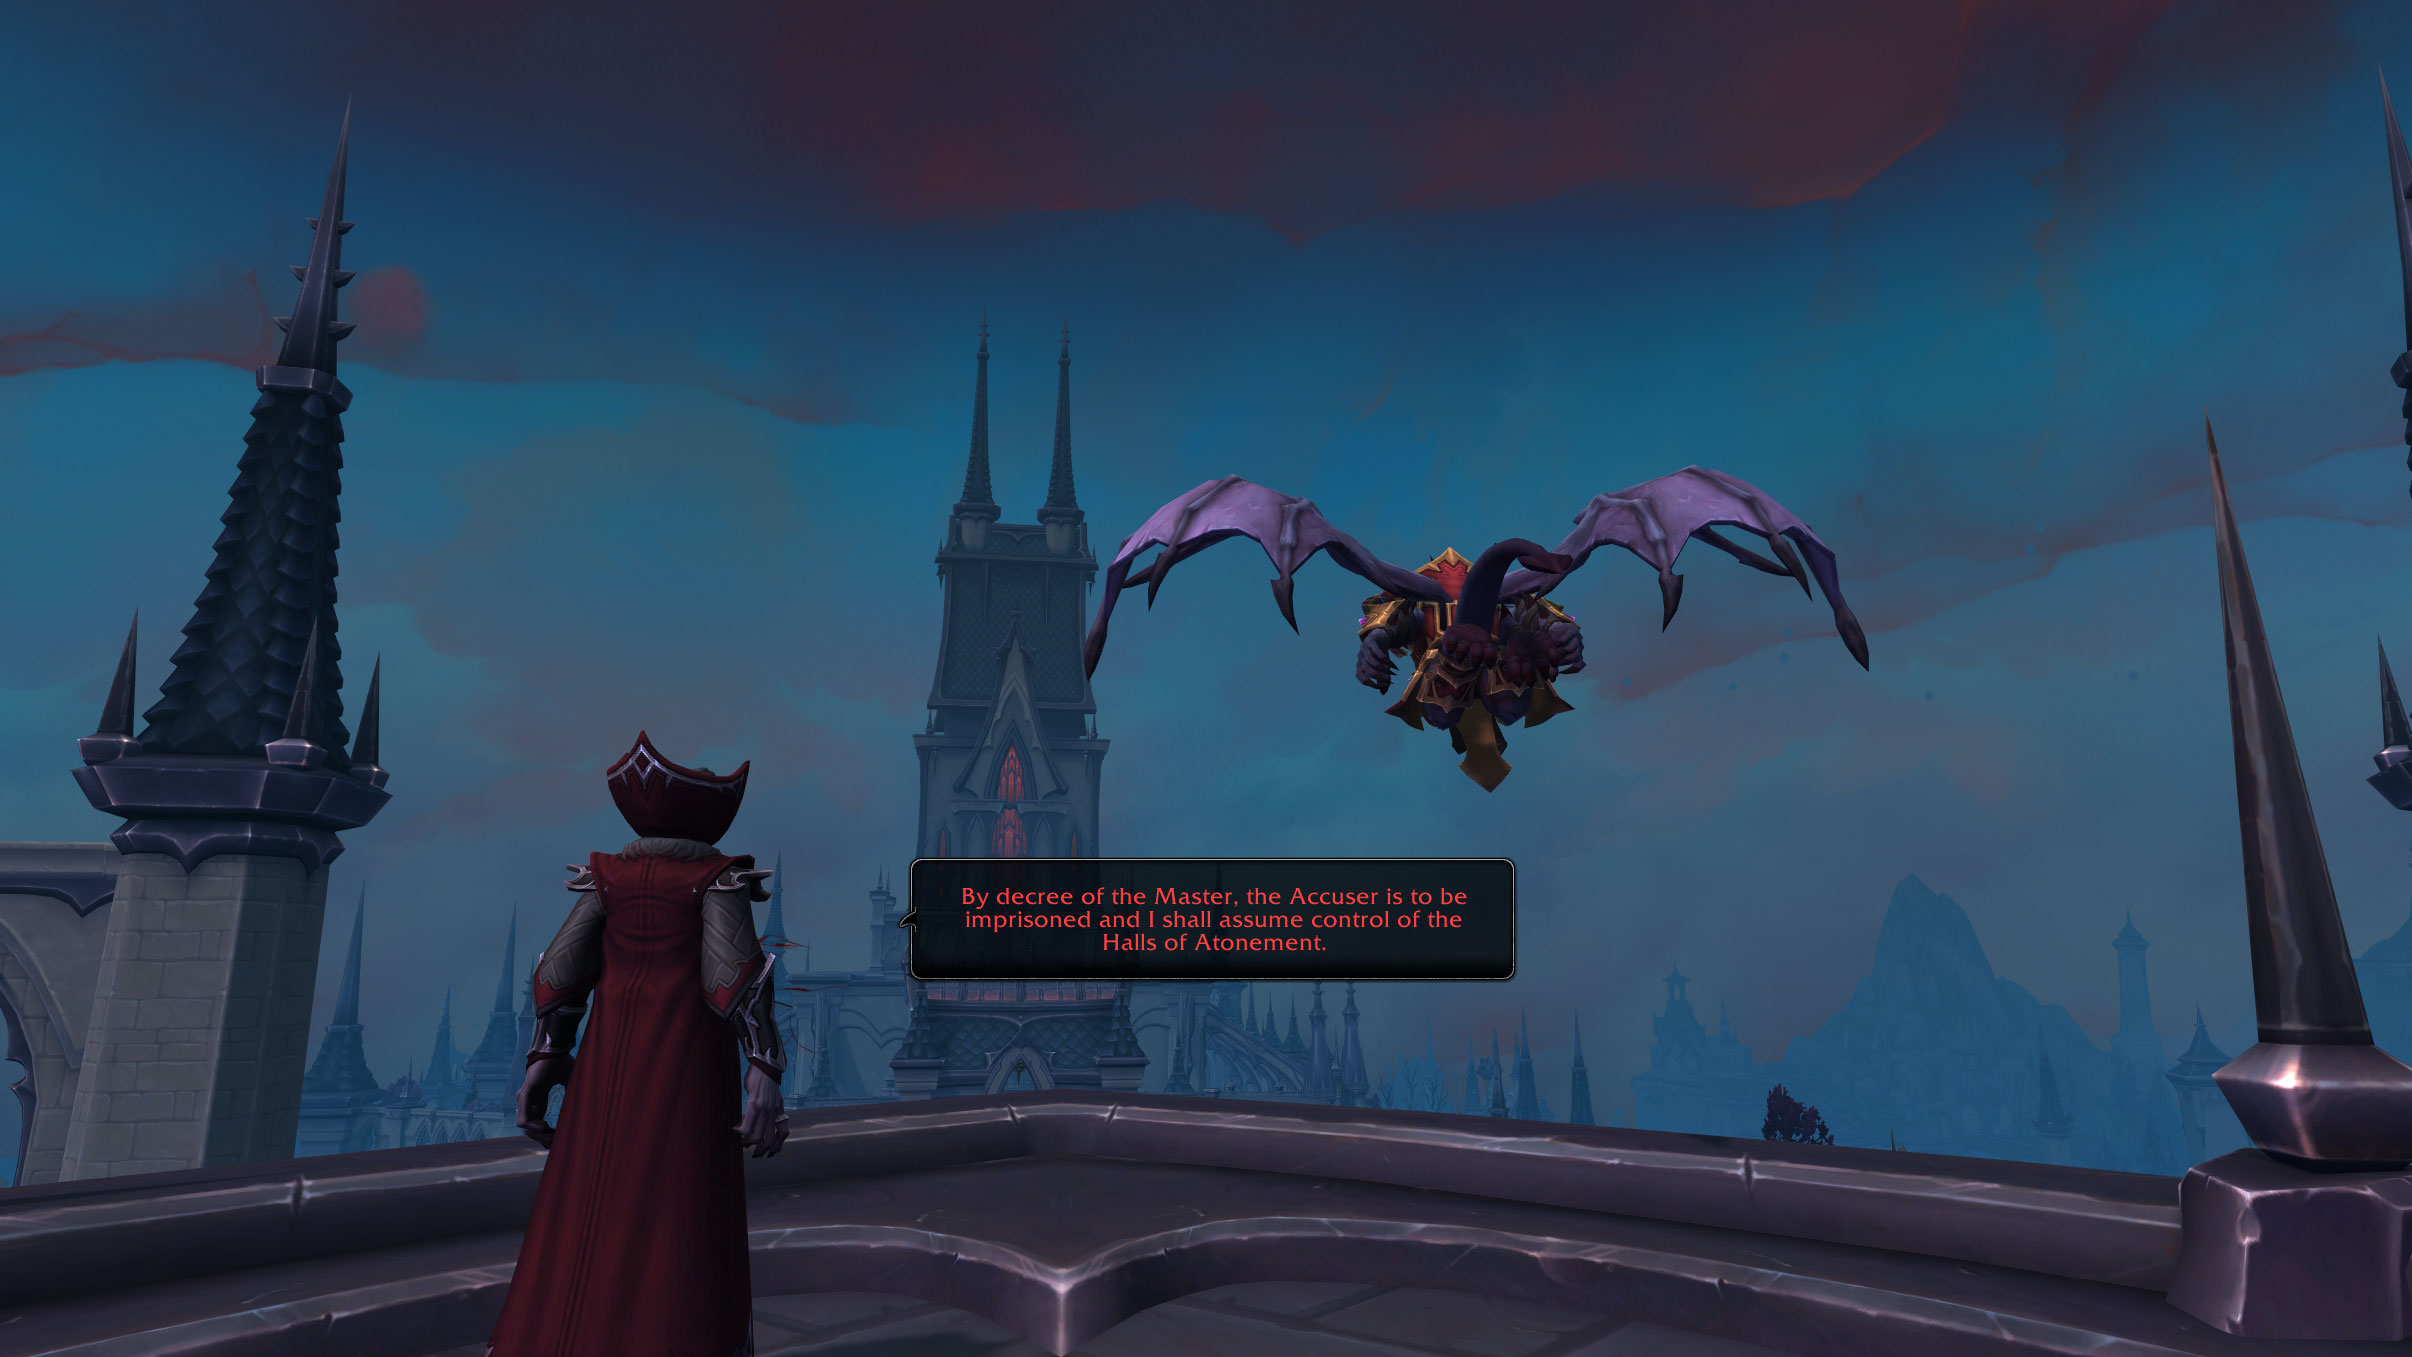
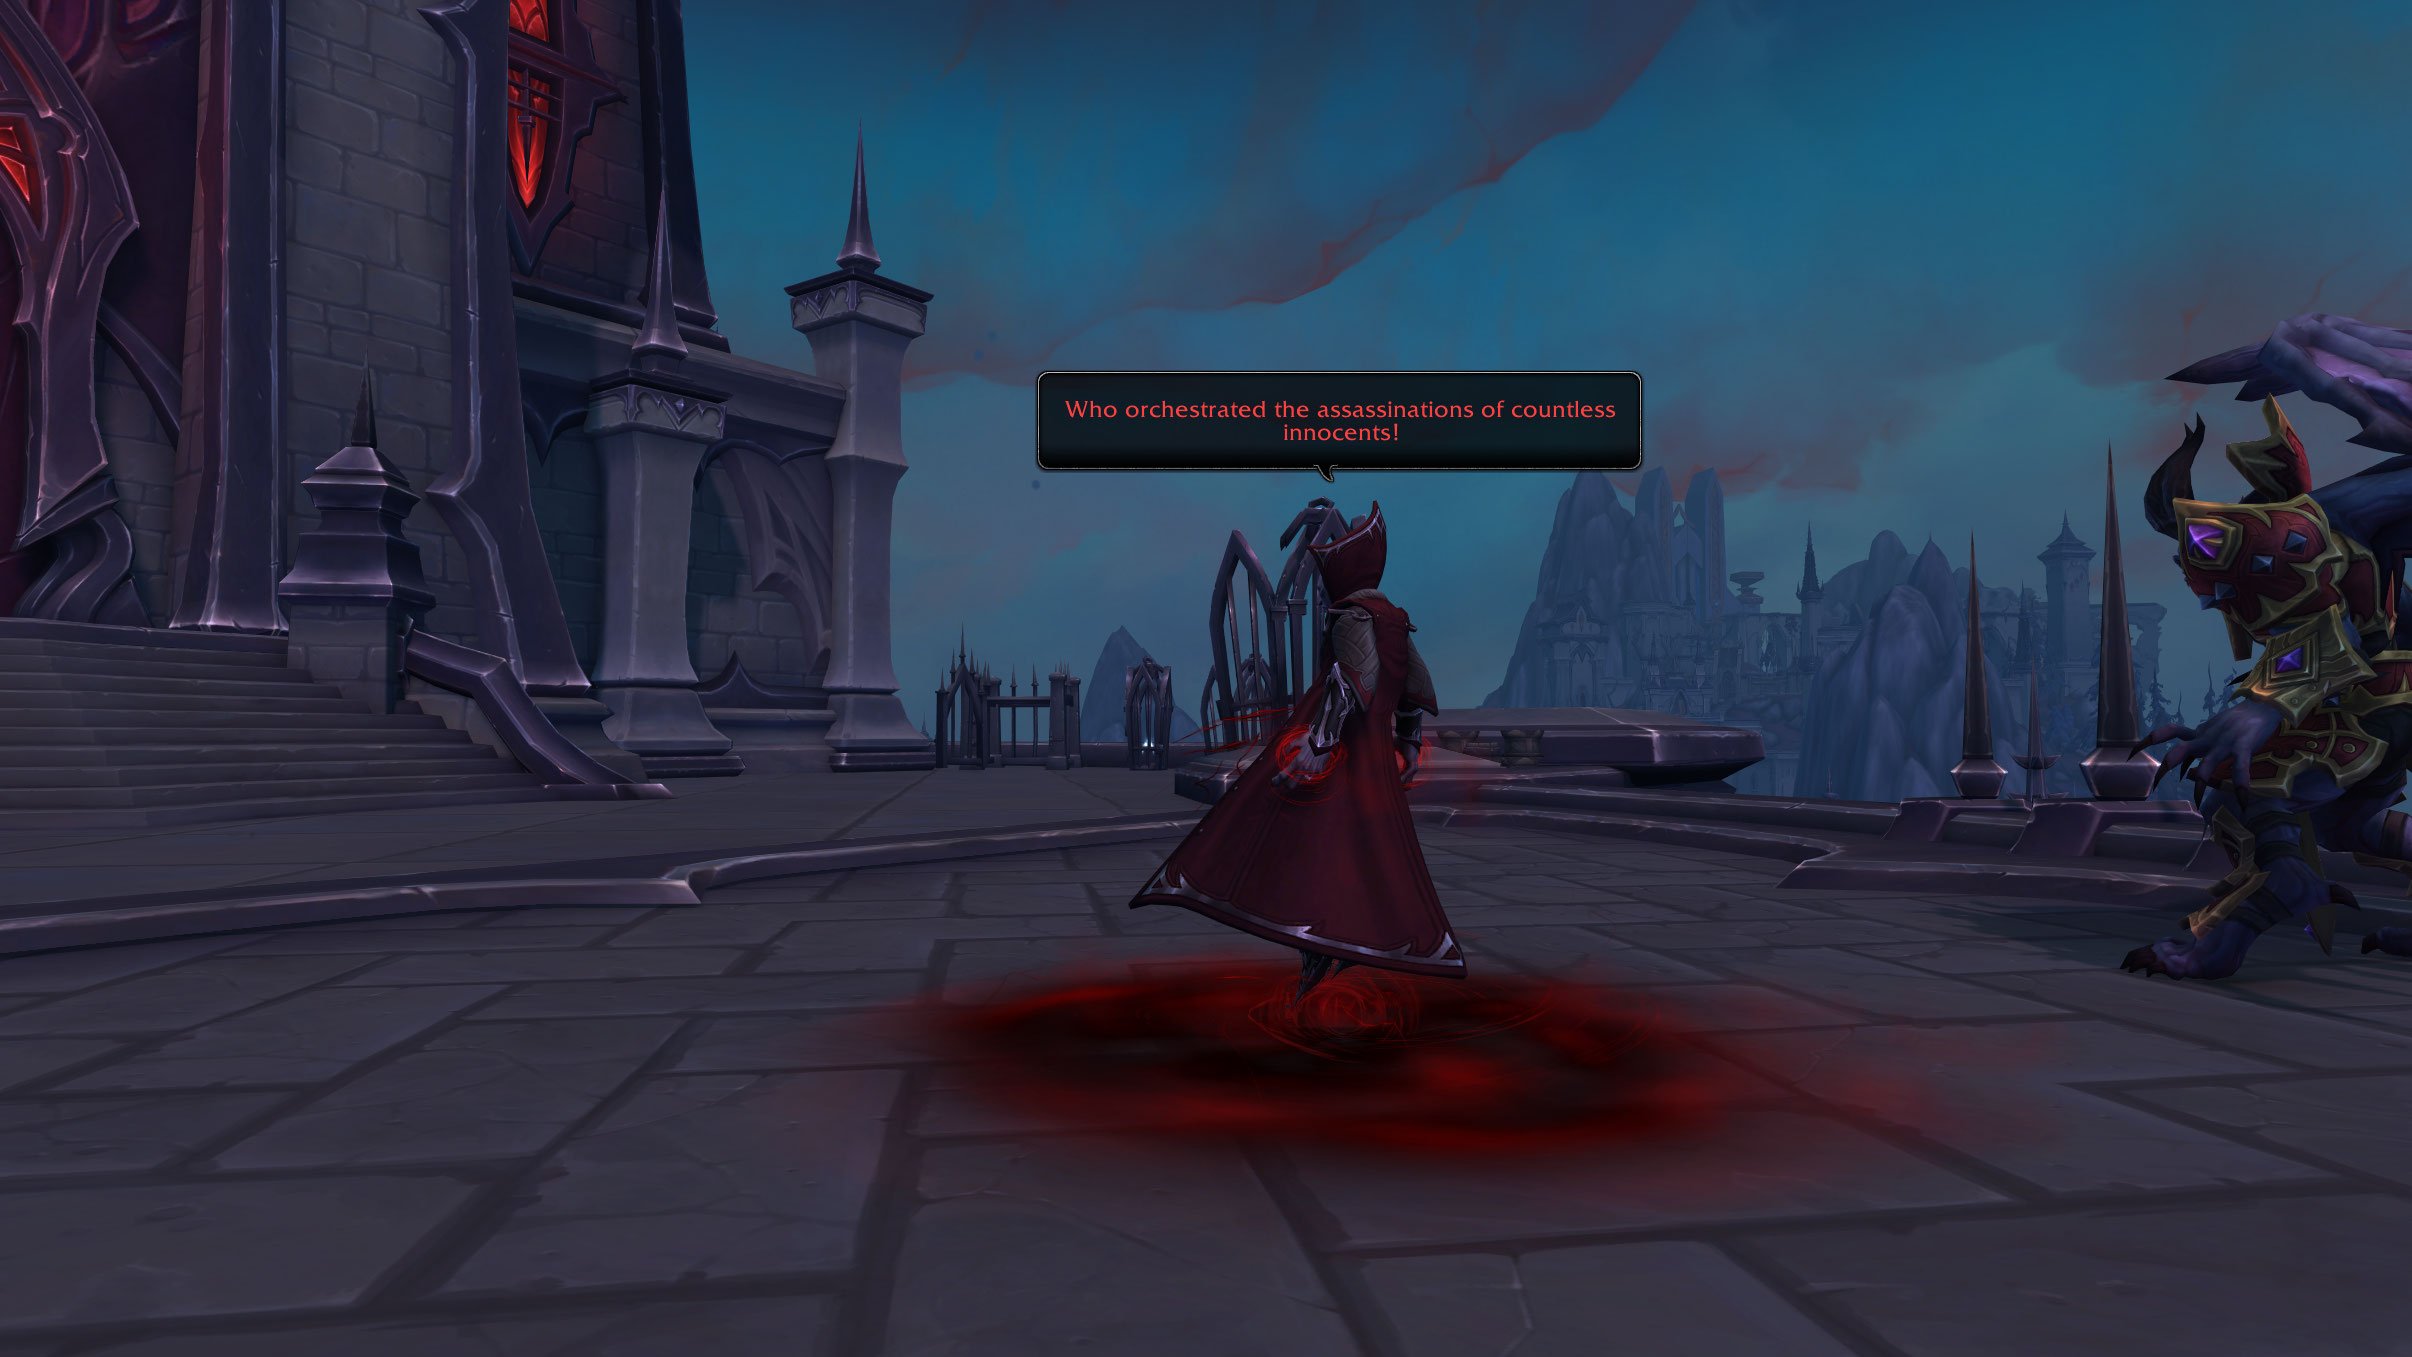
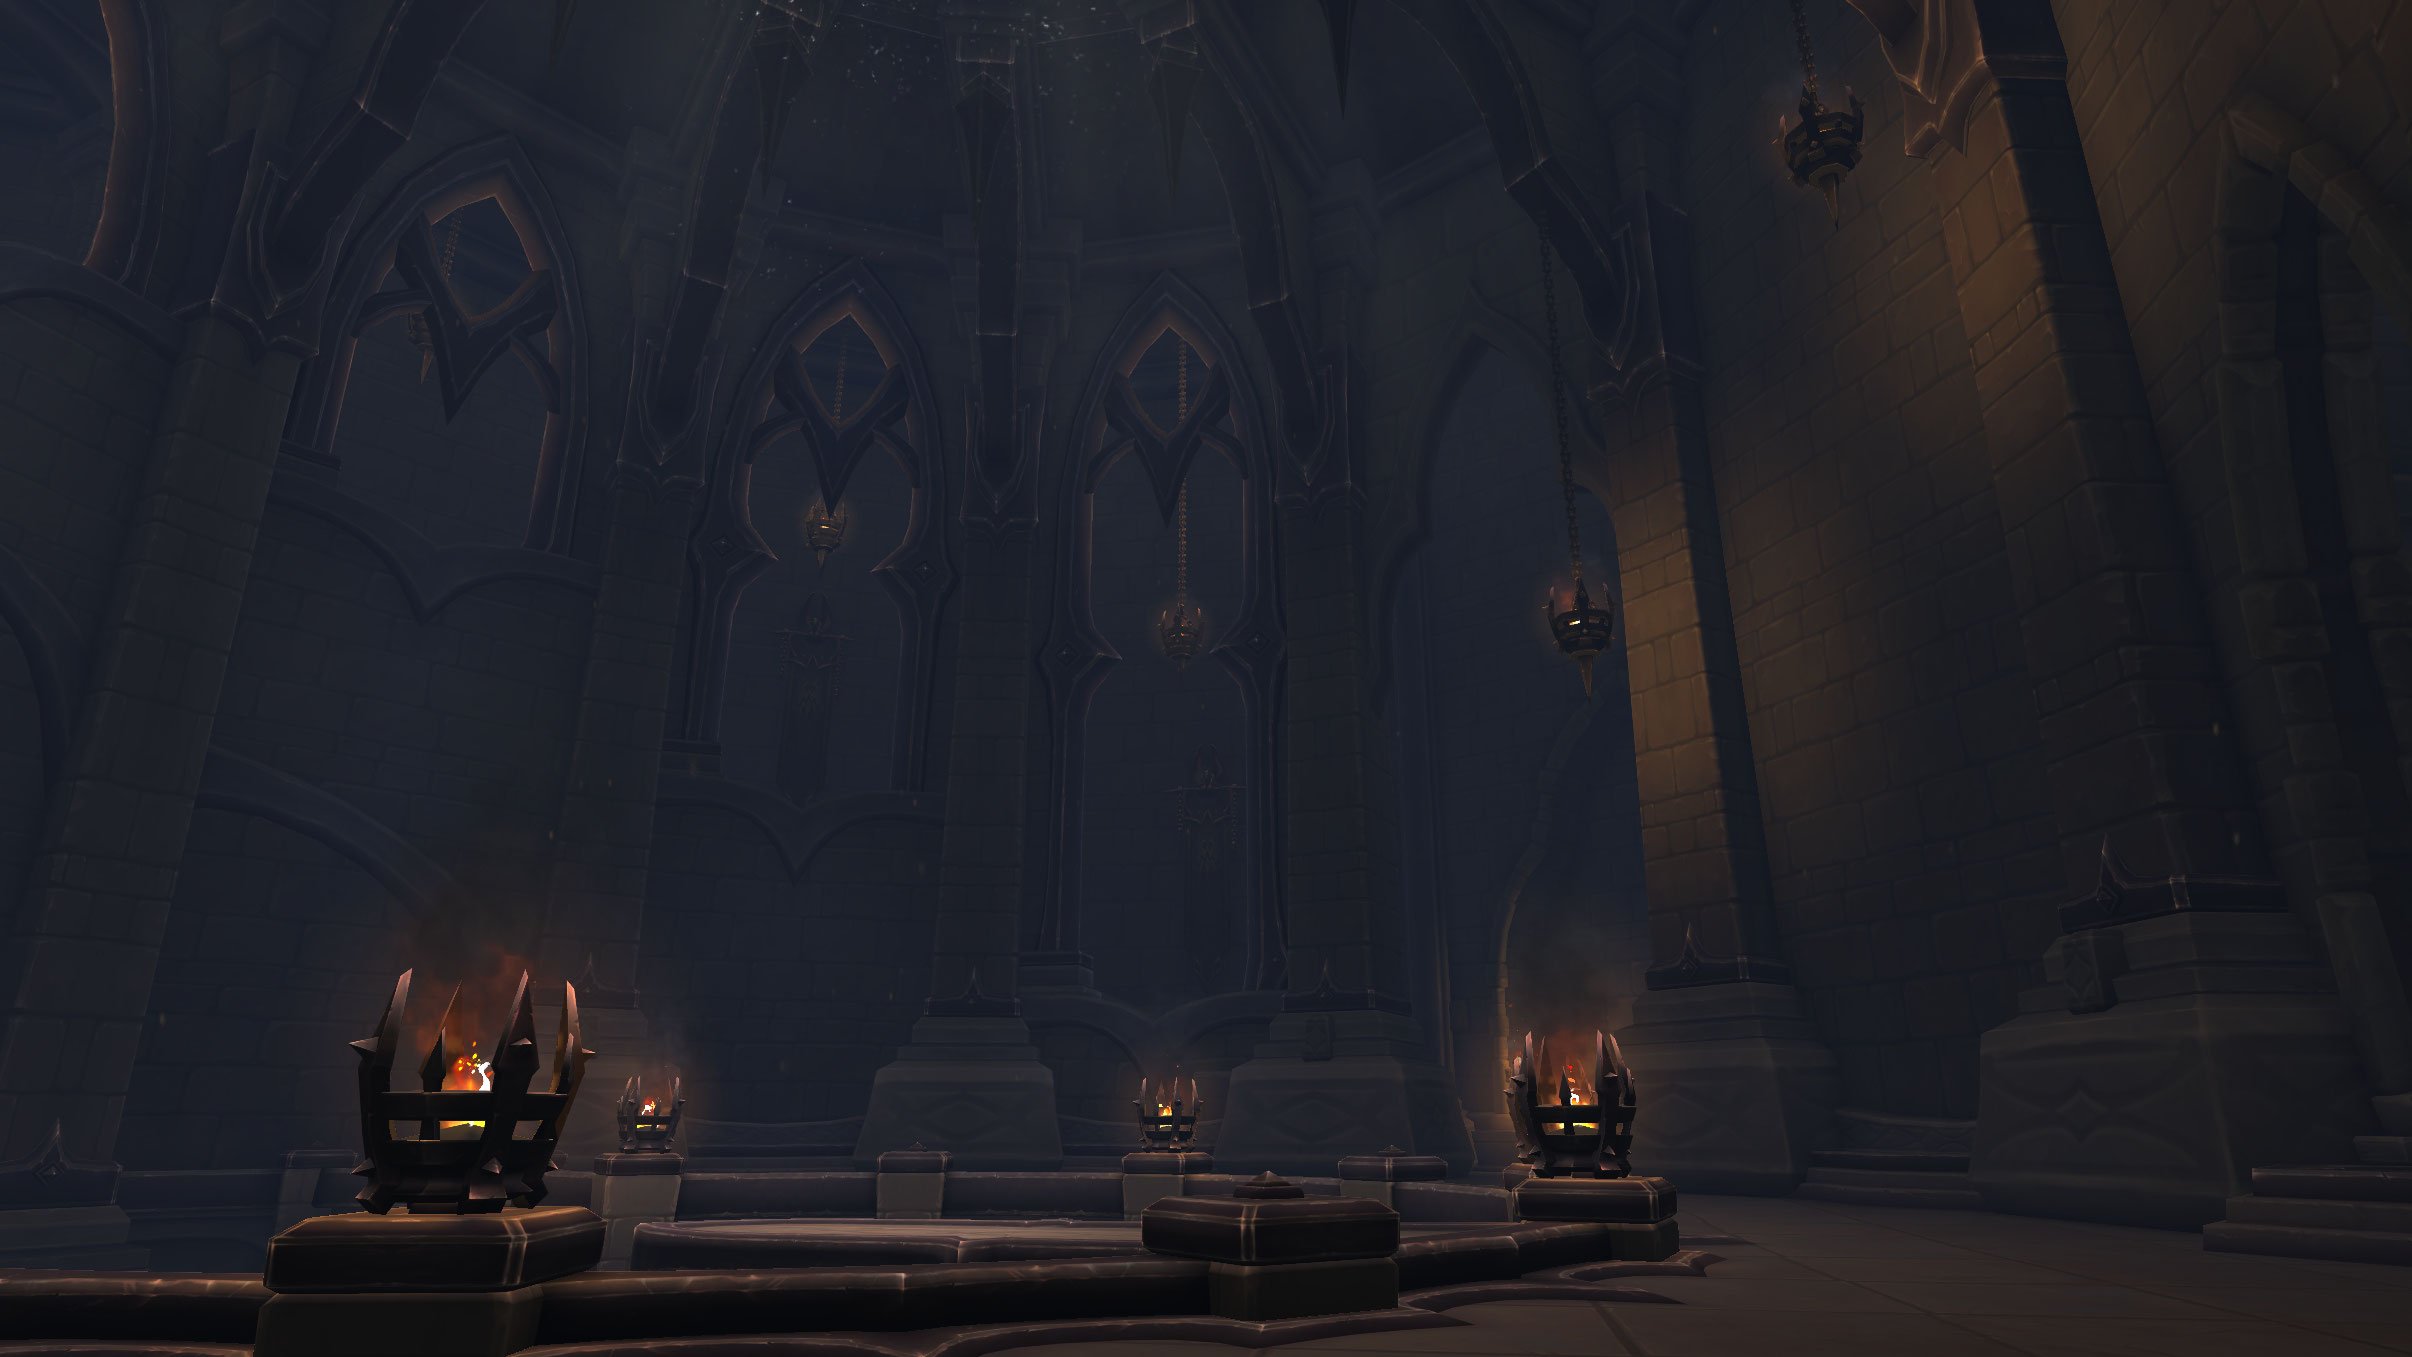
- You must then clear the nearby bridge of enemies for the Lord Chamberlain. He exclaims that the Accuser is to be imprisoned and he shall assume control of the Halls of Atonement. All who resist the Master's decree will be executed. The Accuser shouts back that the decree is rejected along with the Master. The two bicker back and forth before the Accuser taunts Lord Chamberlain to approach the halls to let her prove how unworthy he is of his title.
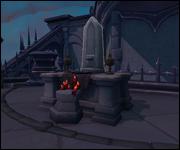
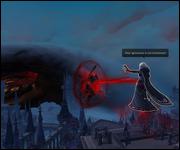
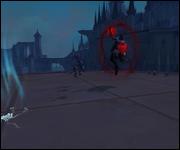
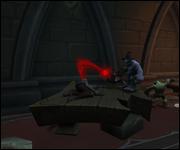
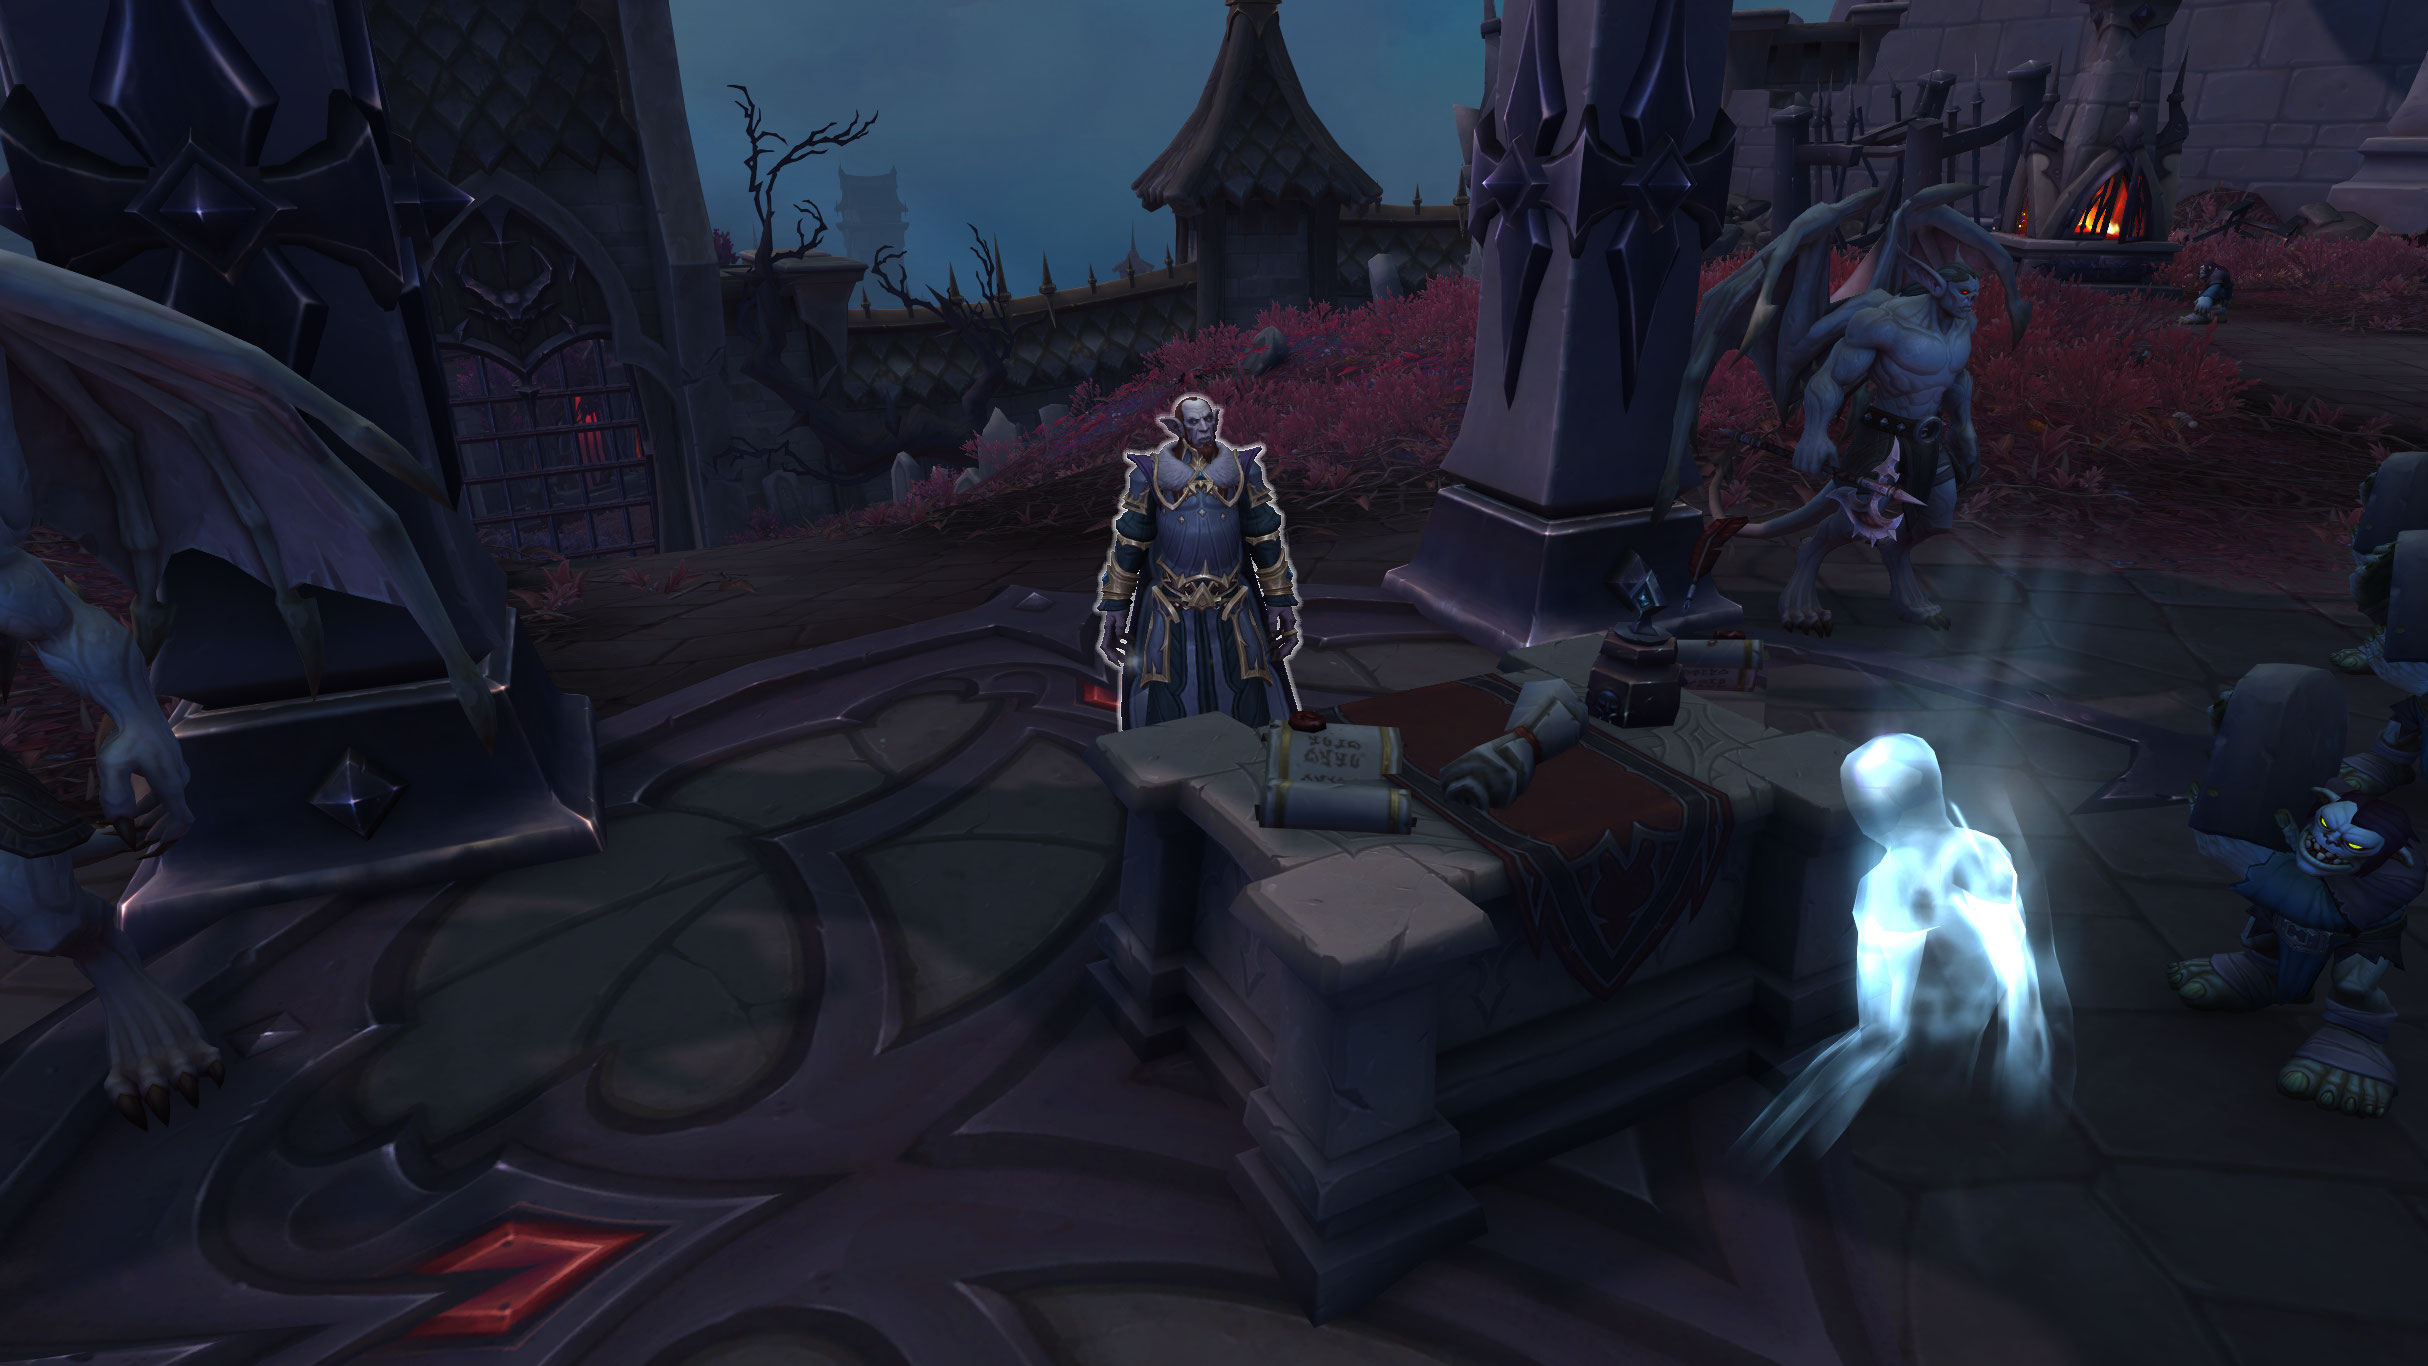
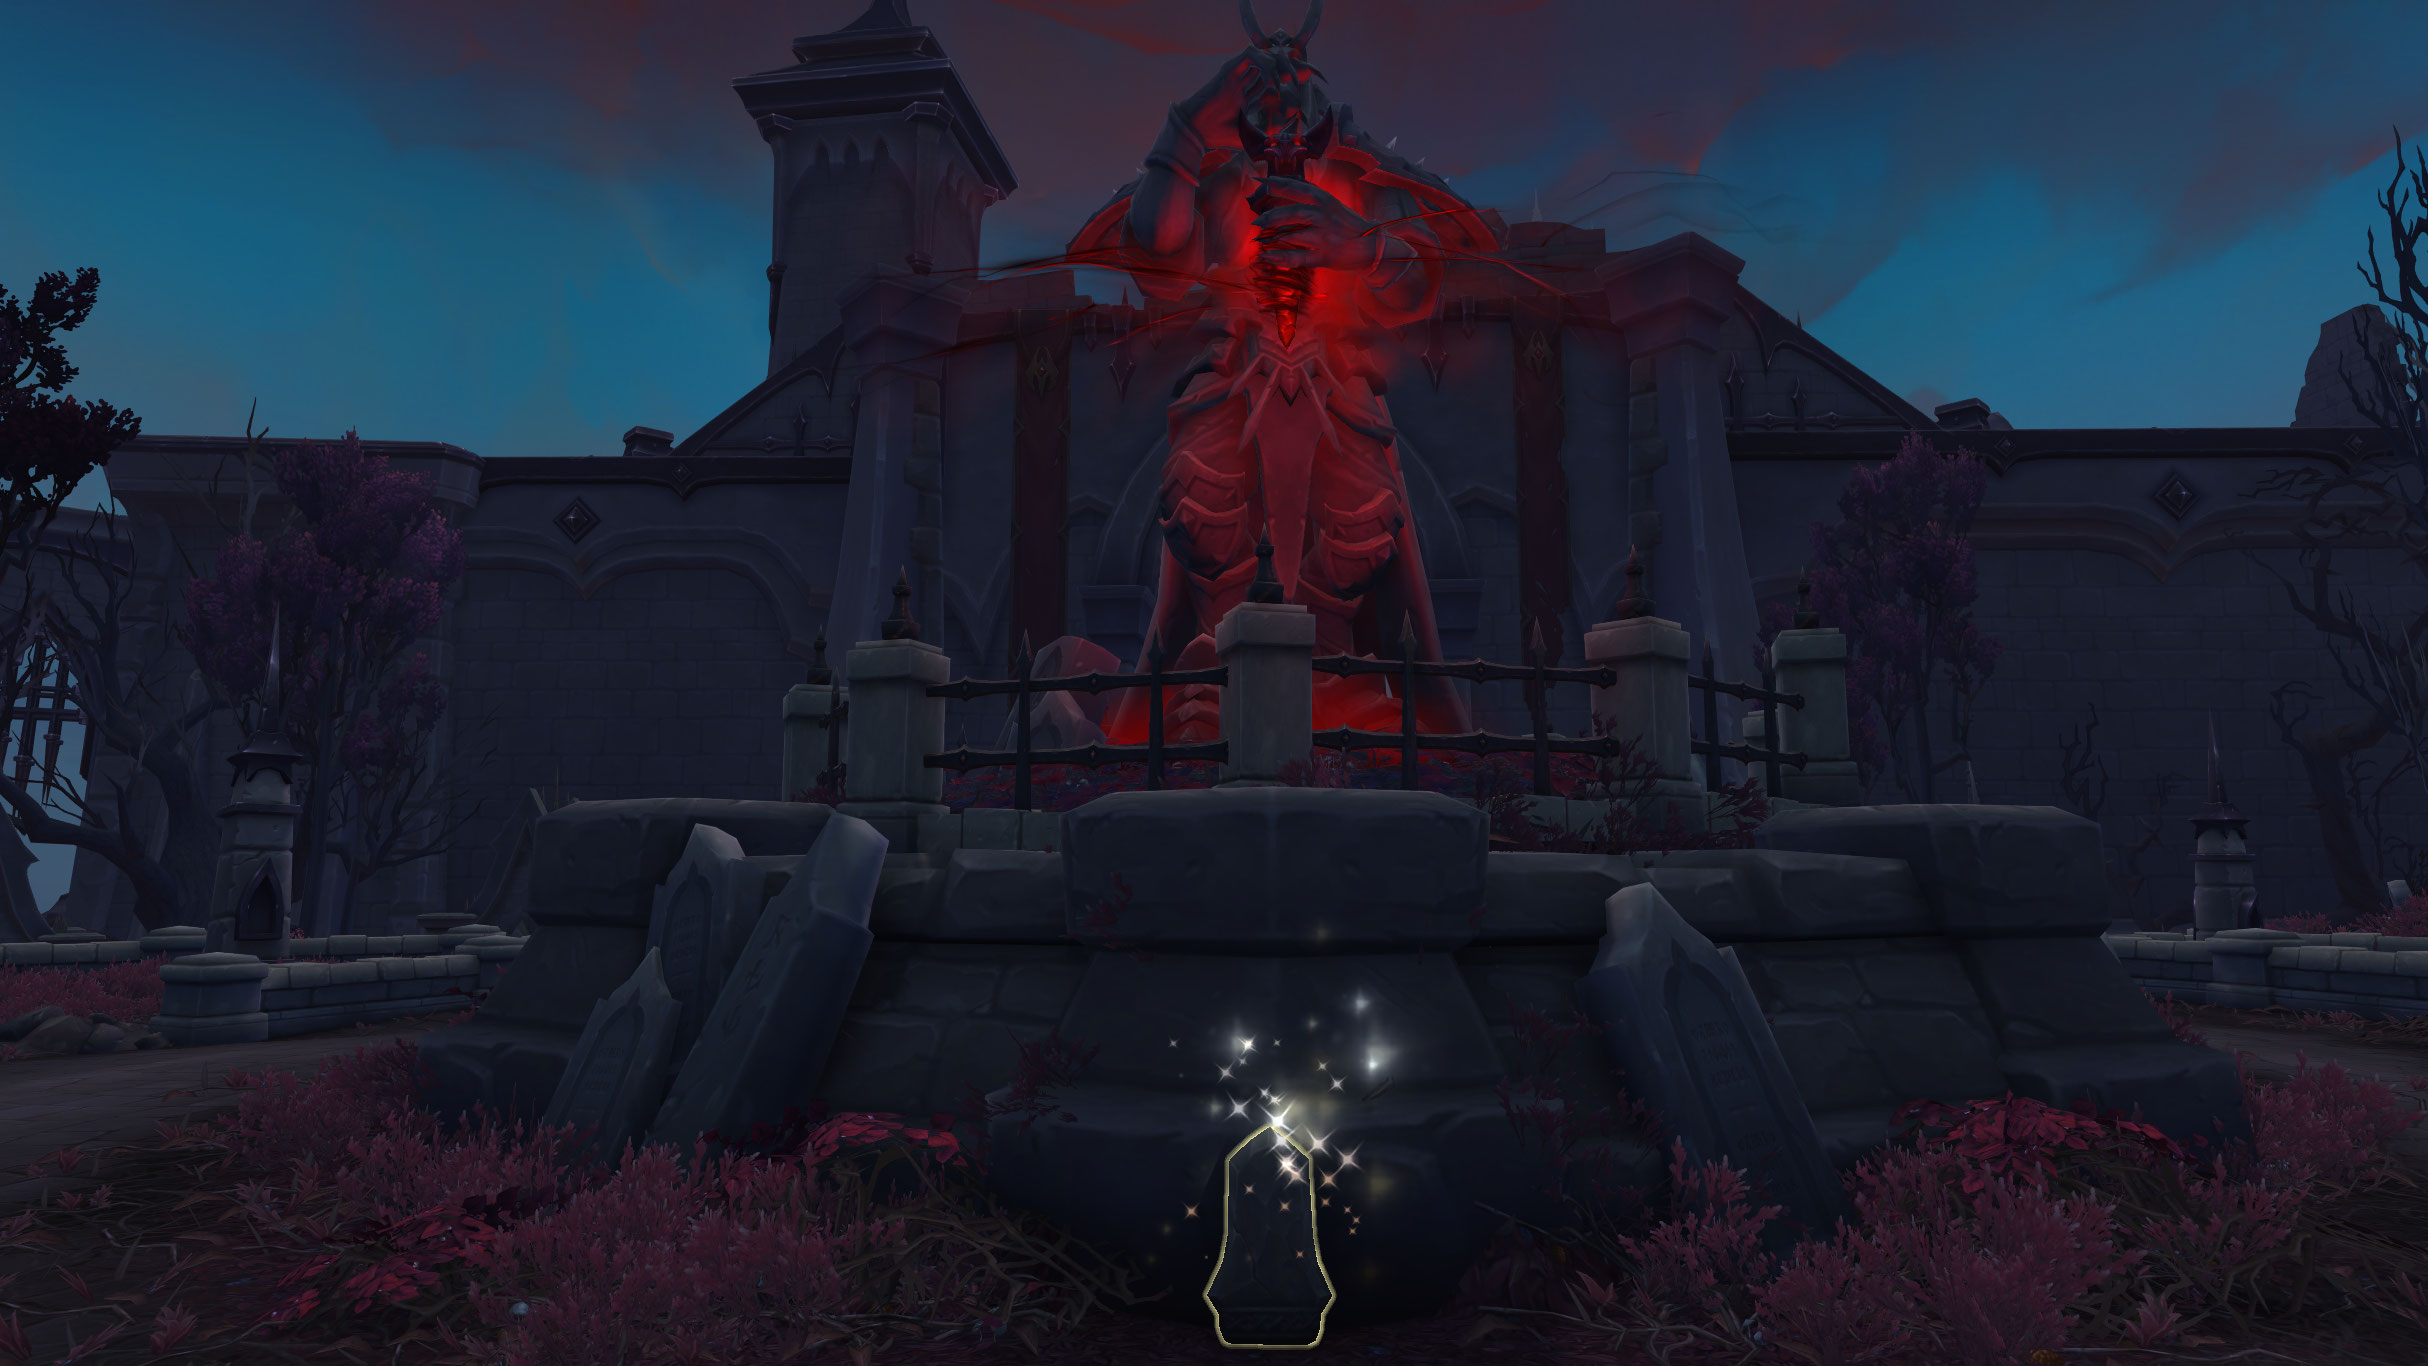
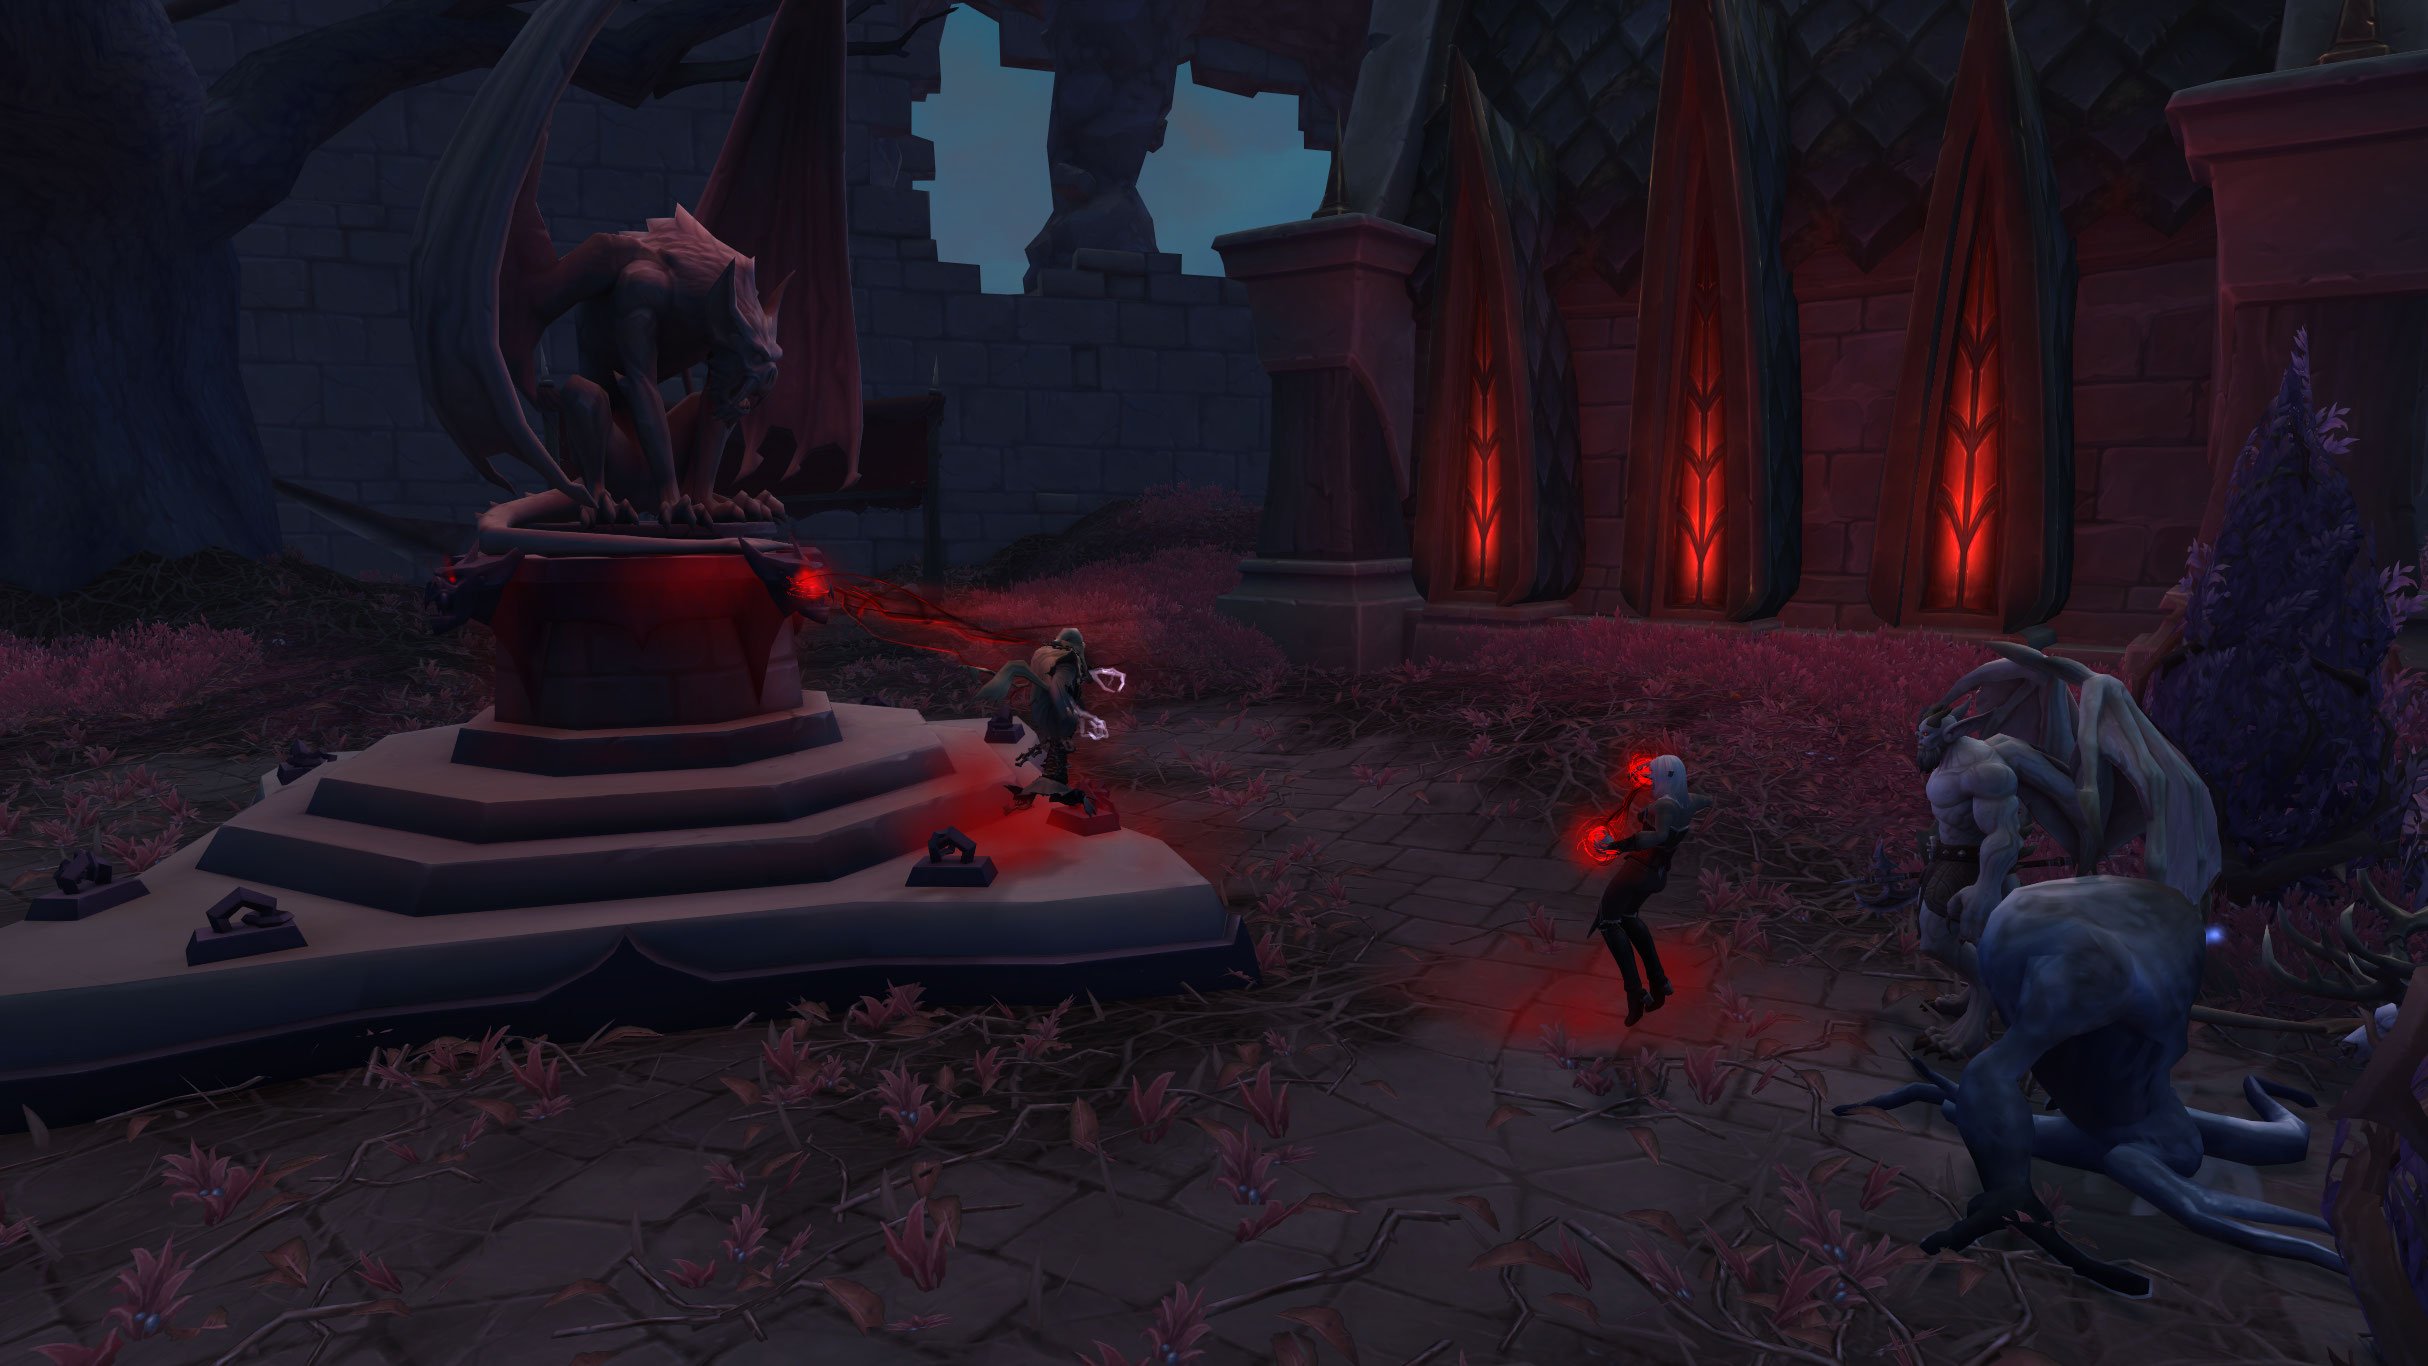
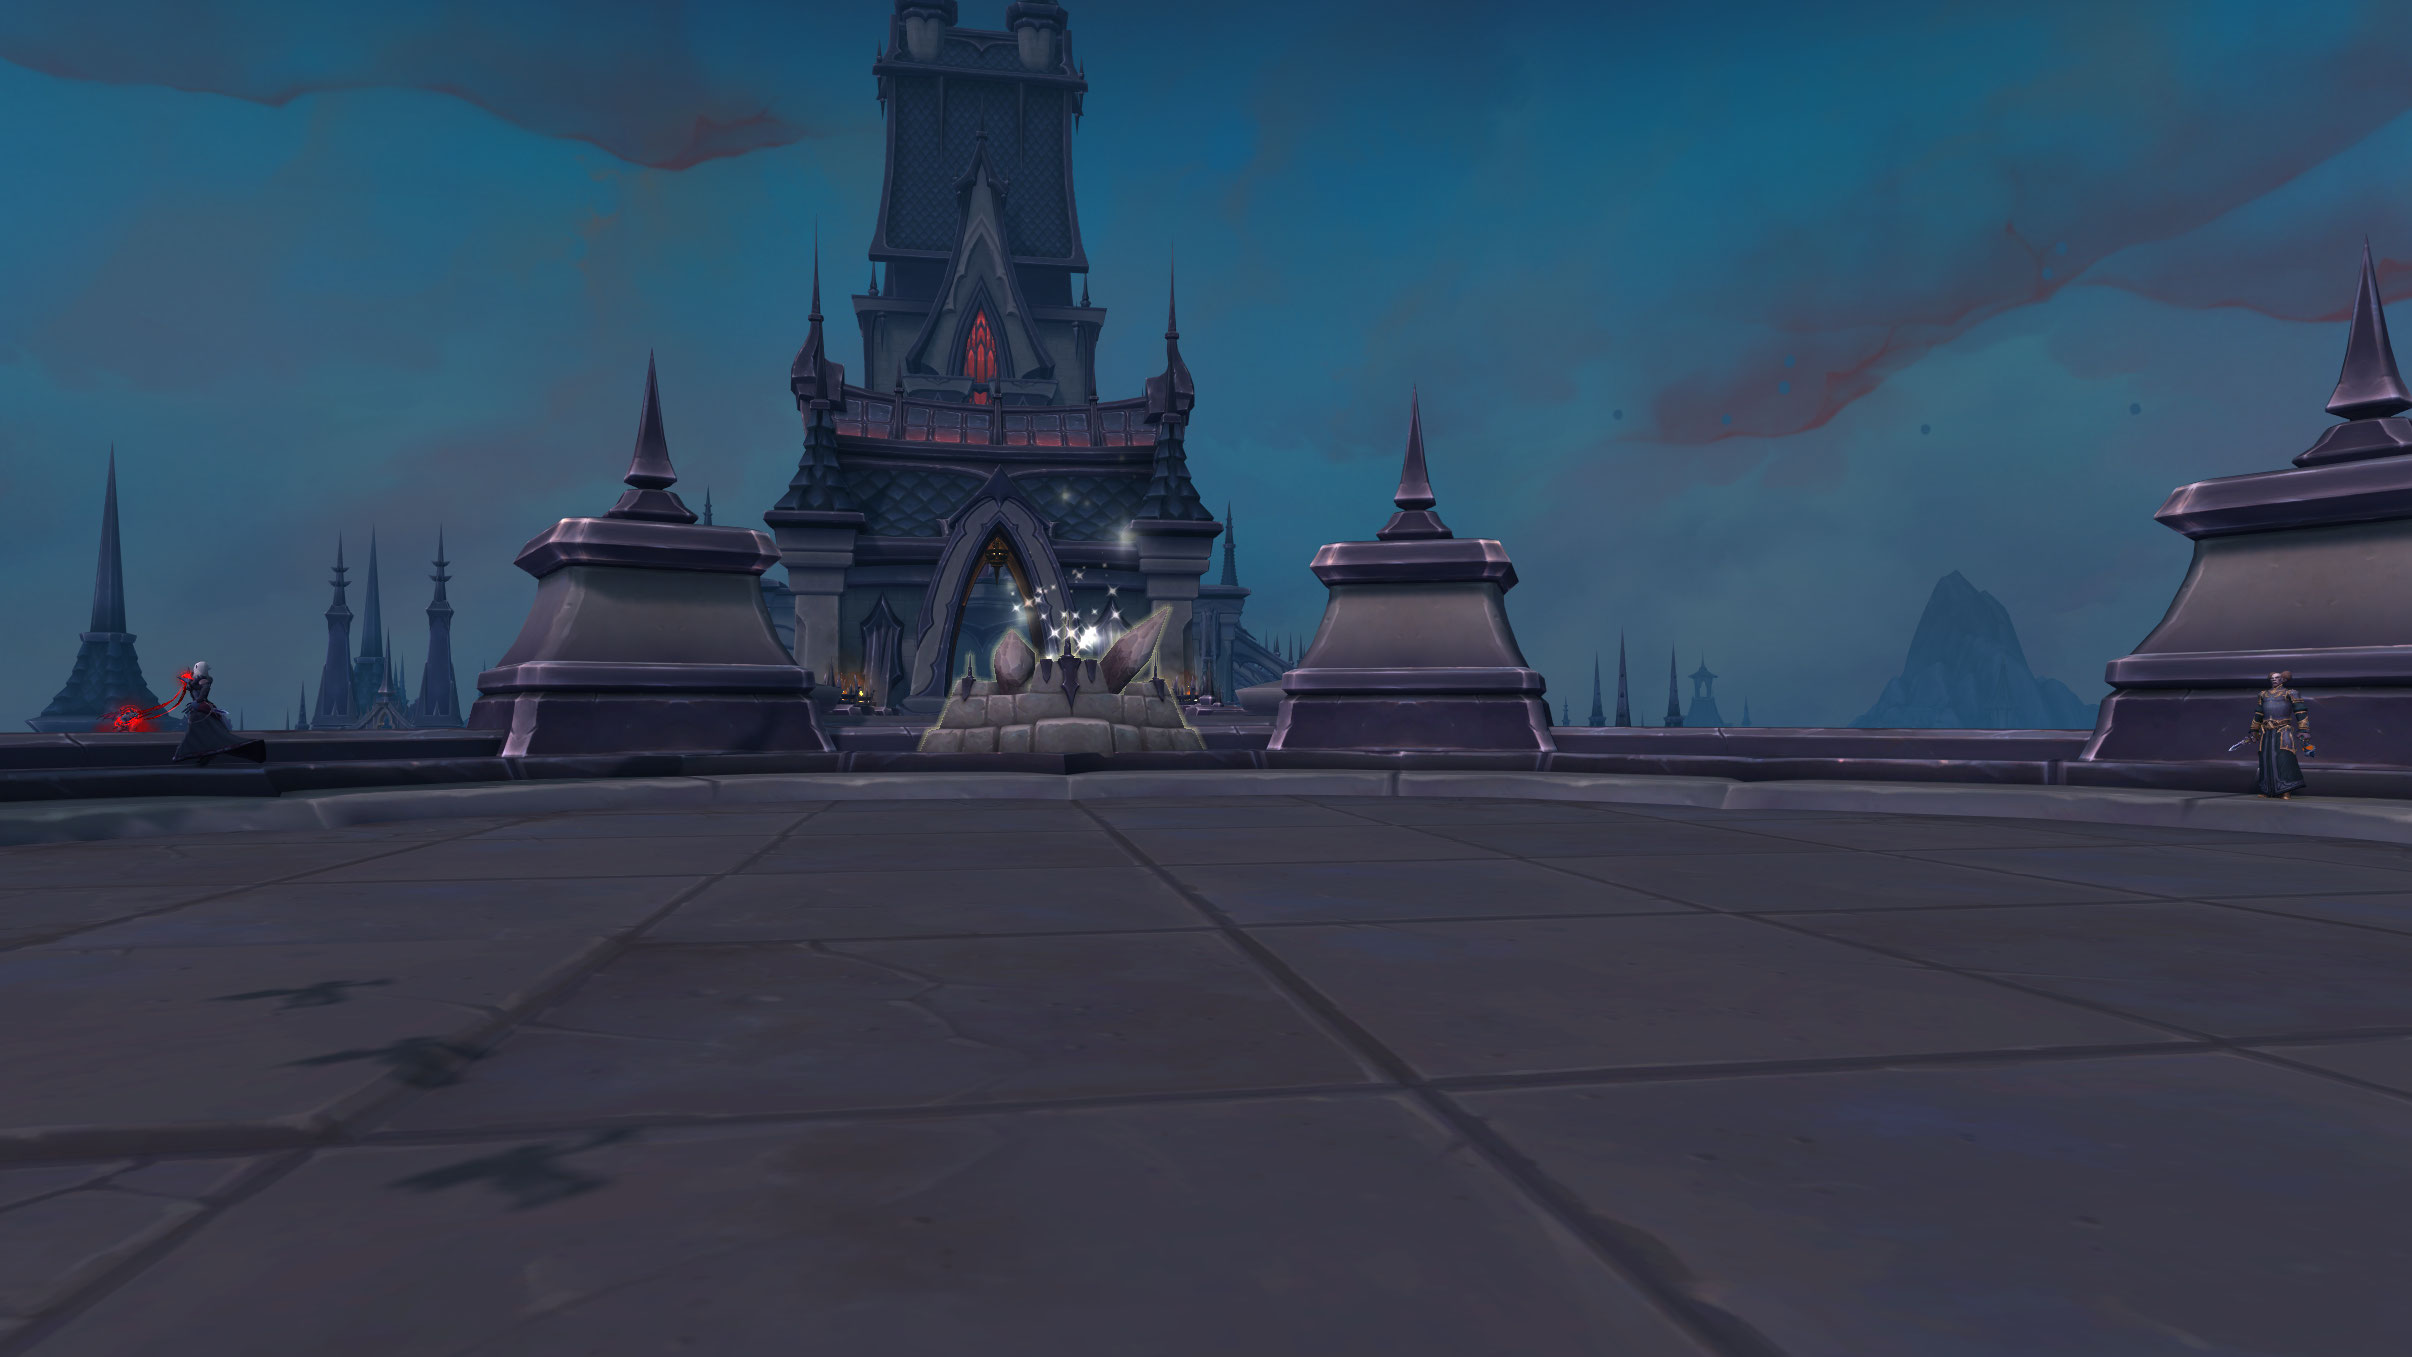
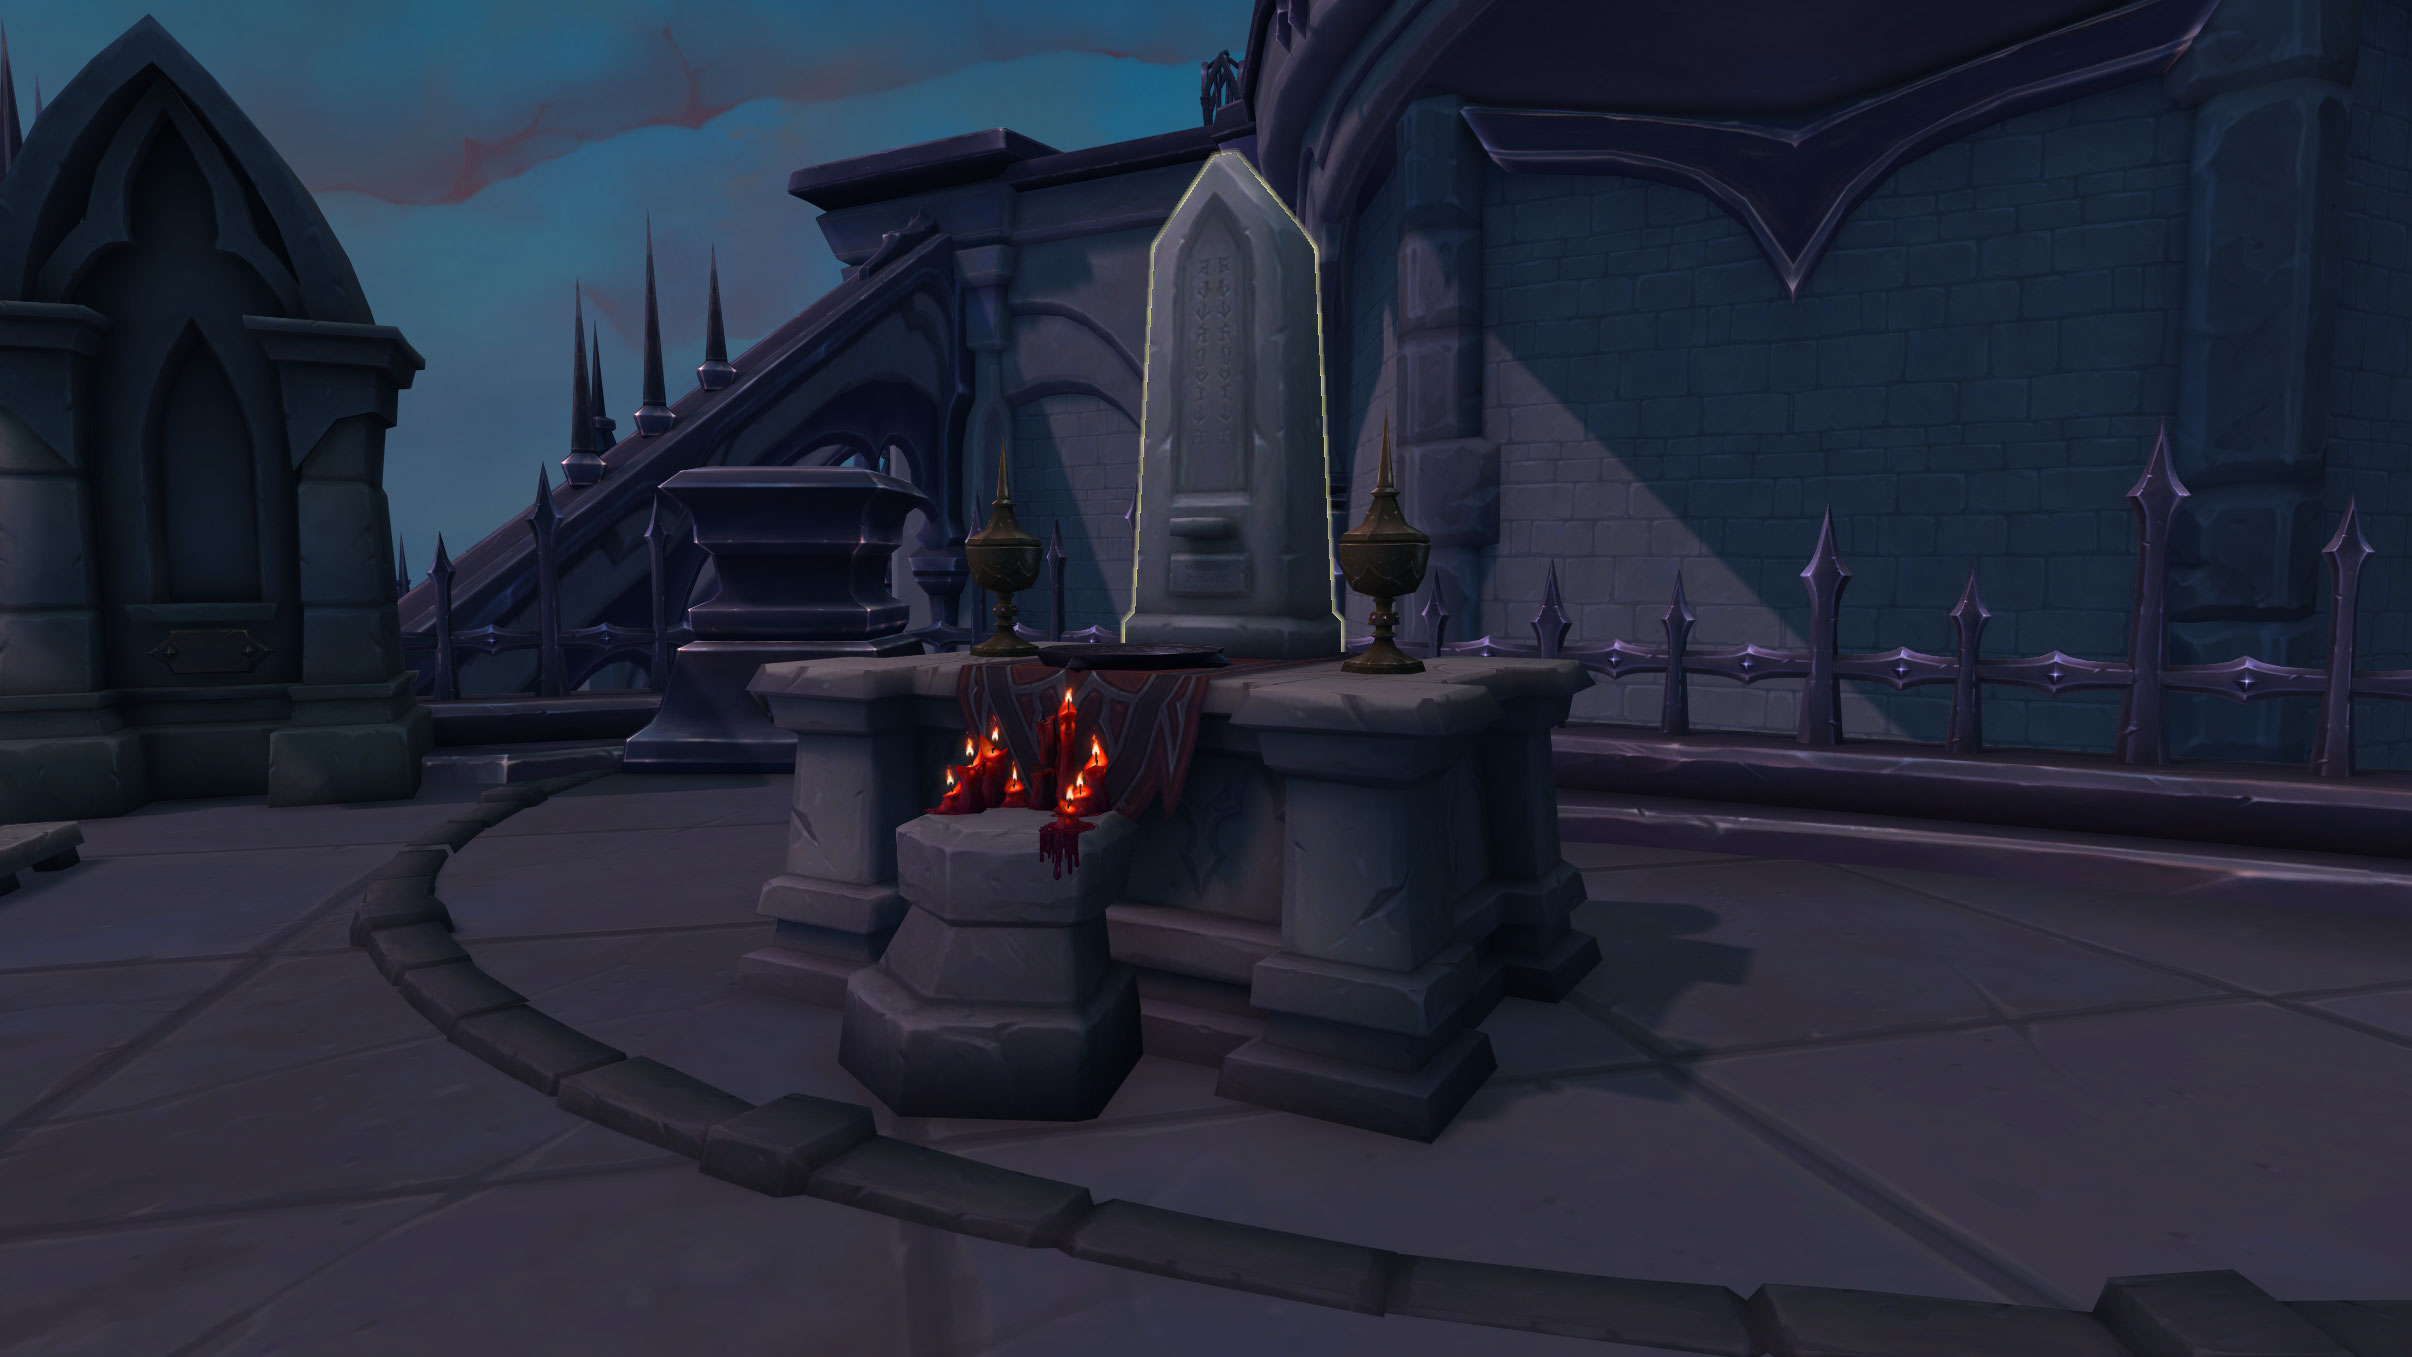
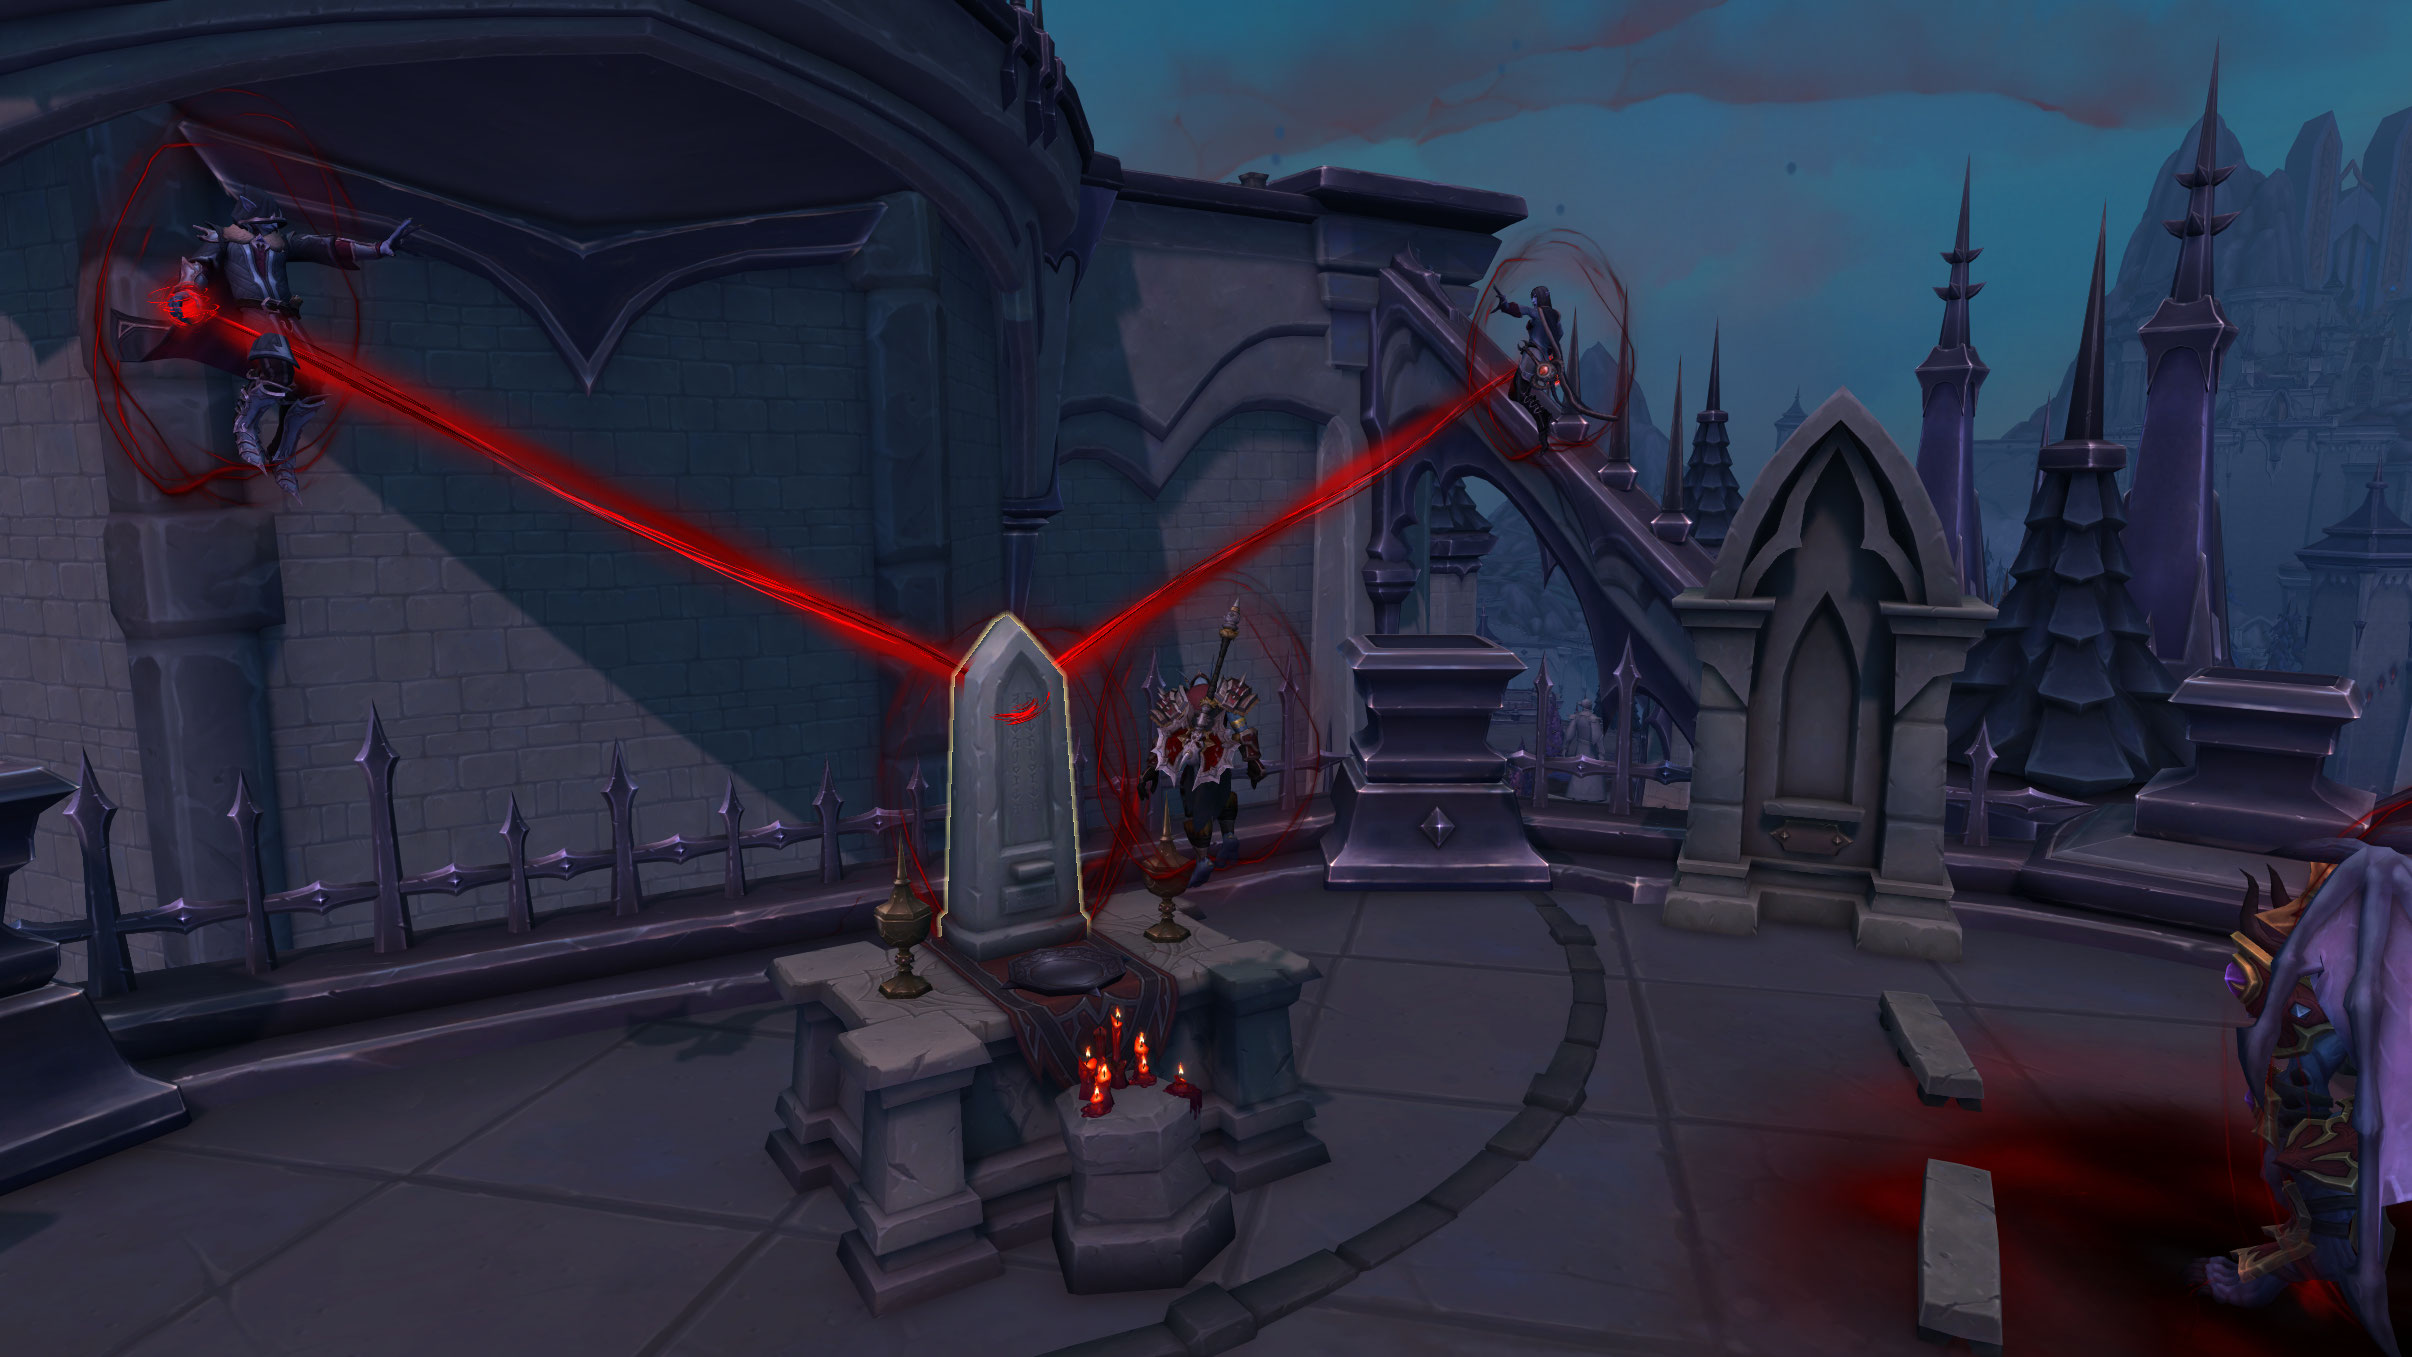
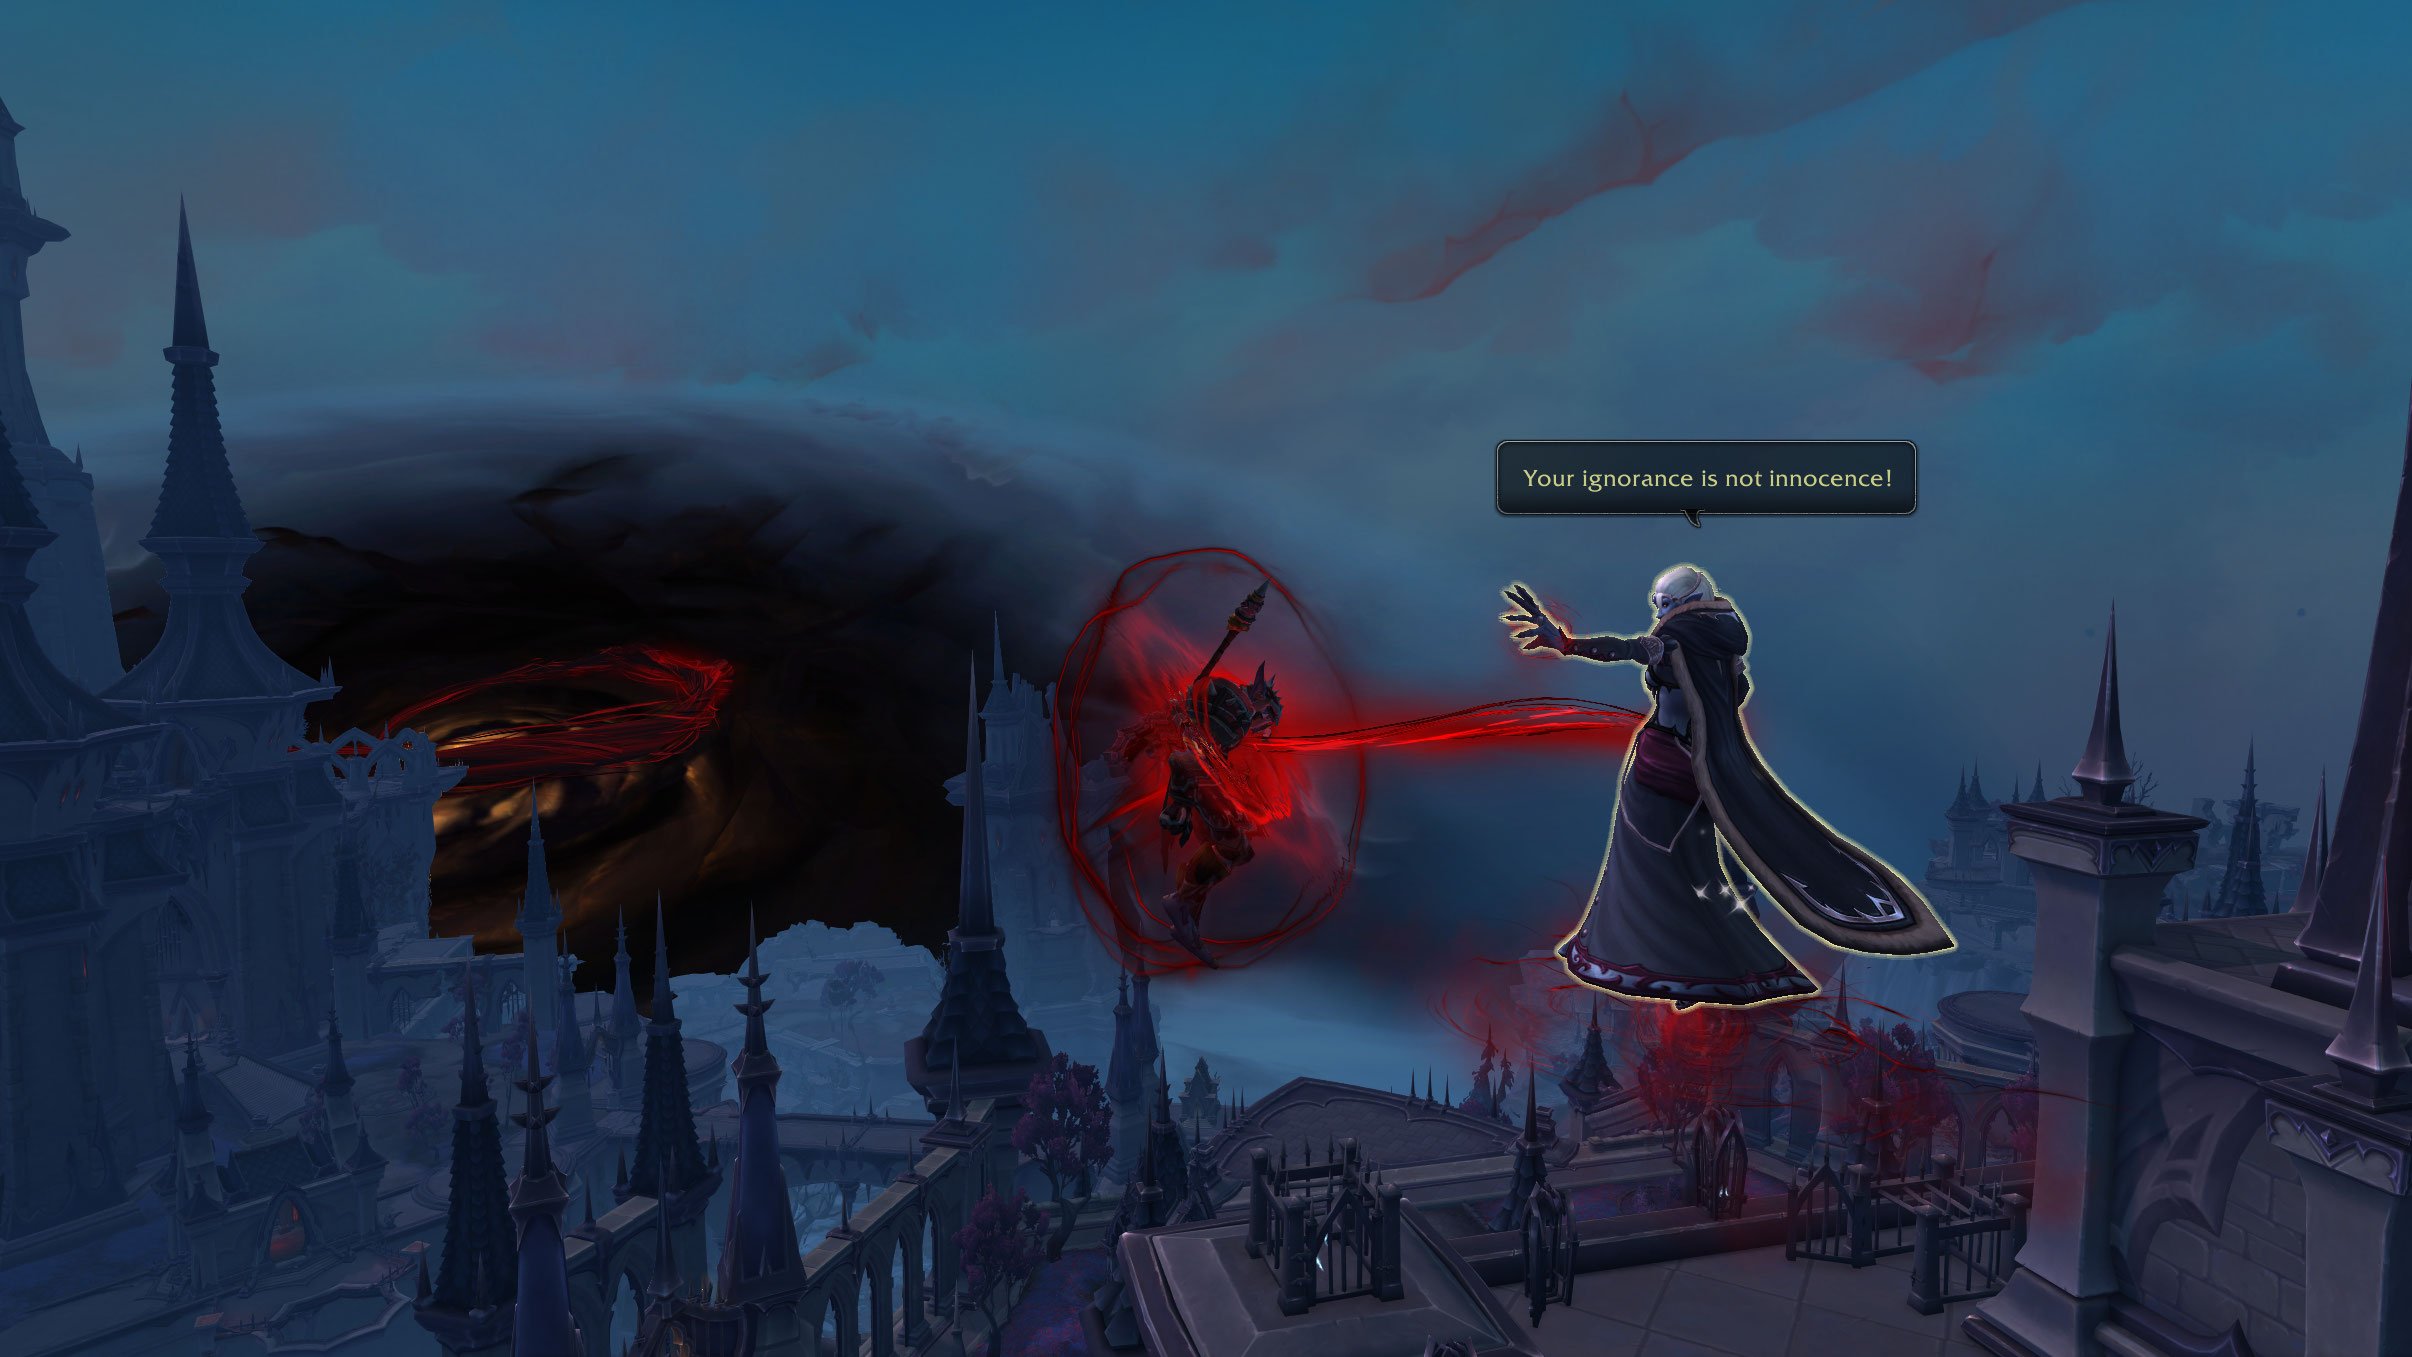
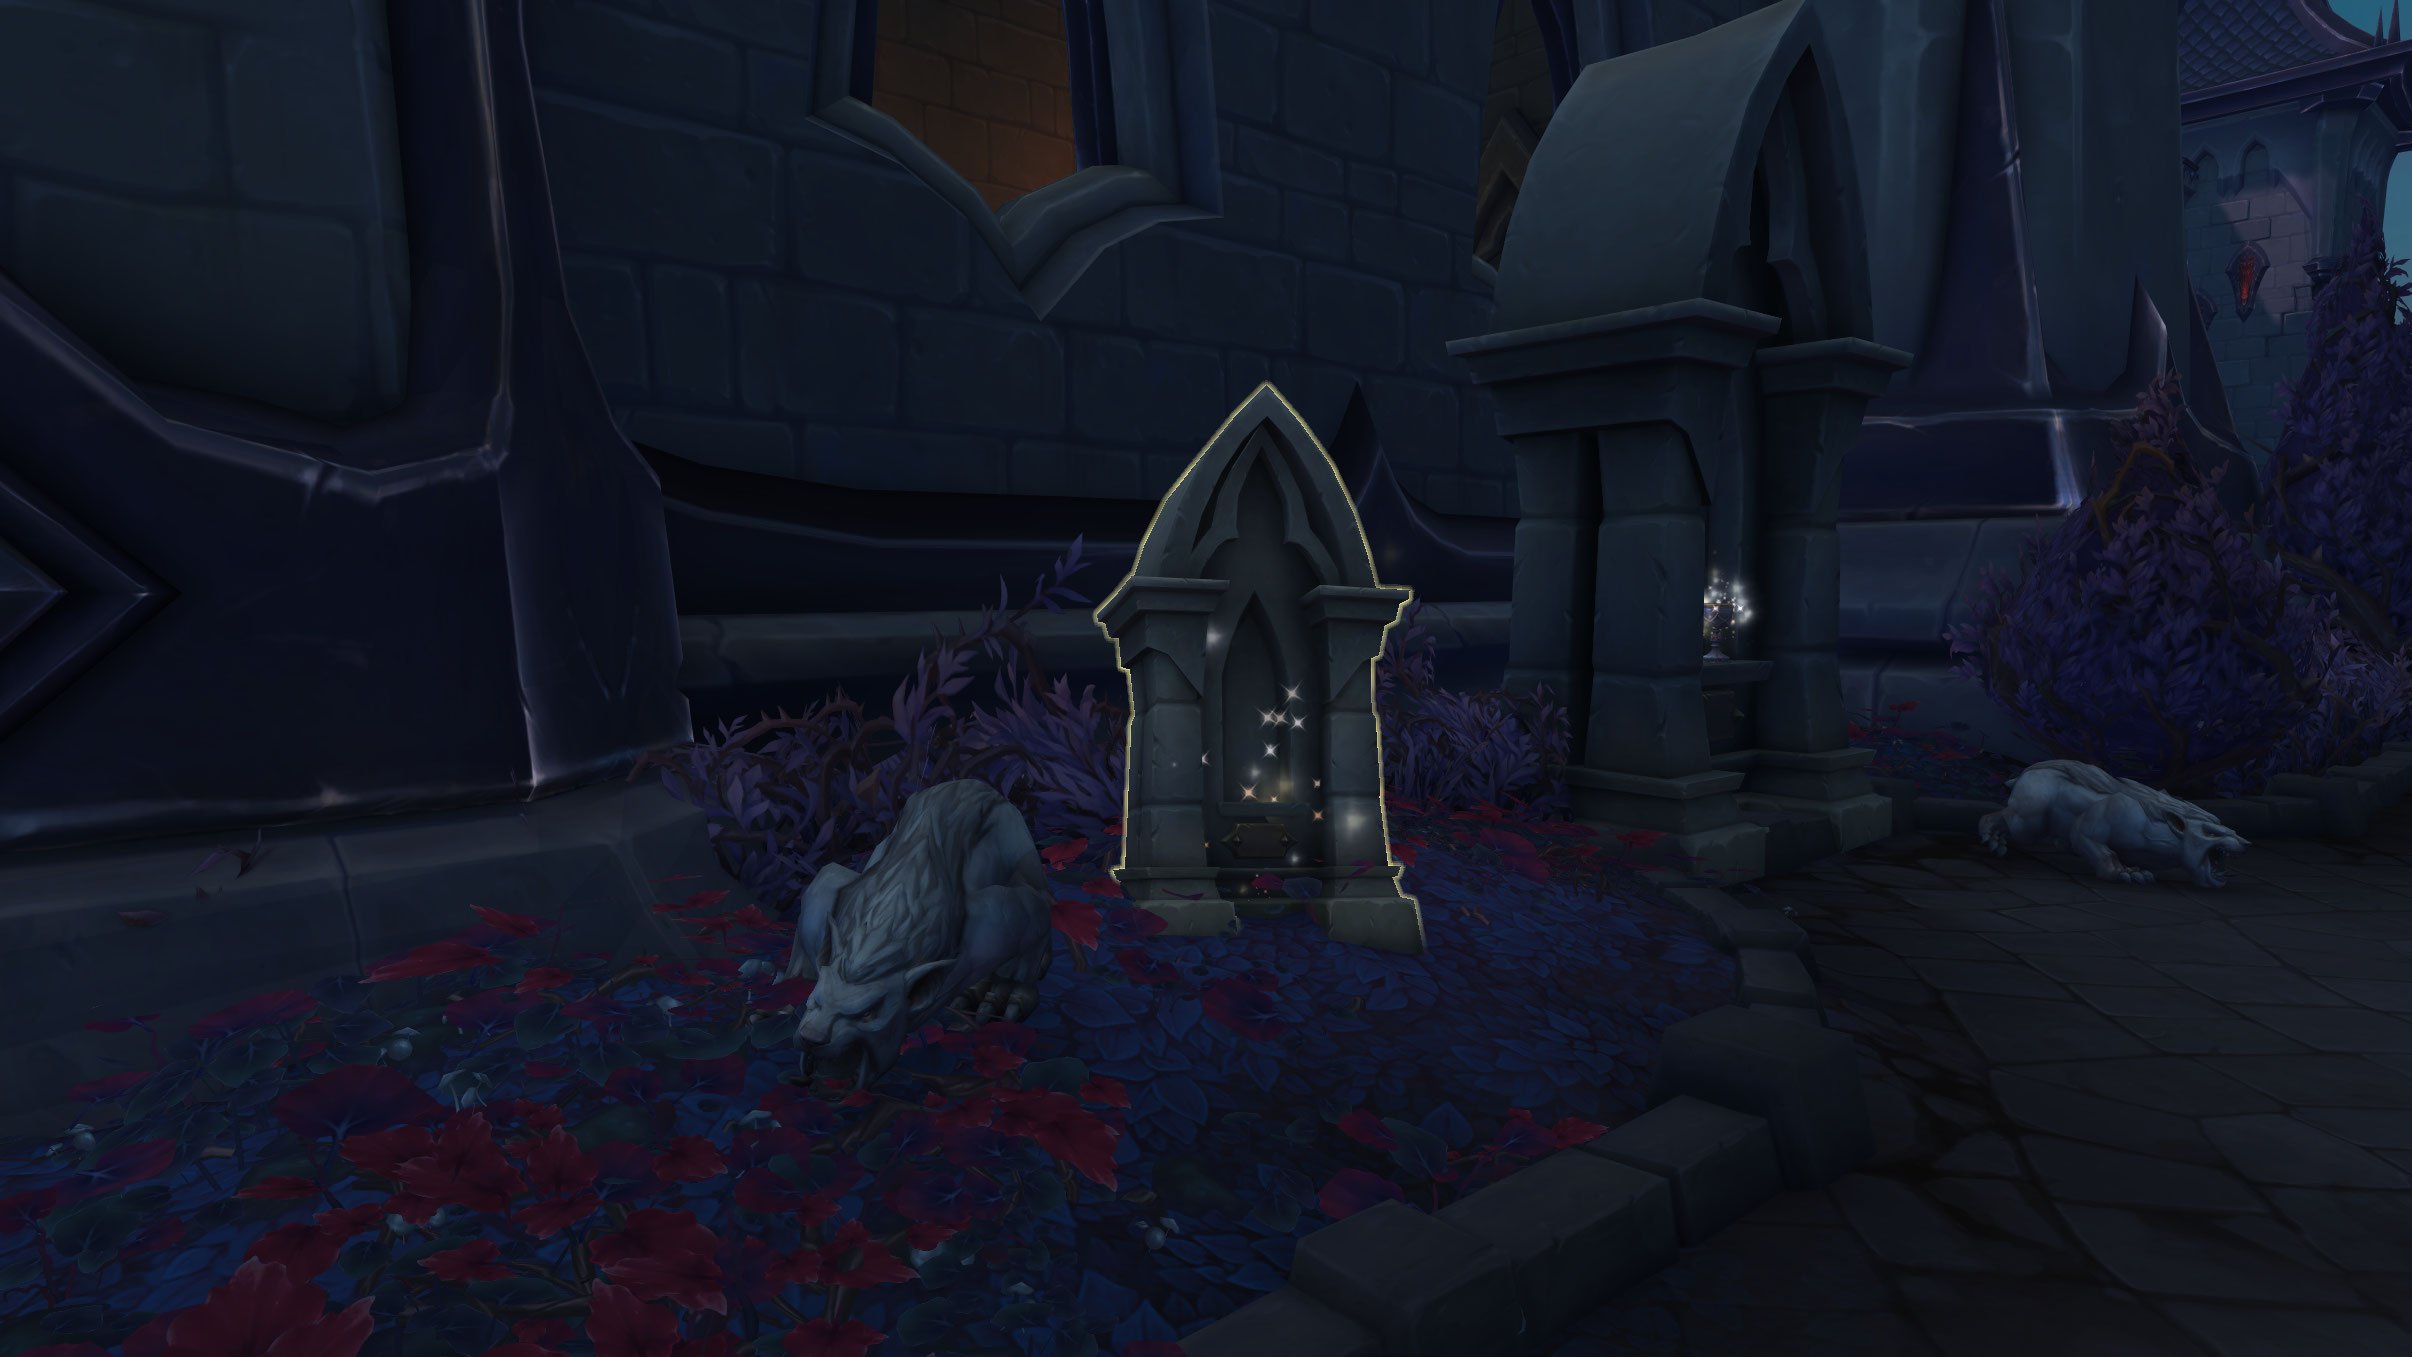
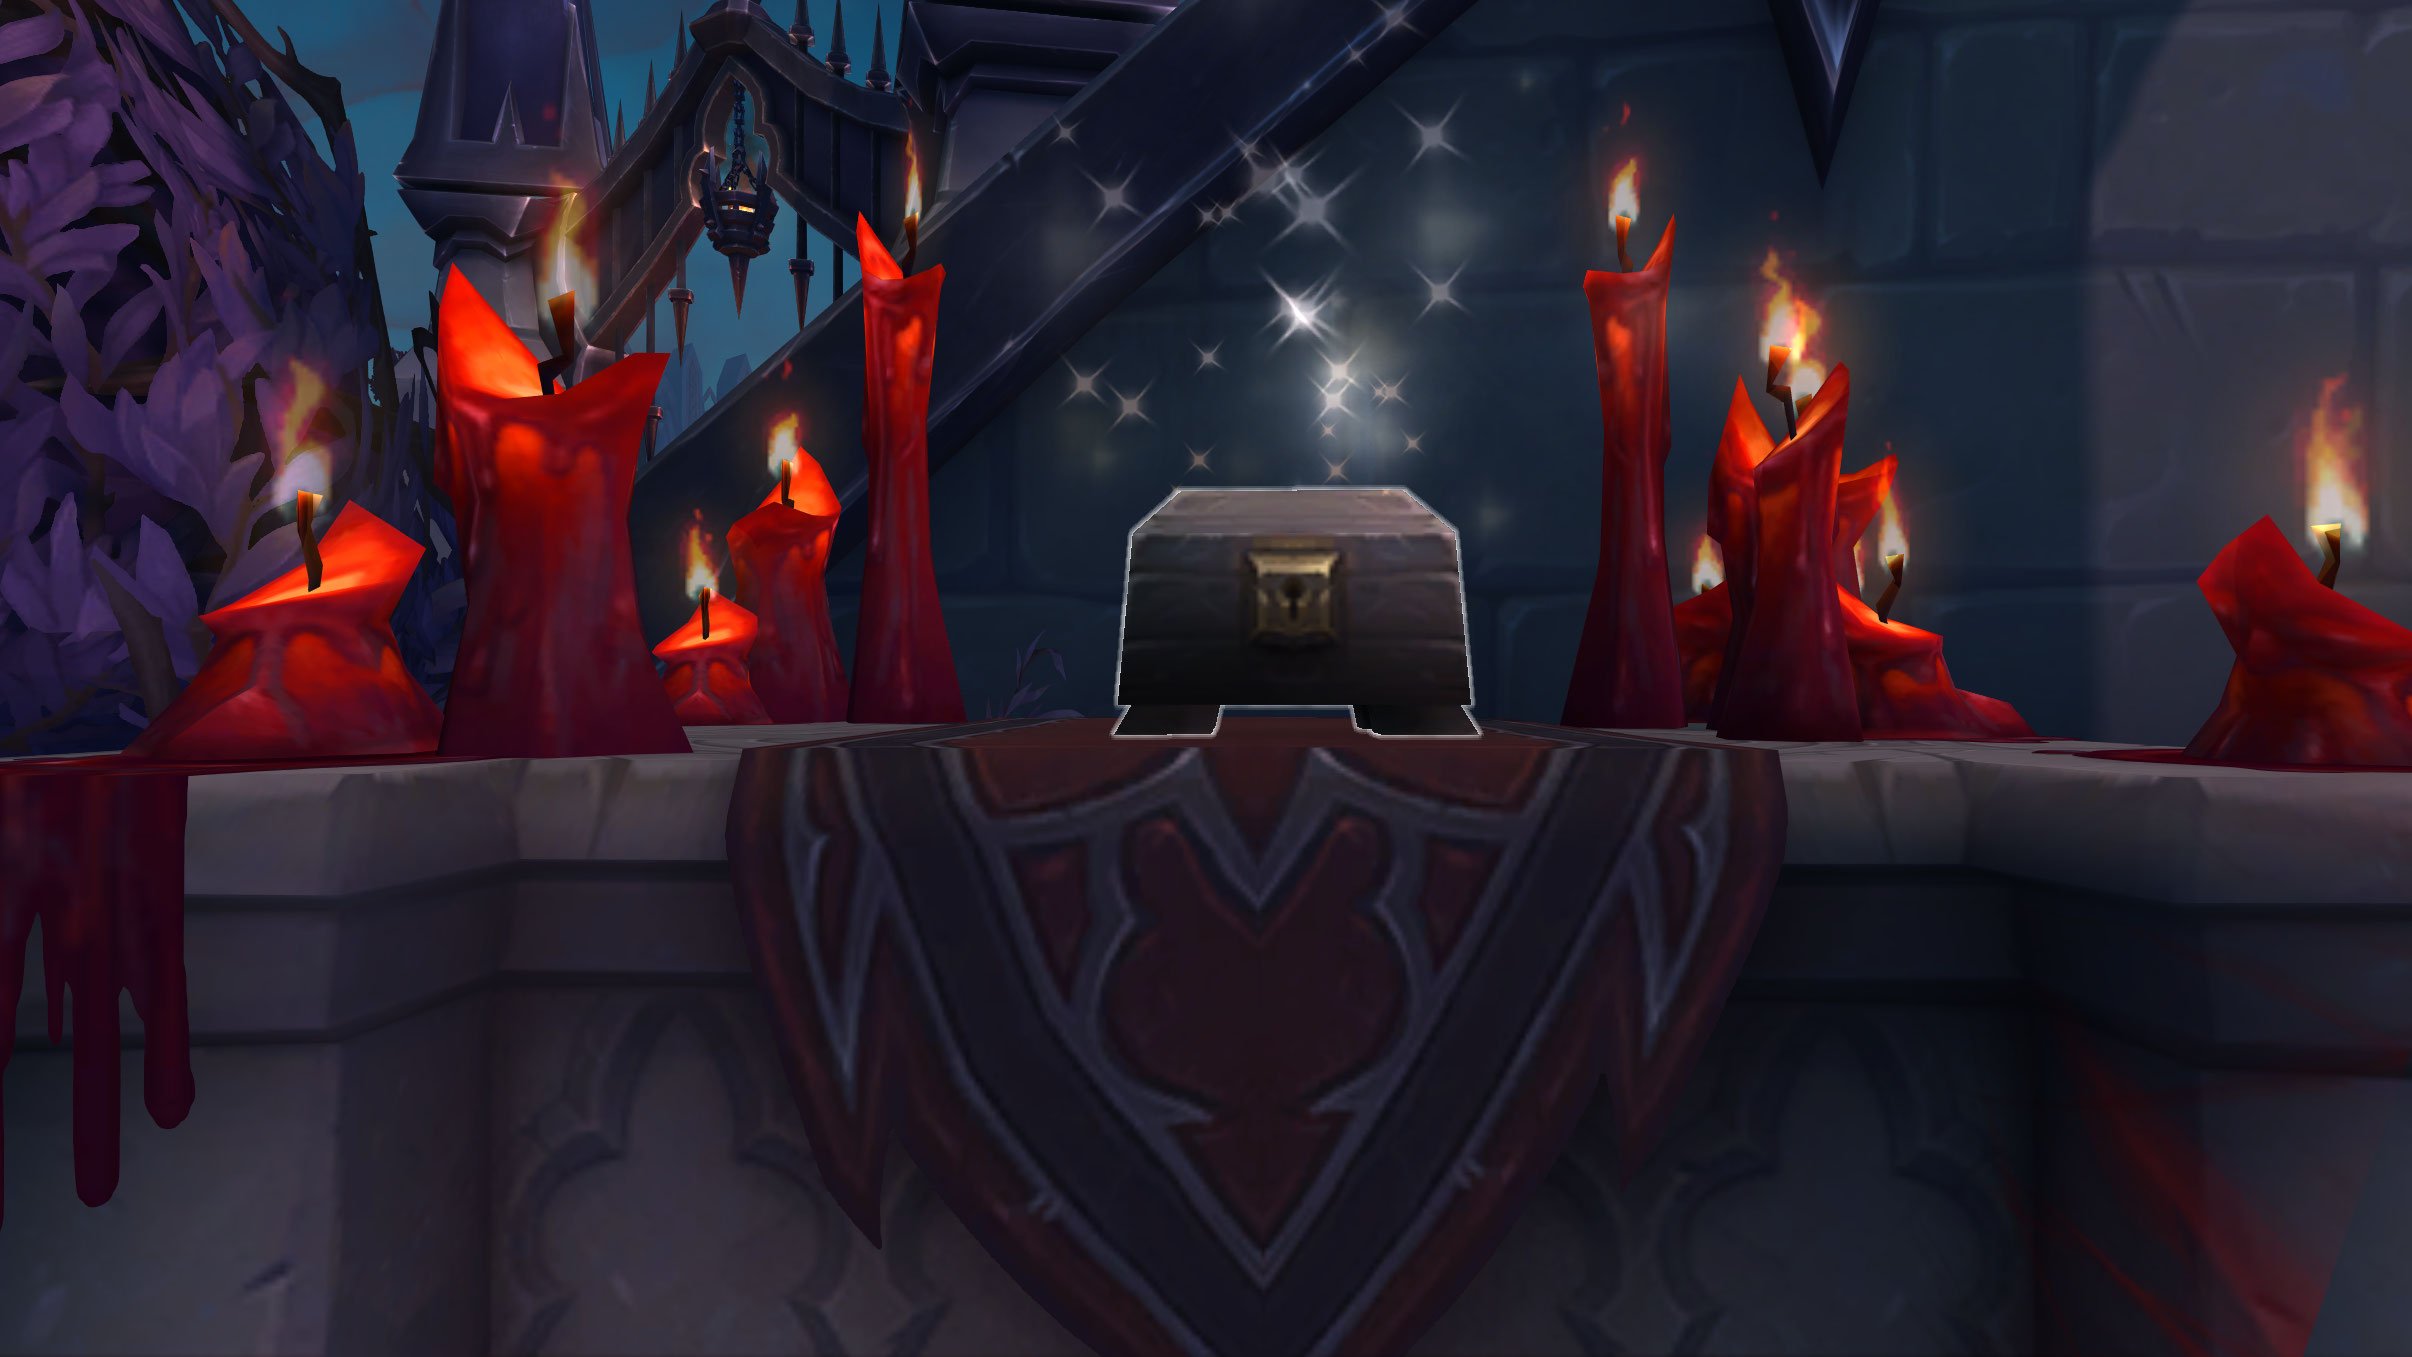
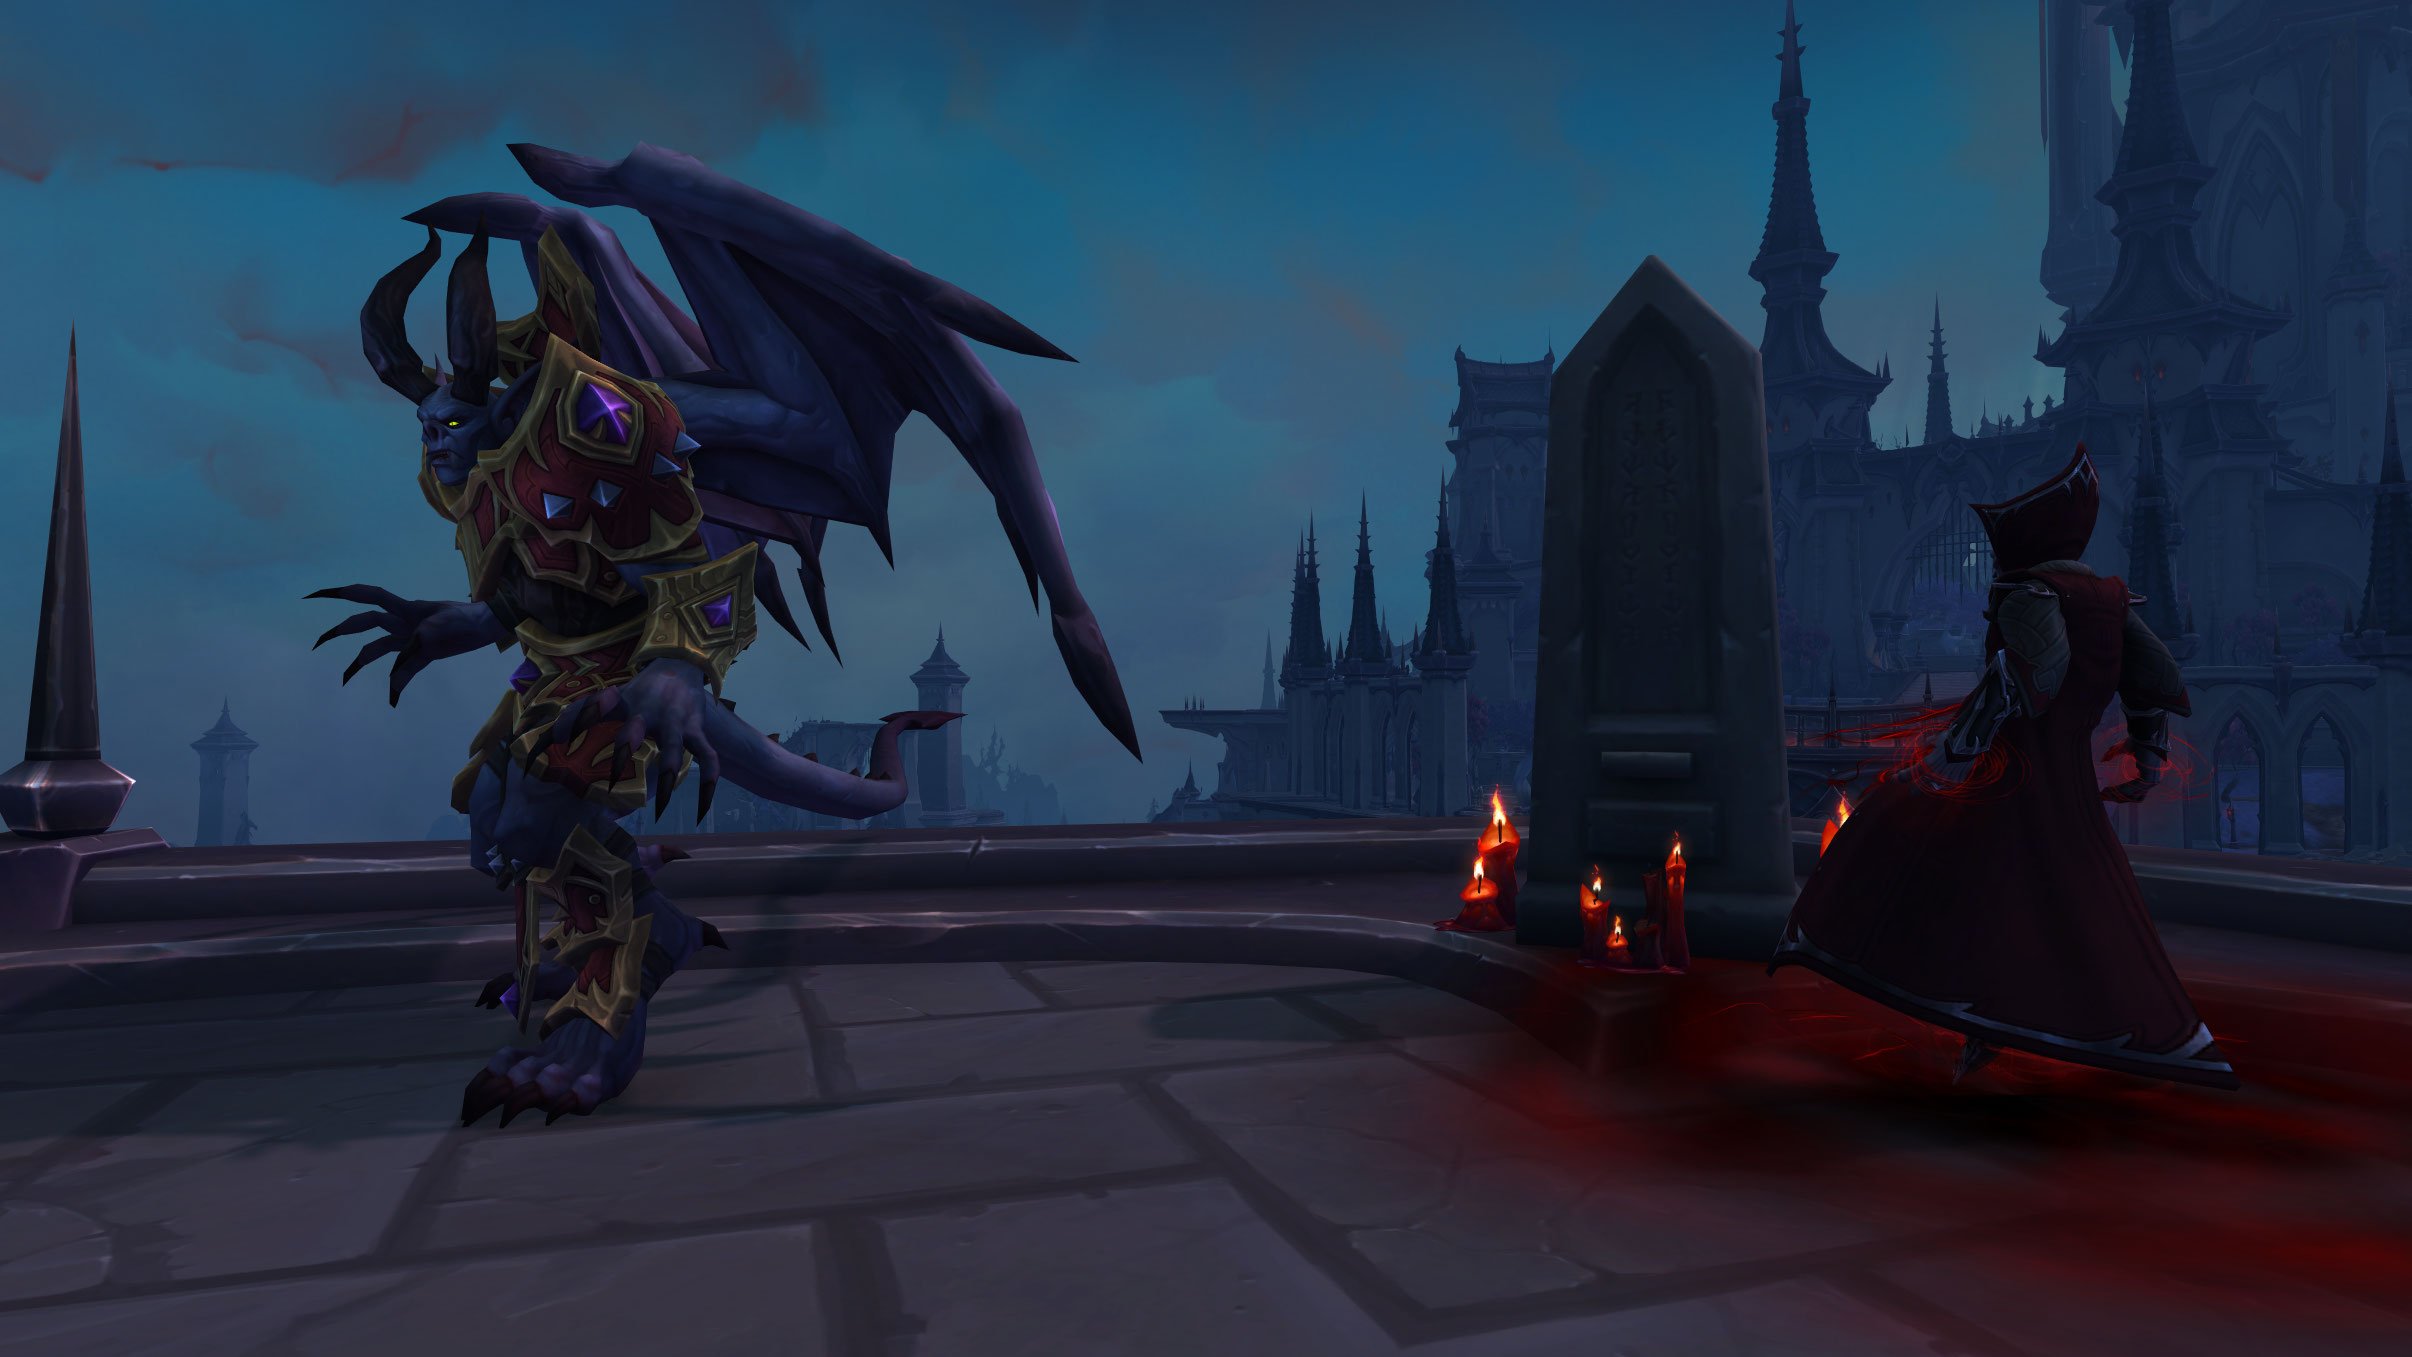
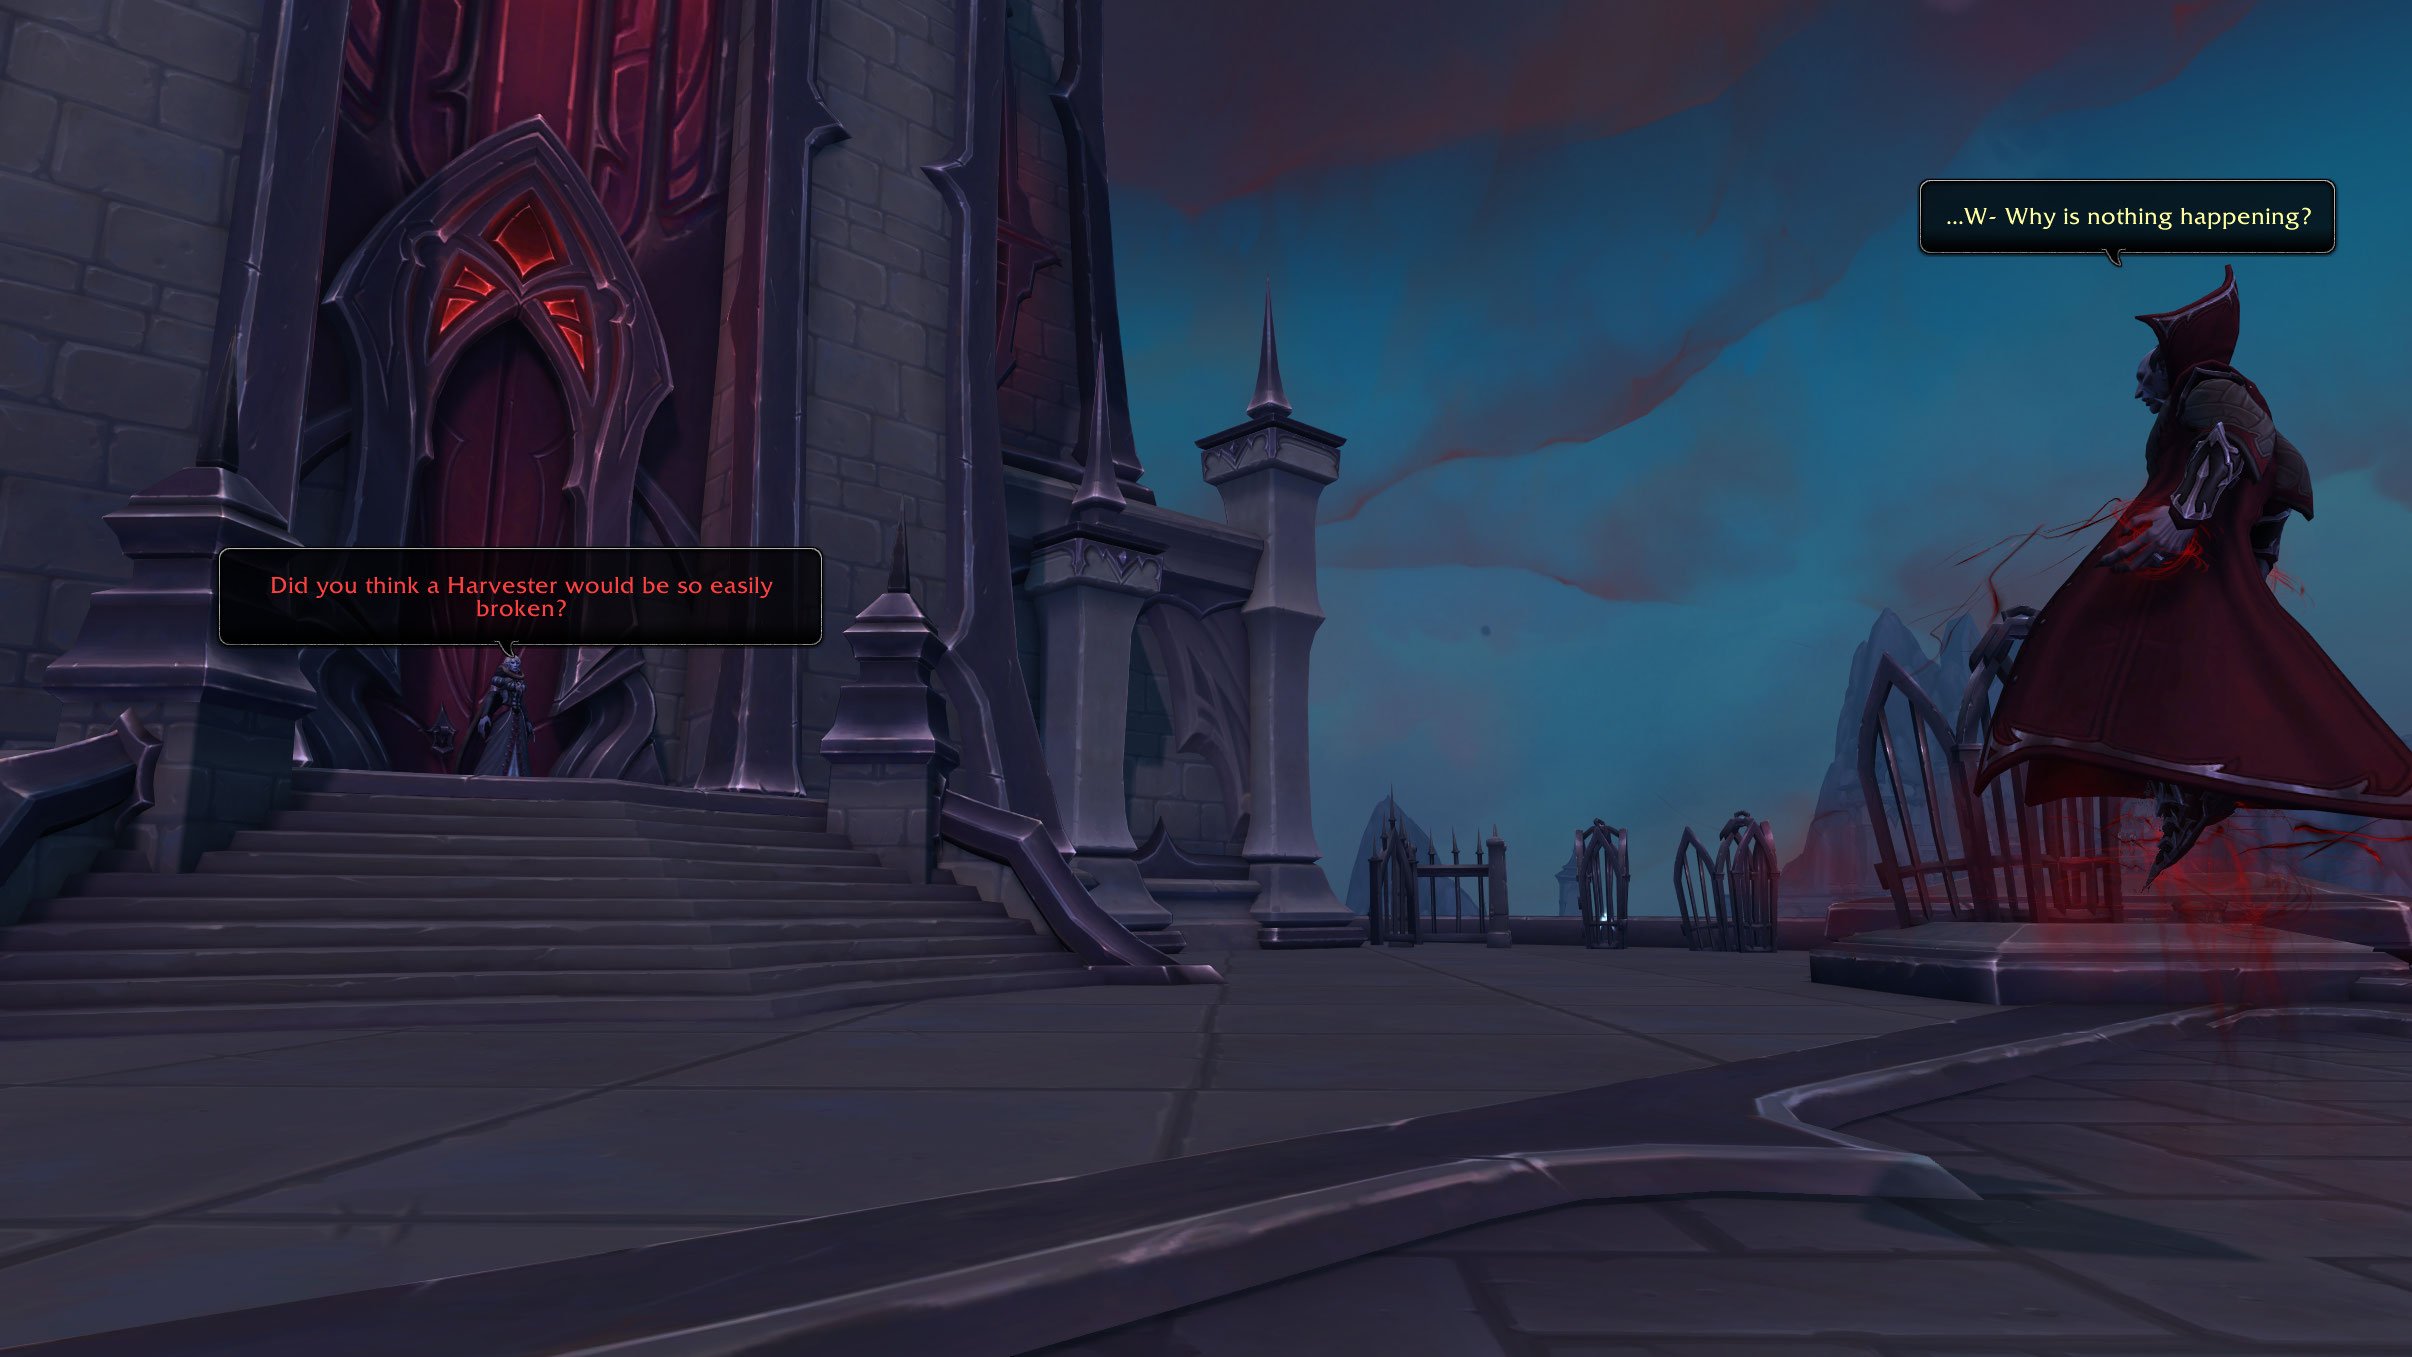
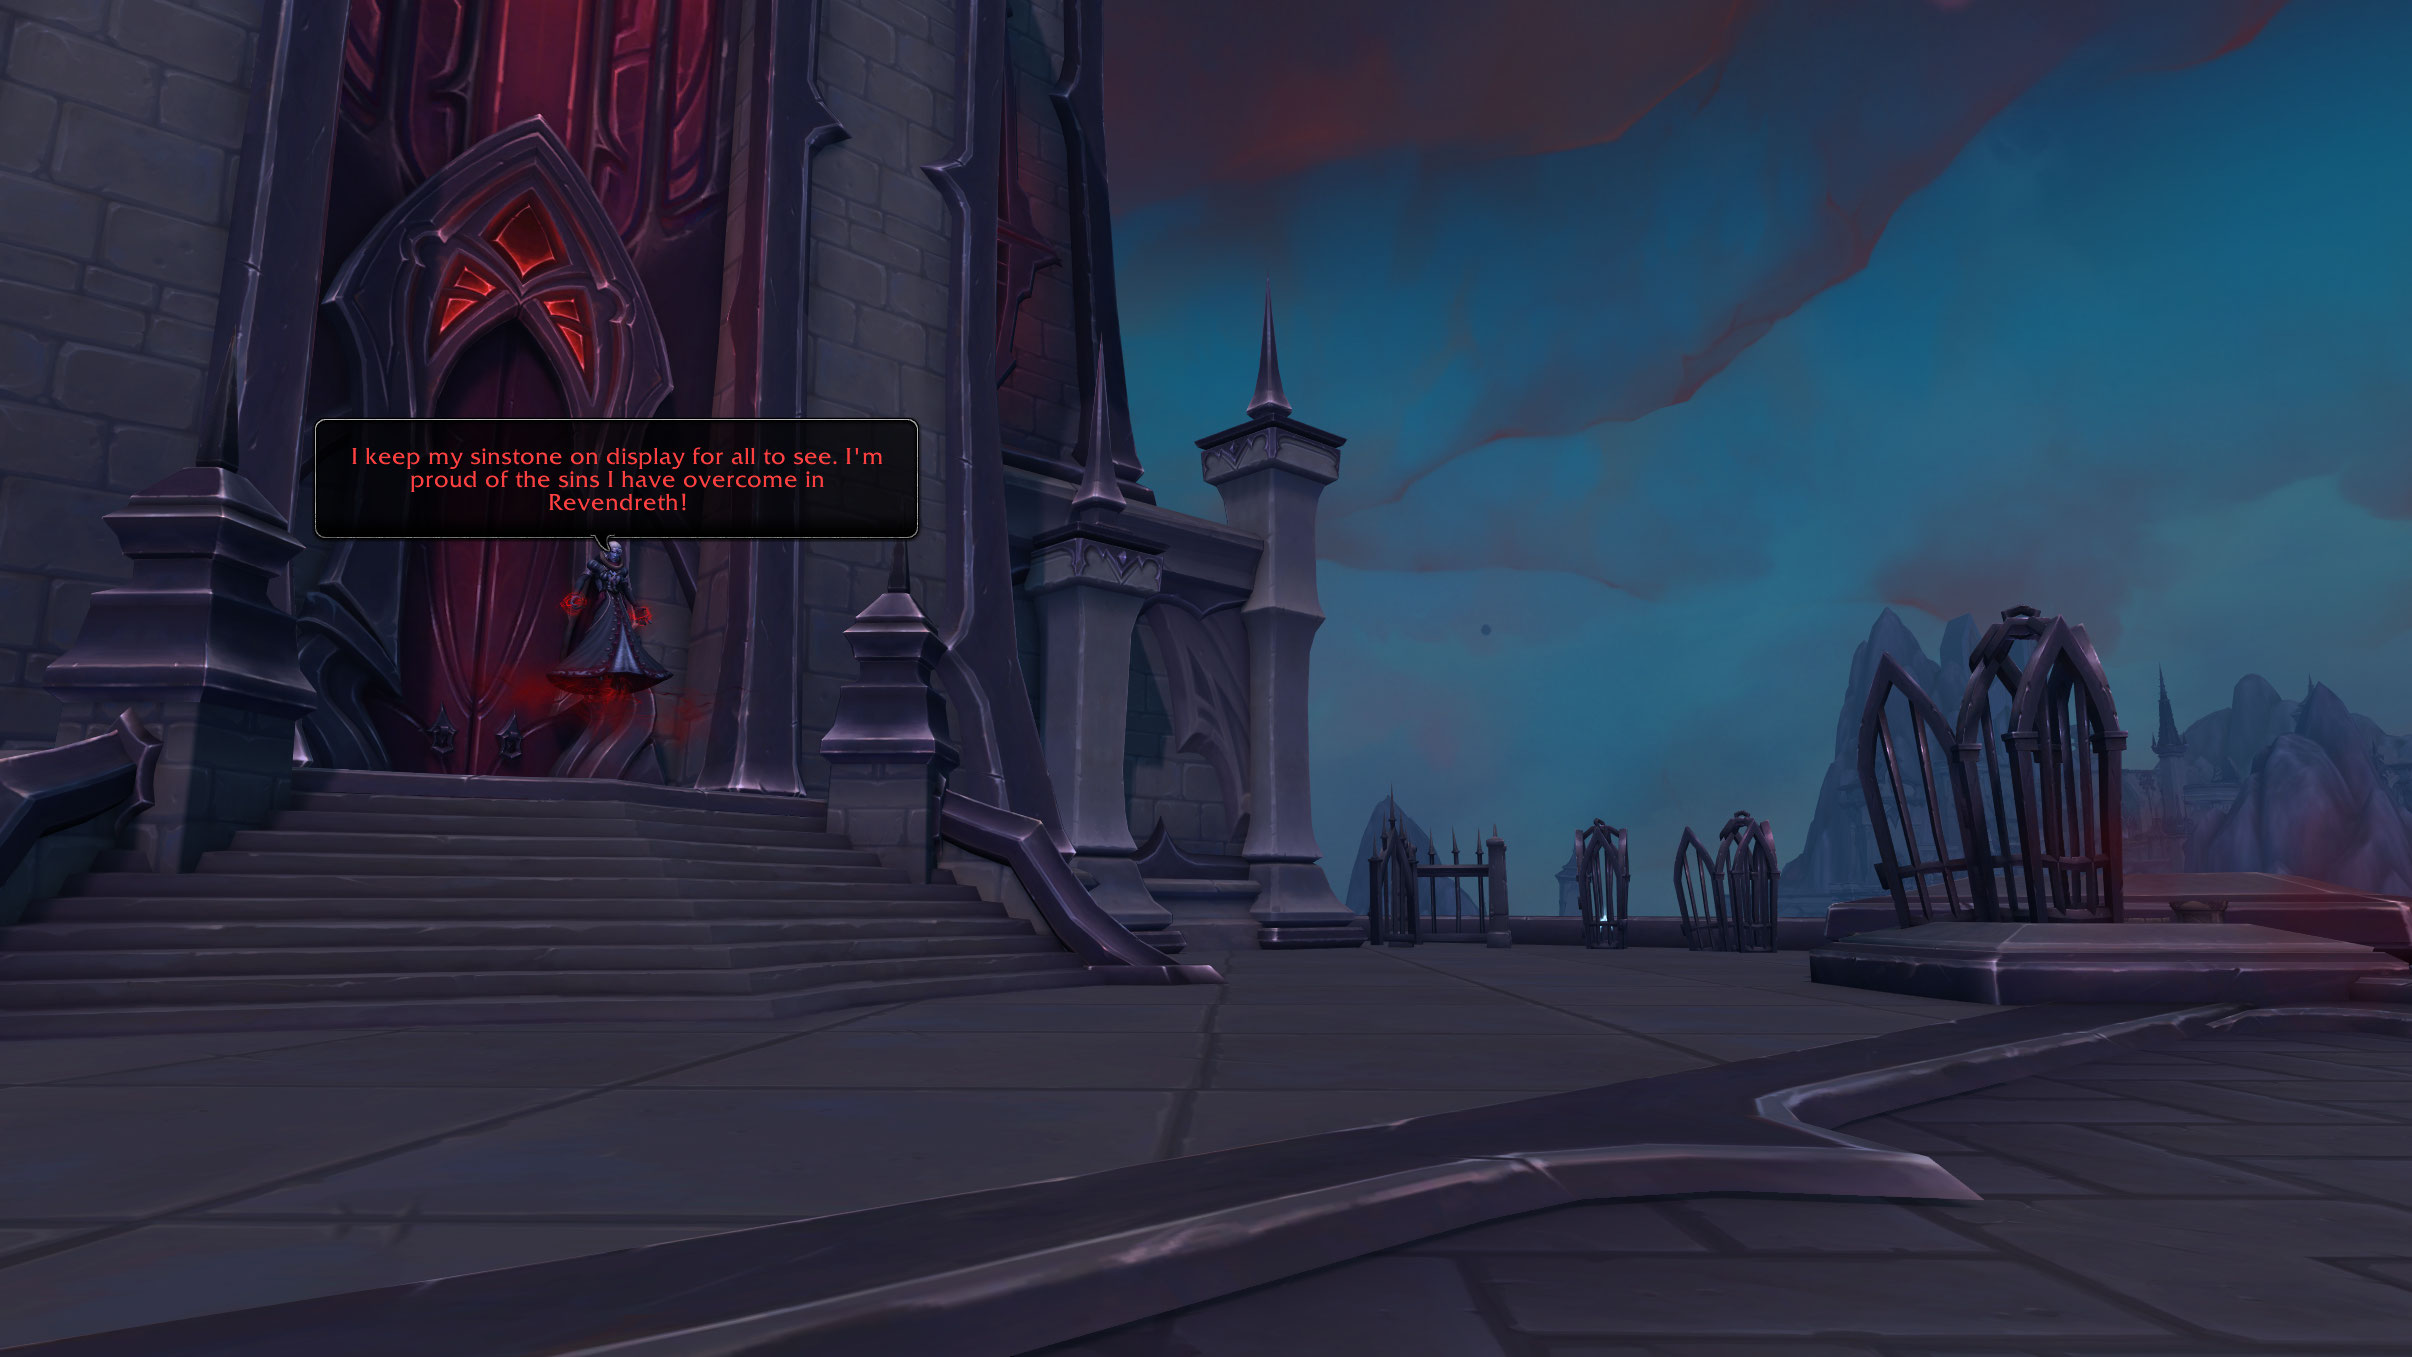
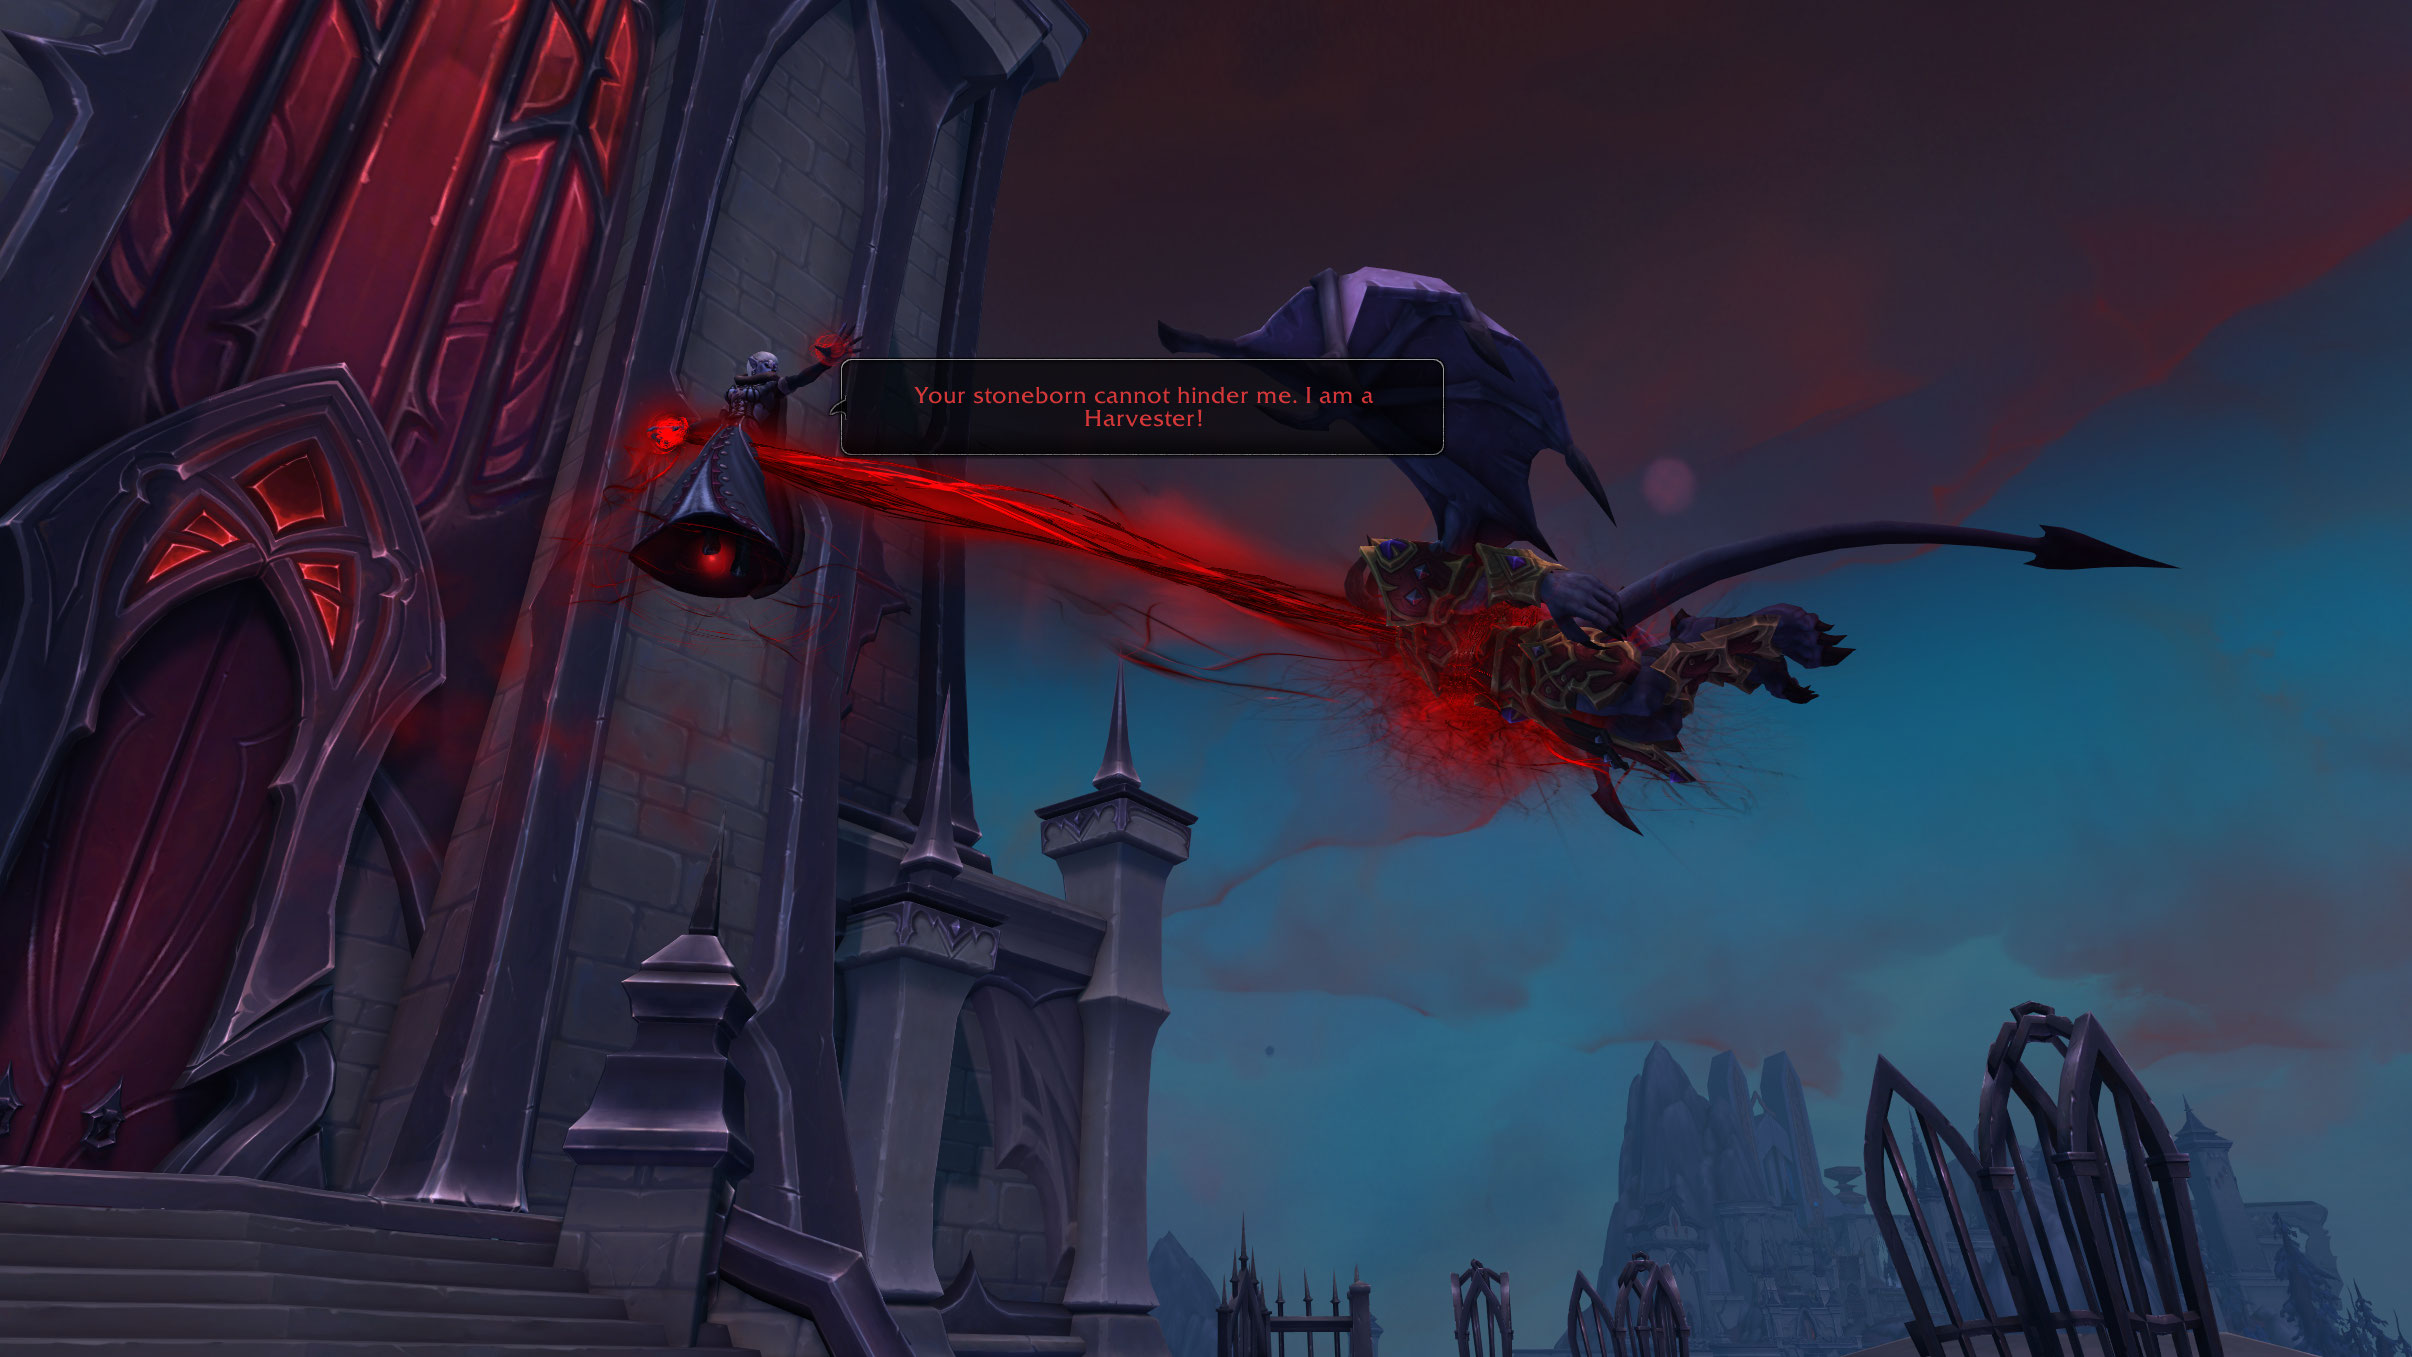
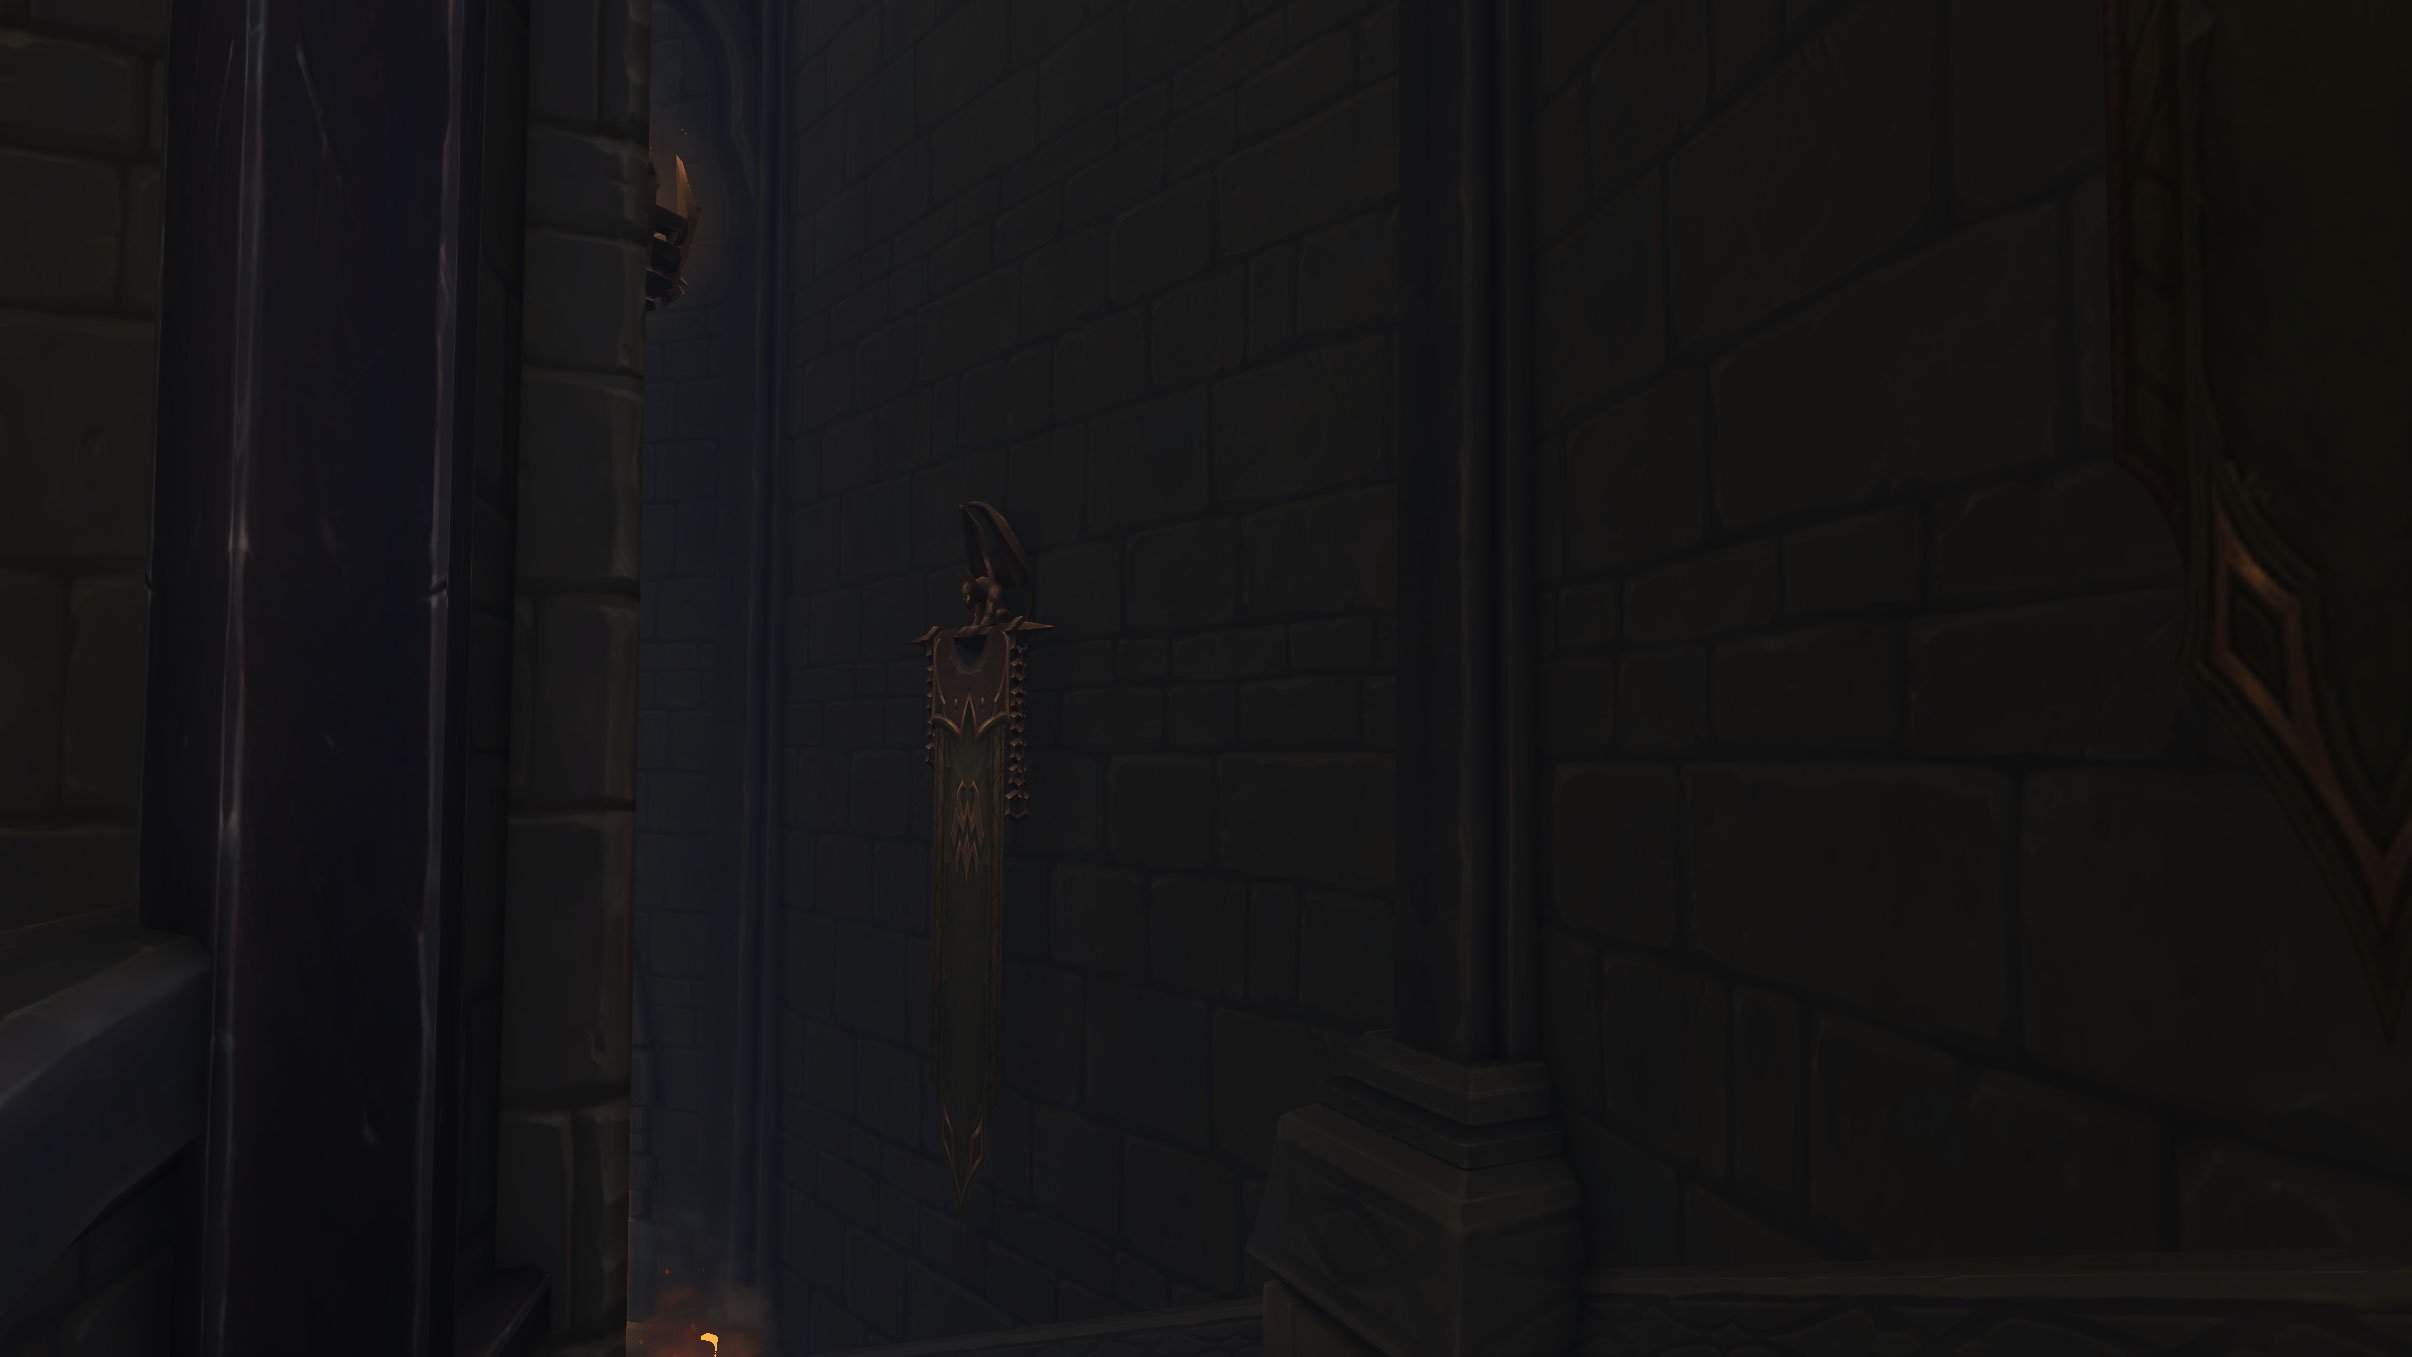
- You clear the bridge to the other side, causing rebels to either submit or even getting the option to kick them off the bridge. A stoneborn, Echelon, meets you on the other side and tasks you with retrieving the Accuser's sinstone which she is too proud to have hidden out of sight. You find it at the nearby alter, but some rebel Stoneborn intervene, take the stone, and the Accuser pulls you up into the sky to her, saying your ignorance is not innocence and she will only spare you this one time. She flings you back down to the Lord Chamberlain, who is embarrassed by your performance.
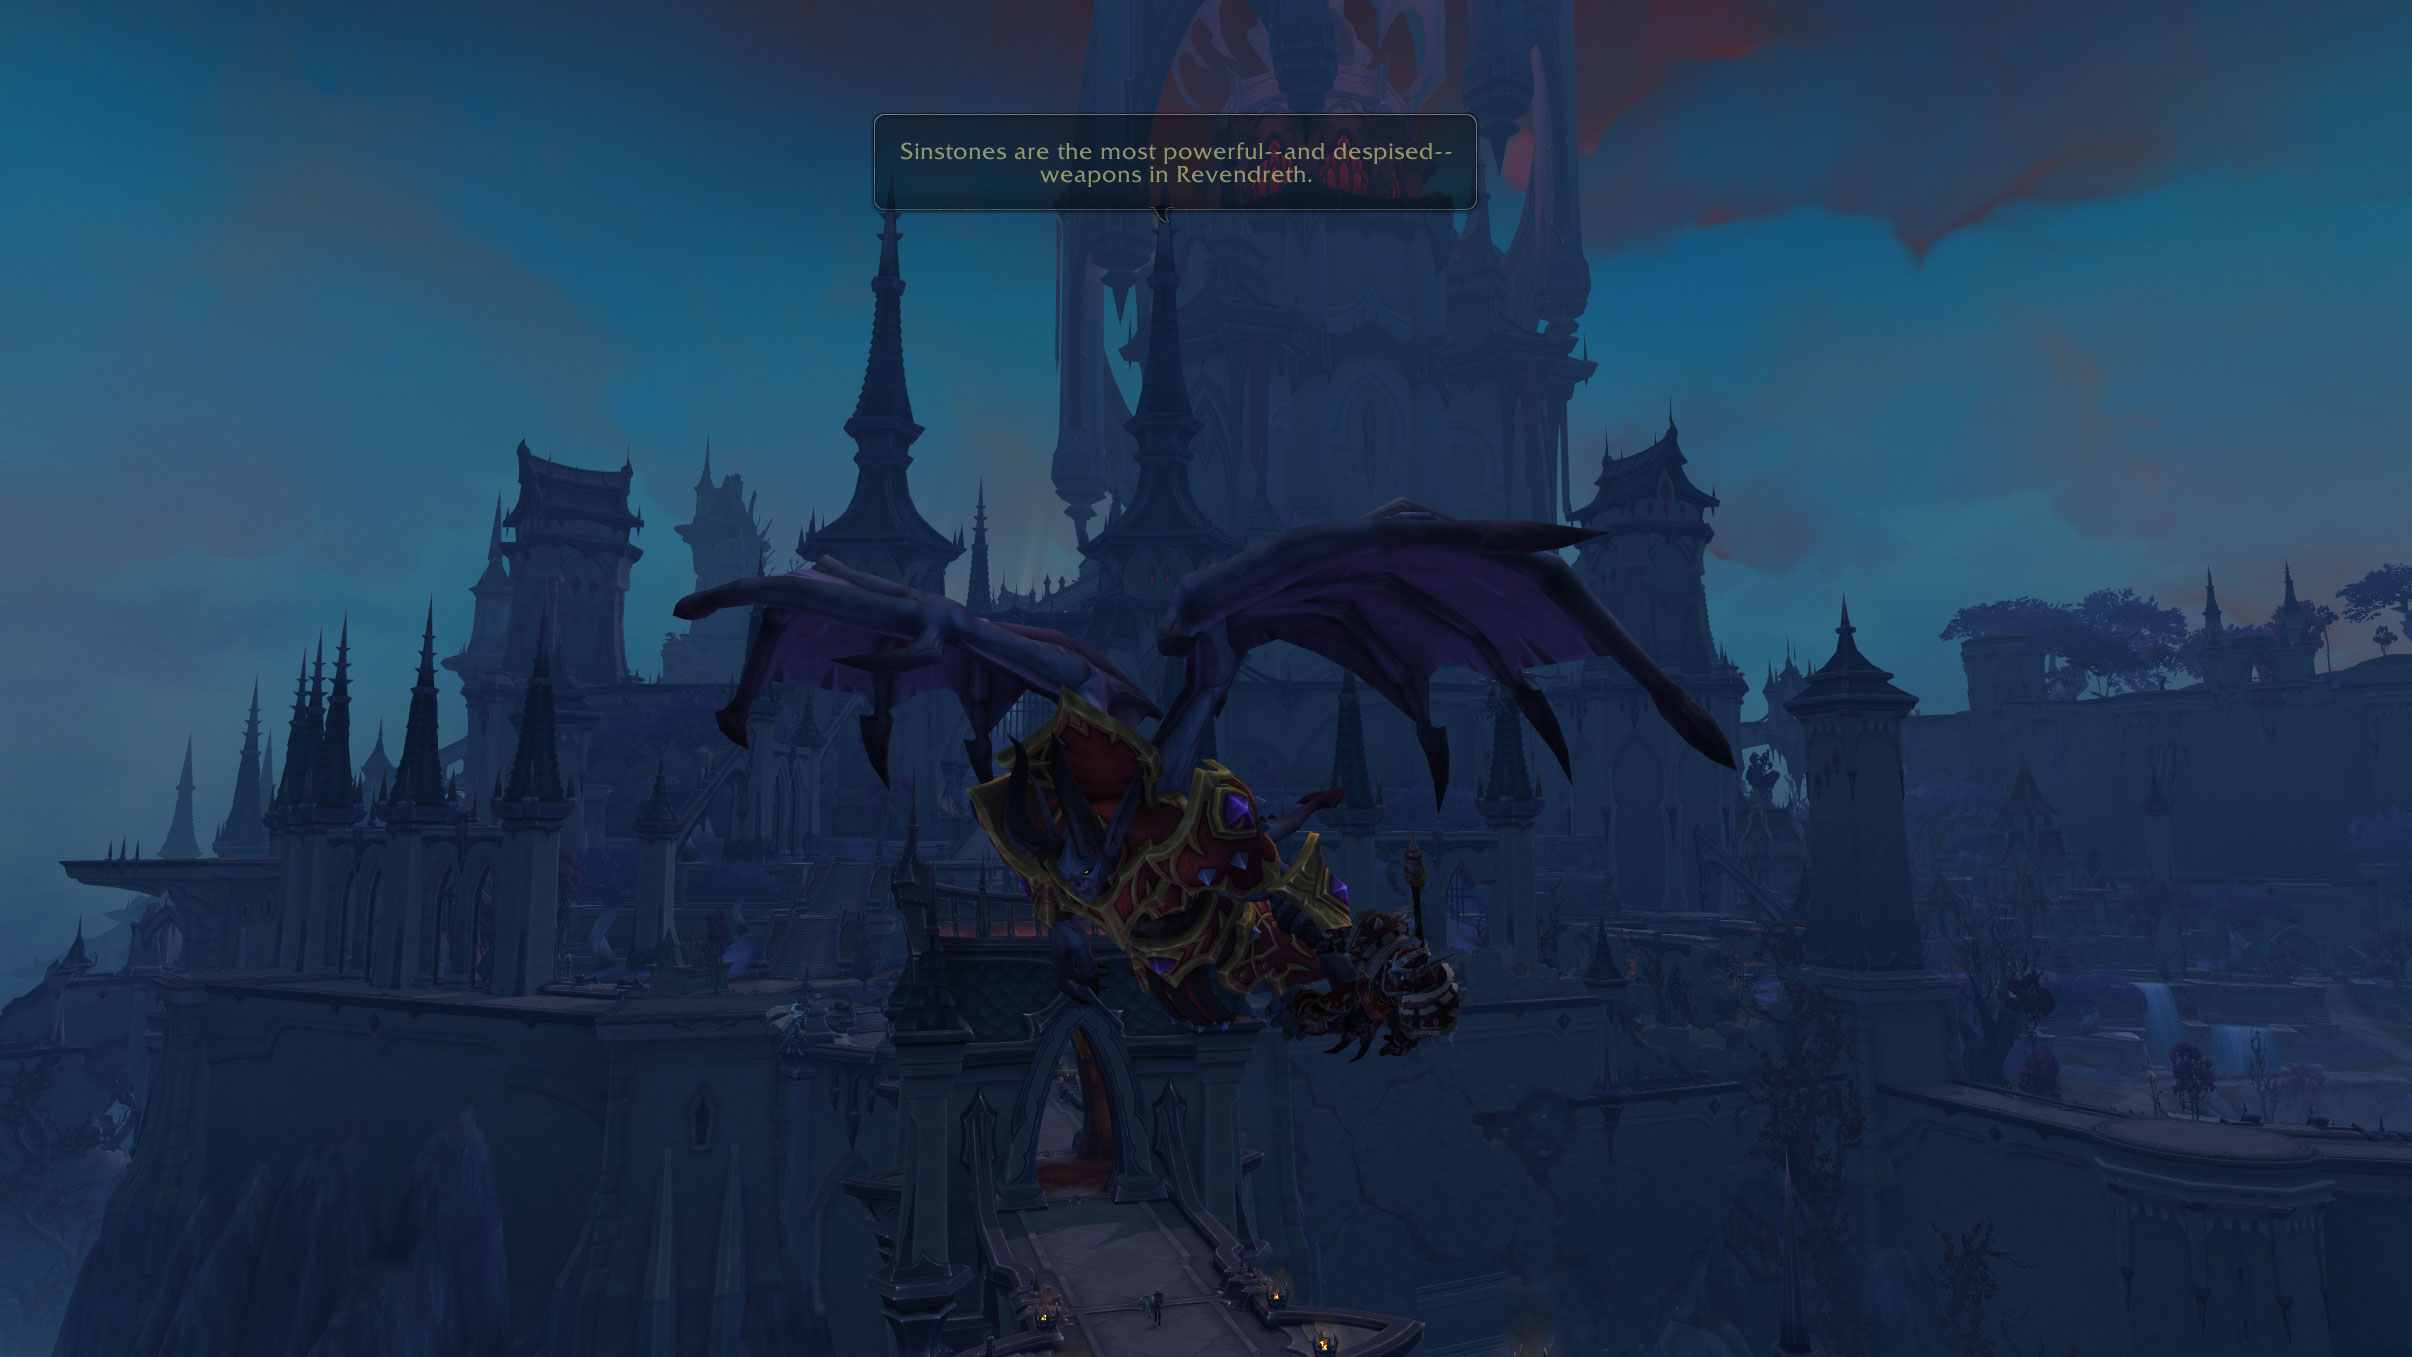
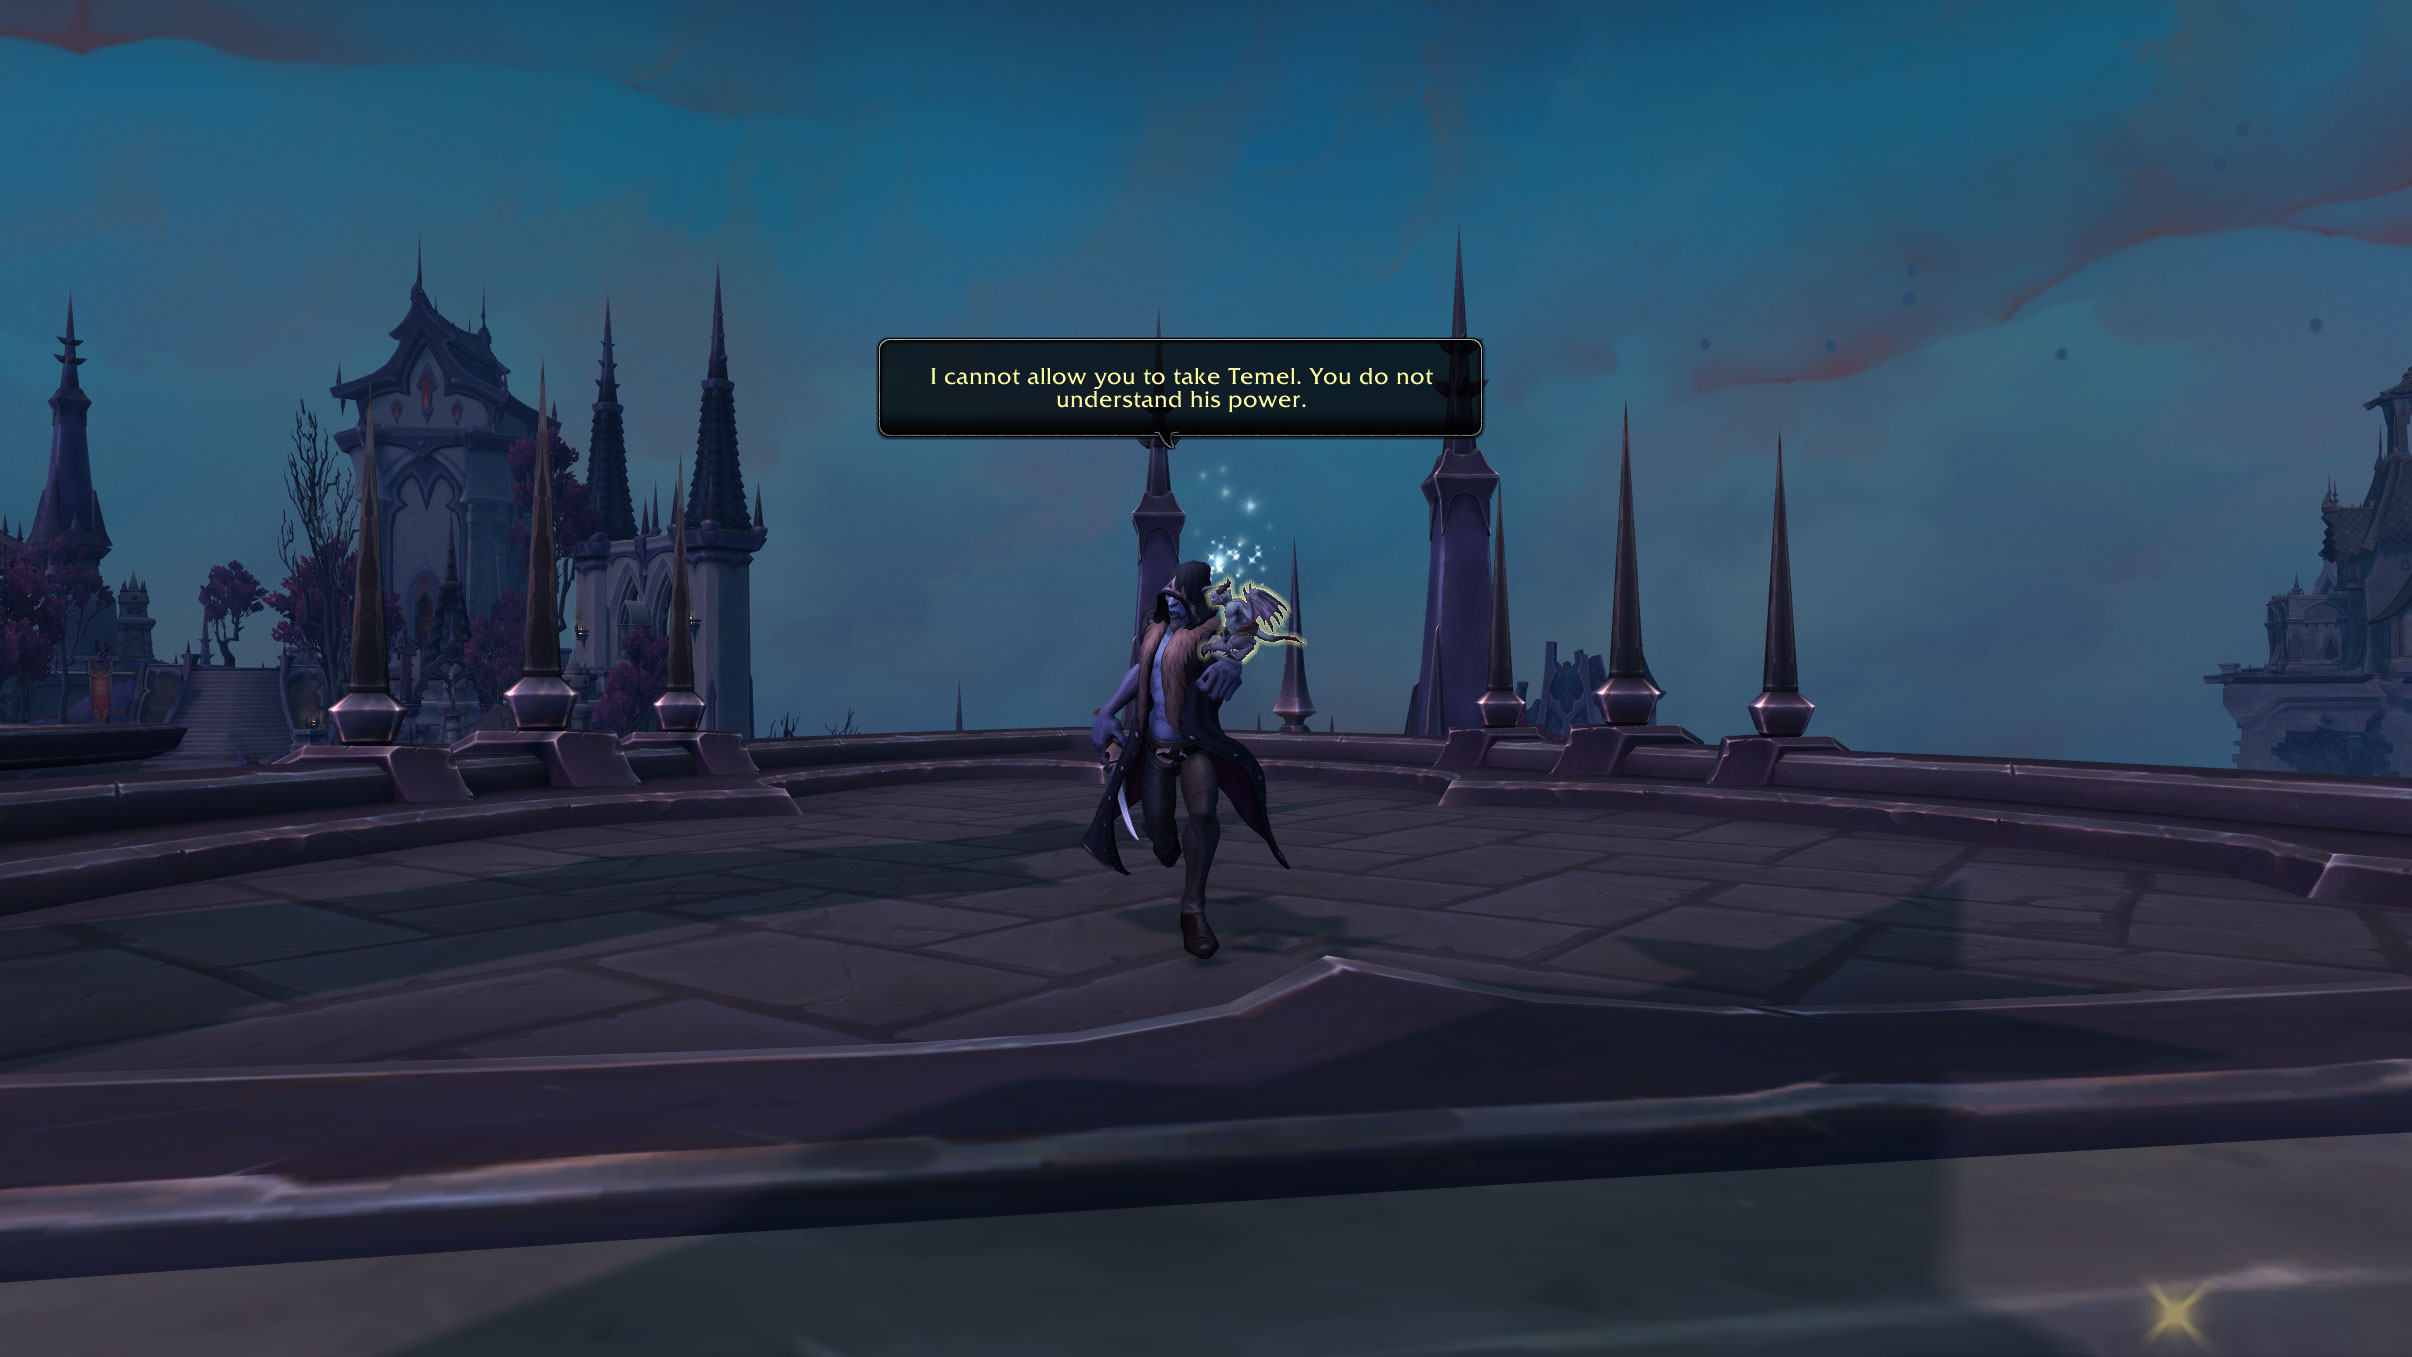
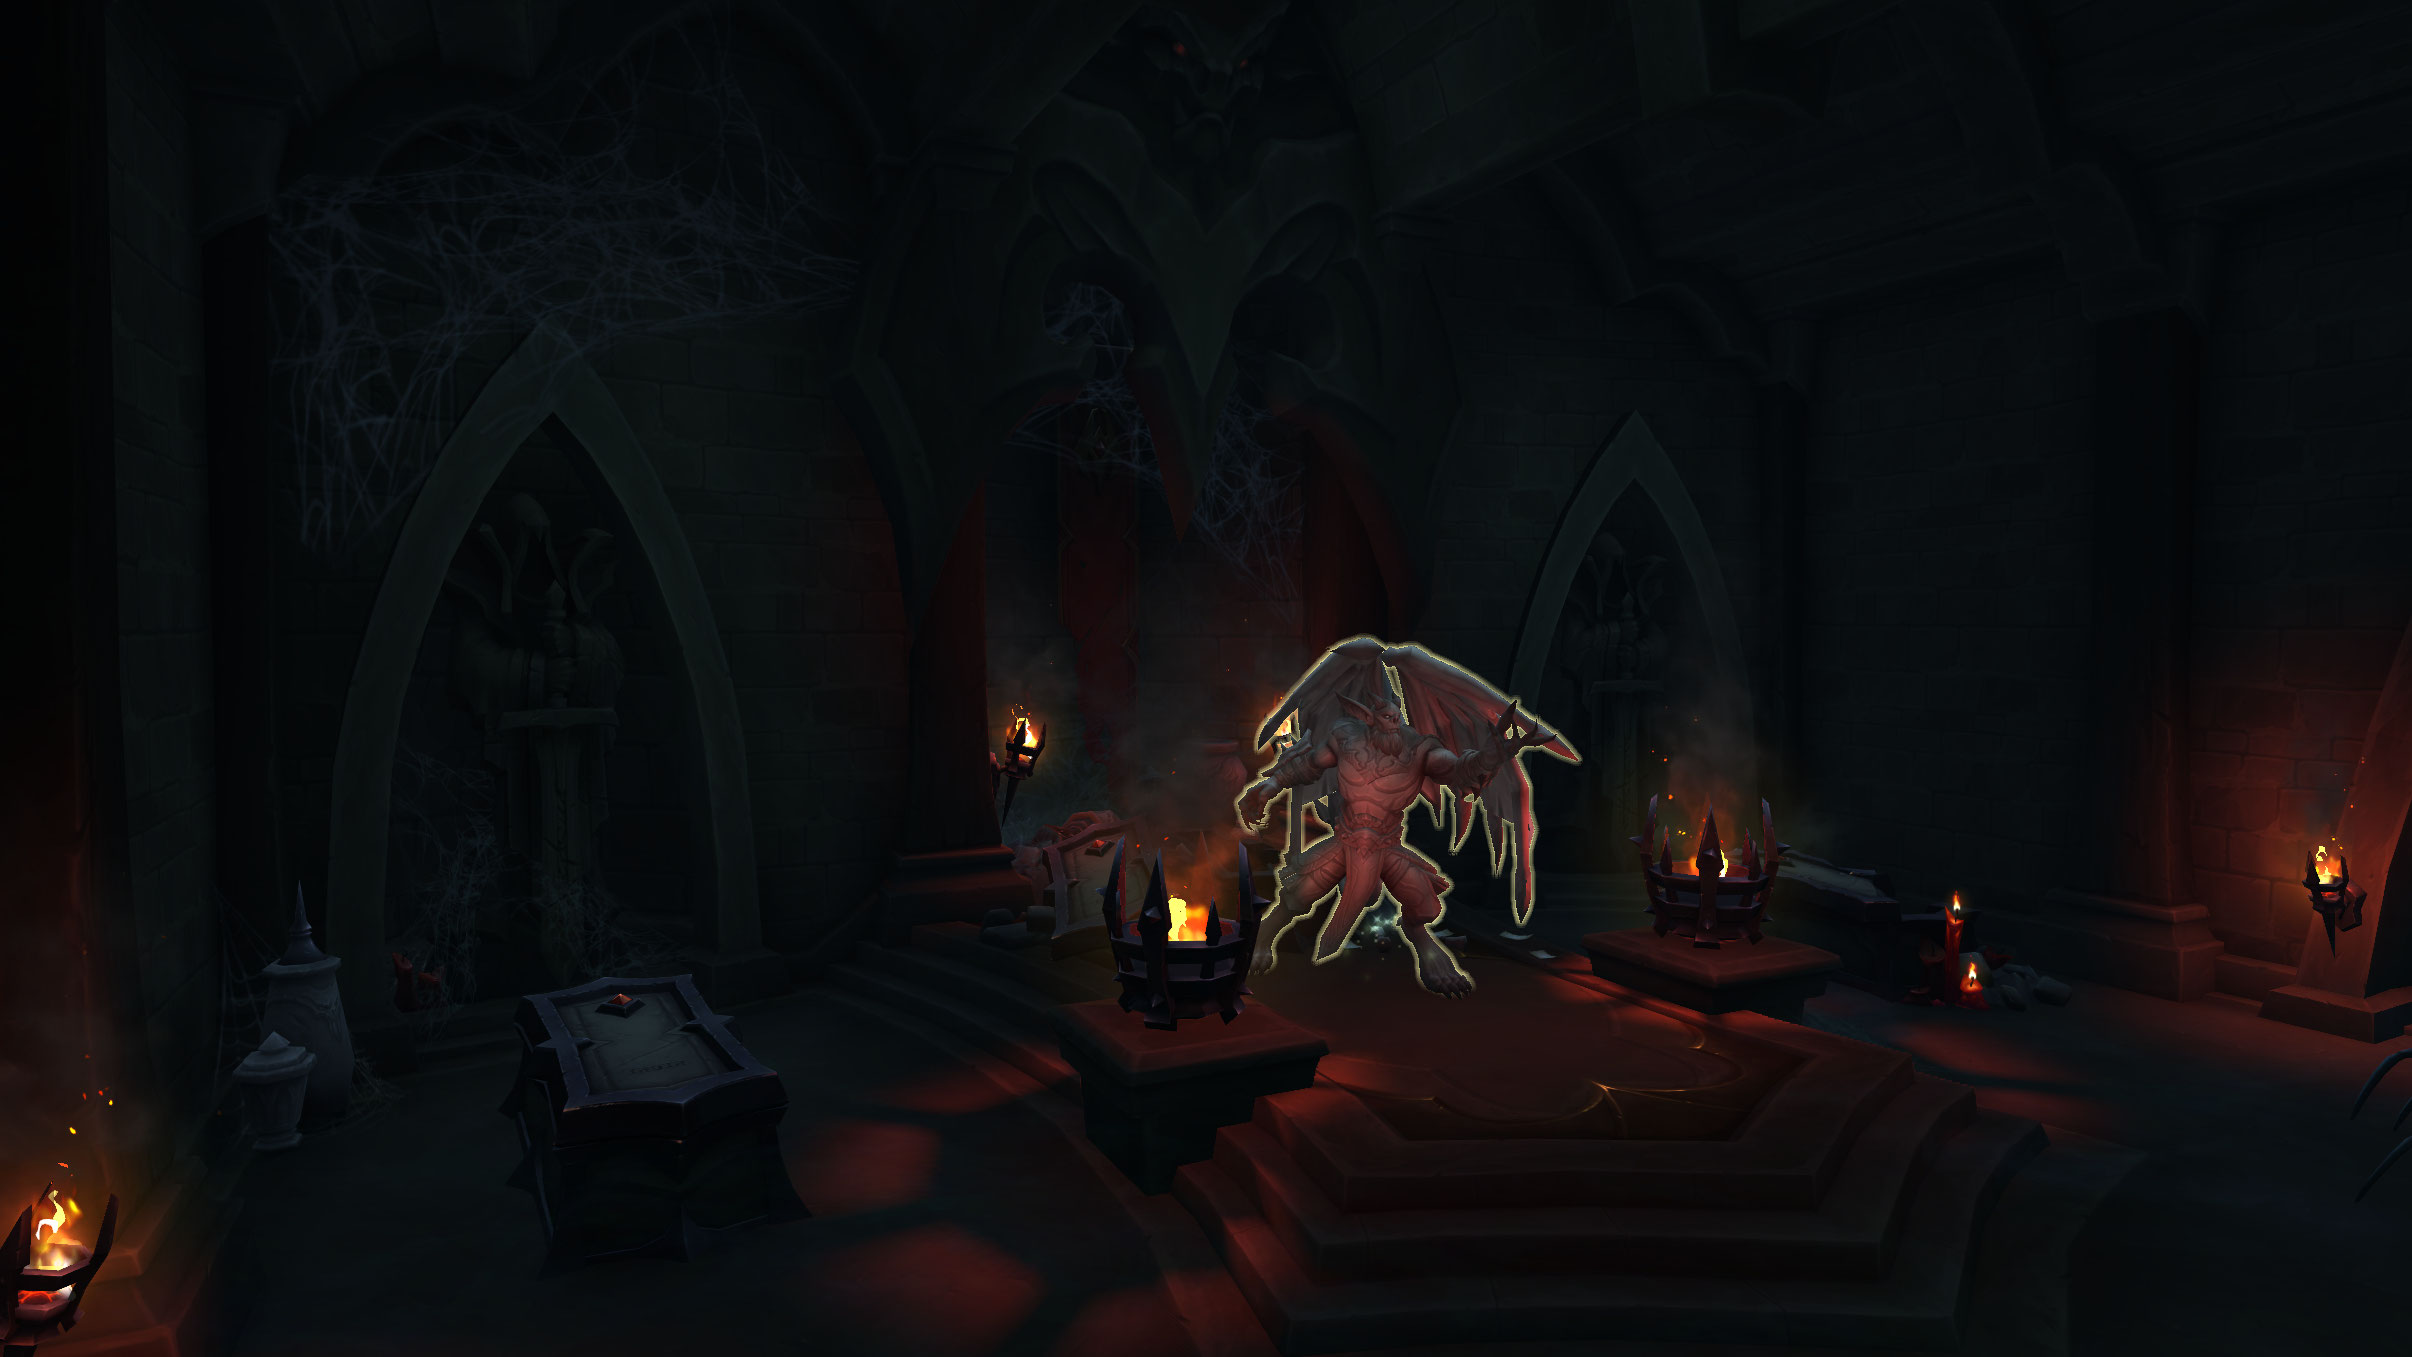
- He tells you to find the sinstone of Stelia, one of the inquisitors that is aiding the Accuser. You fly with Echelon, who says that Sinstones are the most powerful and despised weapons in Revendreth. You land by some crypts where you collect keys to find the sinstone while also defeating Cryptkeeper Kassir to earn the trust of Temel, The Sin Herald, who can exploit the sinstone properly. You defeat him and earn the loyalty of Temel, but he also warns you that Denathrius is lying to you.
- Since the dawn of Revendreth, Temel has been charged with proclaiming the sins of souls for all to hear. Echelon wants you to order him to read from Inquisitor Stelia's sinstone, and then kill her.
- You must then find the sinstone of Inquisitor Vilhelm, who split is into 3 pieces. After collecting them you do the same thing as before, killing the inquisitor.
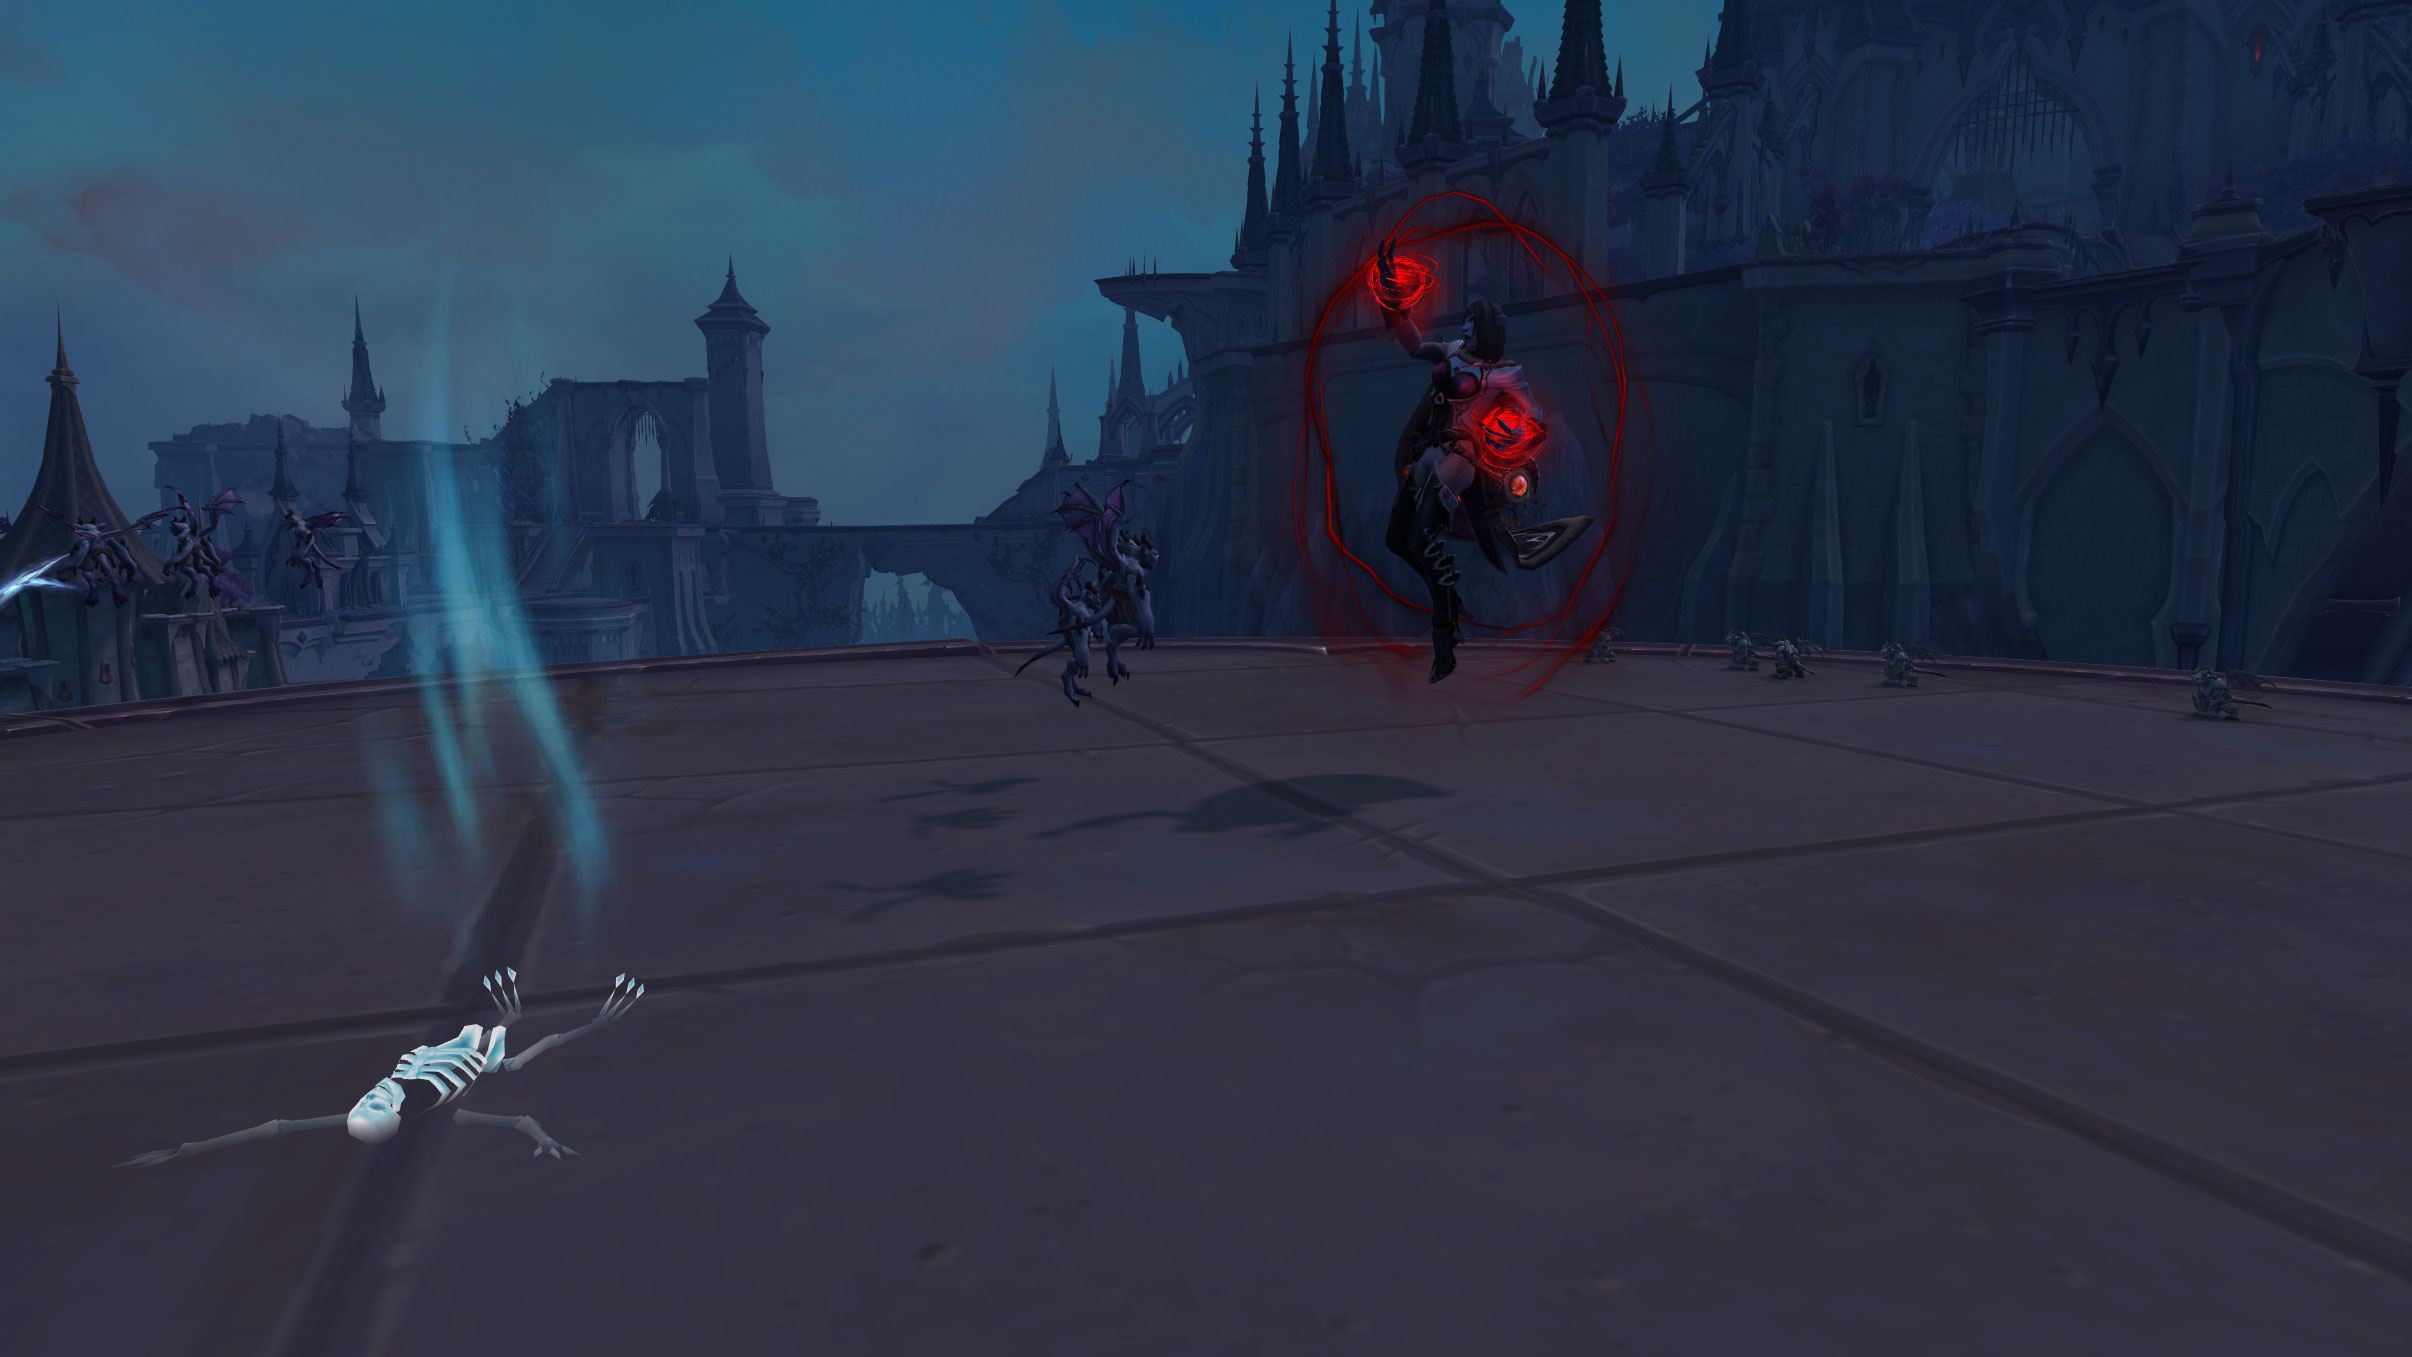
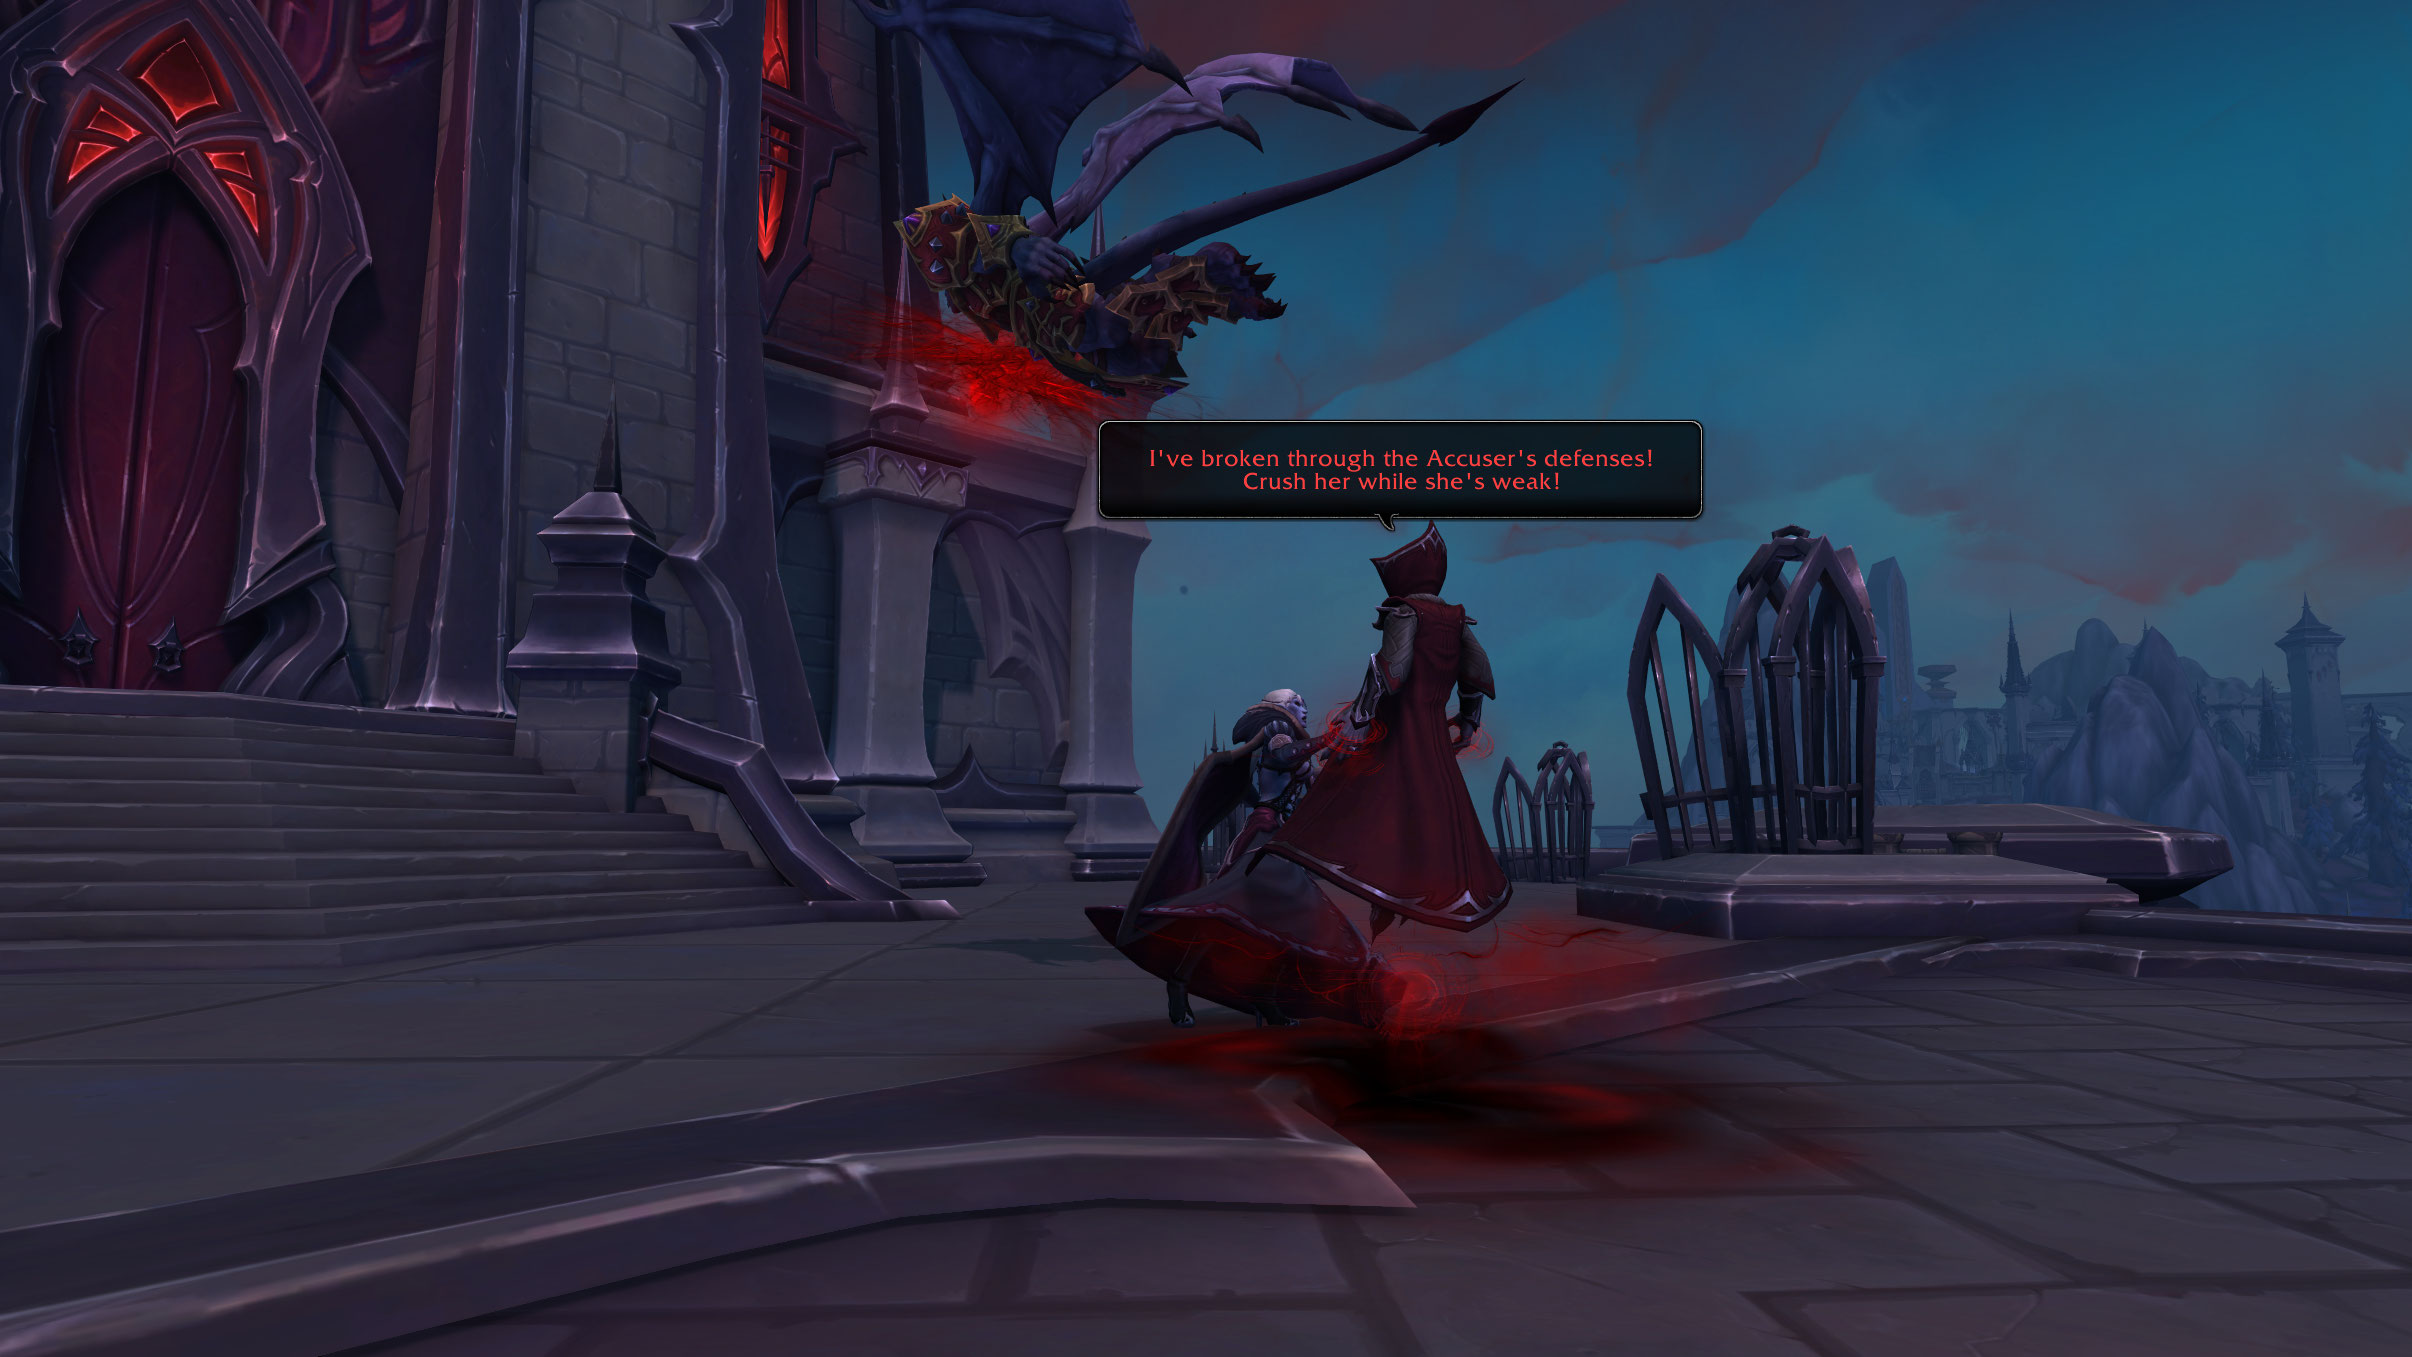
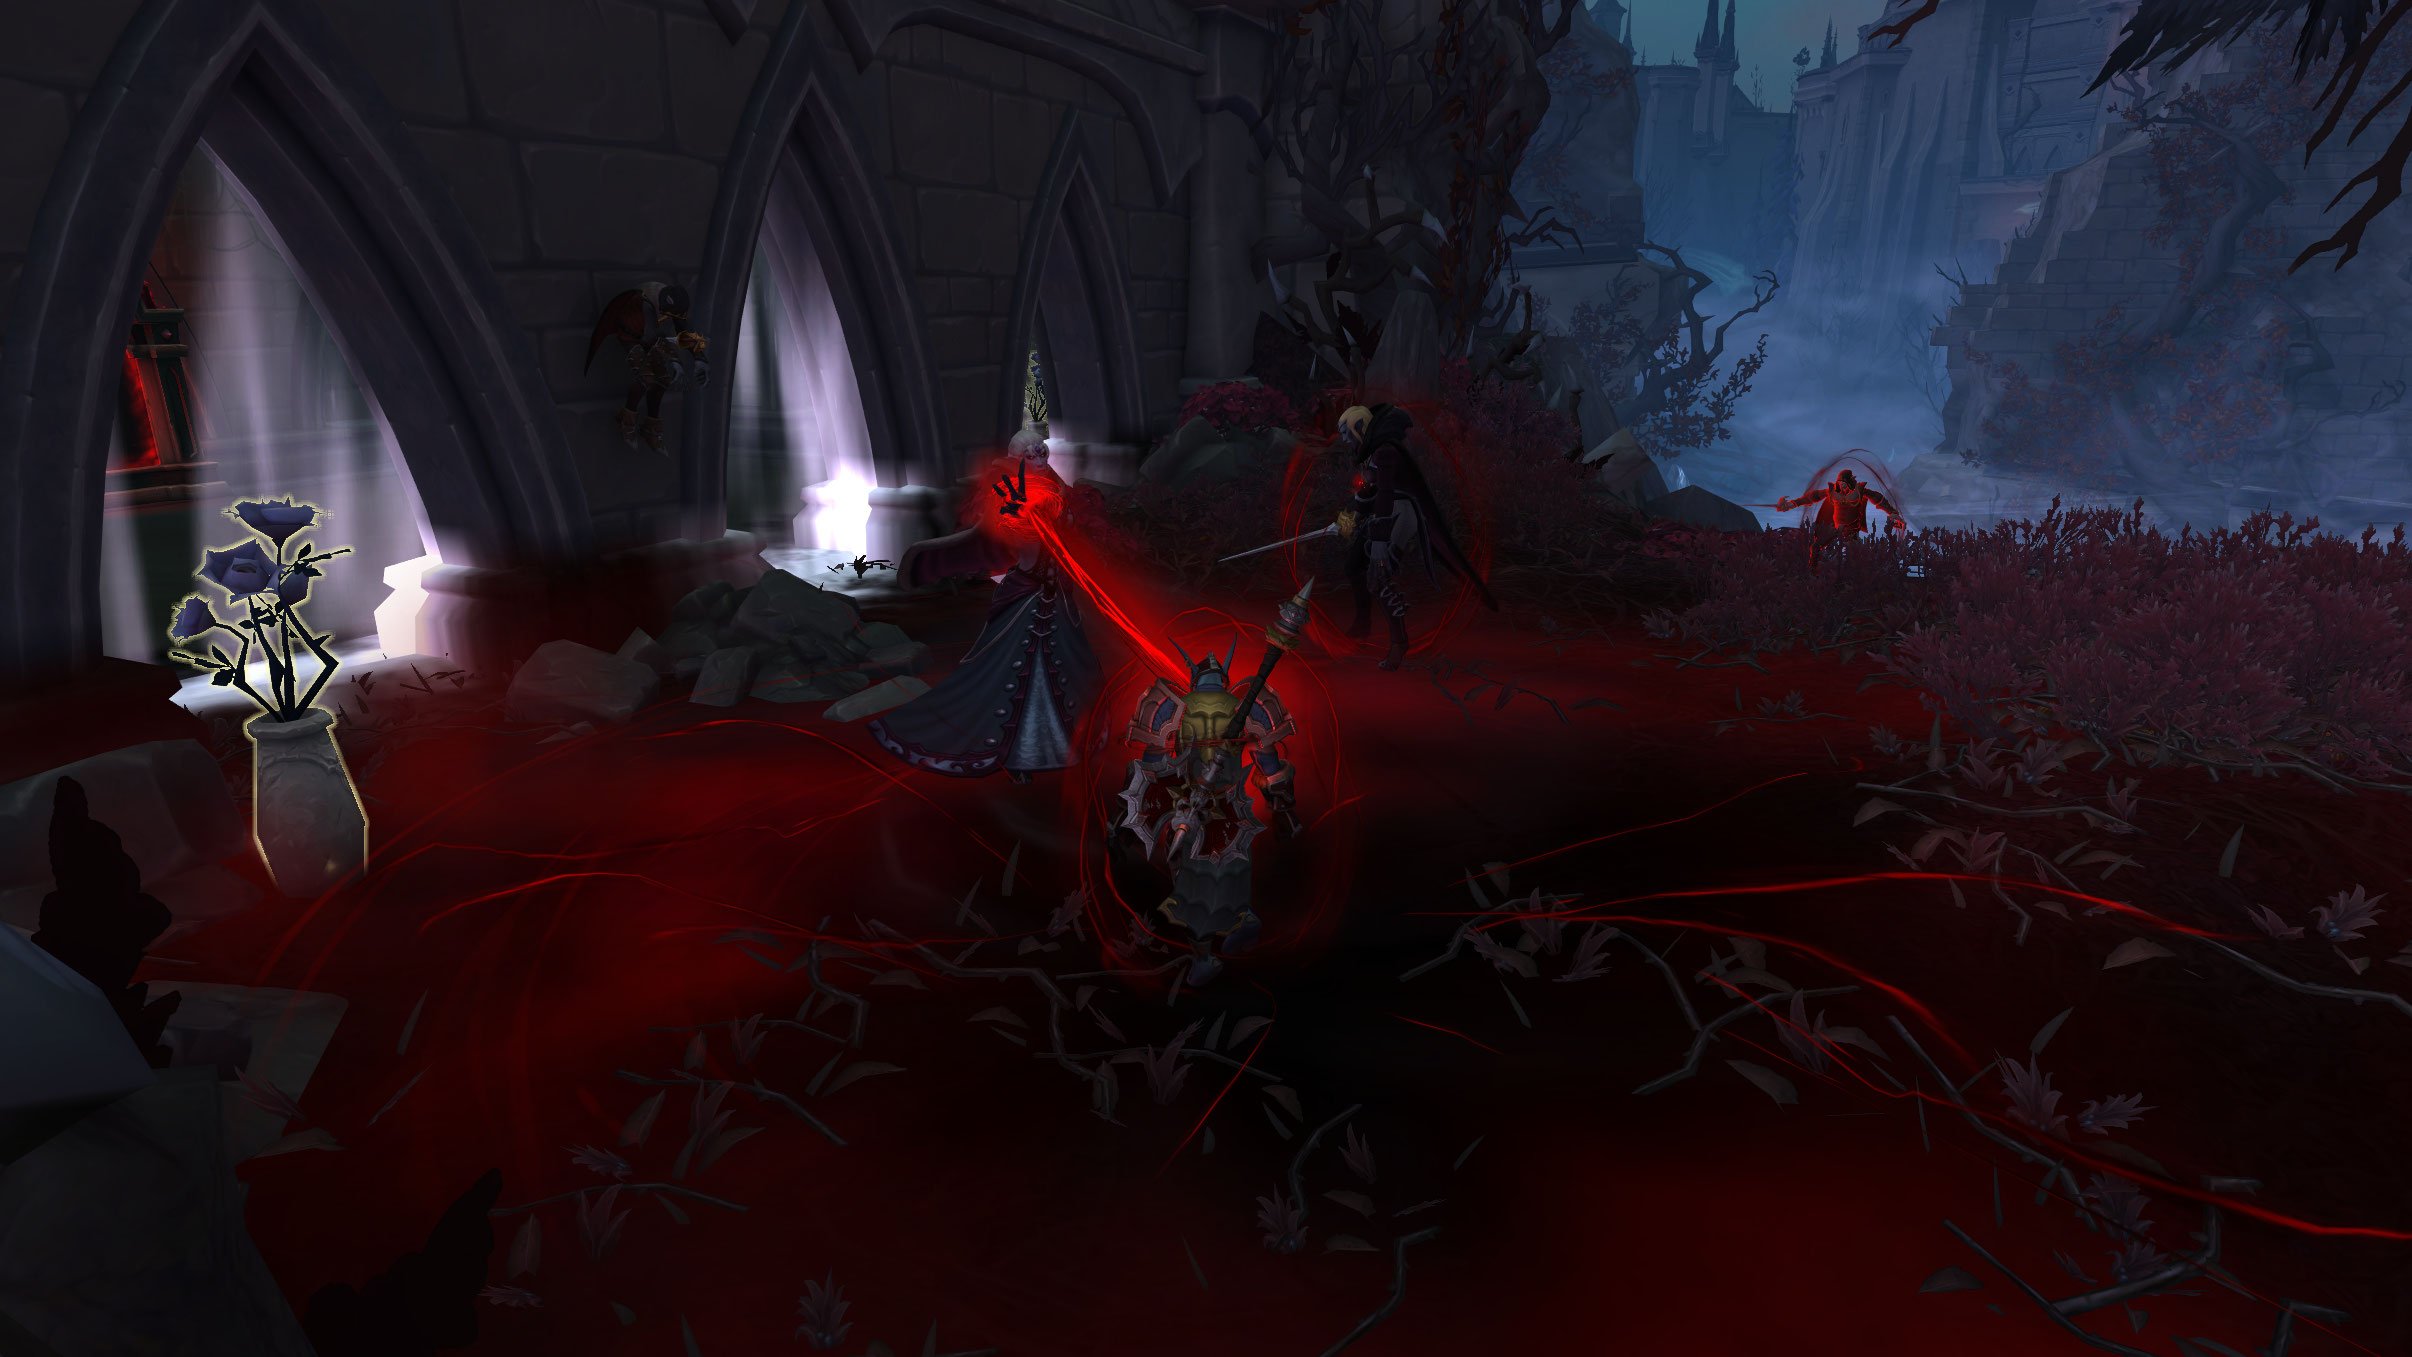
- You then fly with Echelon, who retrieves the Accuser's sinstone and then brings you to the battle between Chamberlain and the Accuser. He gets the upper hand and prepares to read the sinstone. You must protect him while he does this with the hopes that he will seize control of the Halls of Atonement from her in the process.
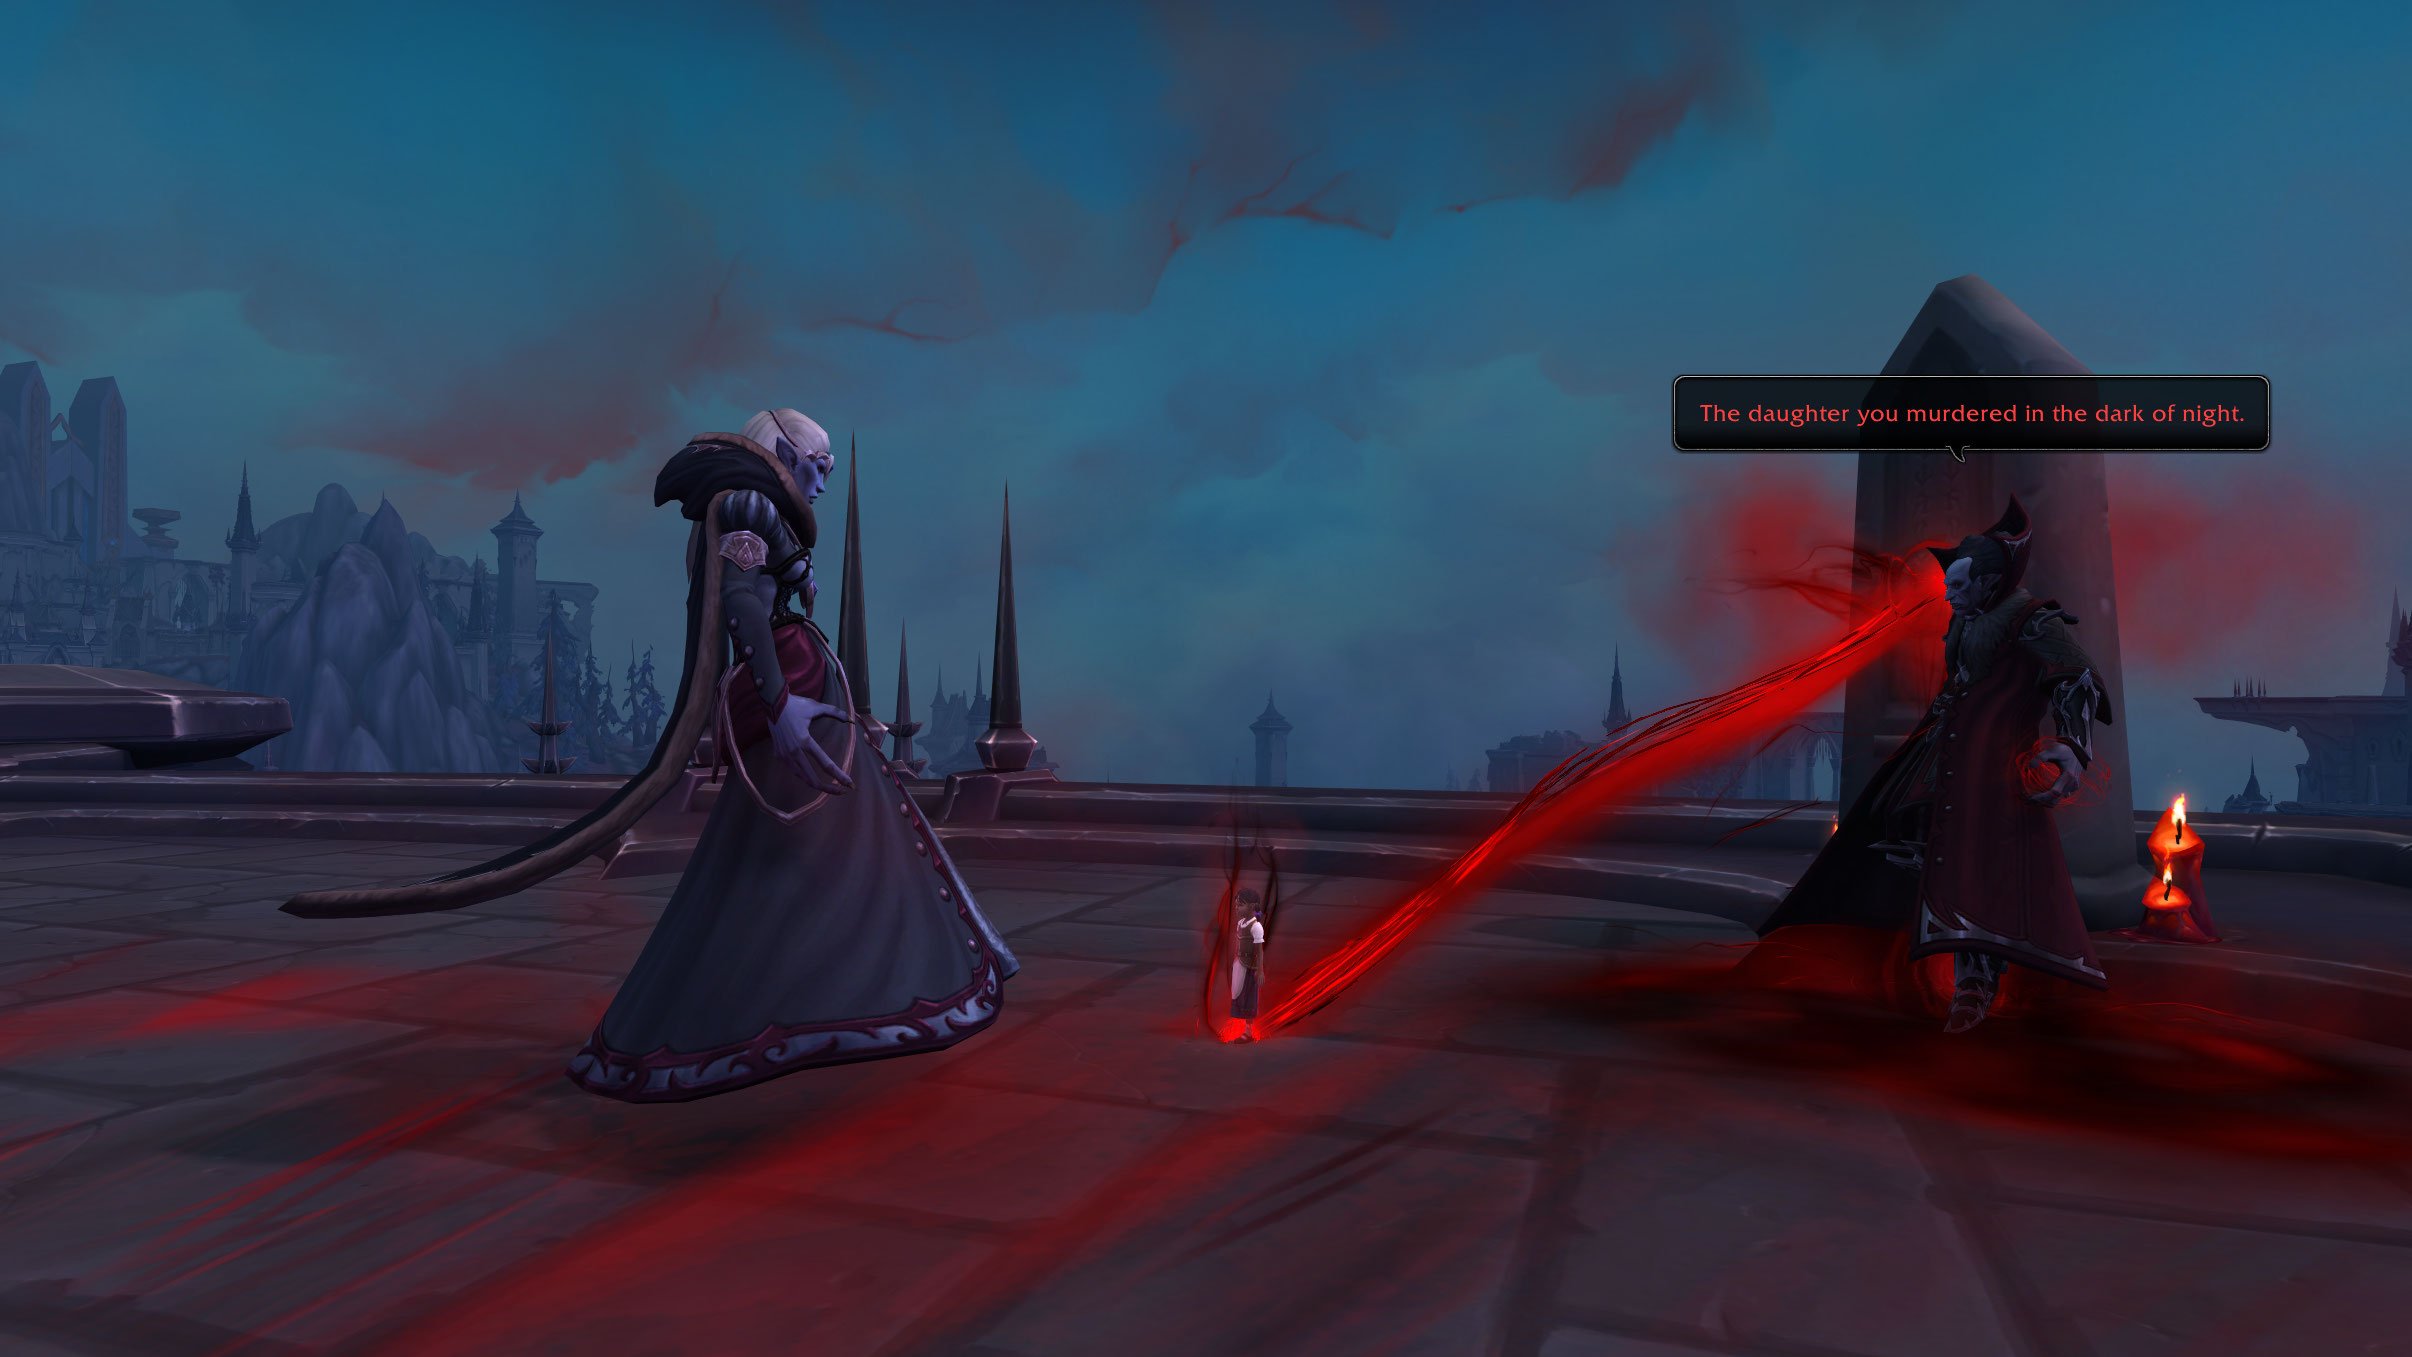
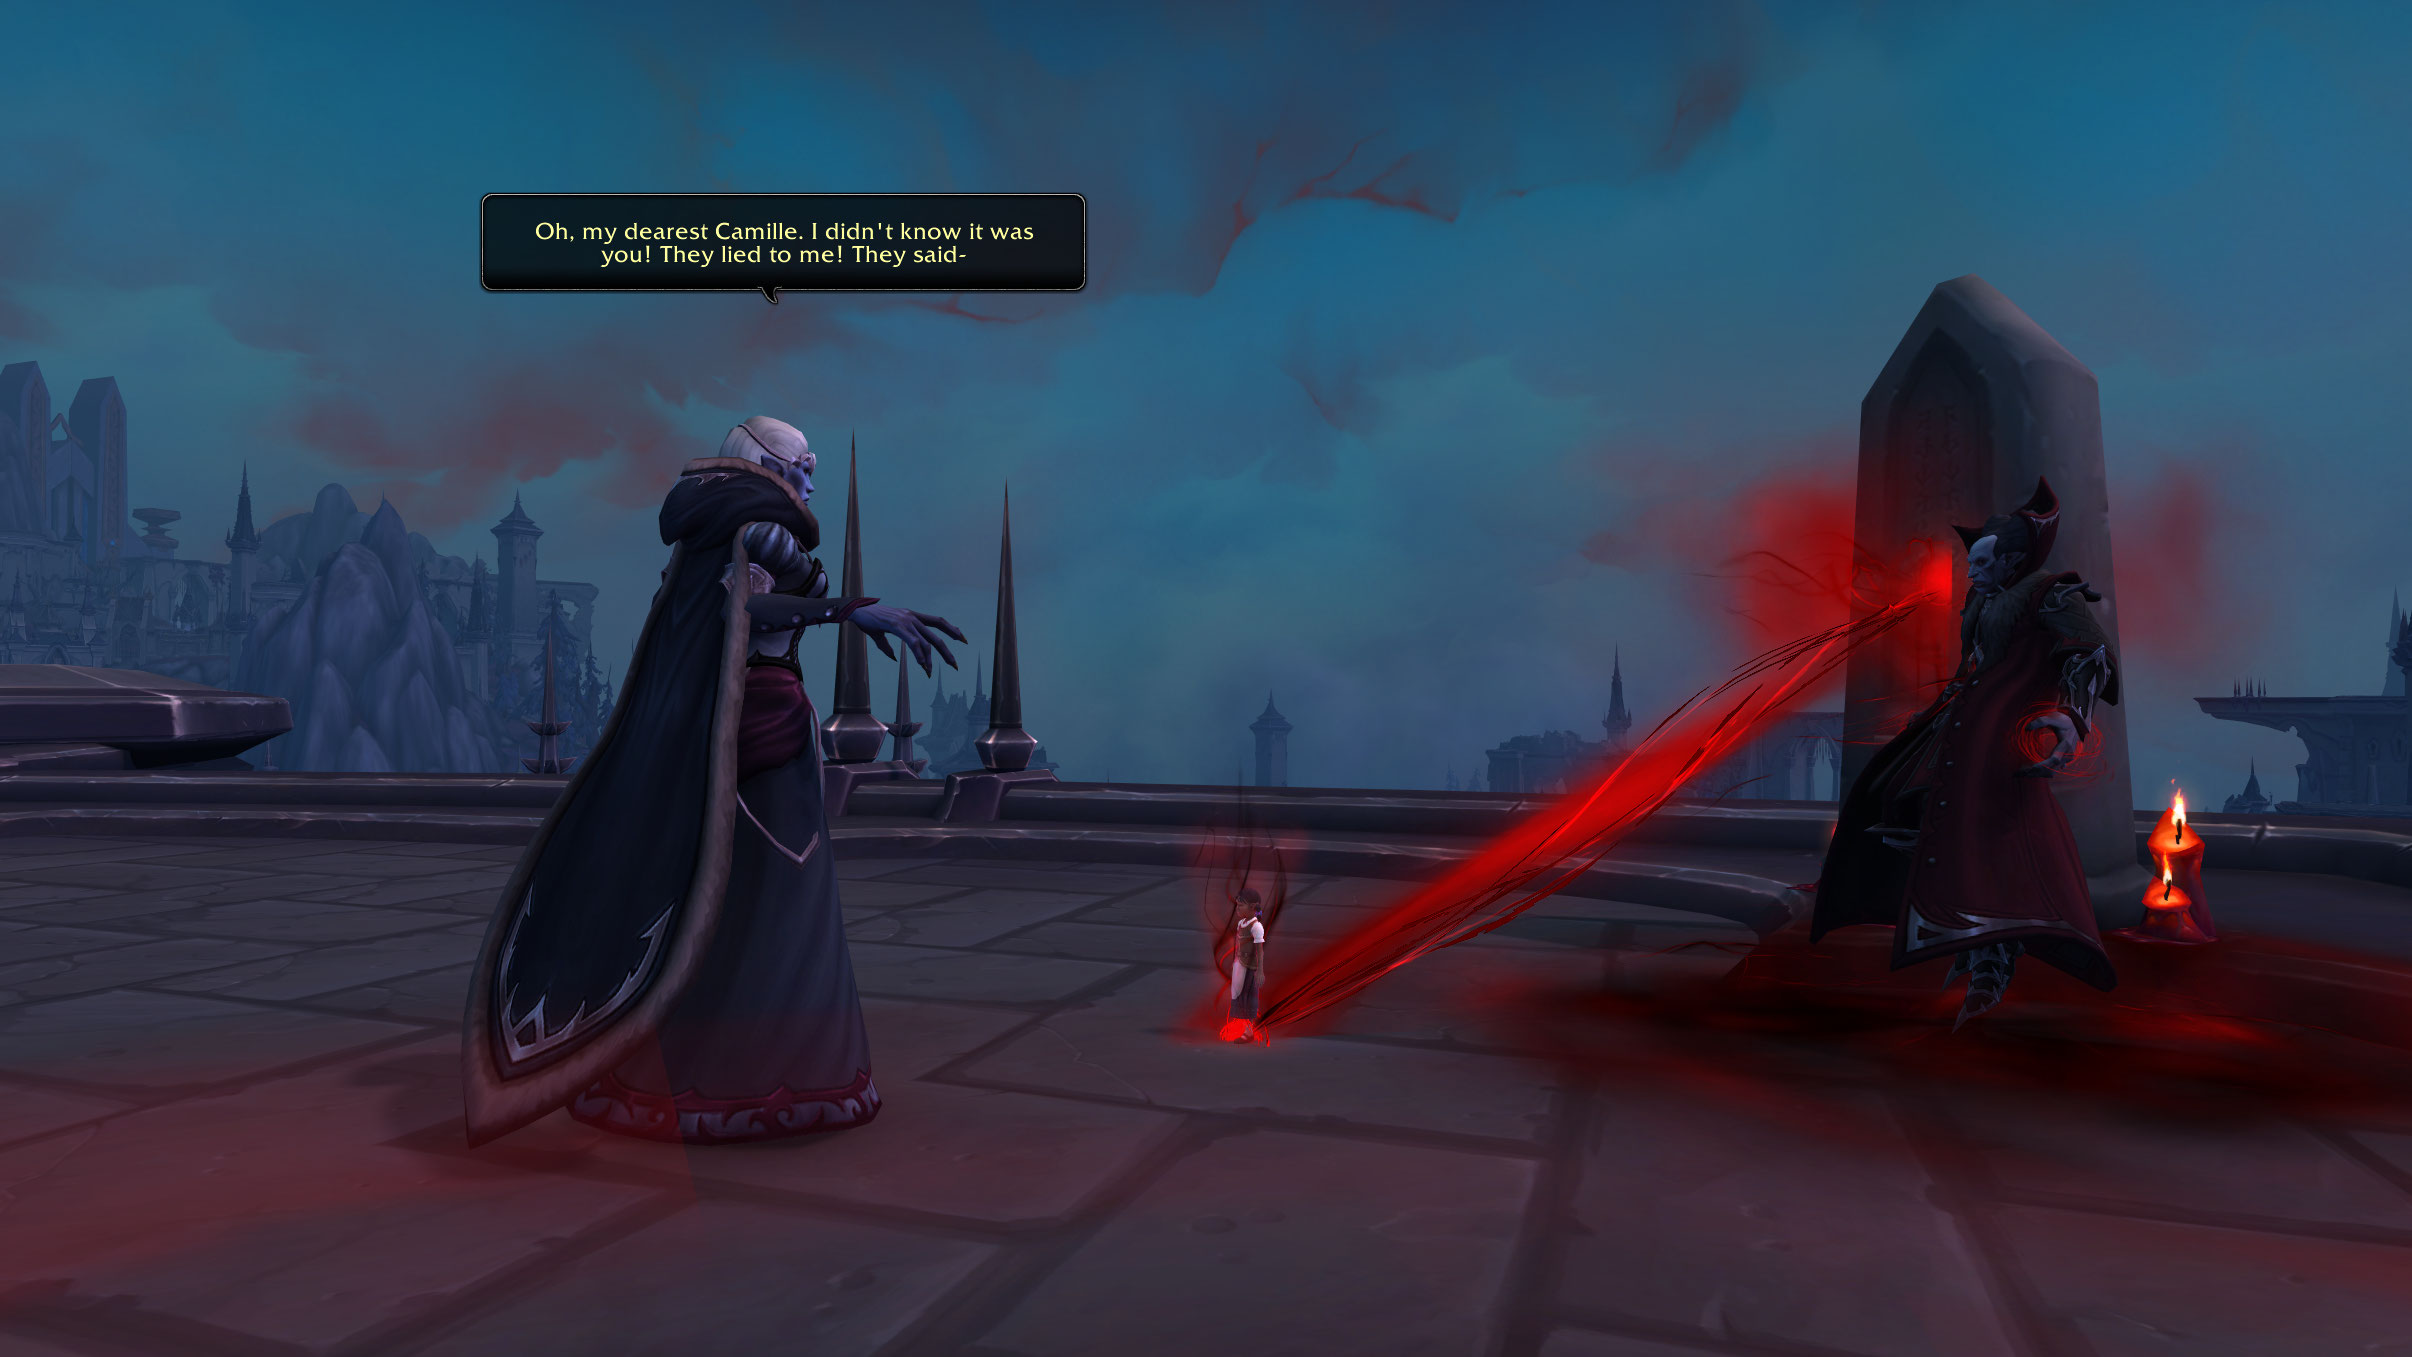
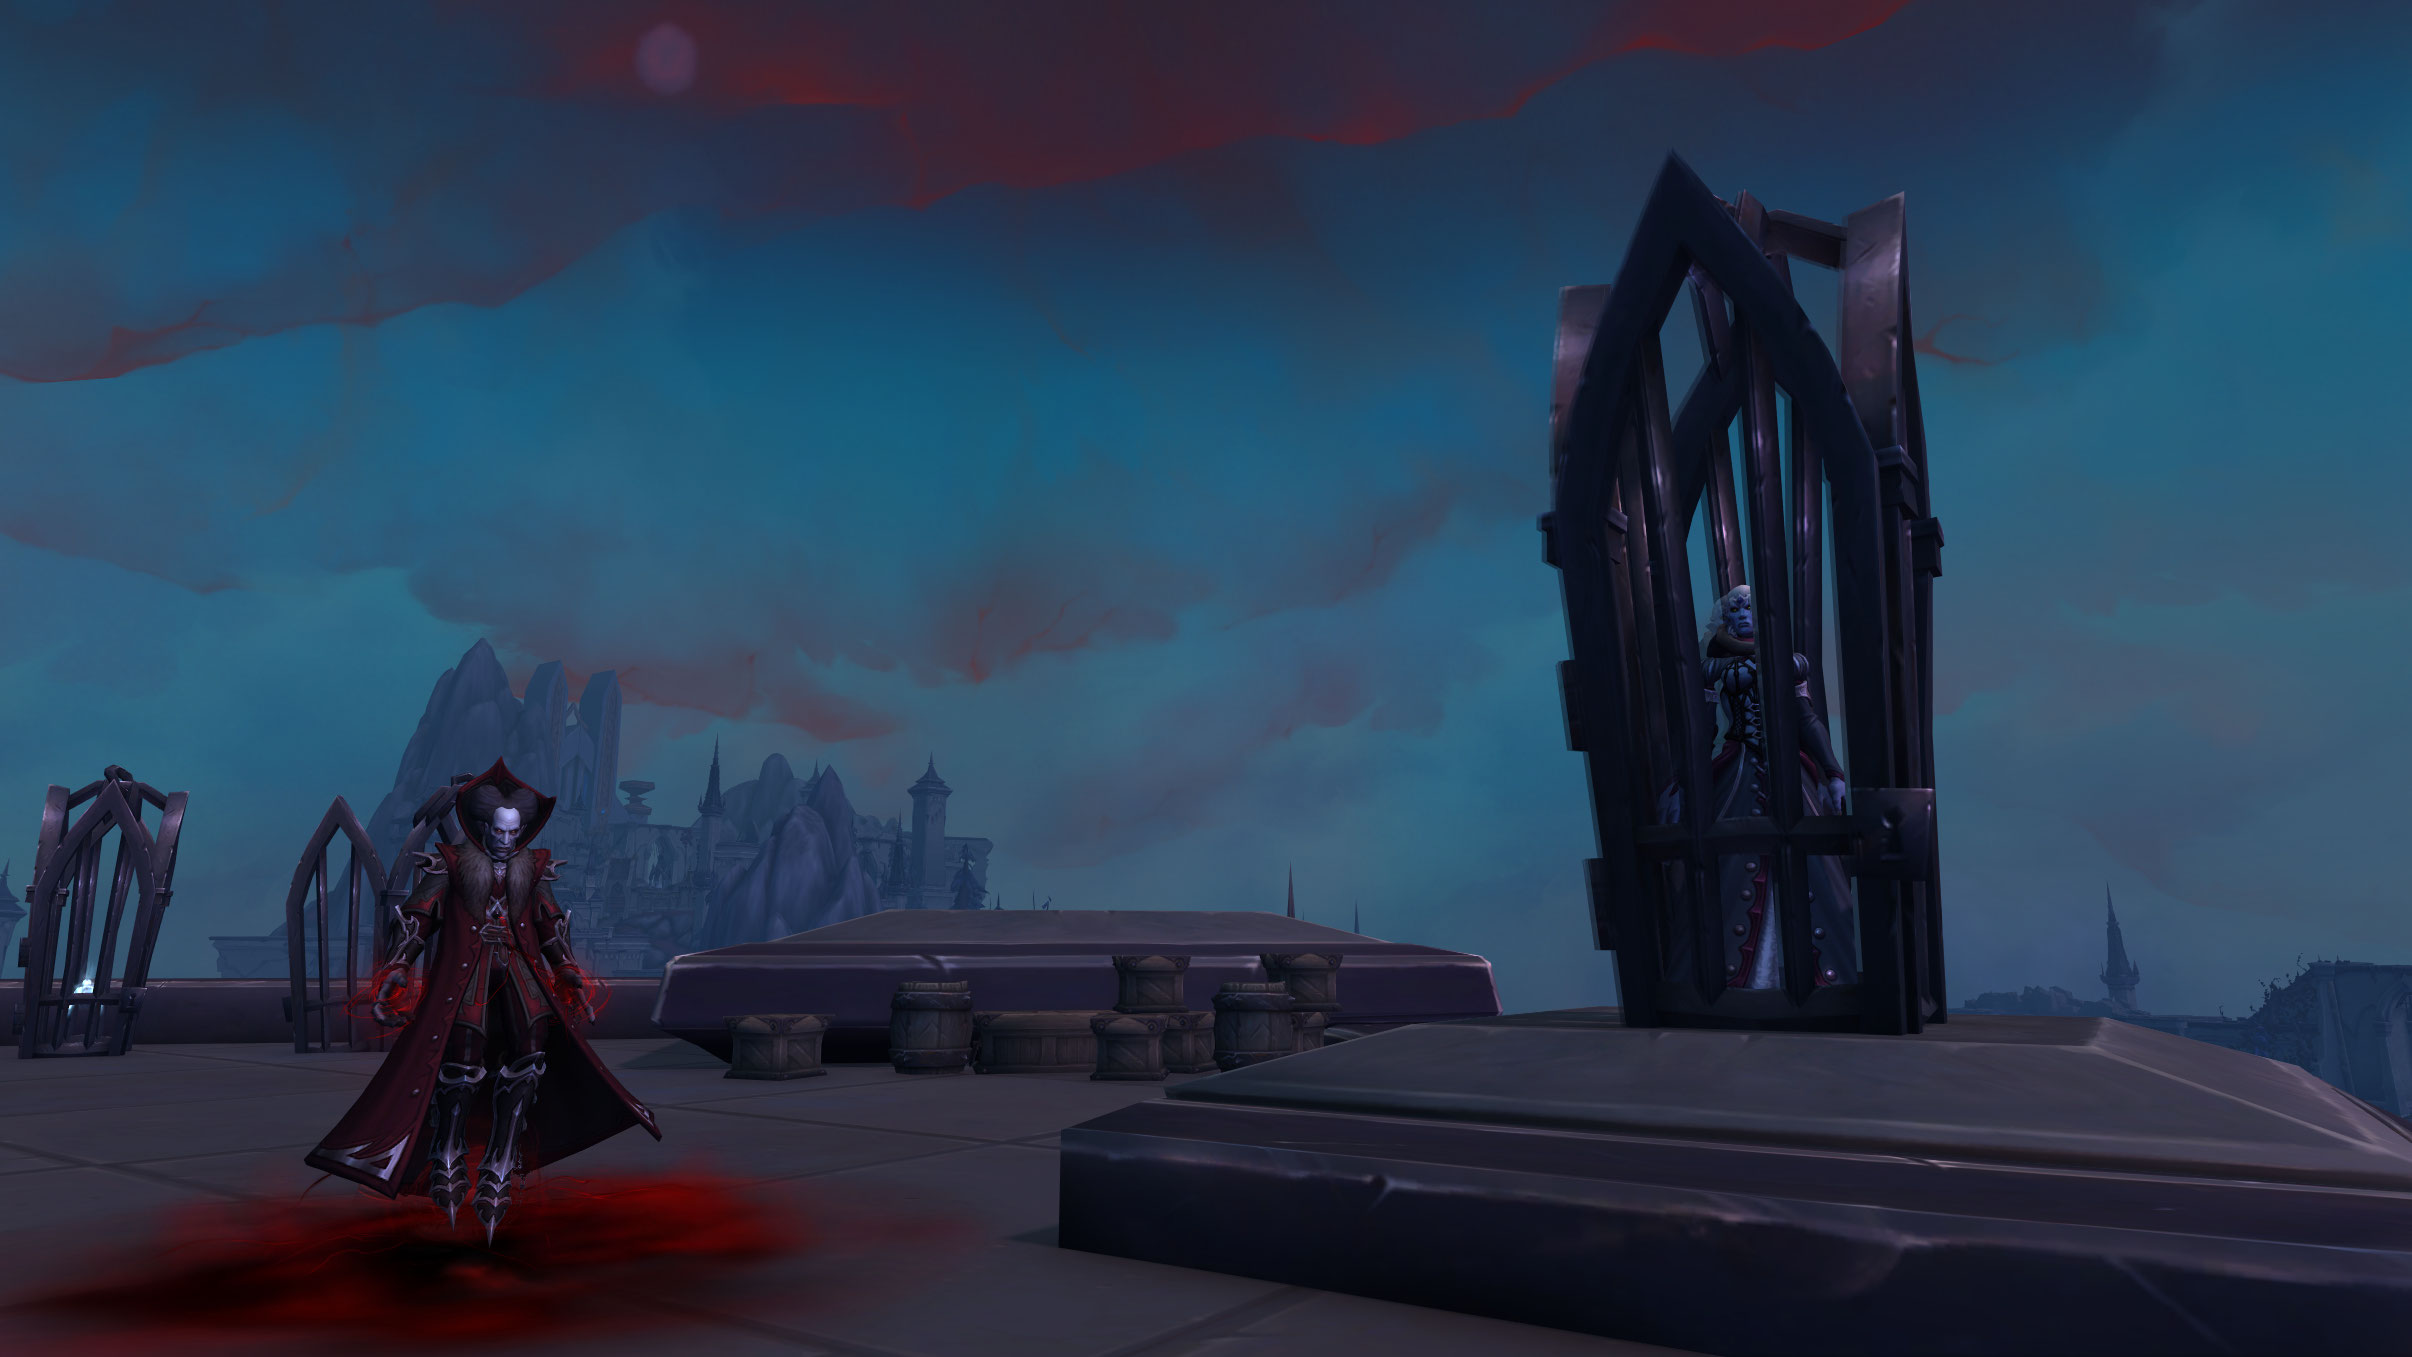
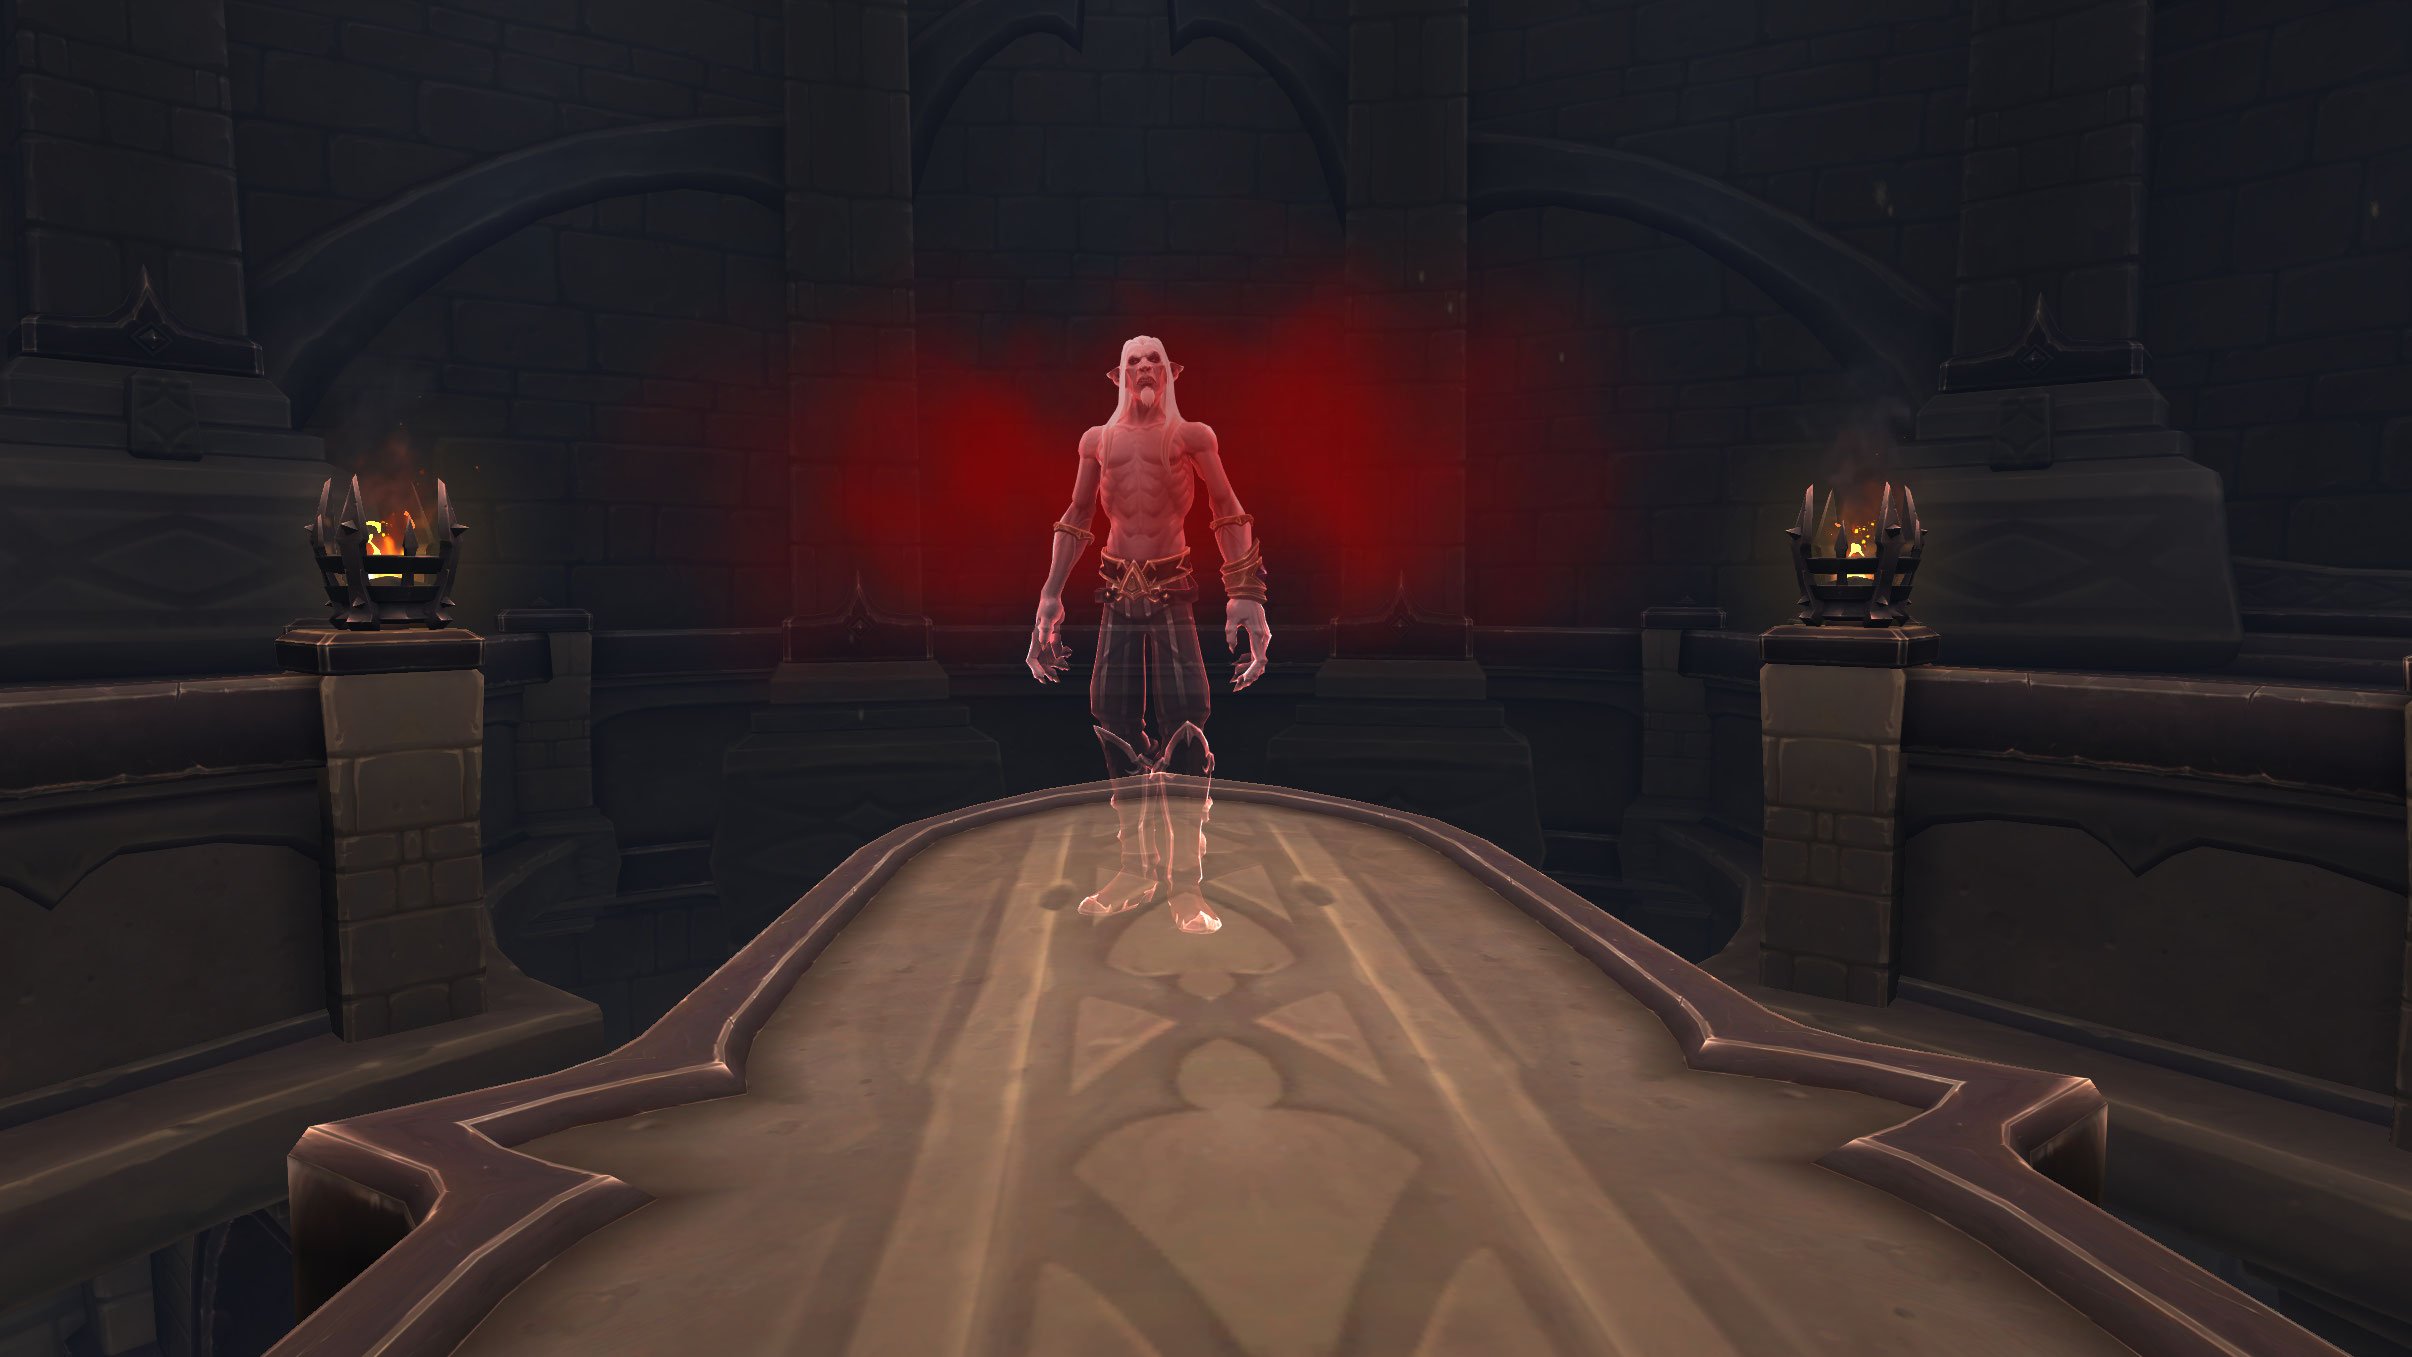
- You fight with her for some time, and he brings out her biggest sin to weaken her. Turns out in life she was tricked into killing her own daughter, which she deeply regrets. You are then able to easily subdue her and Lord Chamberlain gets control of the Halls of Atonement, becoming a member of the Court of Harvesters. You then return with the Accuser to the Master, where she tries to get you to believe that the Master is lying and can't be trusted.
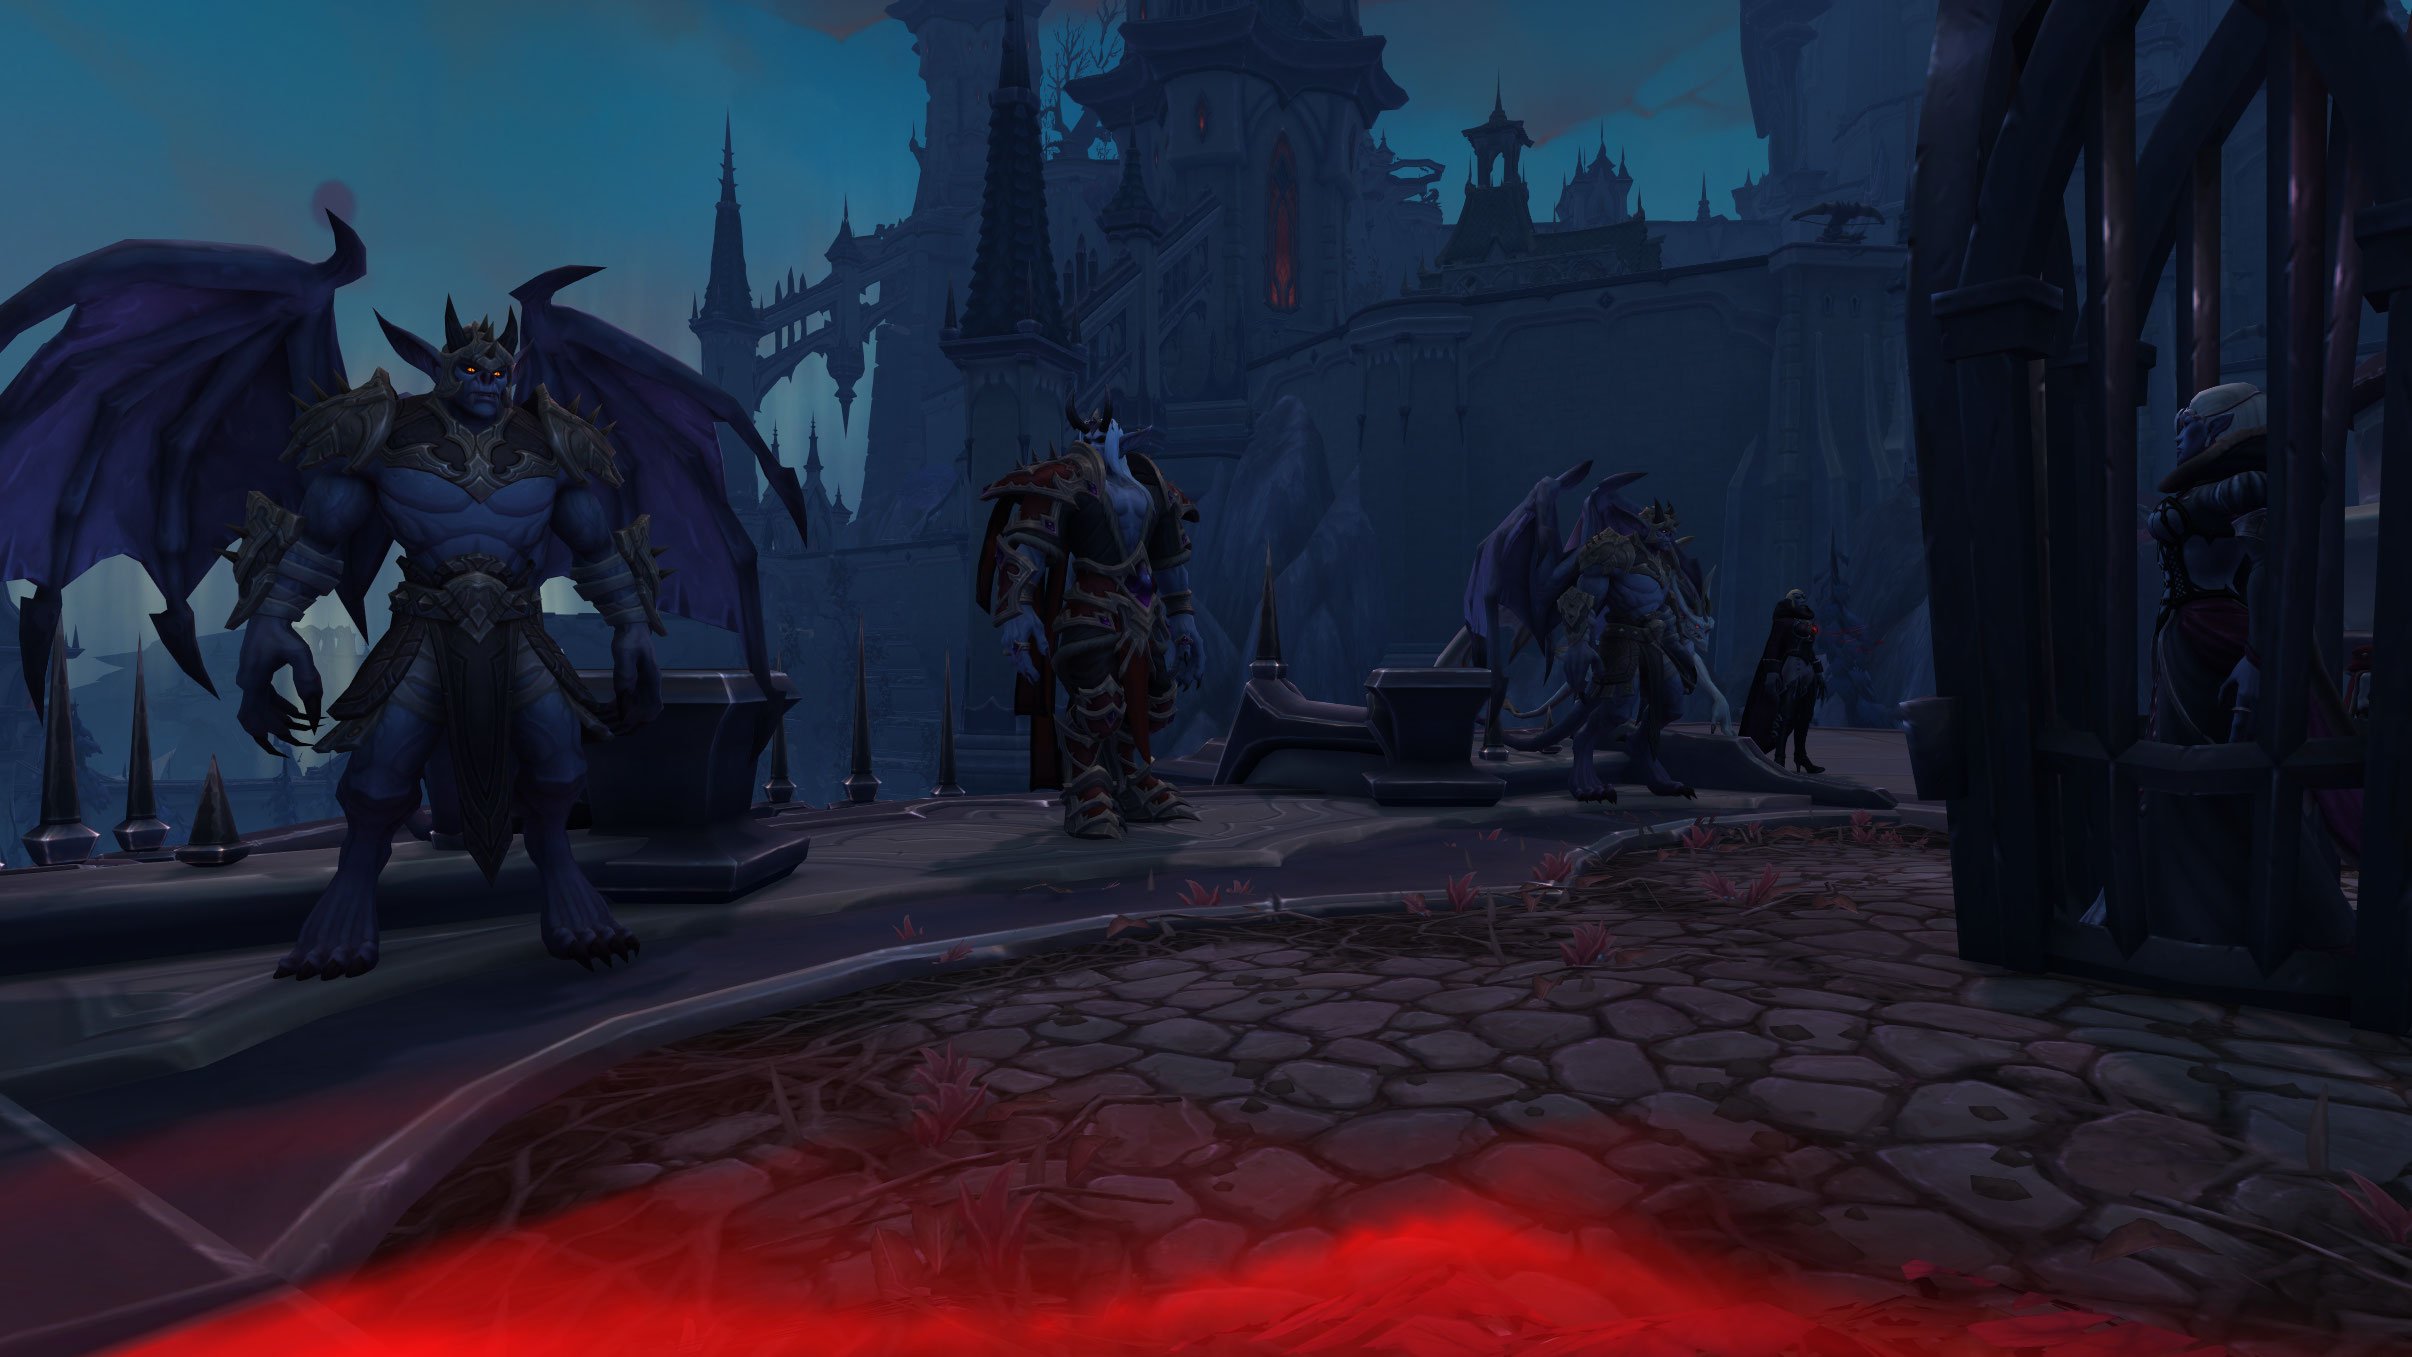
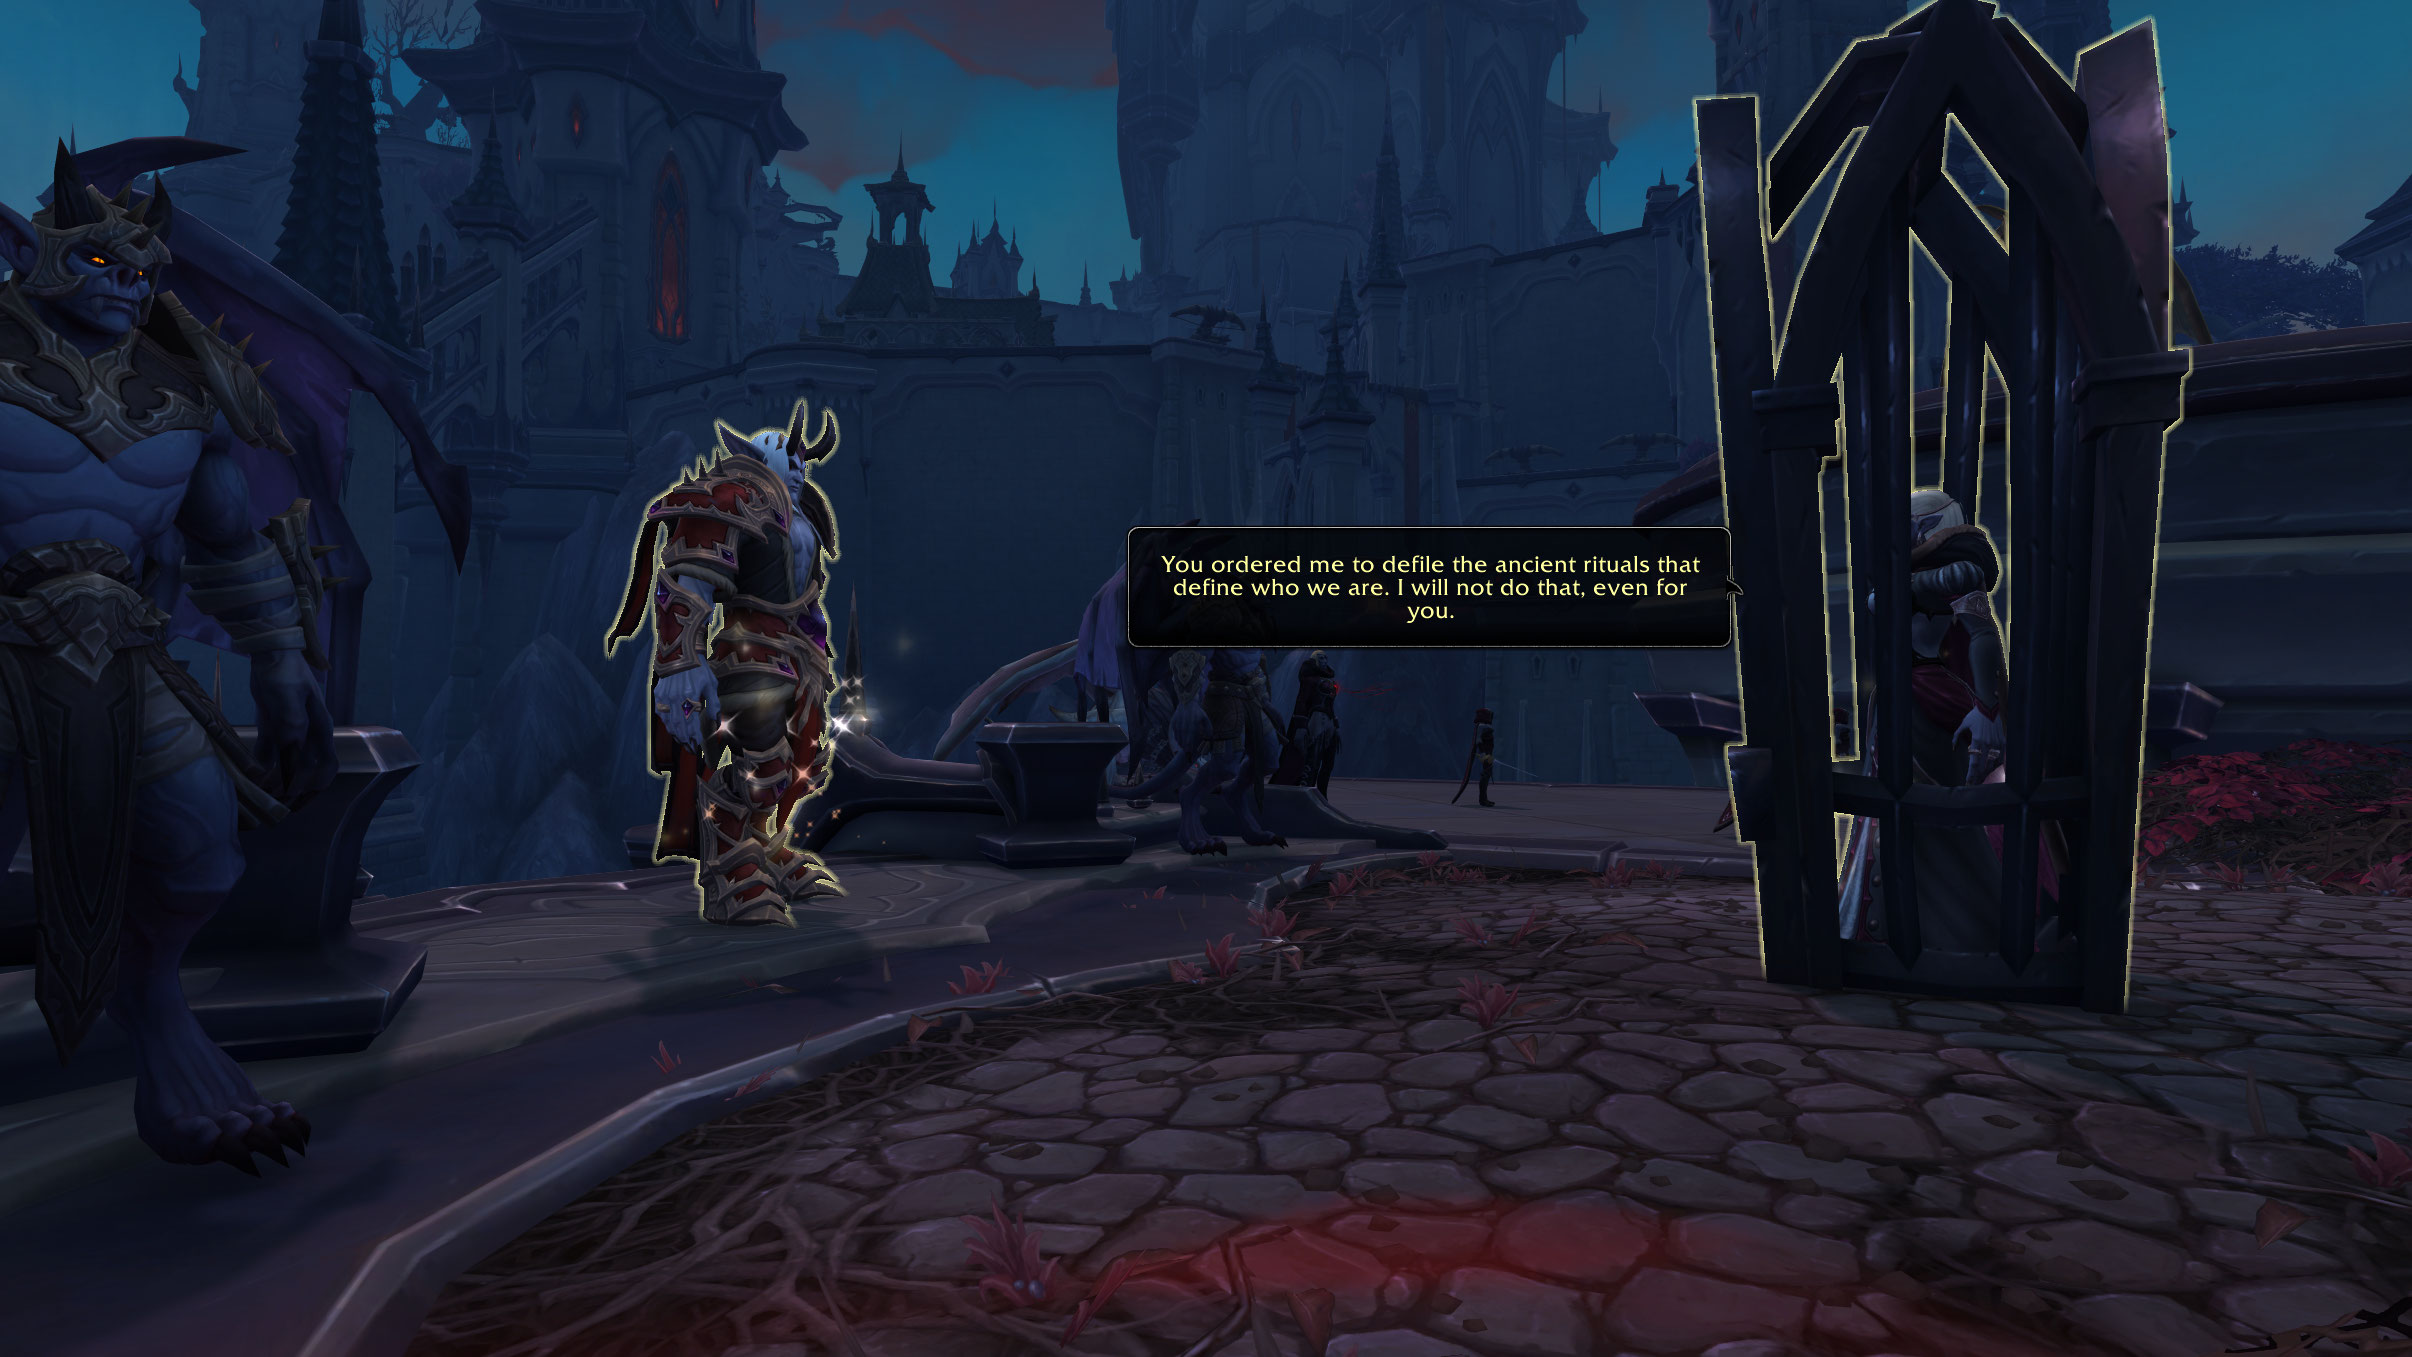
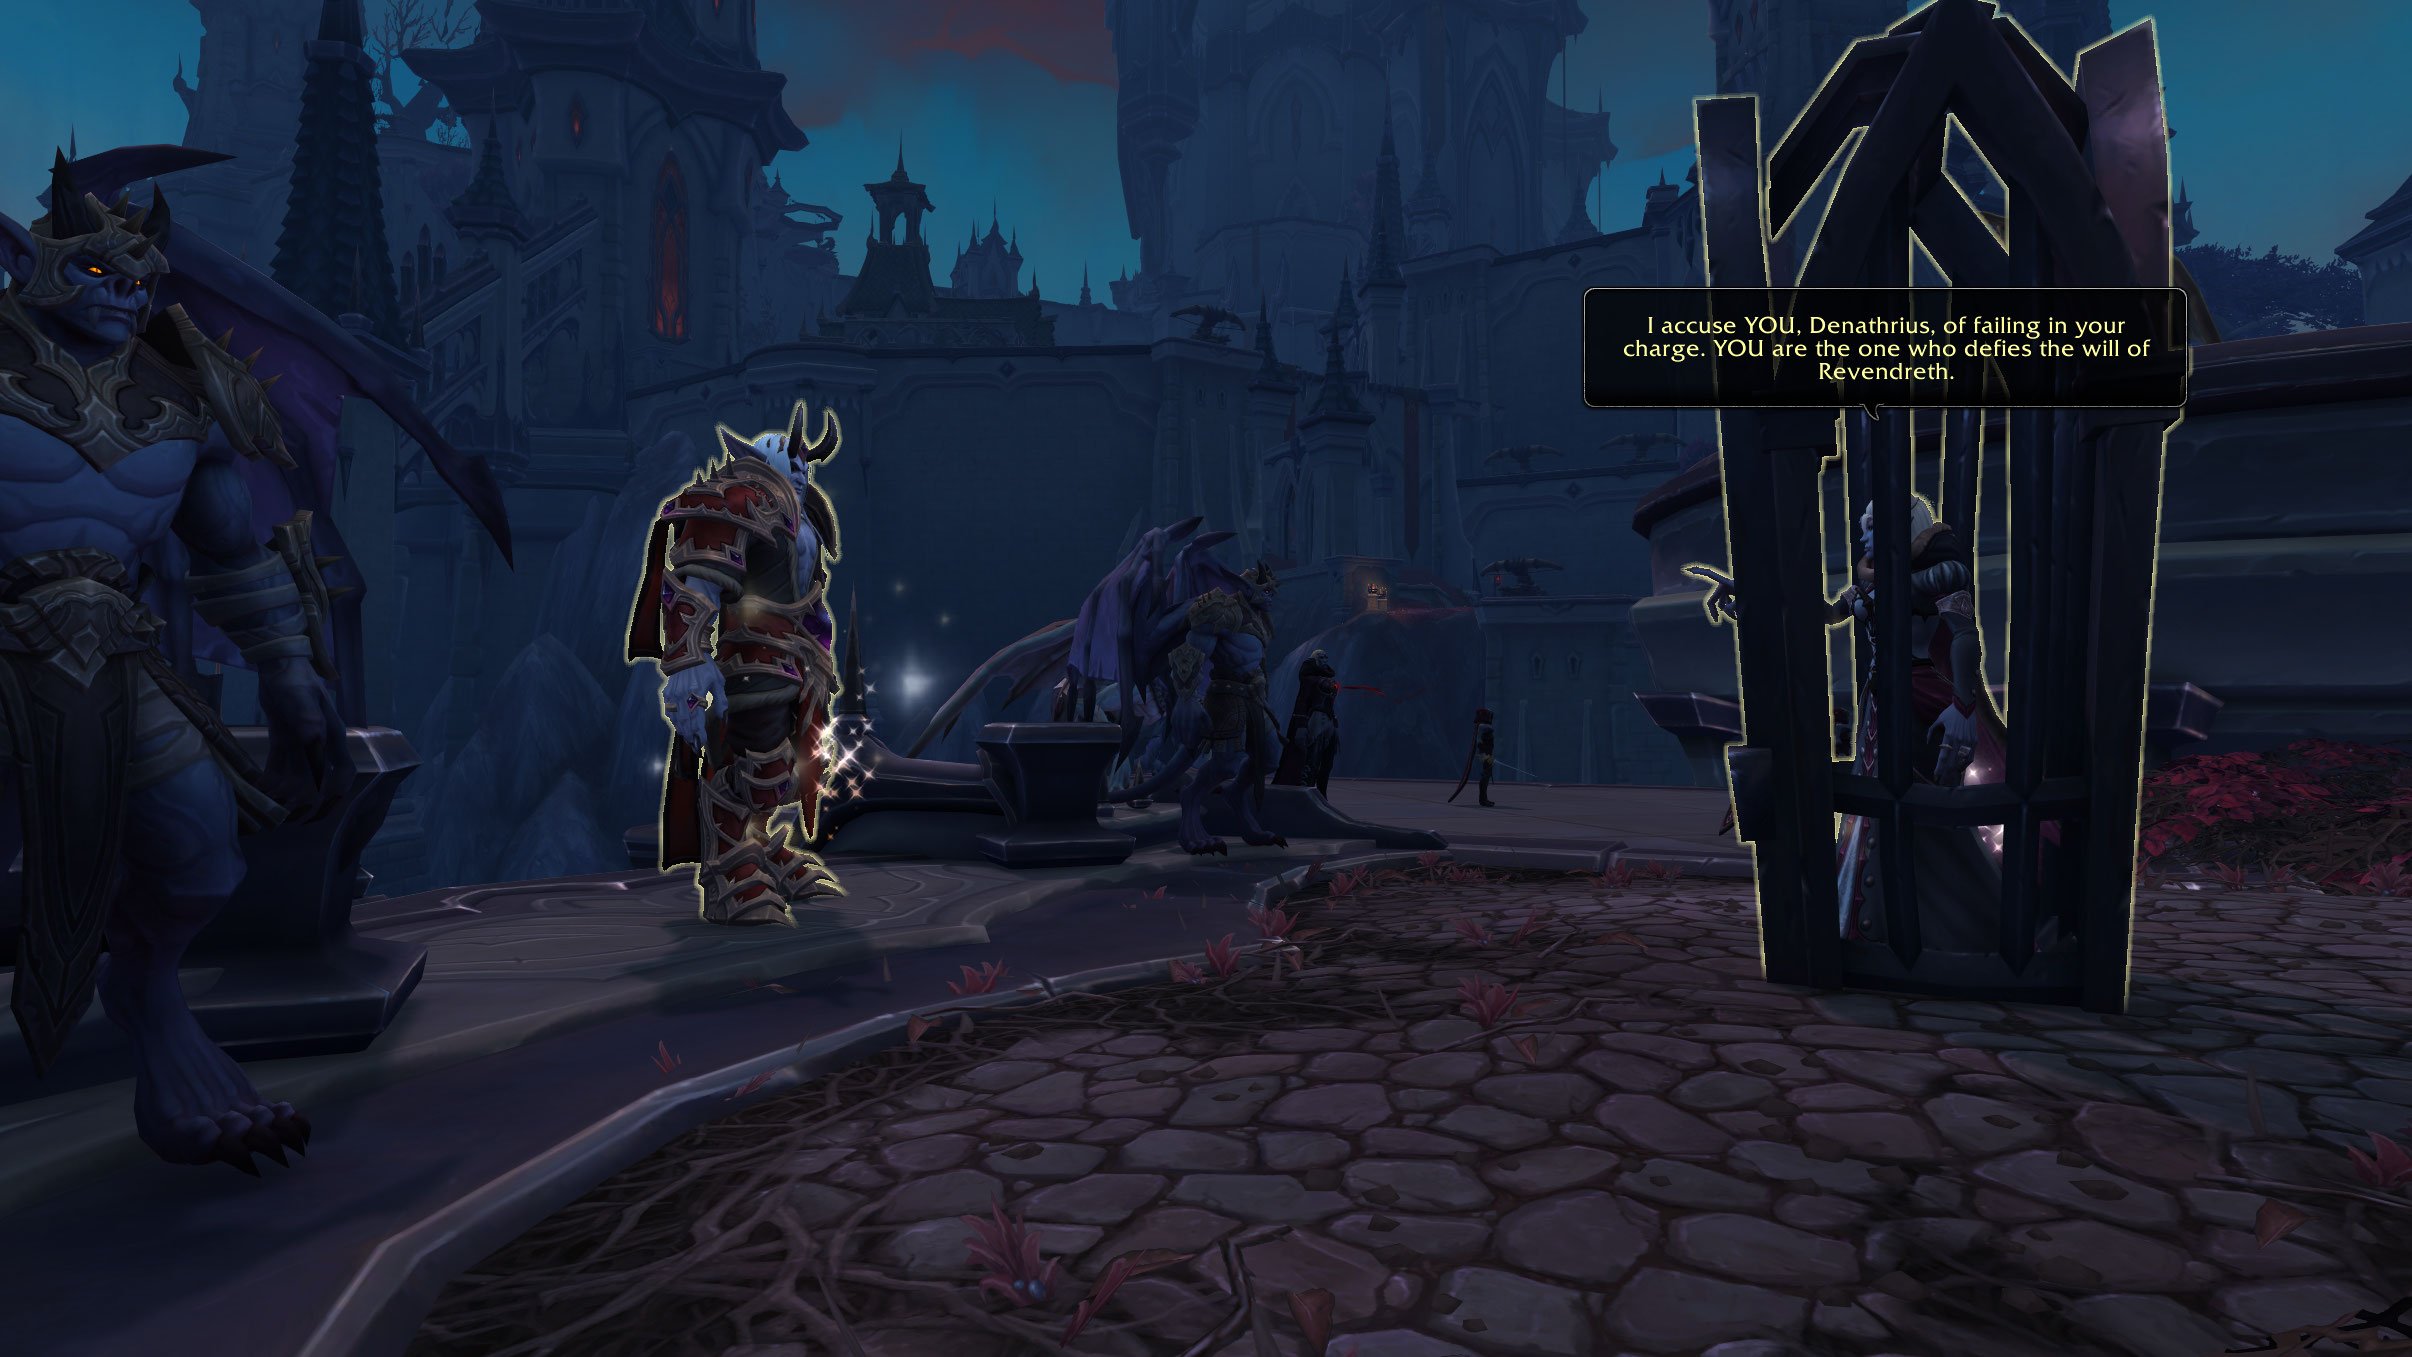
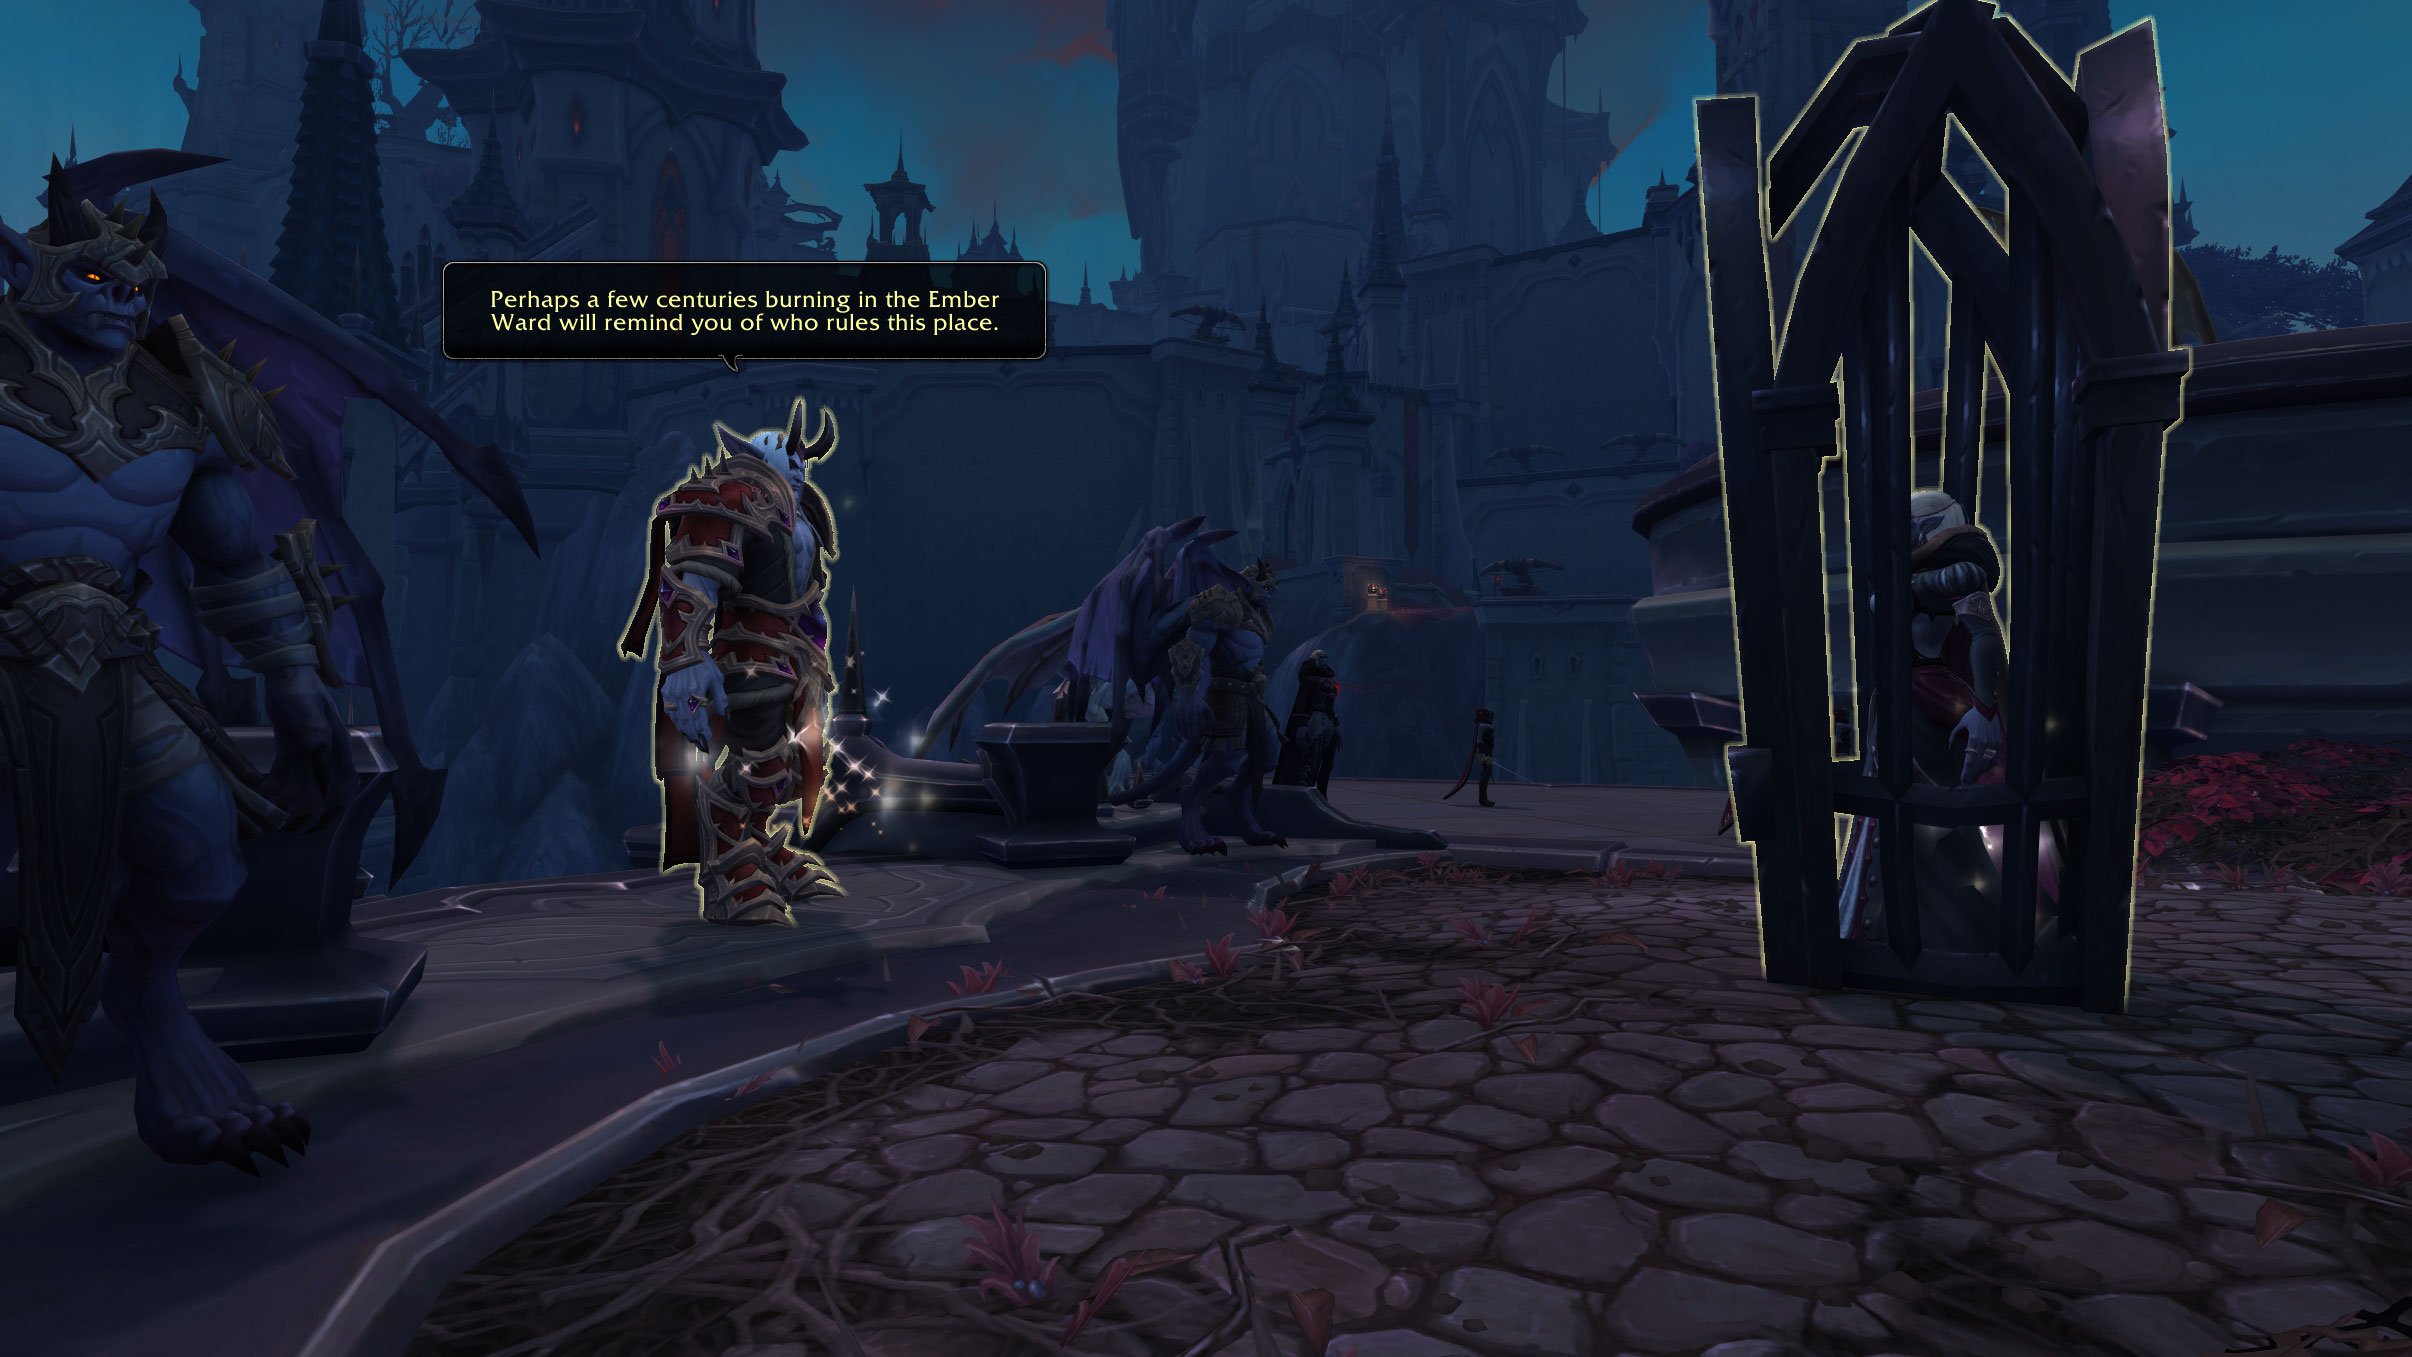
- When you arrive, you turn over her medallion to him and witness her judgement. You find out that he ordered her to defile the ancient rituals that define who the Venthyr are, and she chose not to. They bicker back and forth before he condemns her to the Ember Ward, a place in Revendreth where light is shining and all exiled Venthyr are sent.
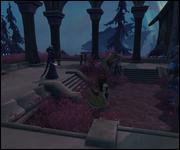
- You are then invited to take part in The Penitent Hunt, which is an ancient tradition that is actually just the Venthyr hunting repenting souls in the Grove of Terror for sport.


Chapter 4
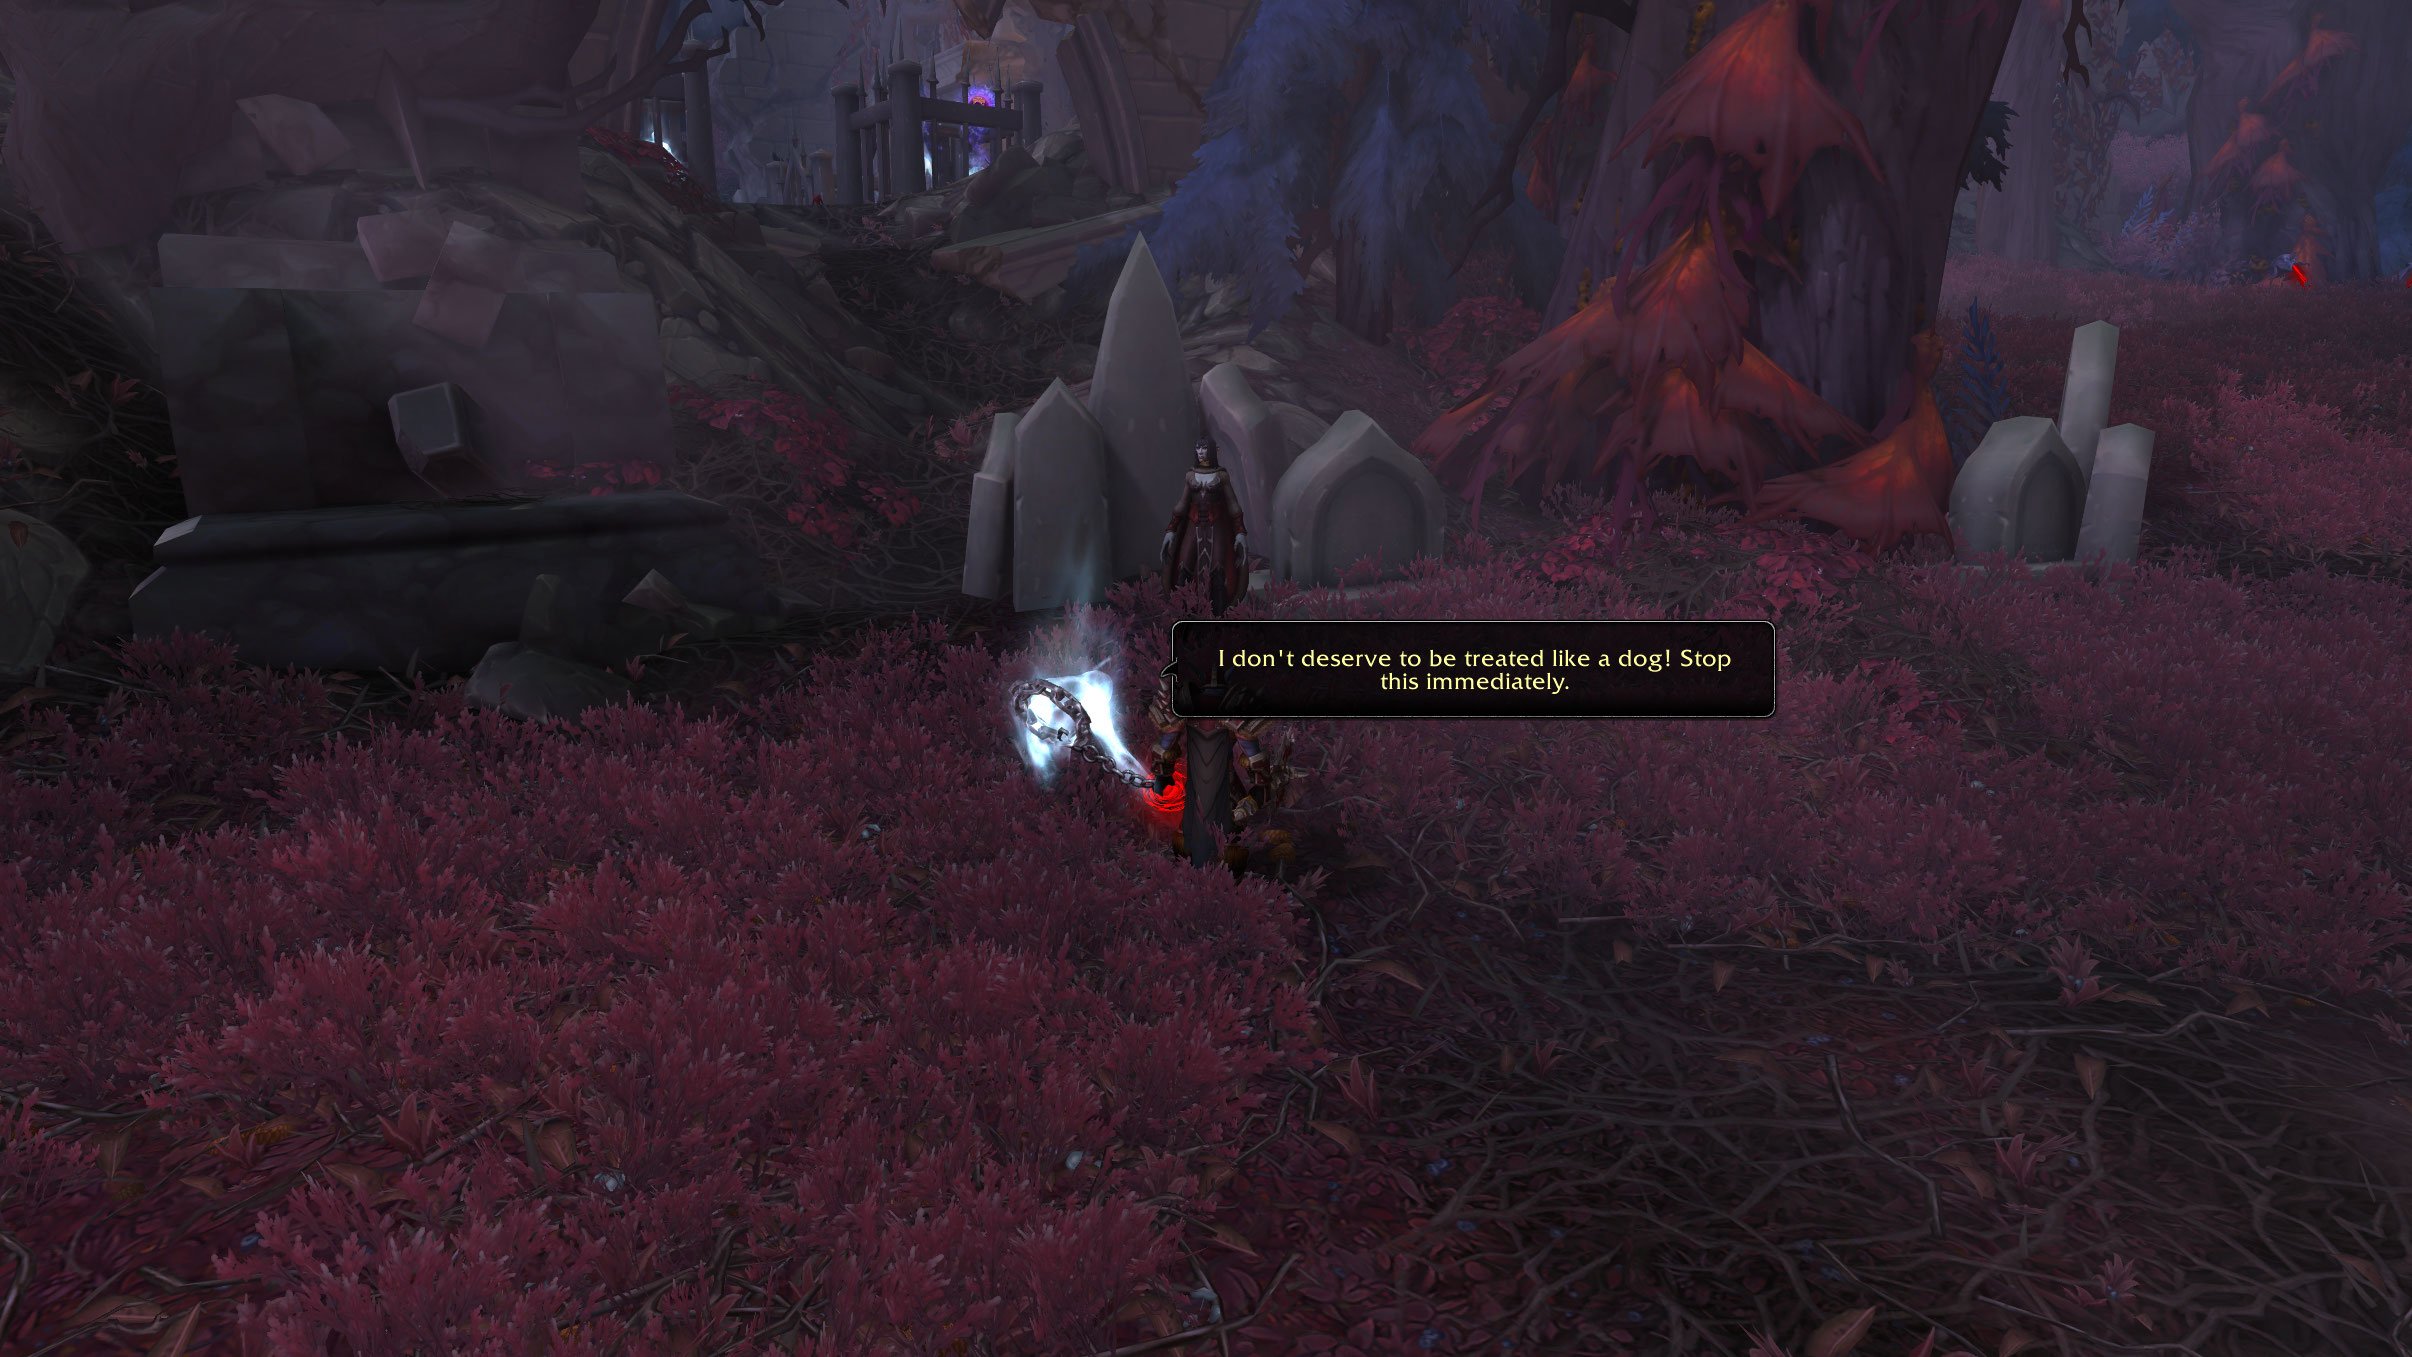
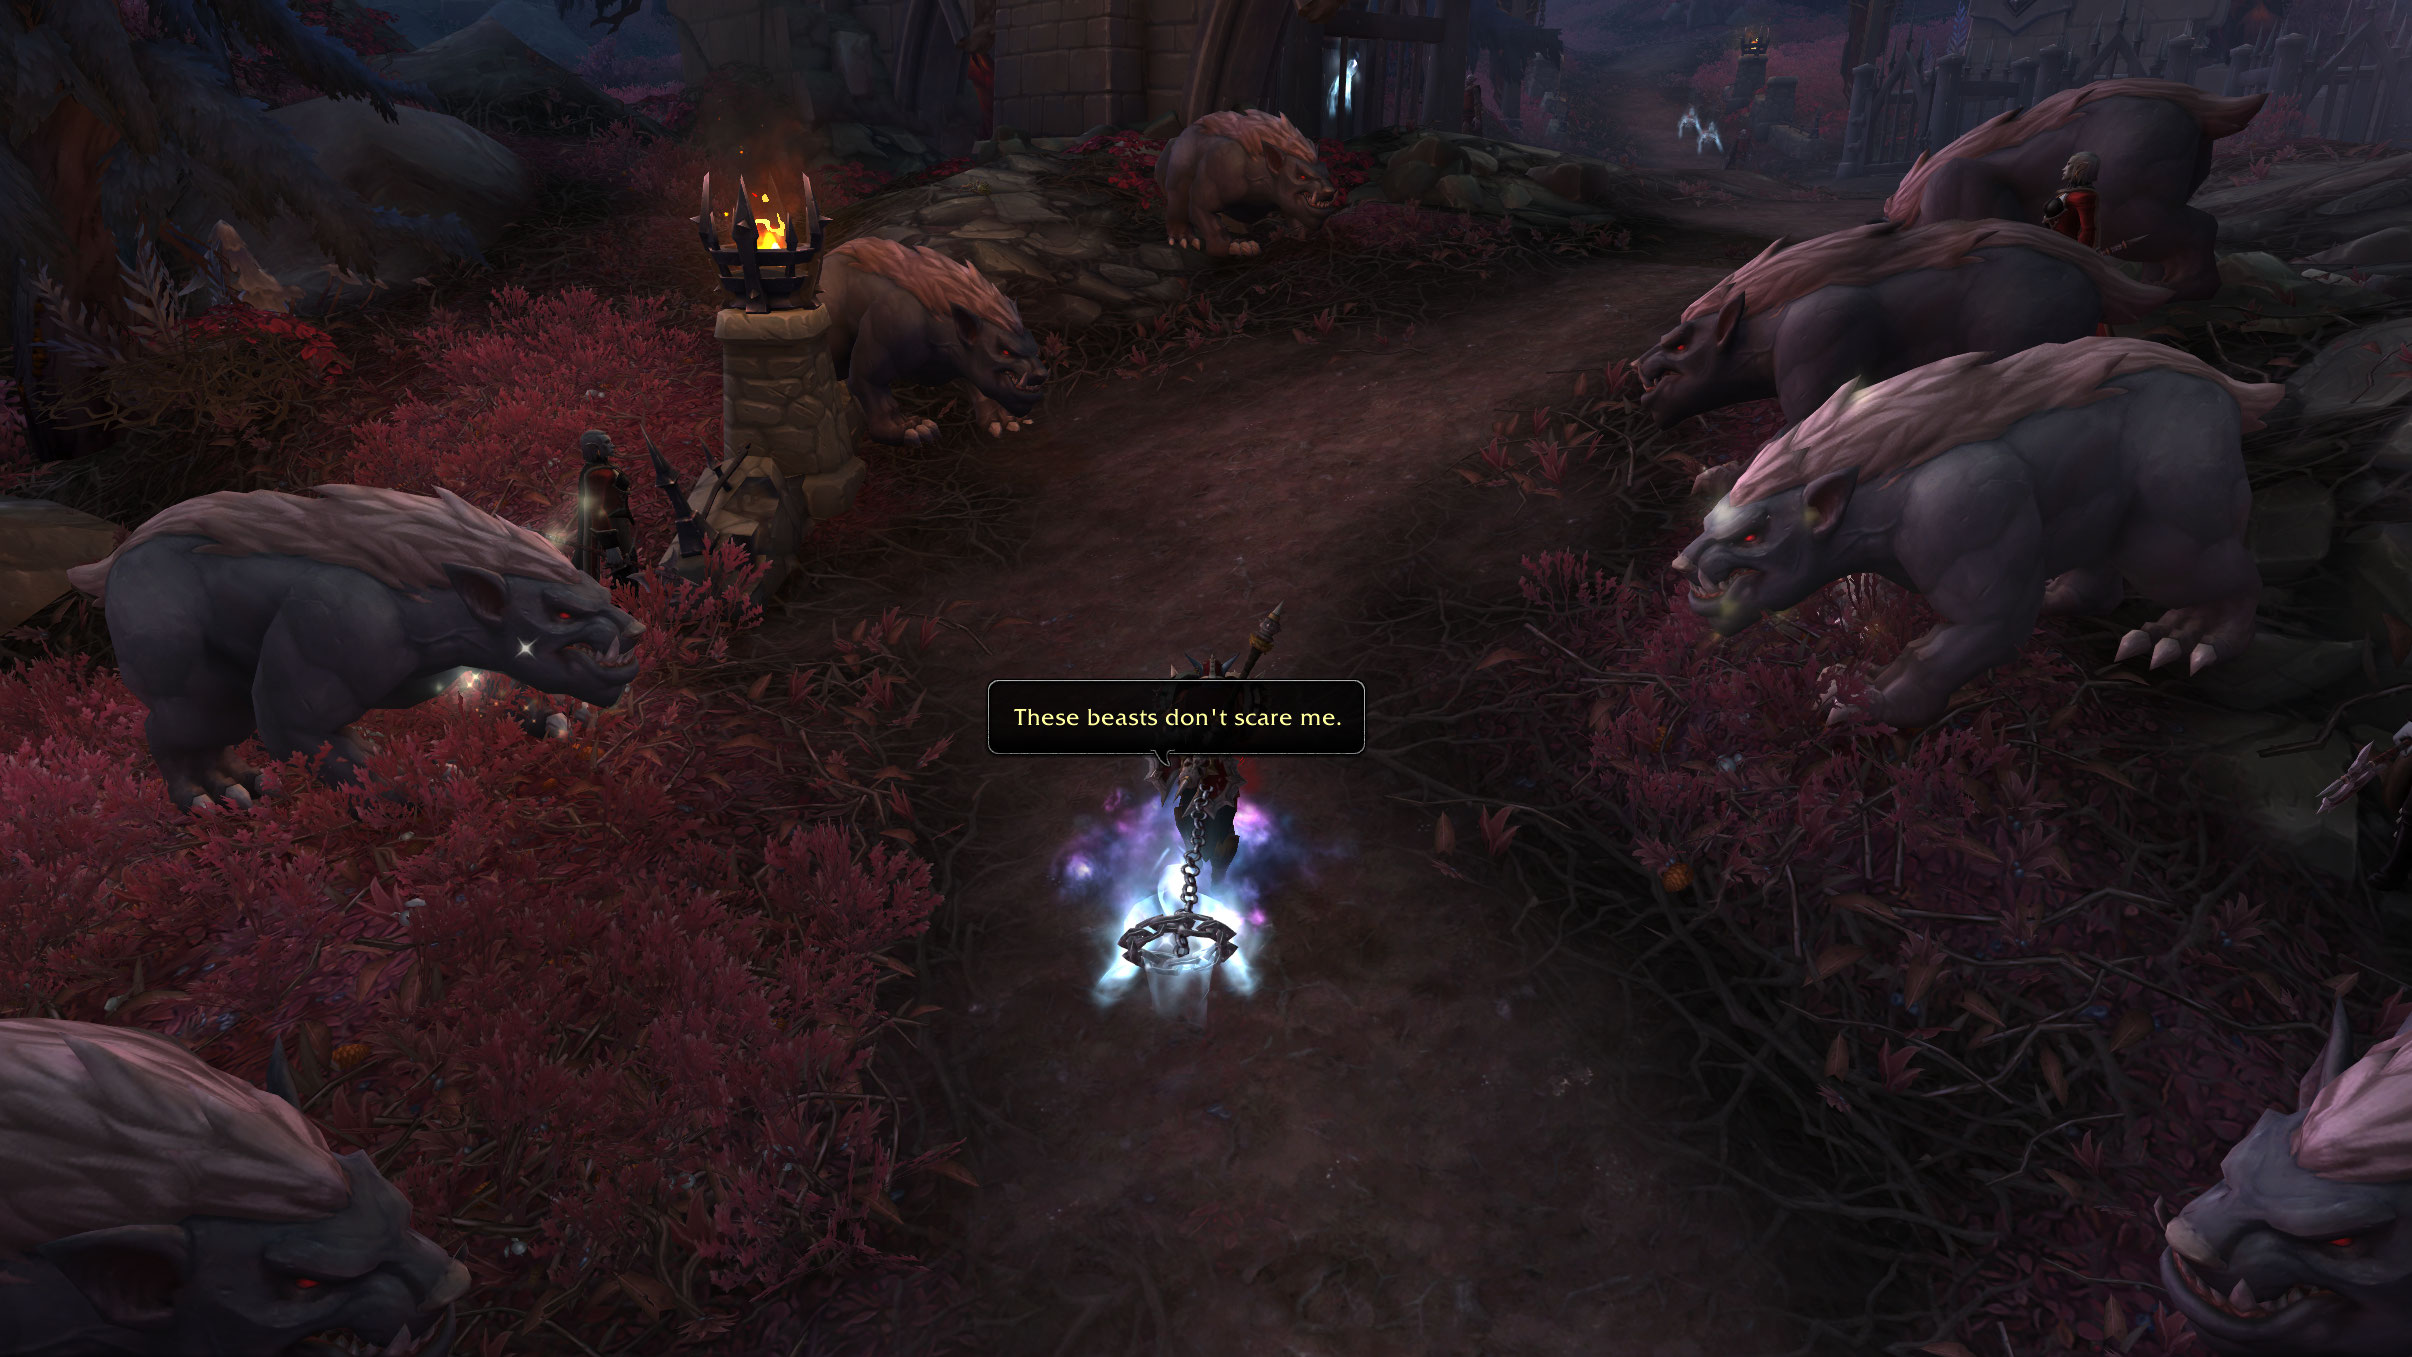
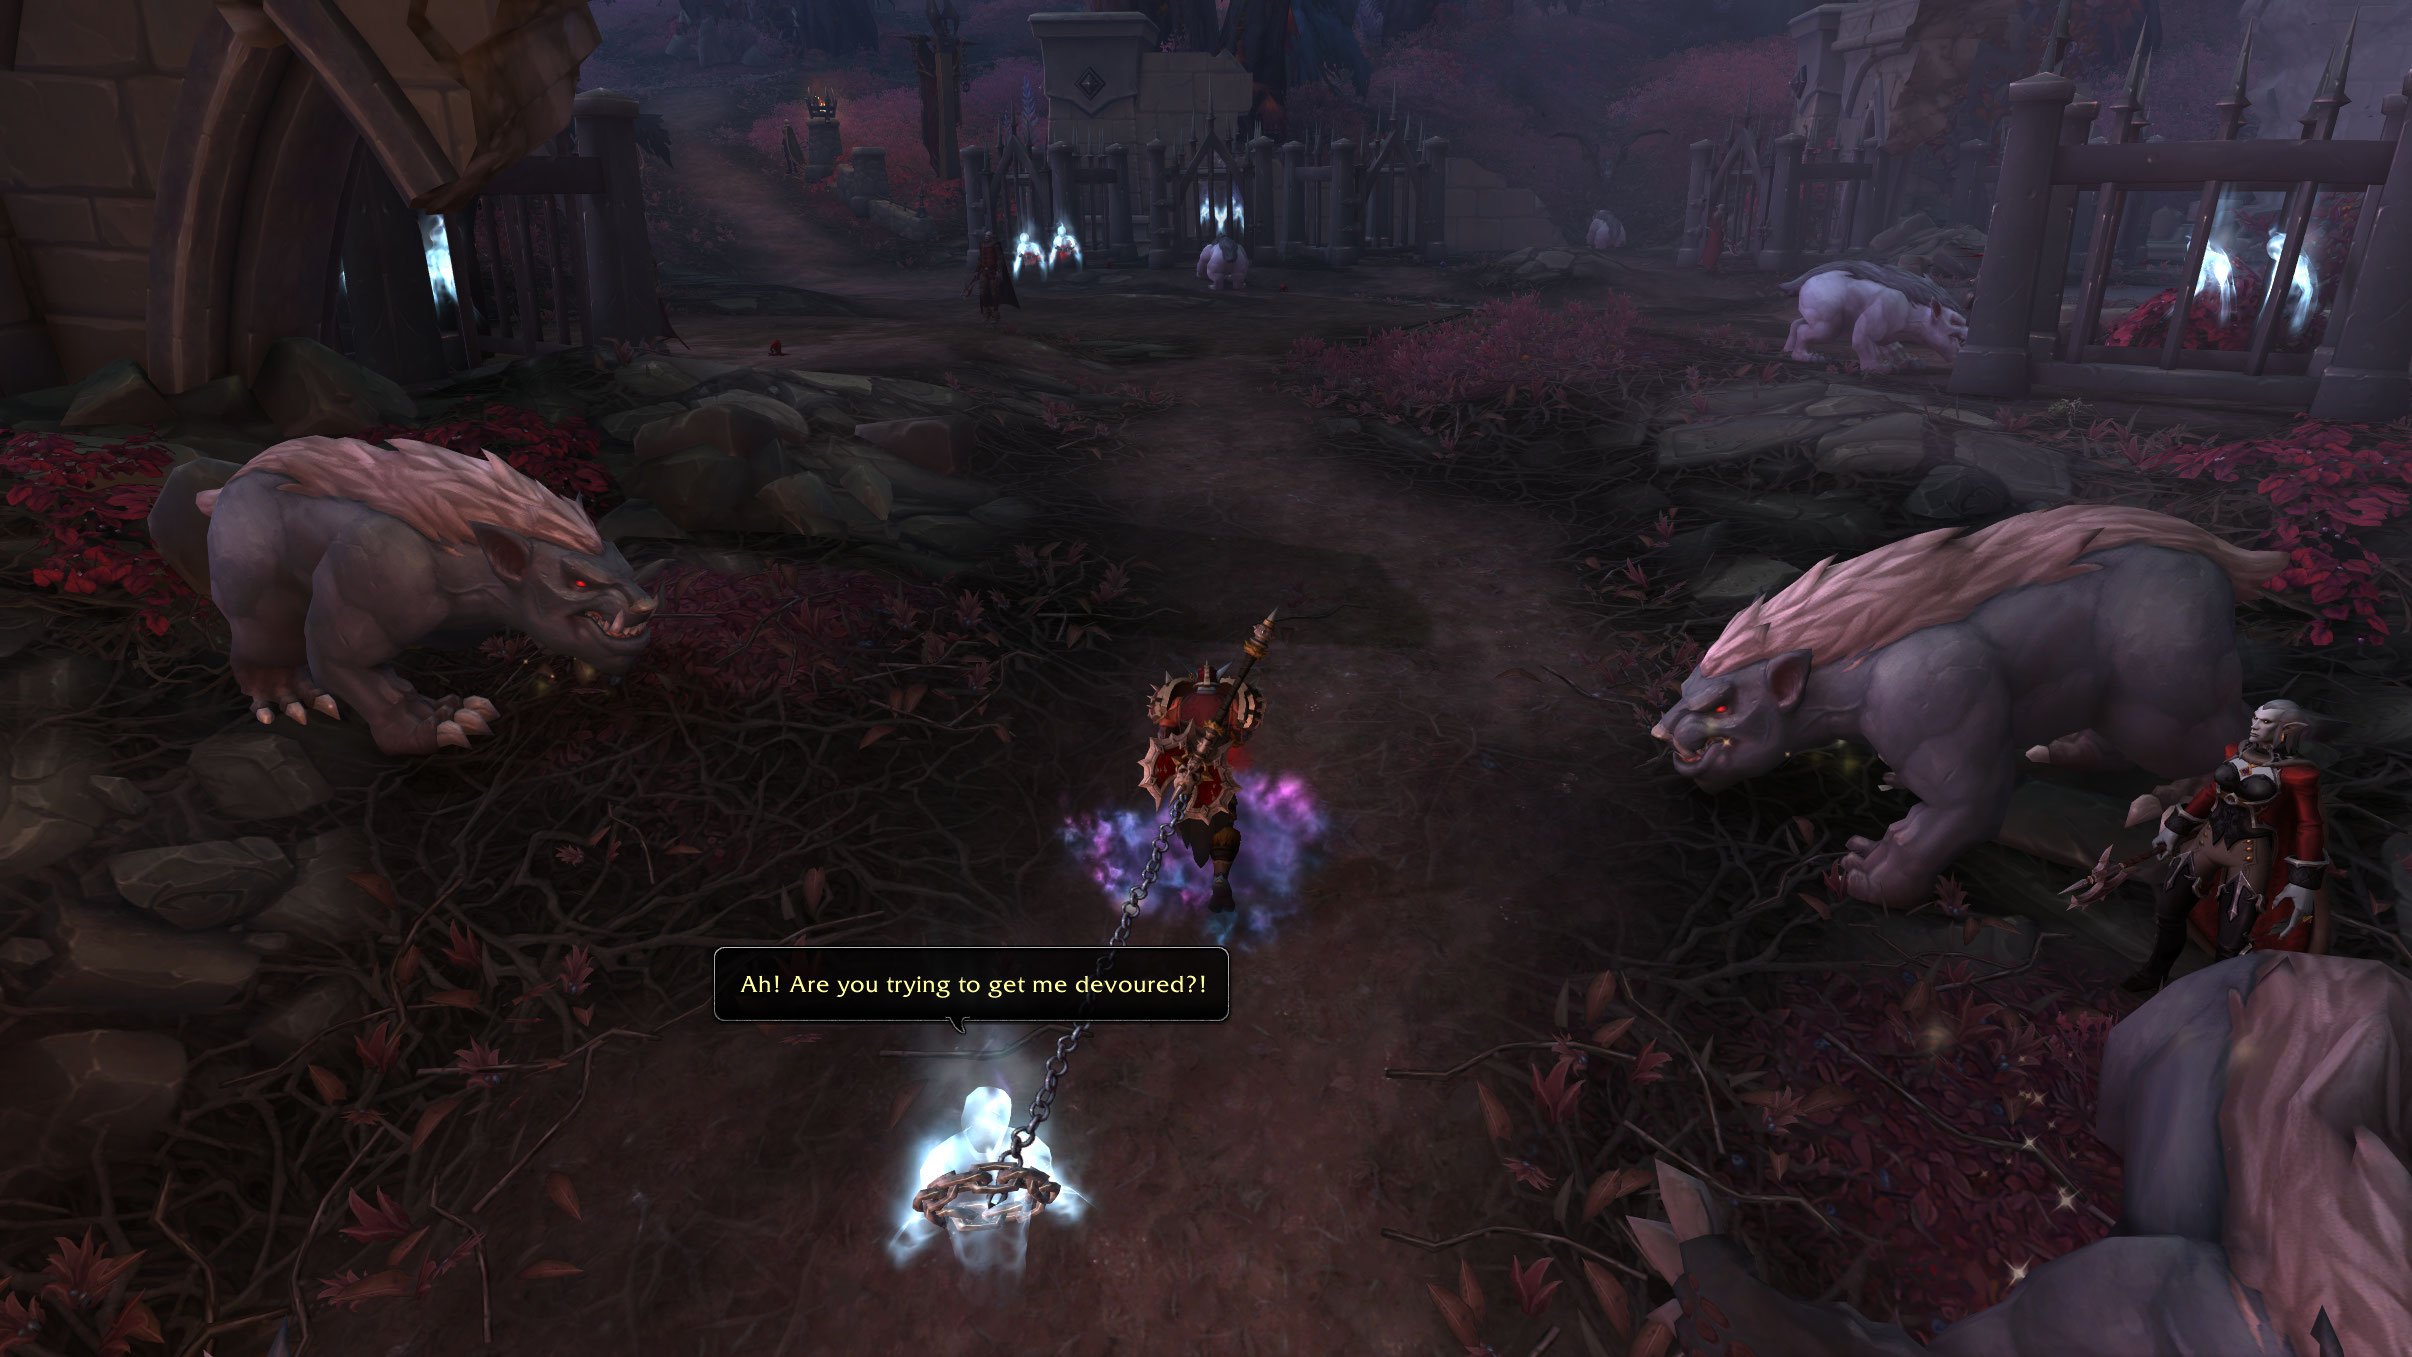
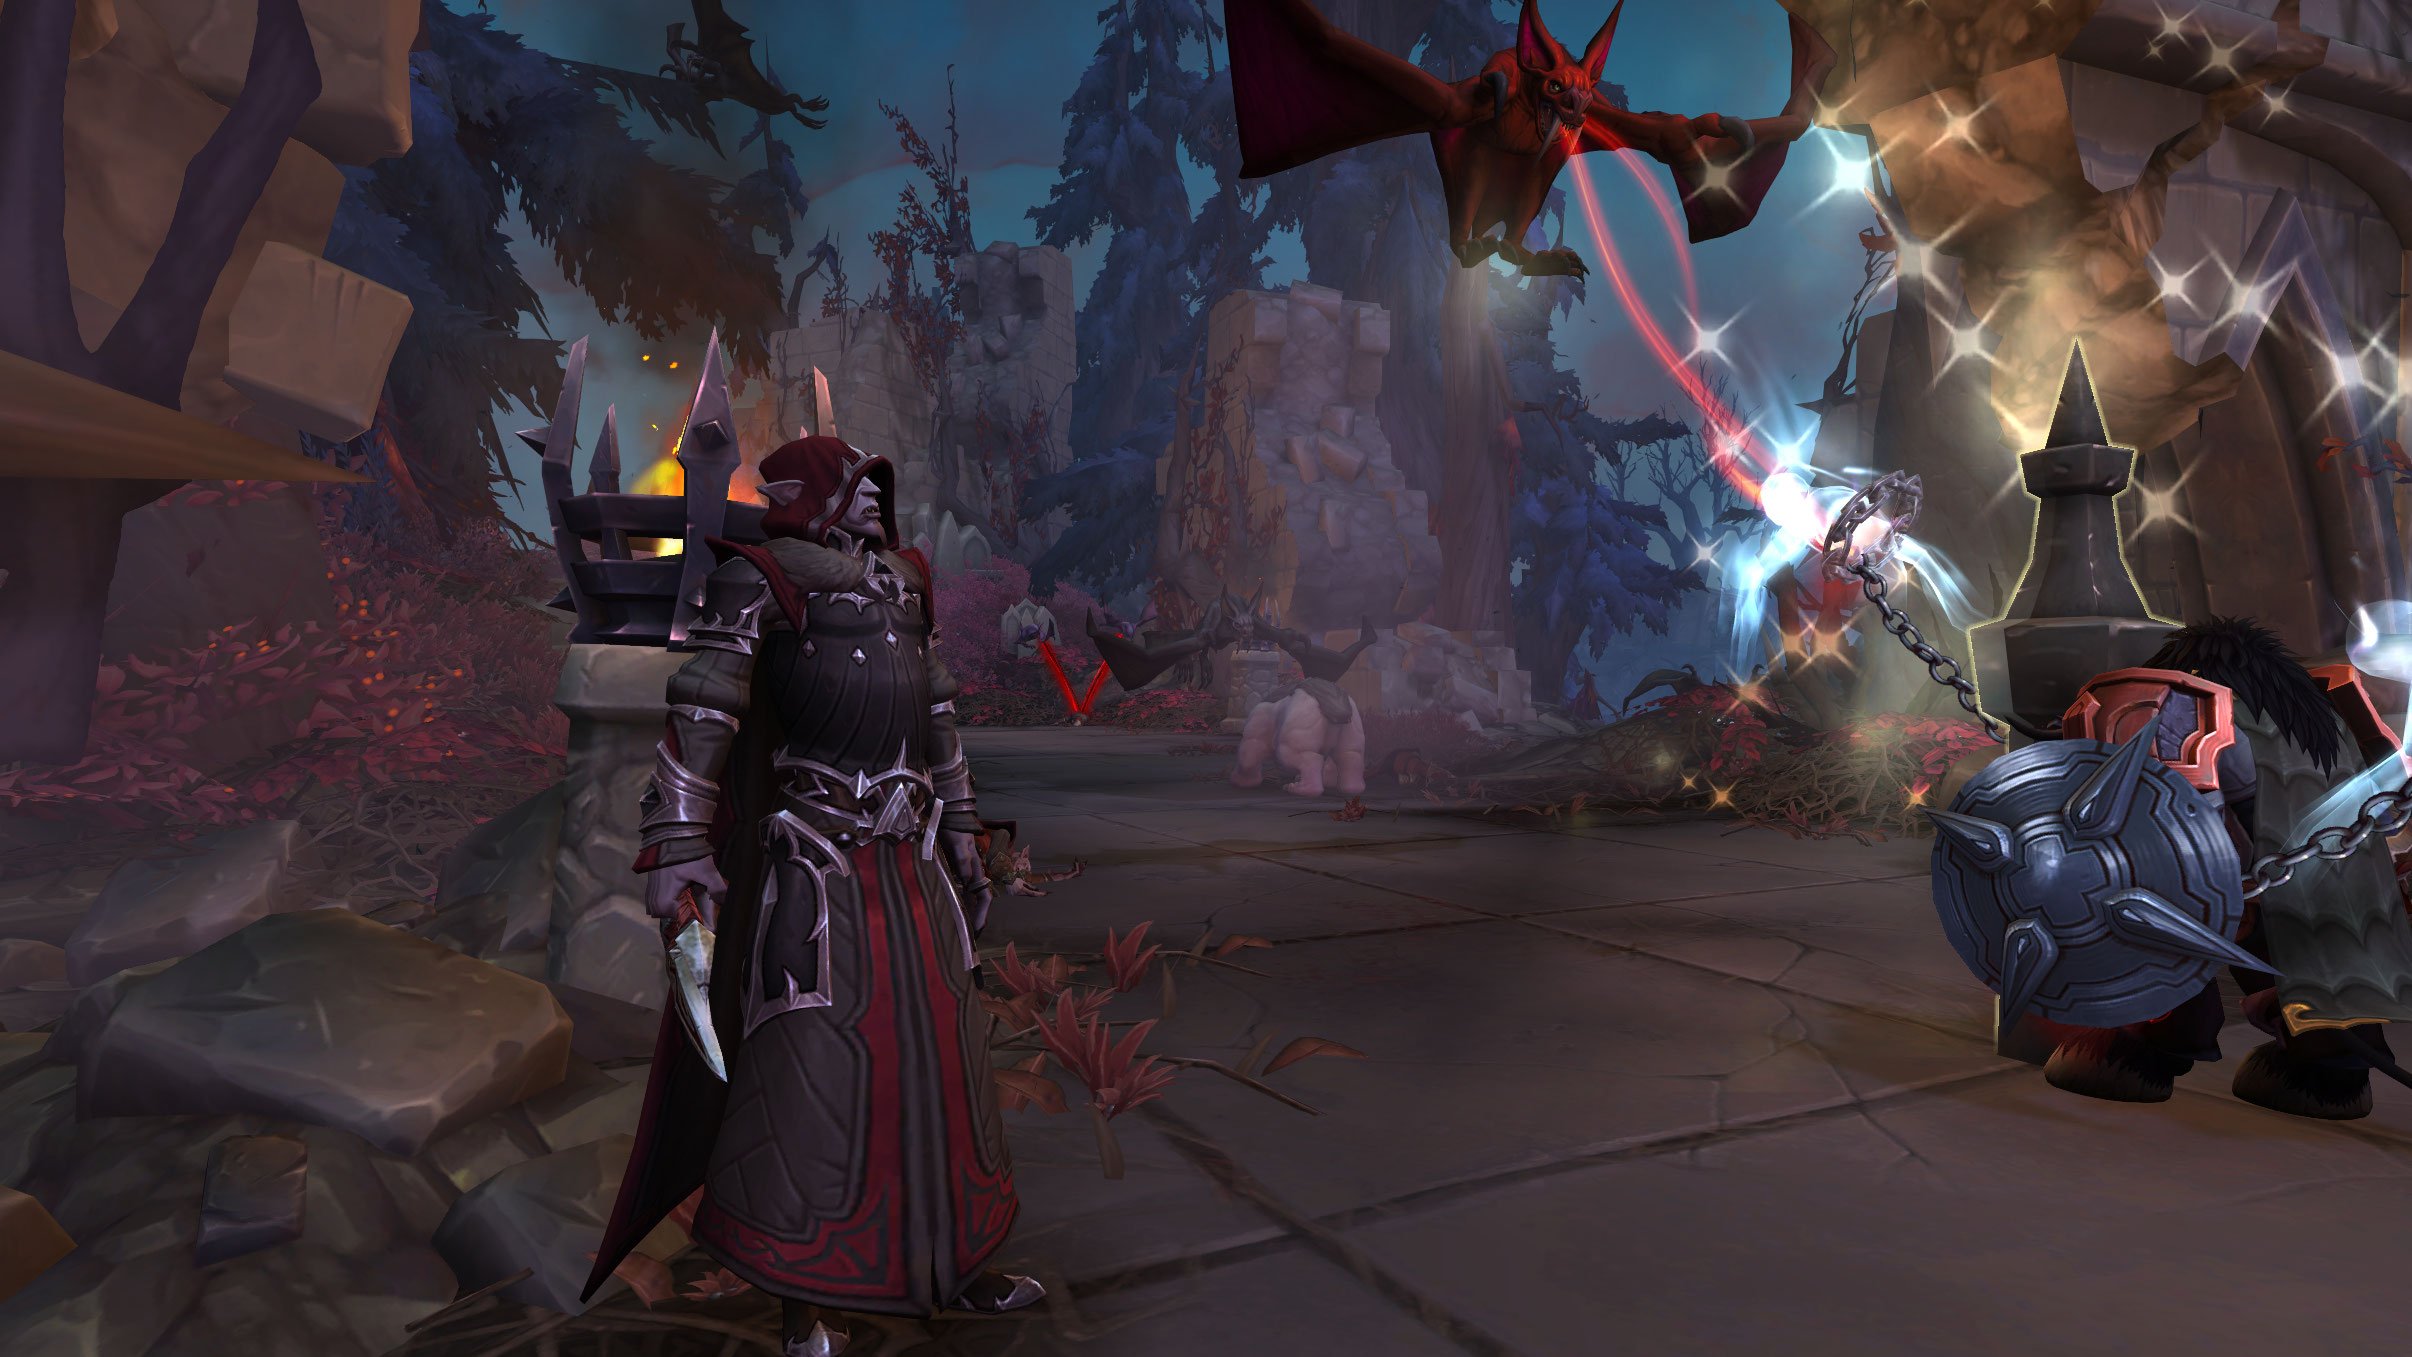
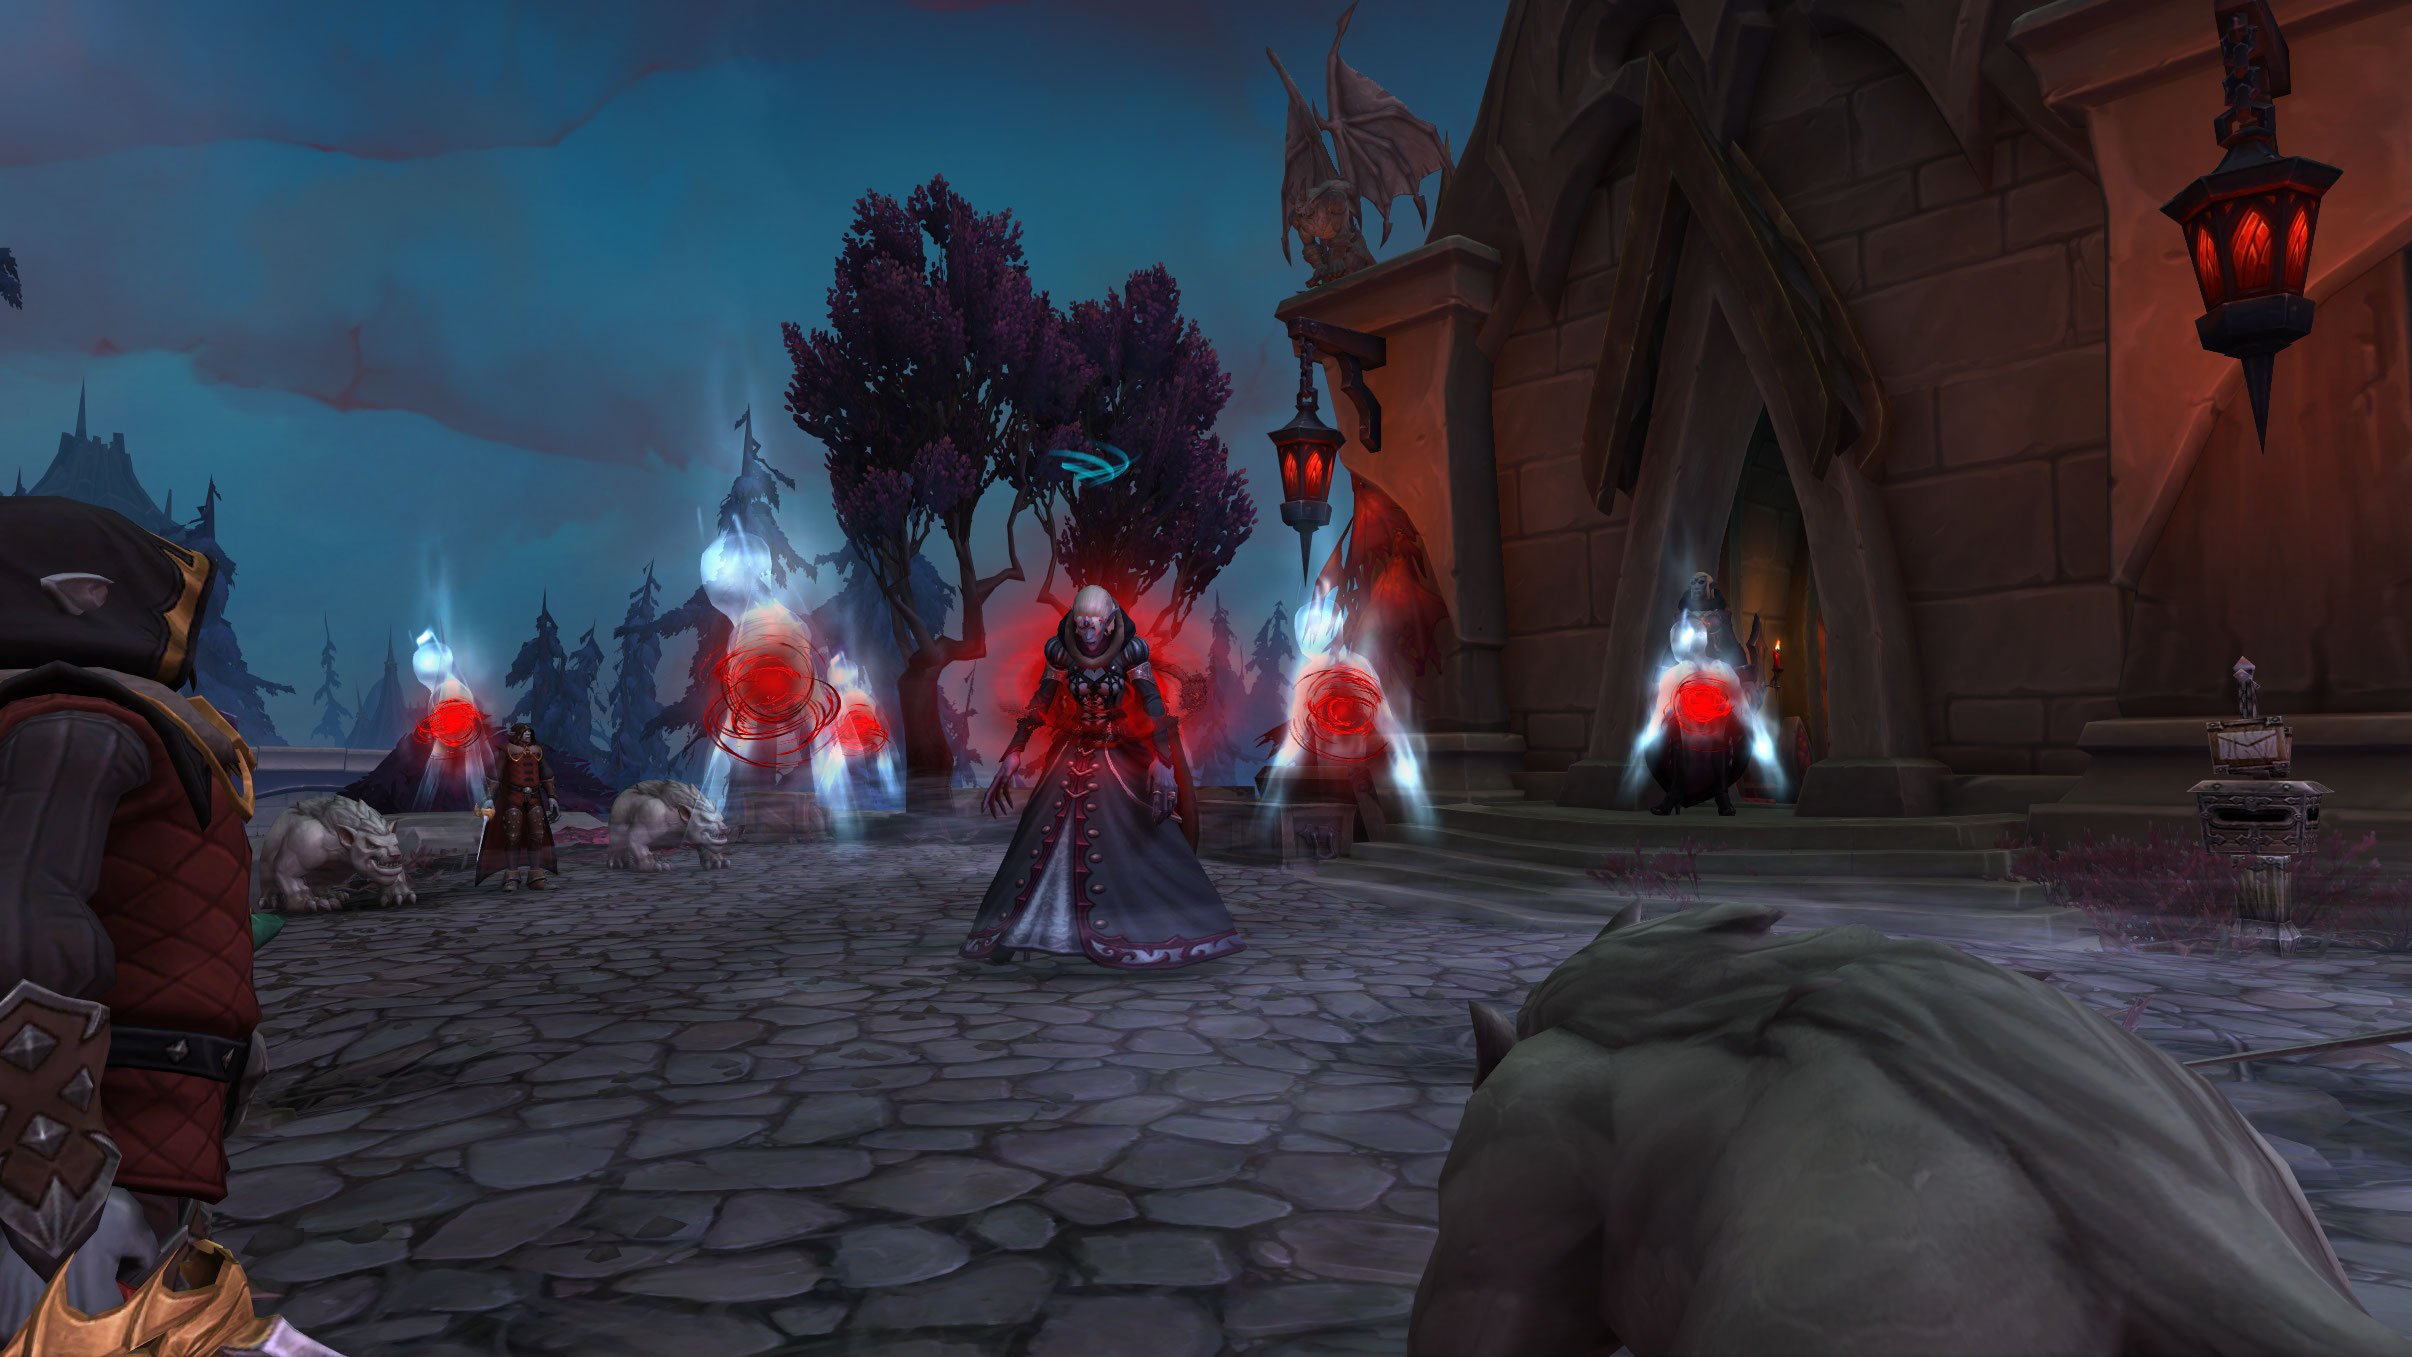
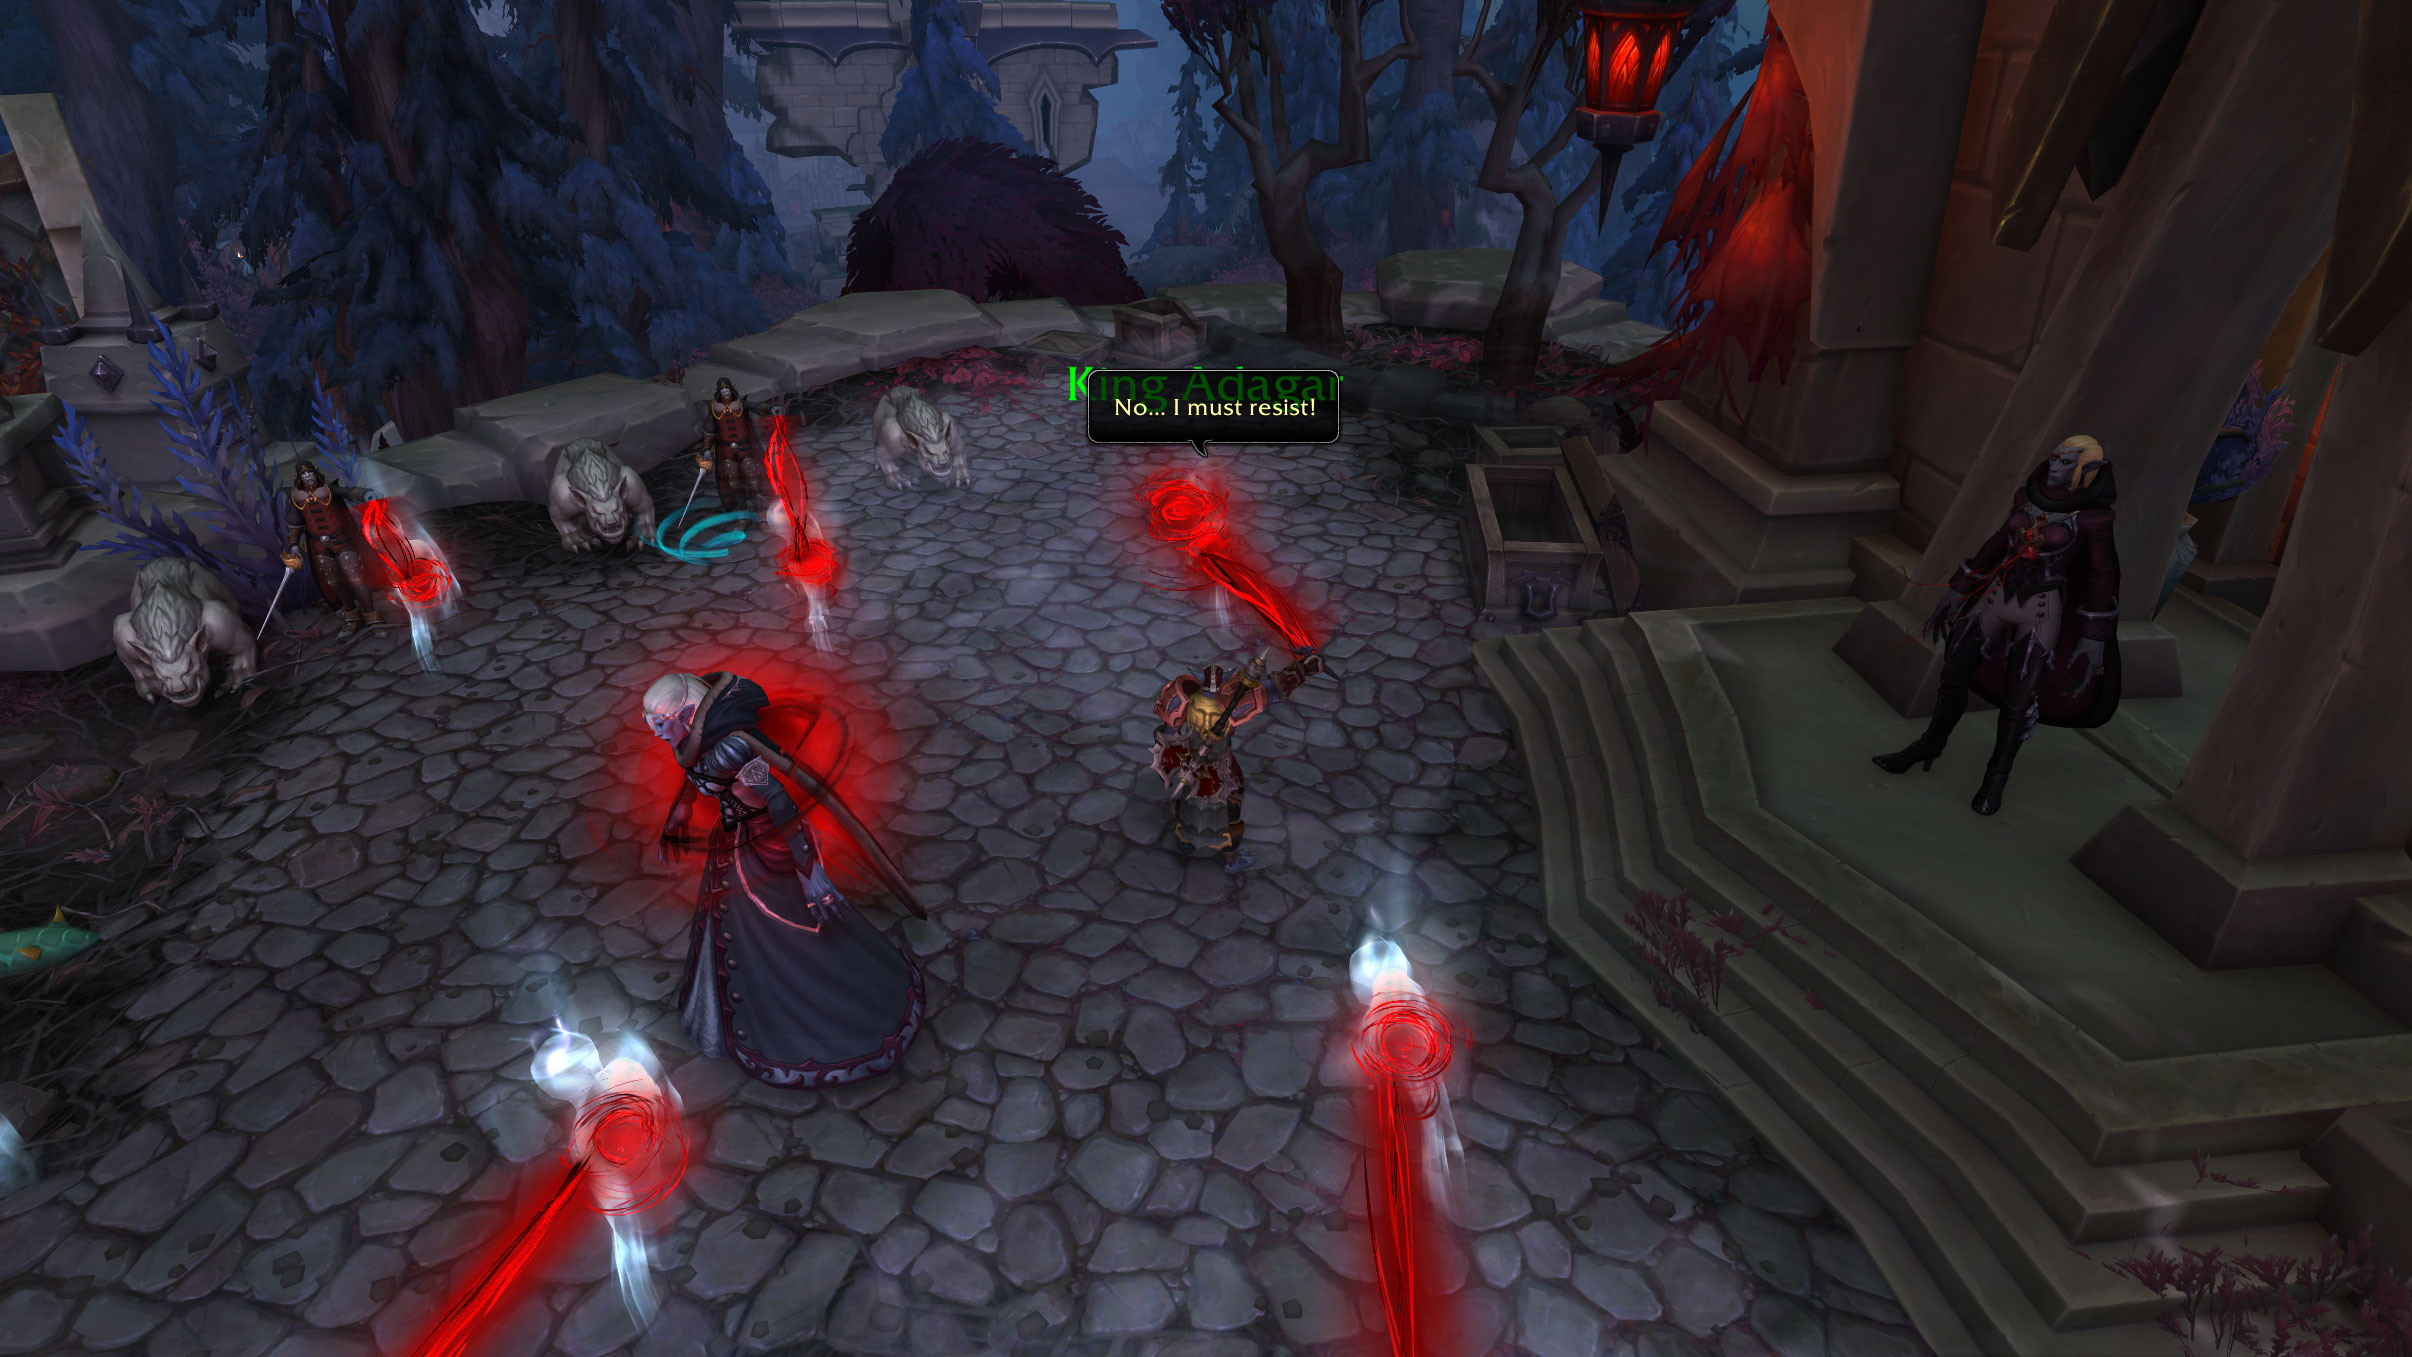
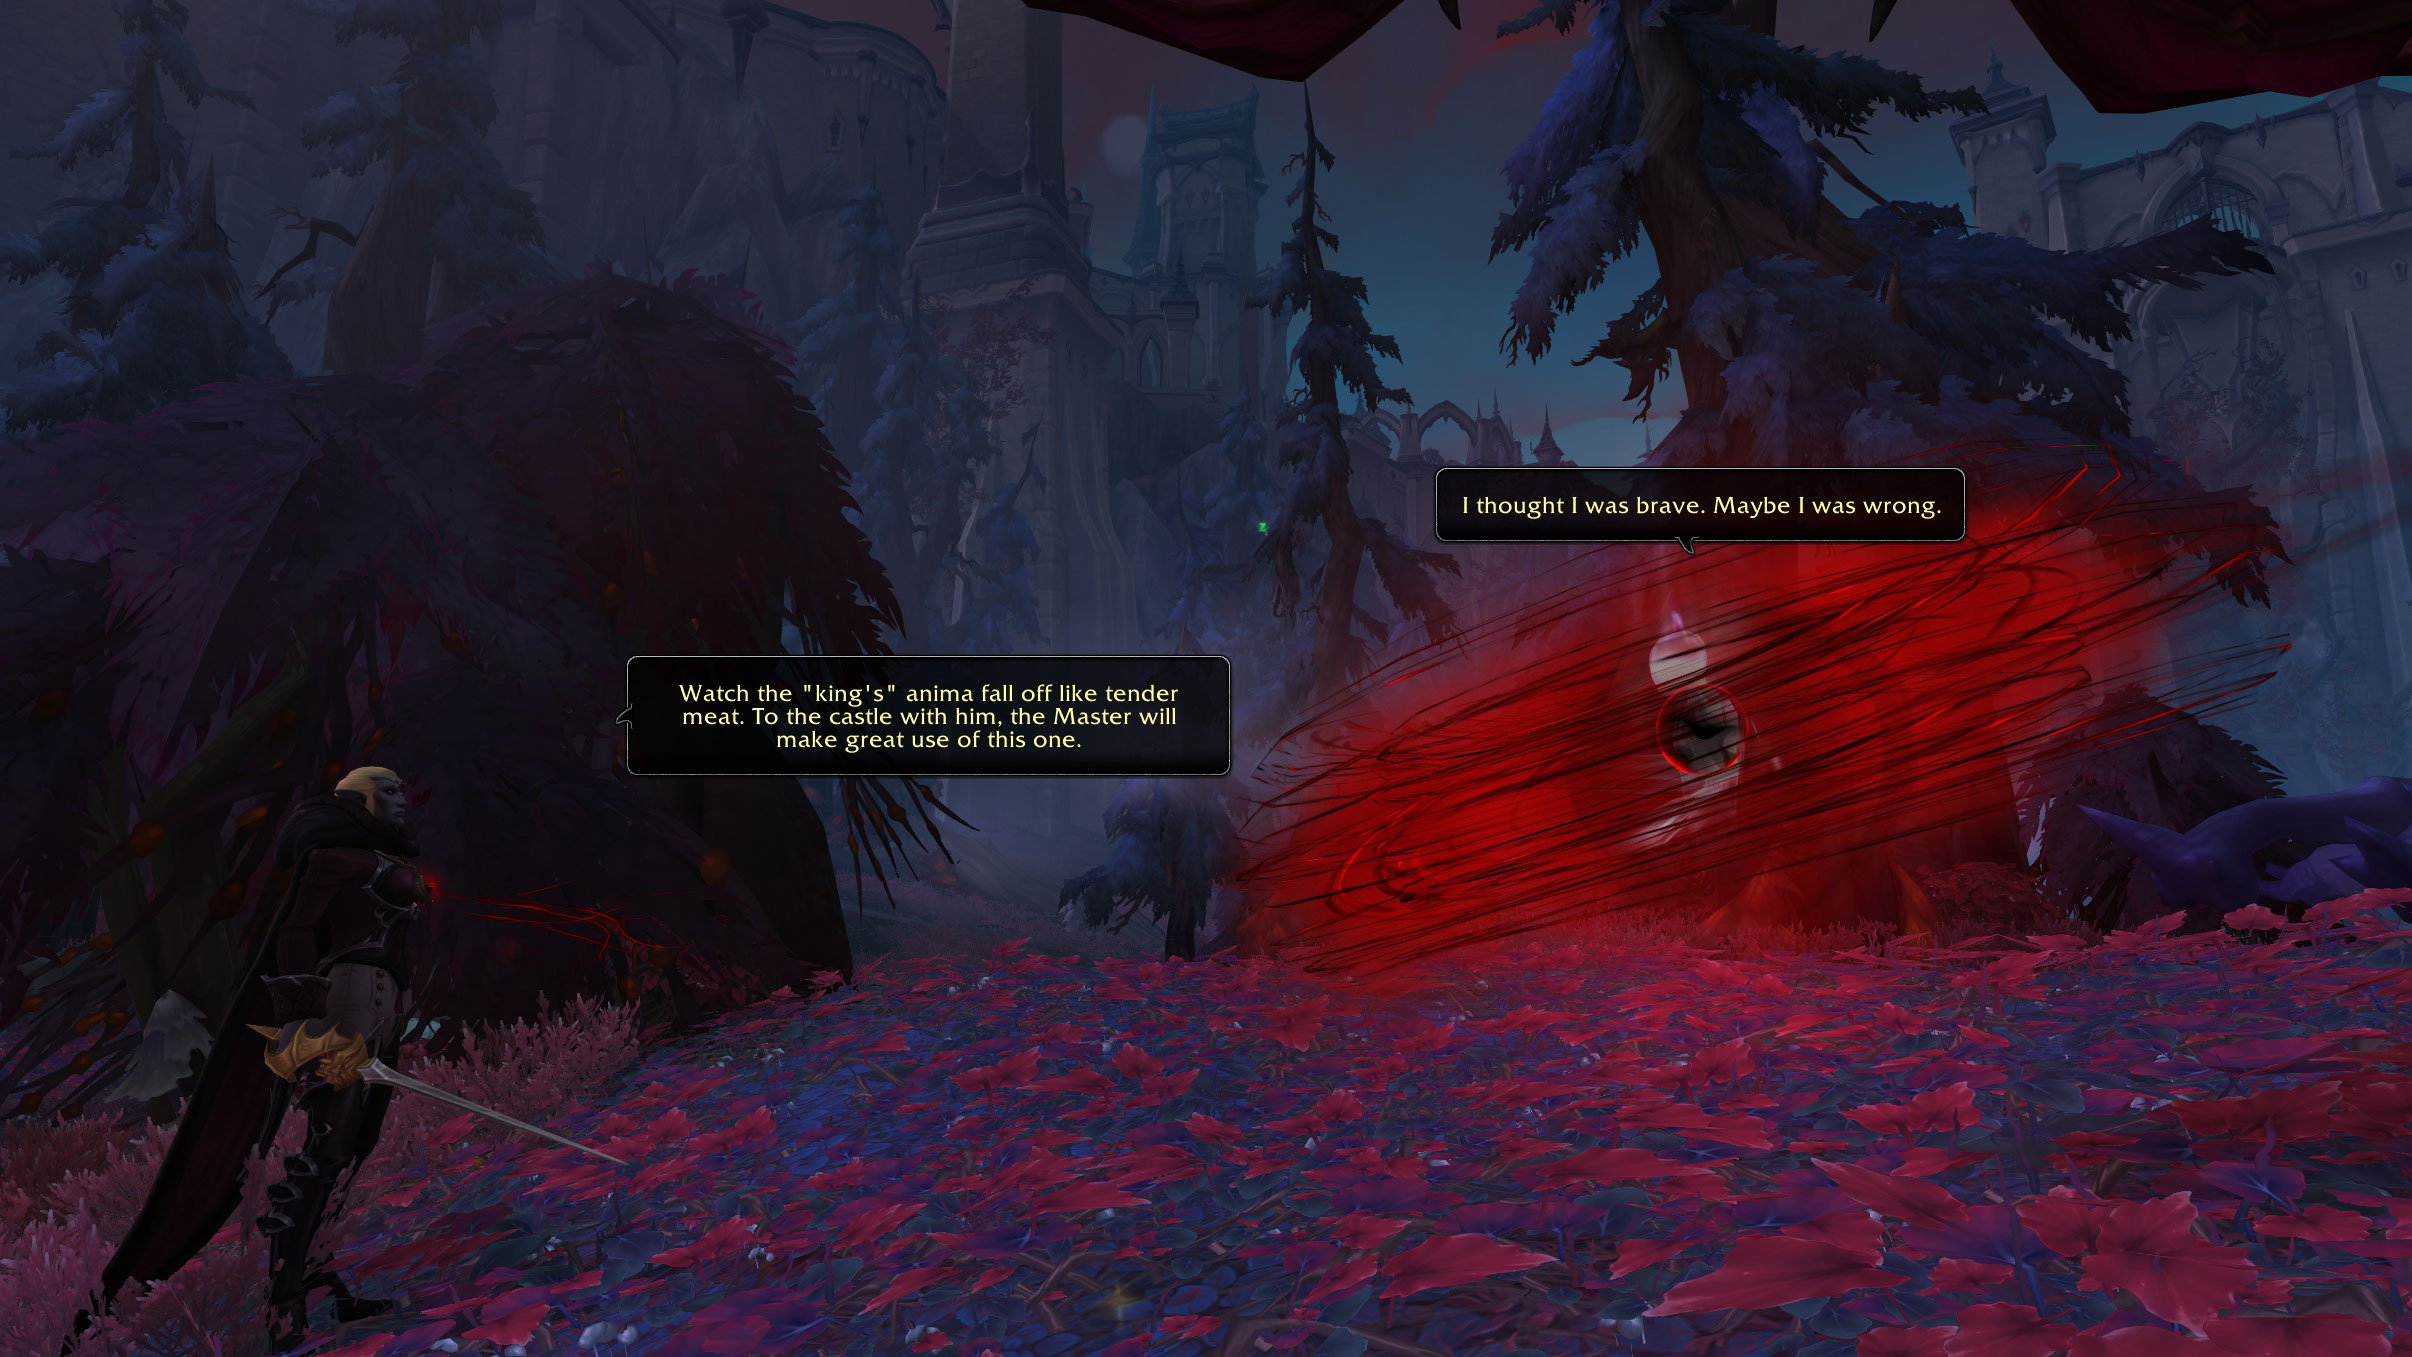
- You meet the Fearstalker at the Grove of Terror who tells you that every hunter must help prepare a soul here to be hunted. She hands you a set of Hopebreaker Soul Chains to demoralize a stubborn soul. You chain the soul of King Adagar, have his sins read to him, and then drag him through a gauntlet of soulstalkers, and then hitch him to a post for a bat to drain him. He starts to believe he does deserve this, and Flockmaster Sergio tells you to bring him closer.
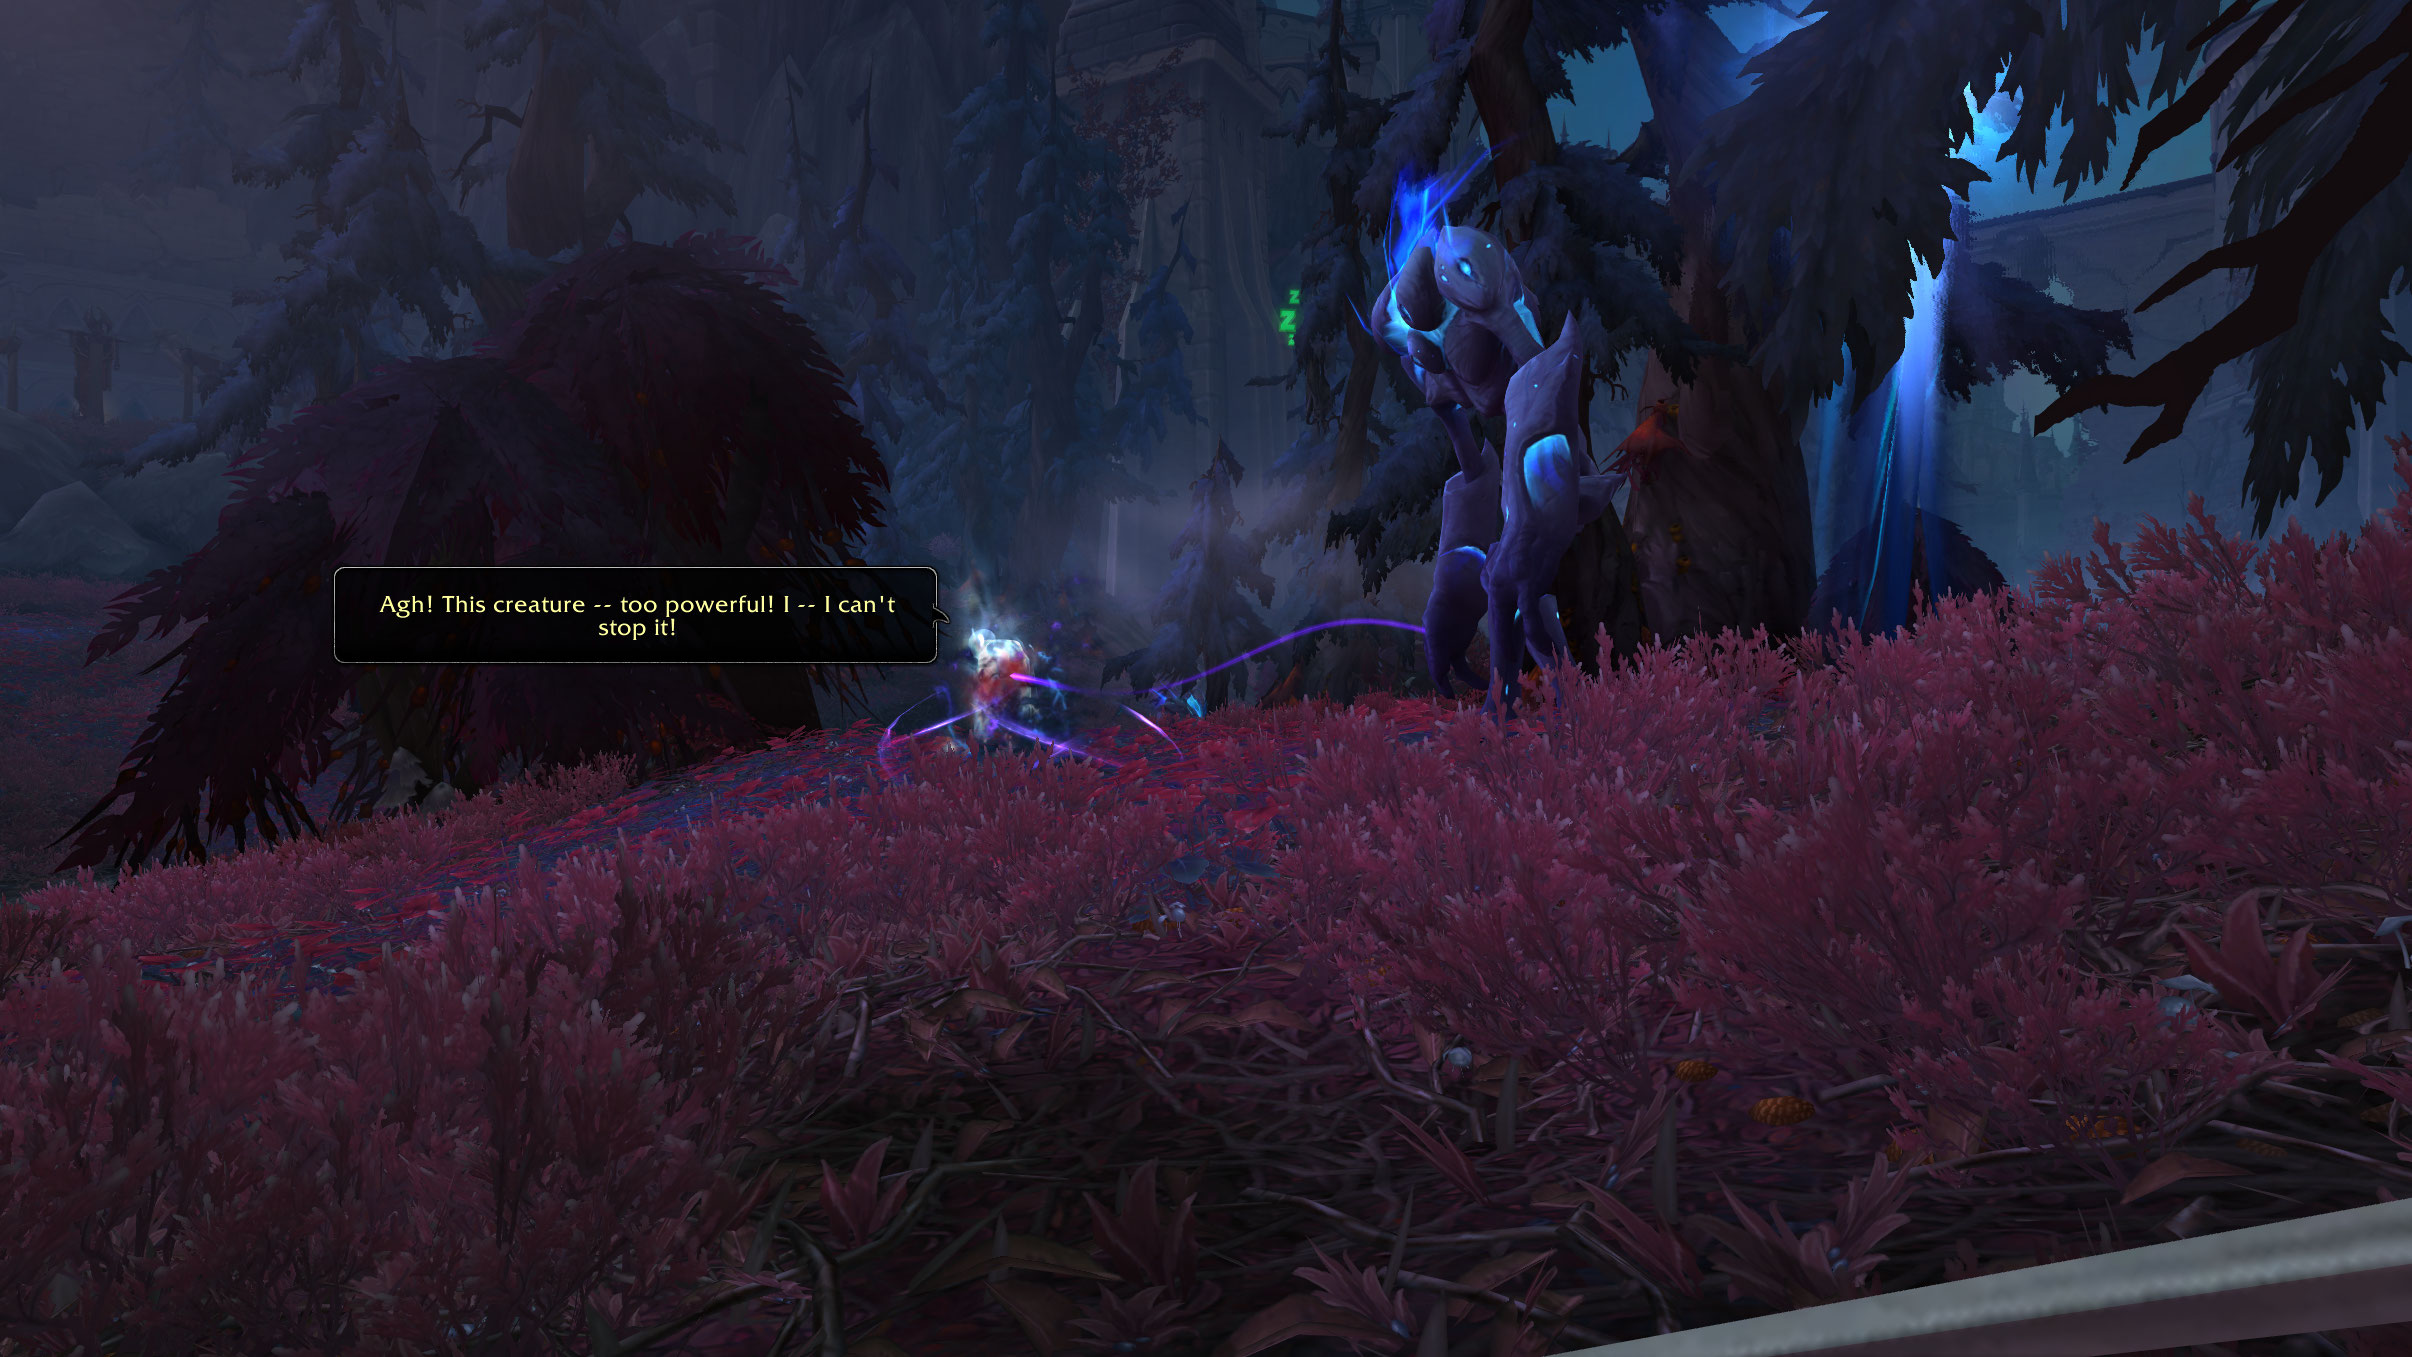
- You are then tasked with dealing with the dreadbats who have gone hostile from lack of anima, including the Alpha Dreadbane.
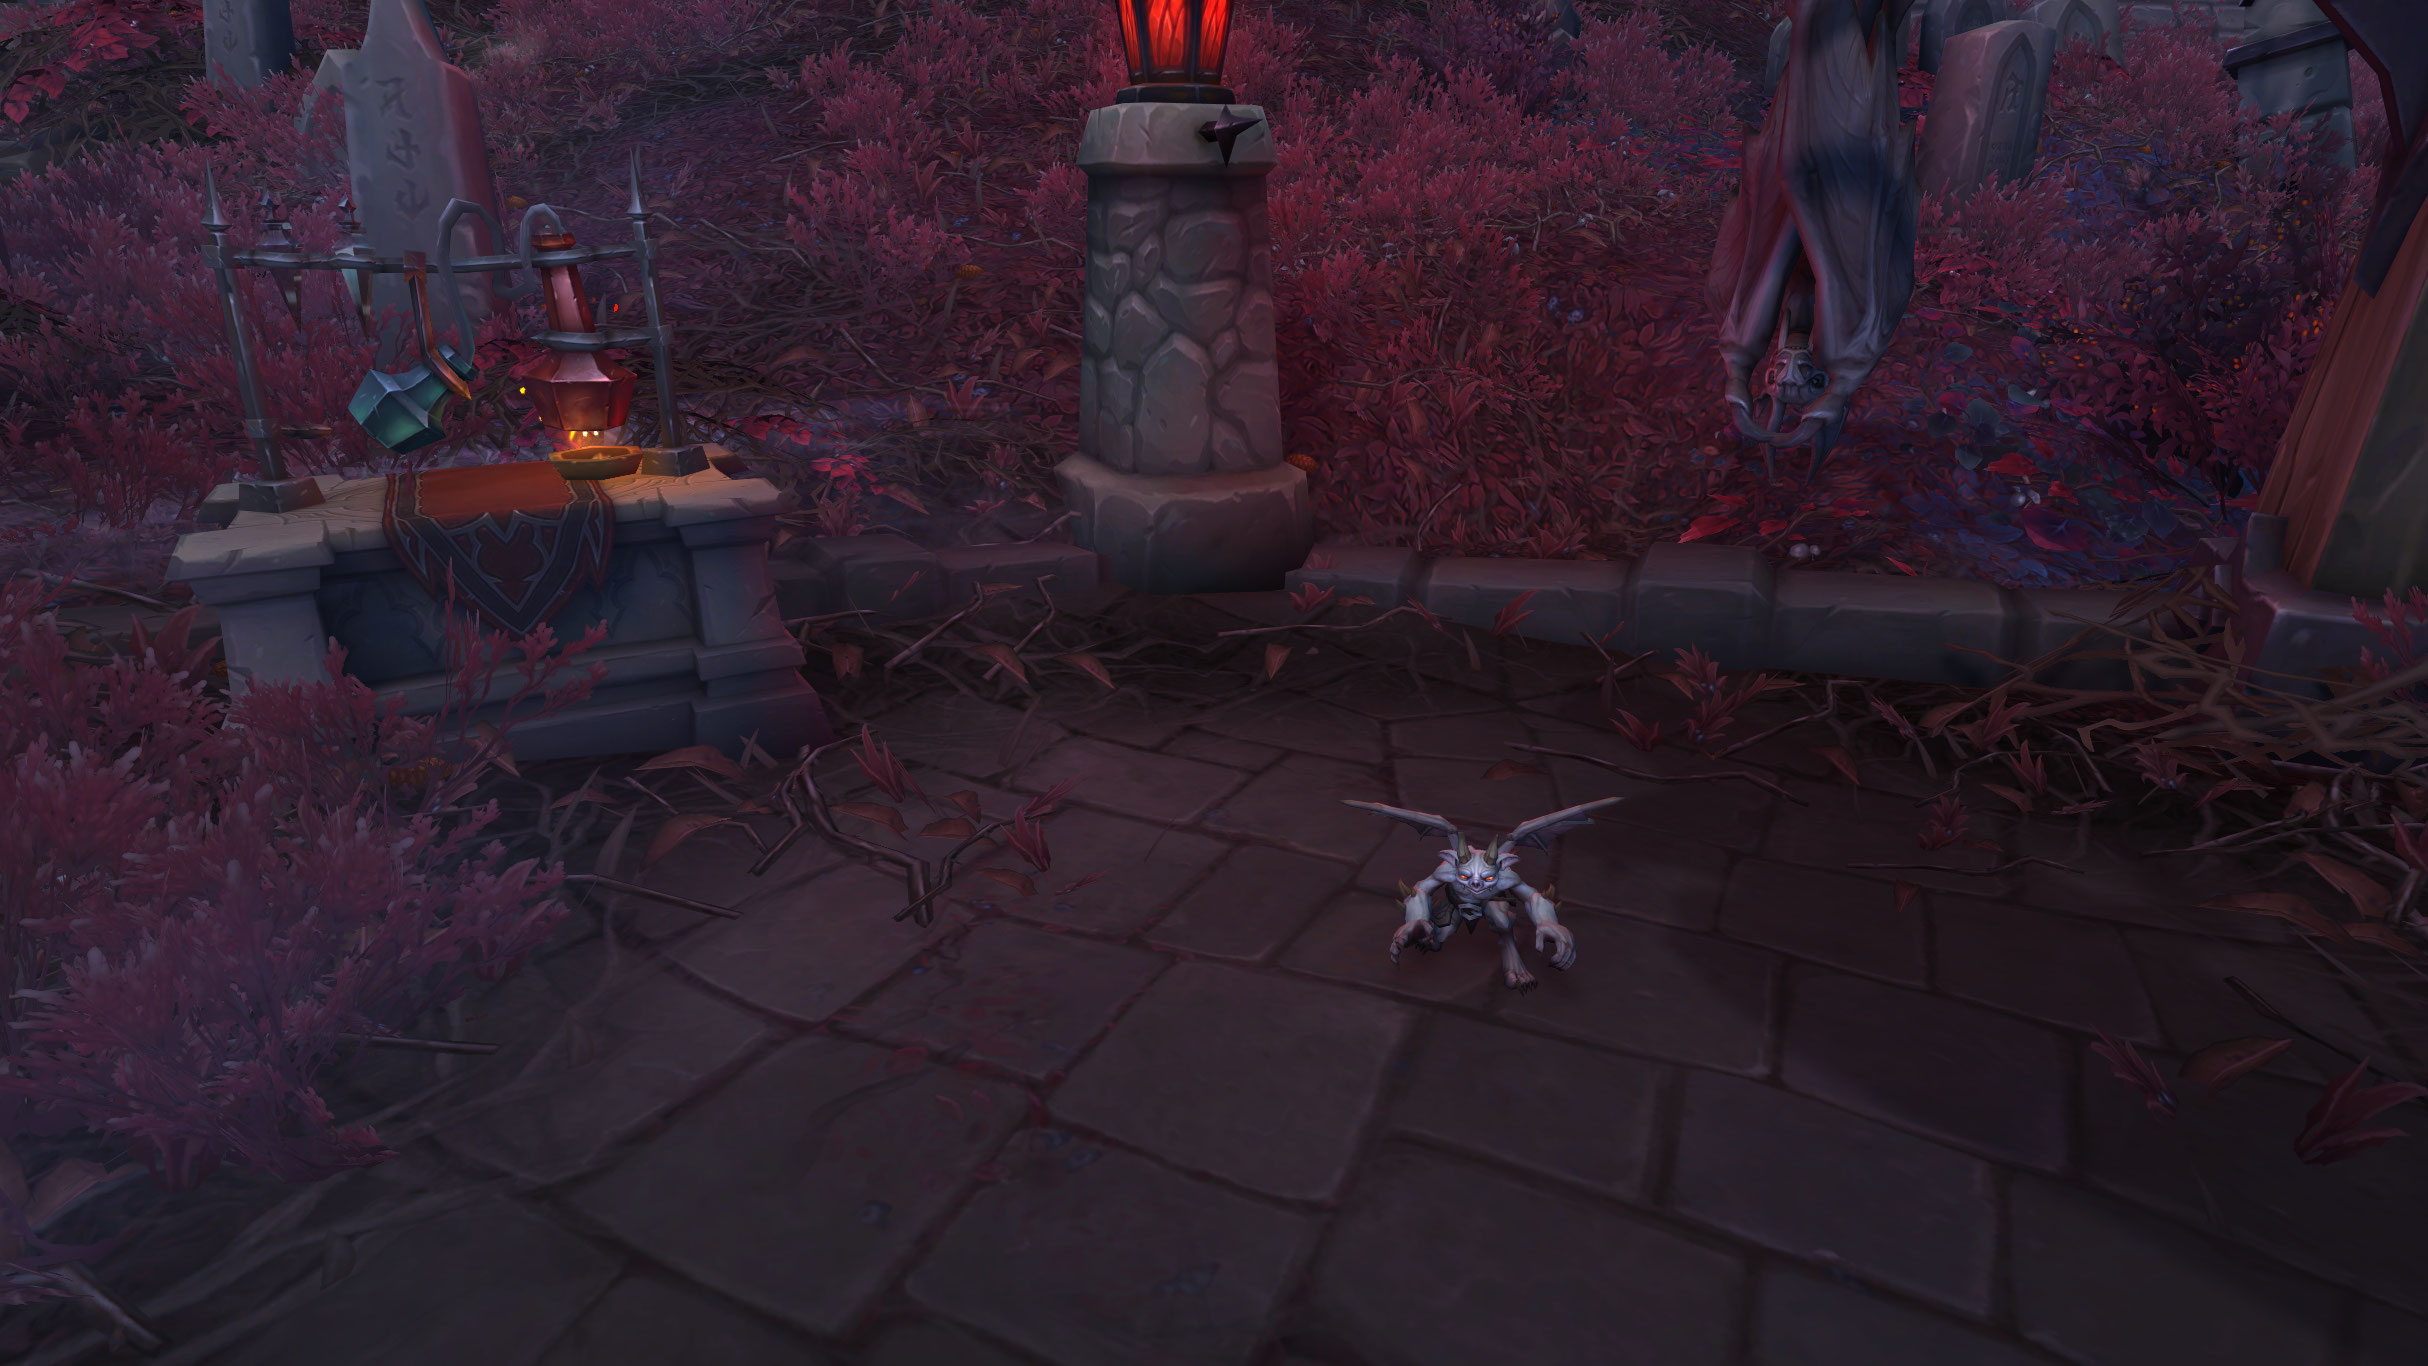
- You then bring your charged soul to The Fearstalker, who has the Accuser surrounded by souls. You are then tasked with siphoning anima to wake your gargon, Krusher.
- The Penitent Hunt now officially begins. The Fearstalker says you are doing this for the souls' own good. You have been tasked with hunting the Accuser yourself, but you must first prey on some of the others. You must hunt Crimelord Tiana, Yoshai the Merciless, and King Adagar while also killing 12 Banewood Devourers. After, you go to hunt the Accuser, who traps you and the Fearstalker.
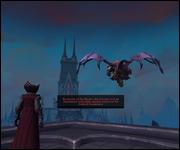
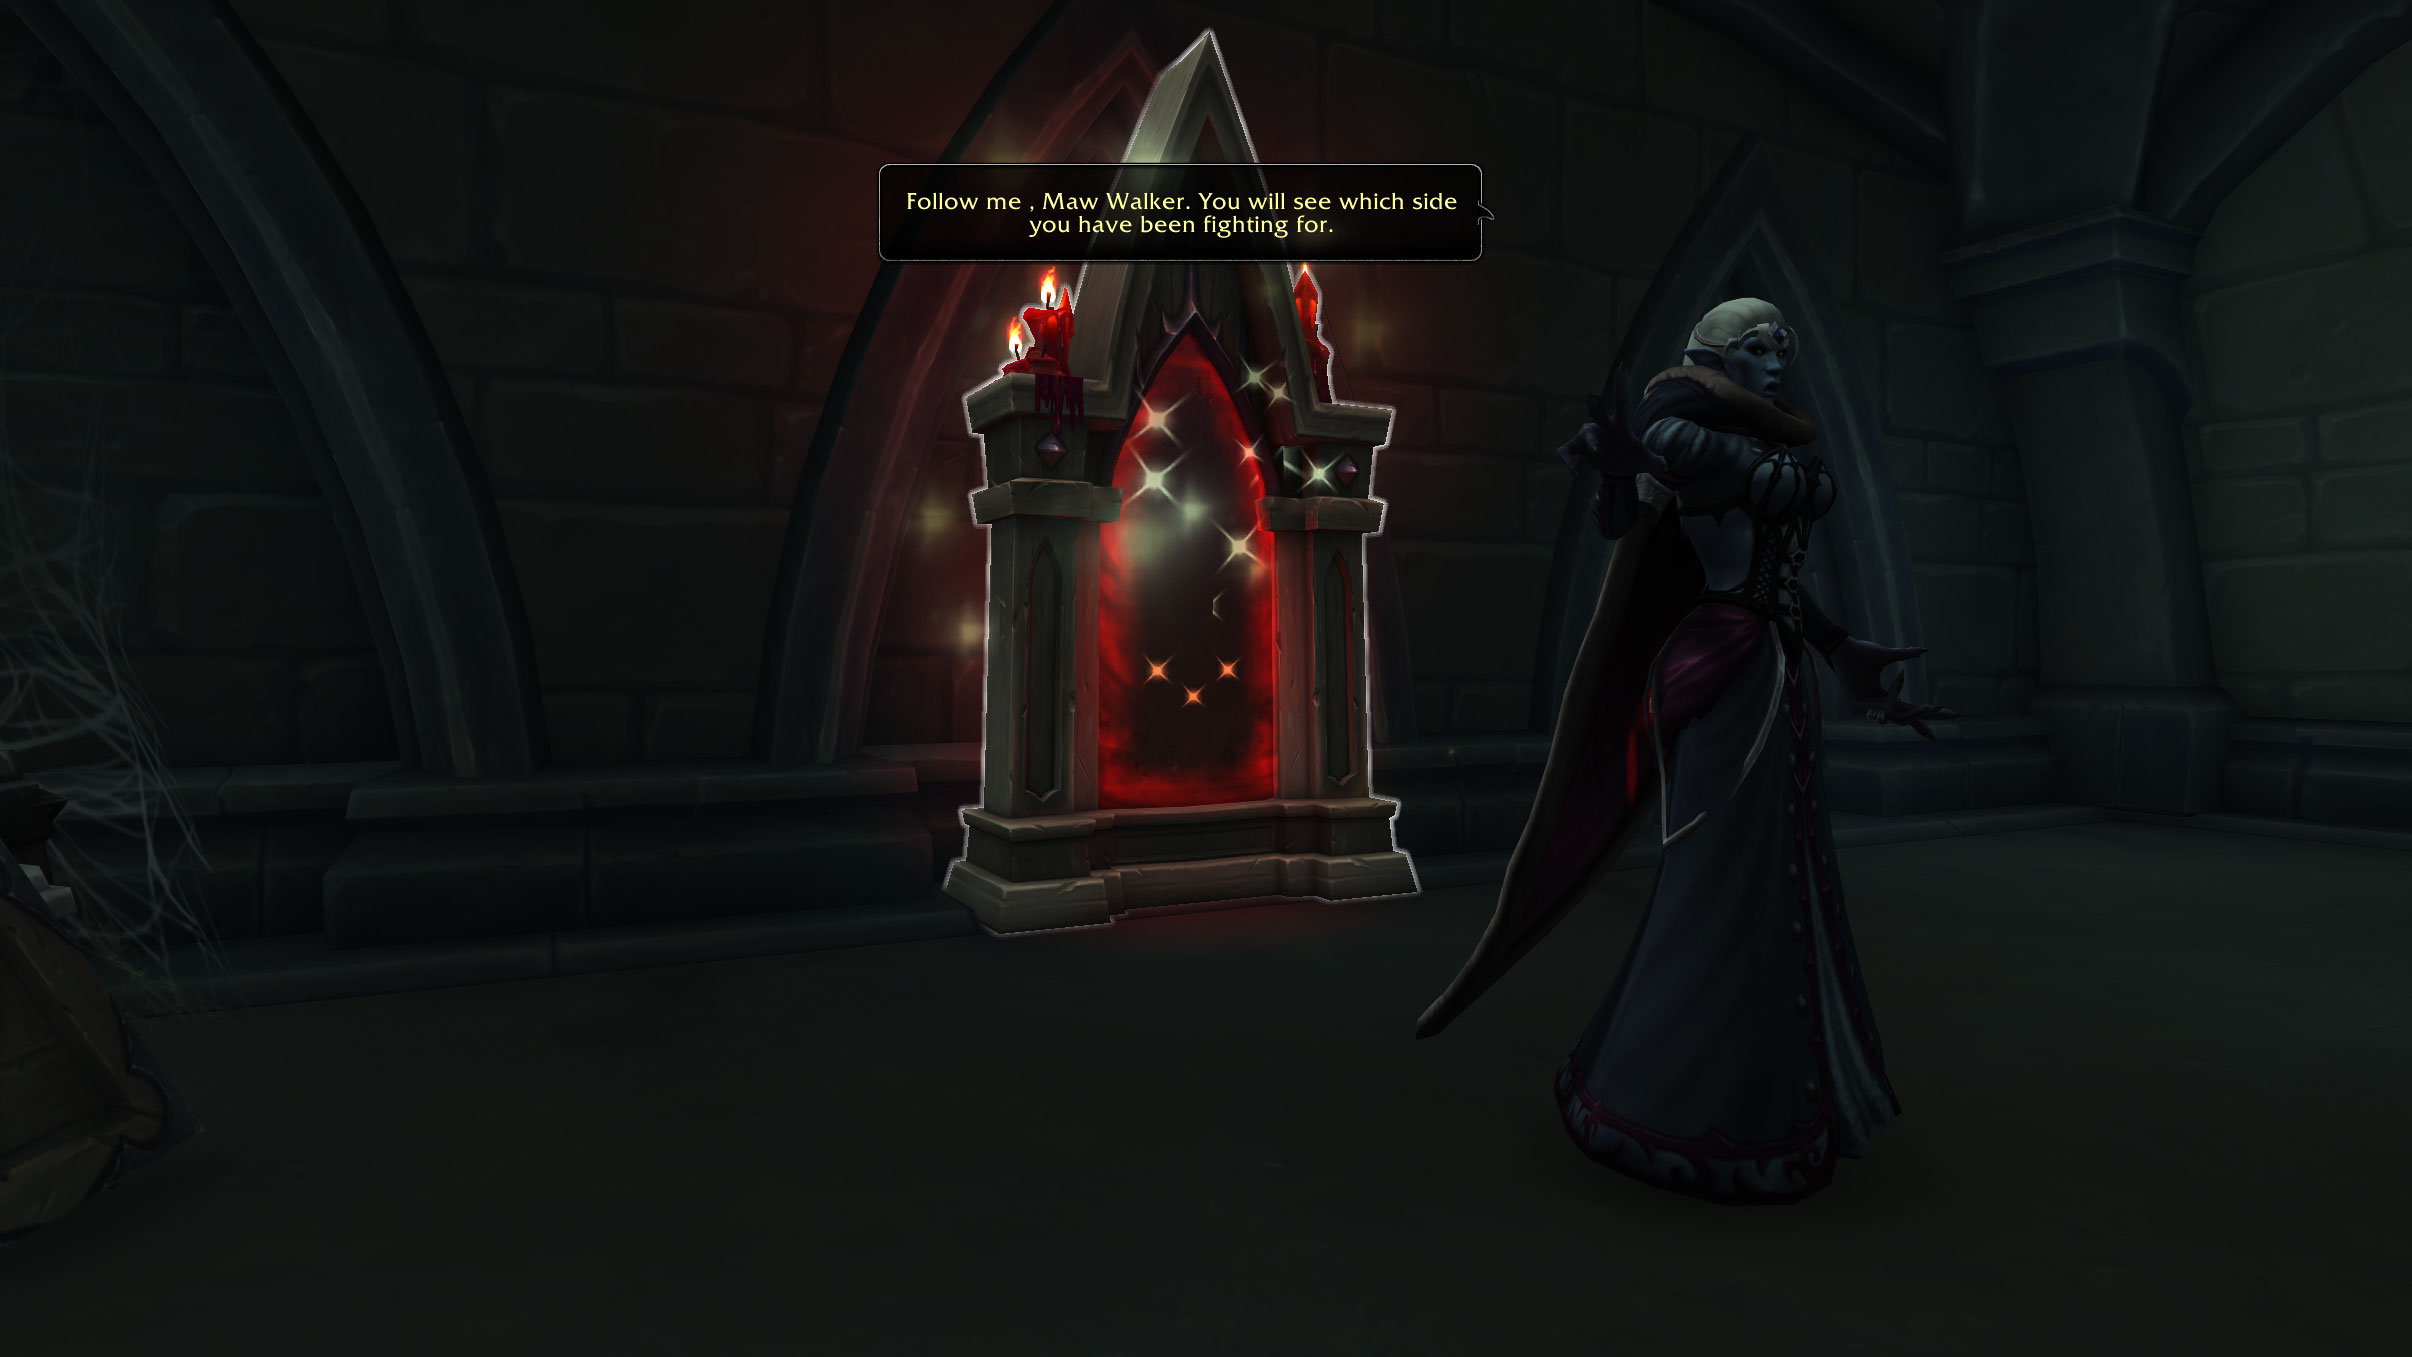
- She gives you the Venthyr shared ability and tells you to see the truth. You use it to teleport into the nearby chamber where she tells you to go through the nearby mirror into the depths of Castle Nathria, Denathrius's fortress, to witness a meeting. There you see Danthrius is actually the cause of the anima drought, storing it all in the castle with the help of Lady Inerva Darkvein. You must protect the Accuser as she helps you escape back through the mirror. She tells you to meet her at Dreadhollow.
- There you must use a concentrated animal vial to defeat hunters while planting 8 rigged anima containers. You must also recruit Watchmaster Boromod and Tactician Sakaa to the rebellion.
- After, you set the trap for the Fearstalker and face her in combat, defeating her with the help of The Accuser and General Draven.


Chapter 5
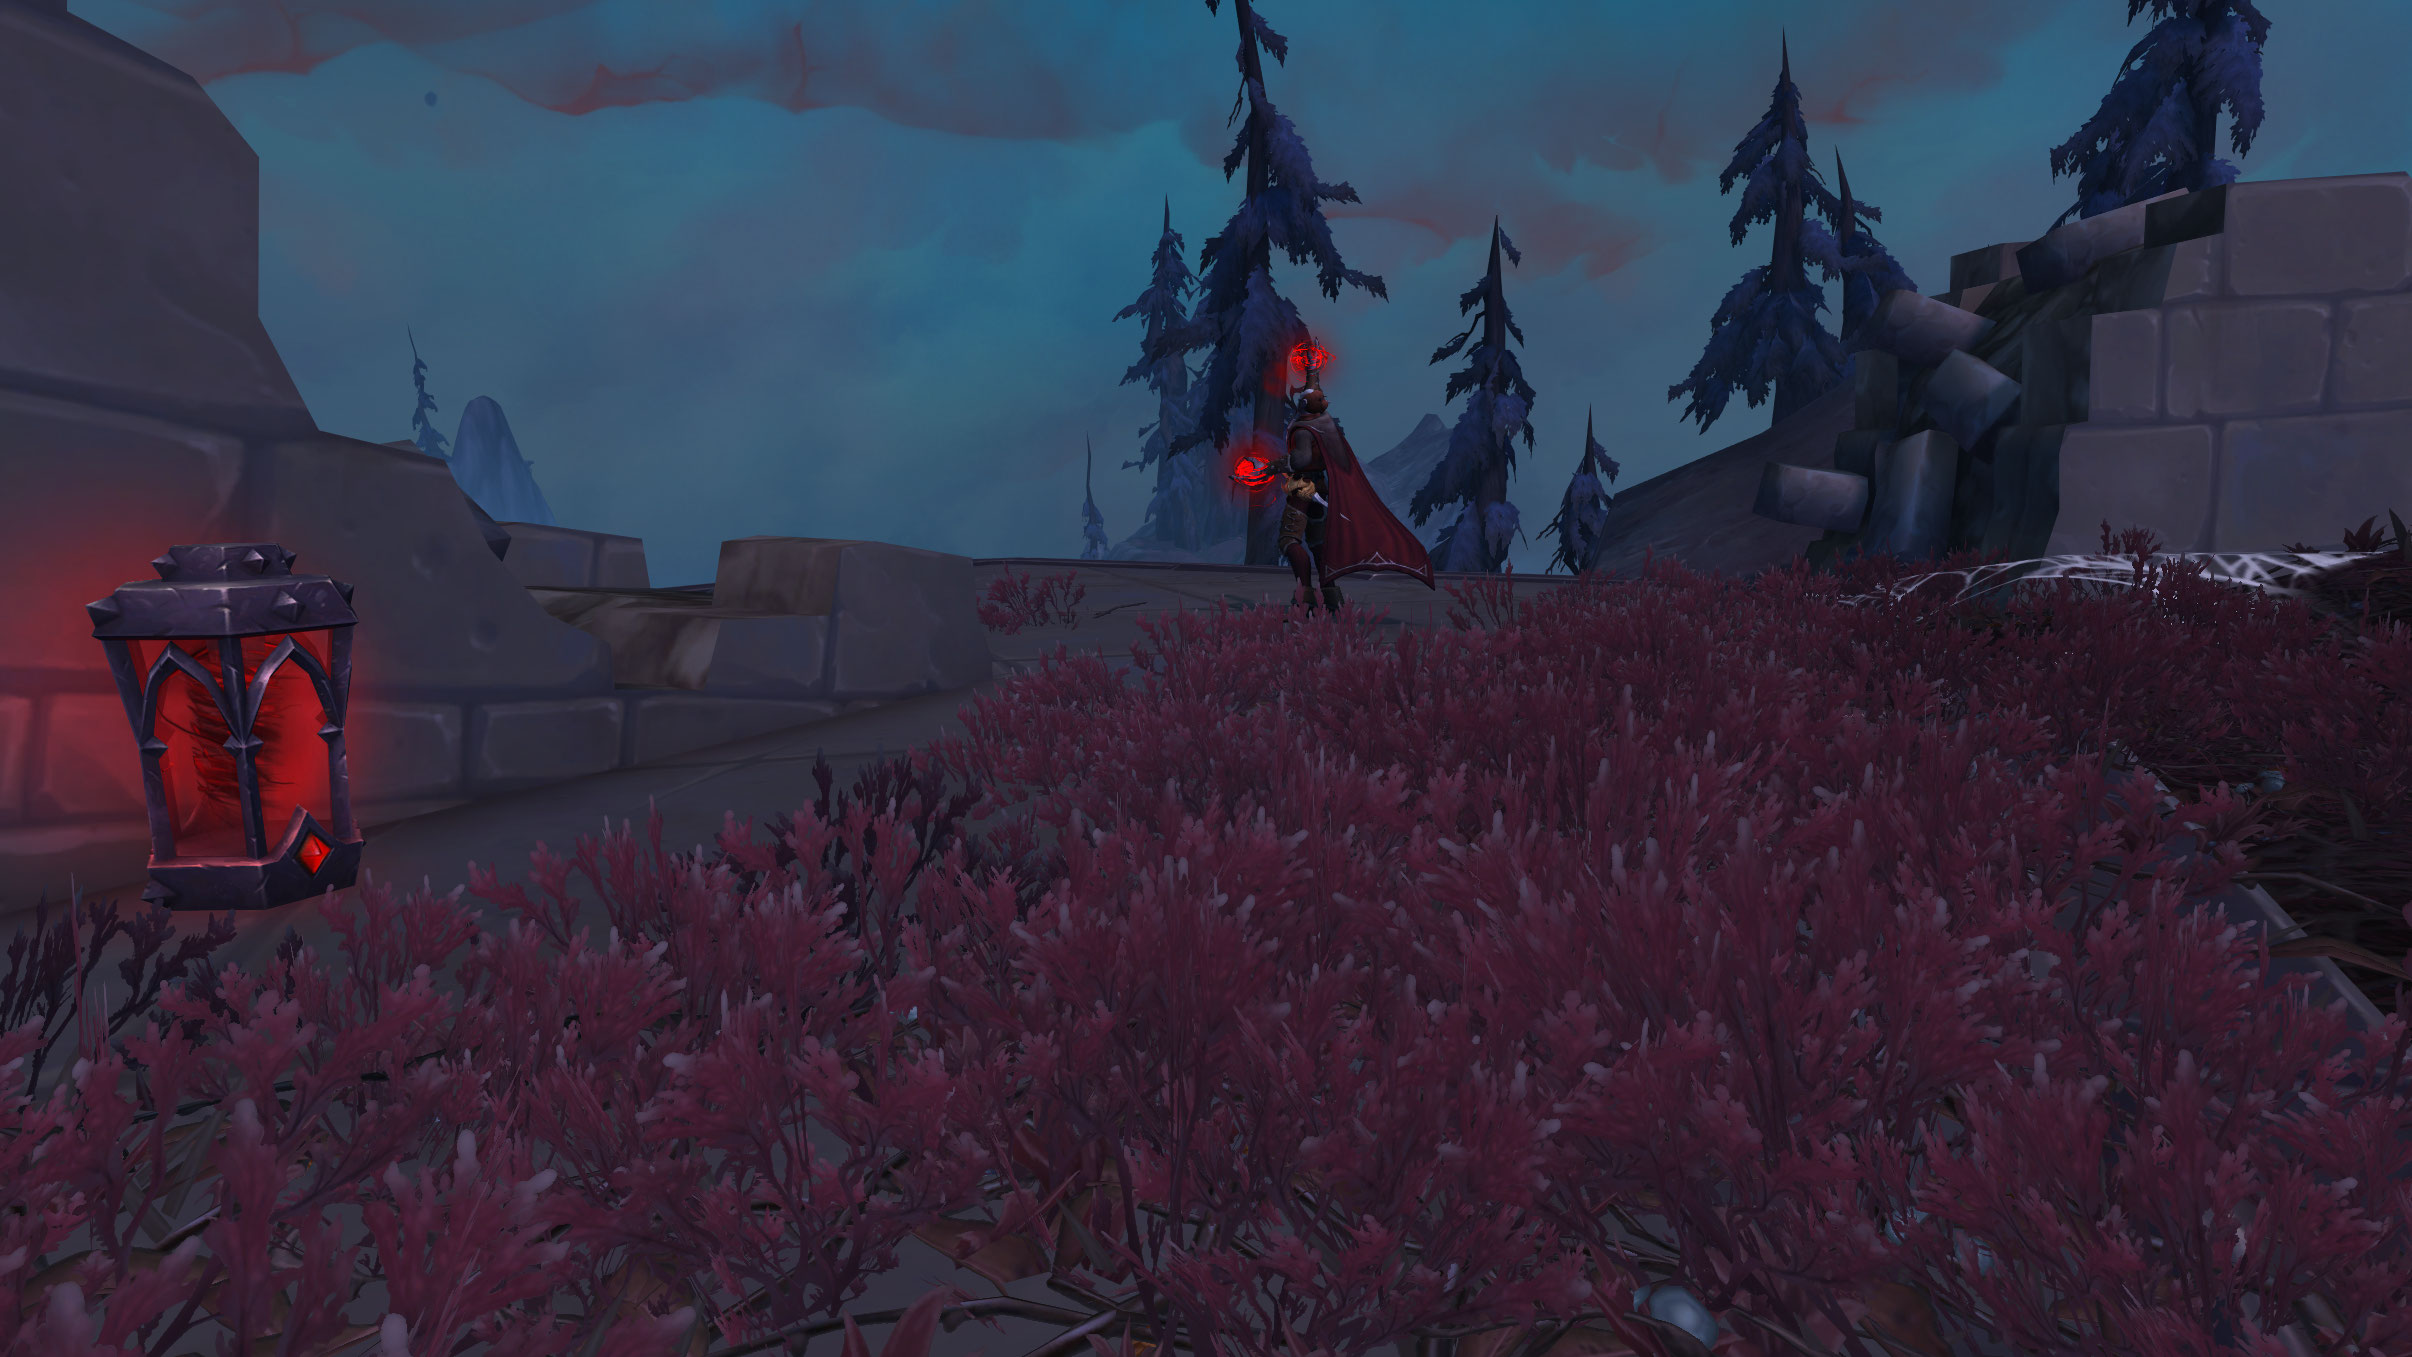
- After, The Accuser says that this was not a victory, and if Prince Renathal does not return, then defeat has merely been delayed. The Prince was last seen during an assault of the Master's keep alongside Duke Theotar. They don't know the prince's fate, but the Duke was banished to the Ember Ward, a land of madness and torture blighted by the light. The Master sends his most hated enemies there to suffer unending agony. You must find the Duke to discover the fate of Prince Renathal.
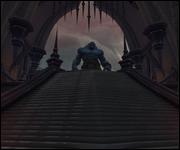
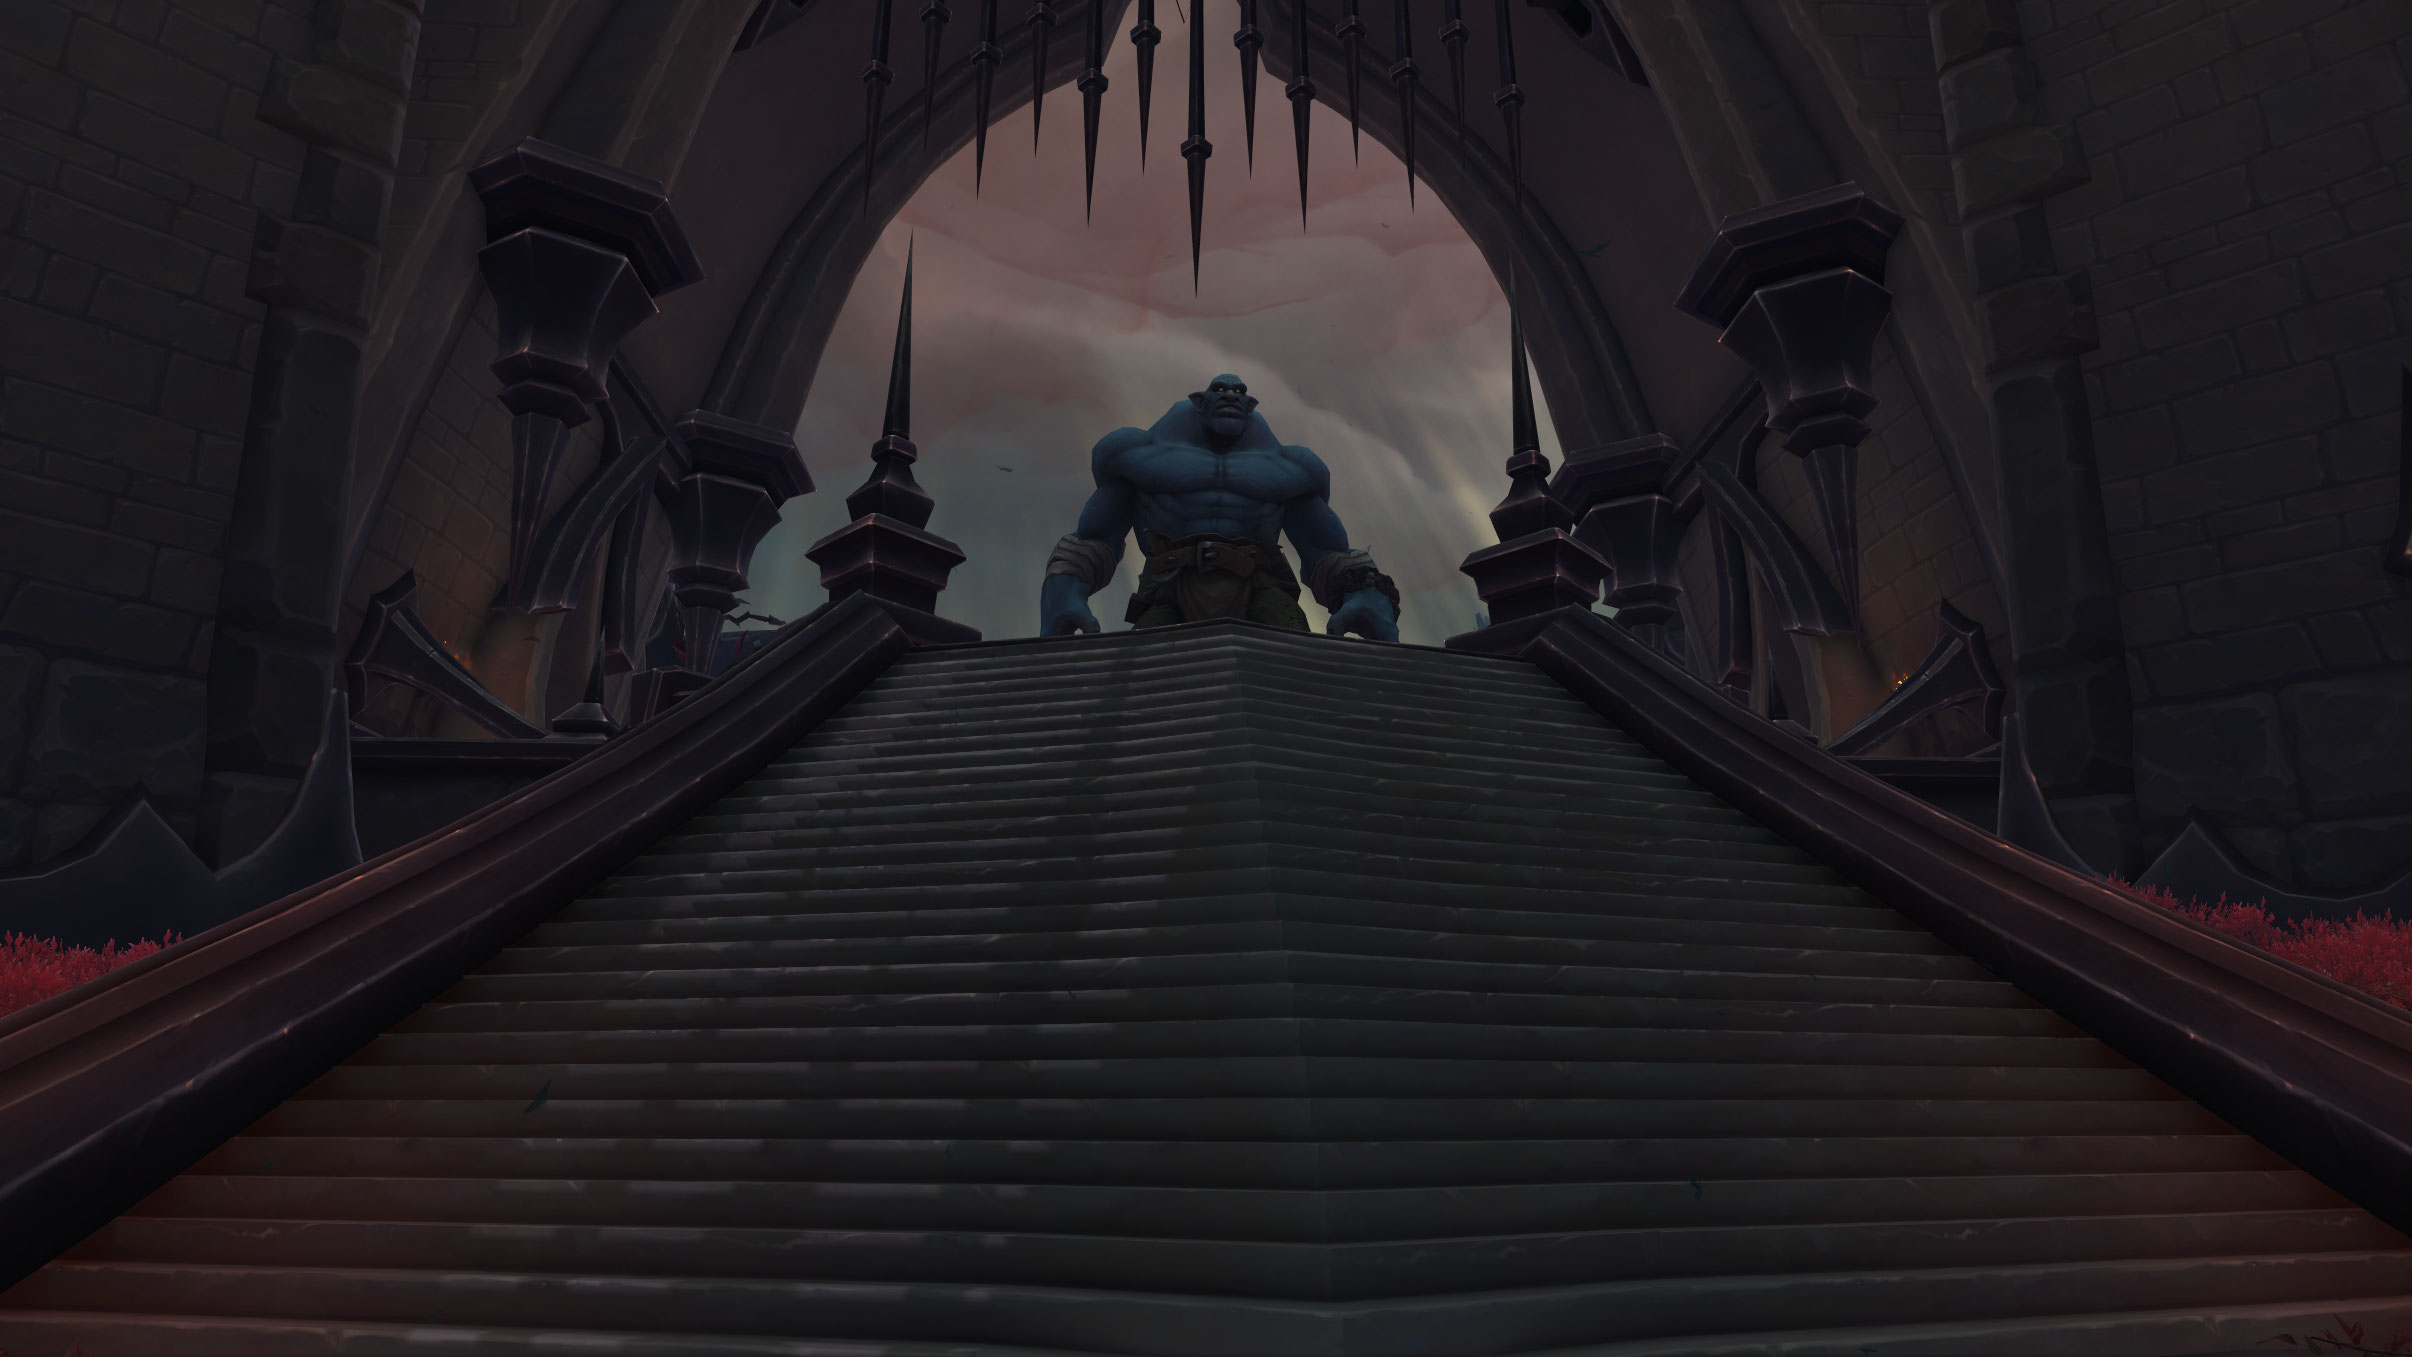
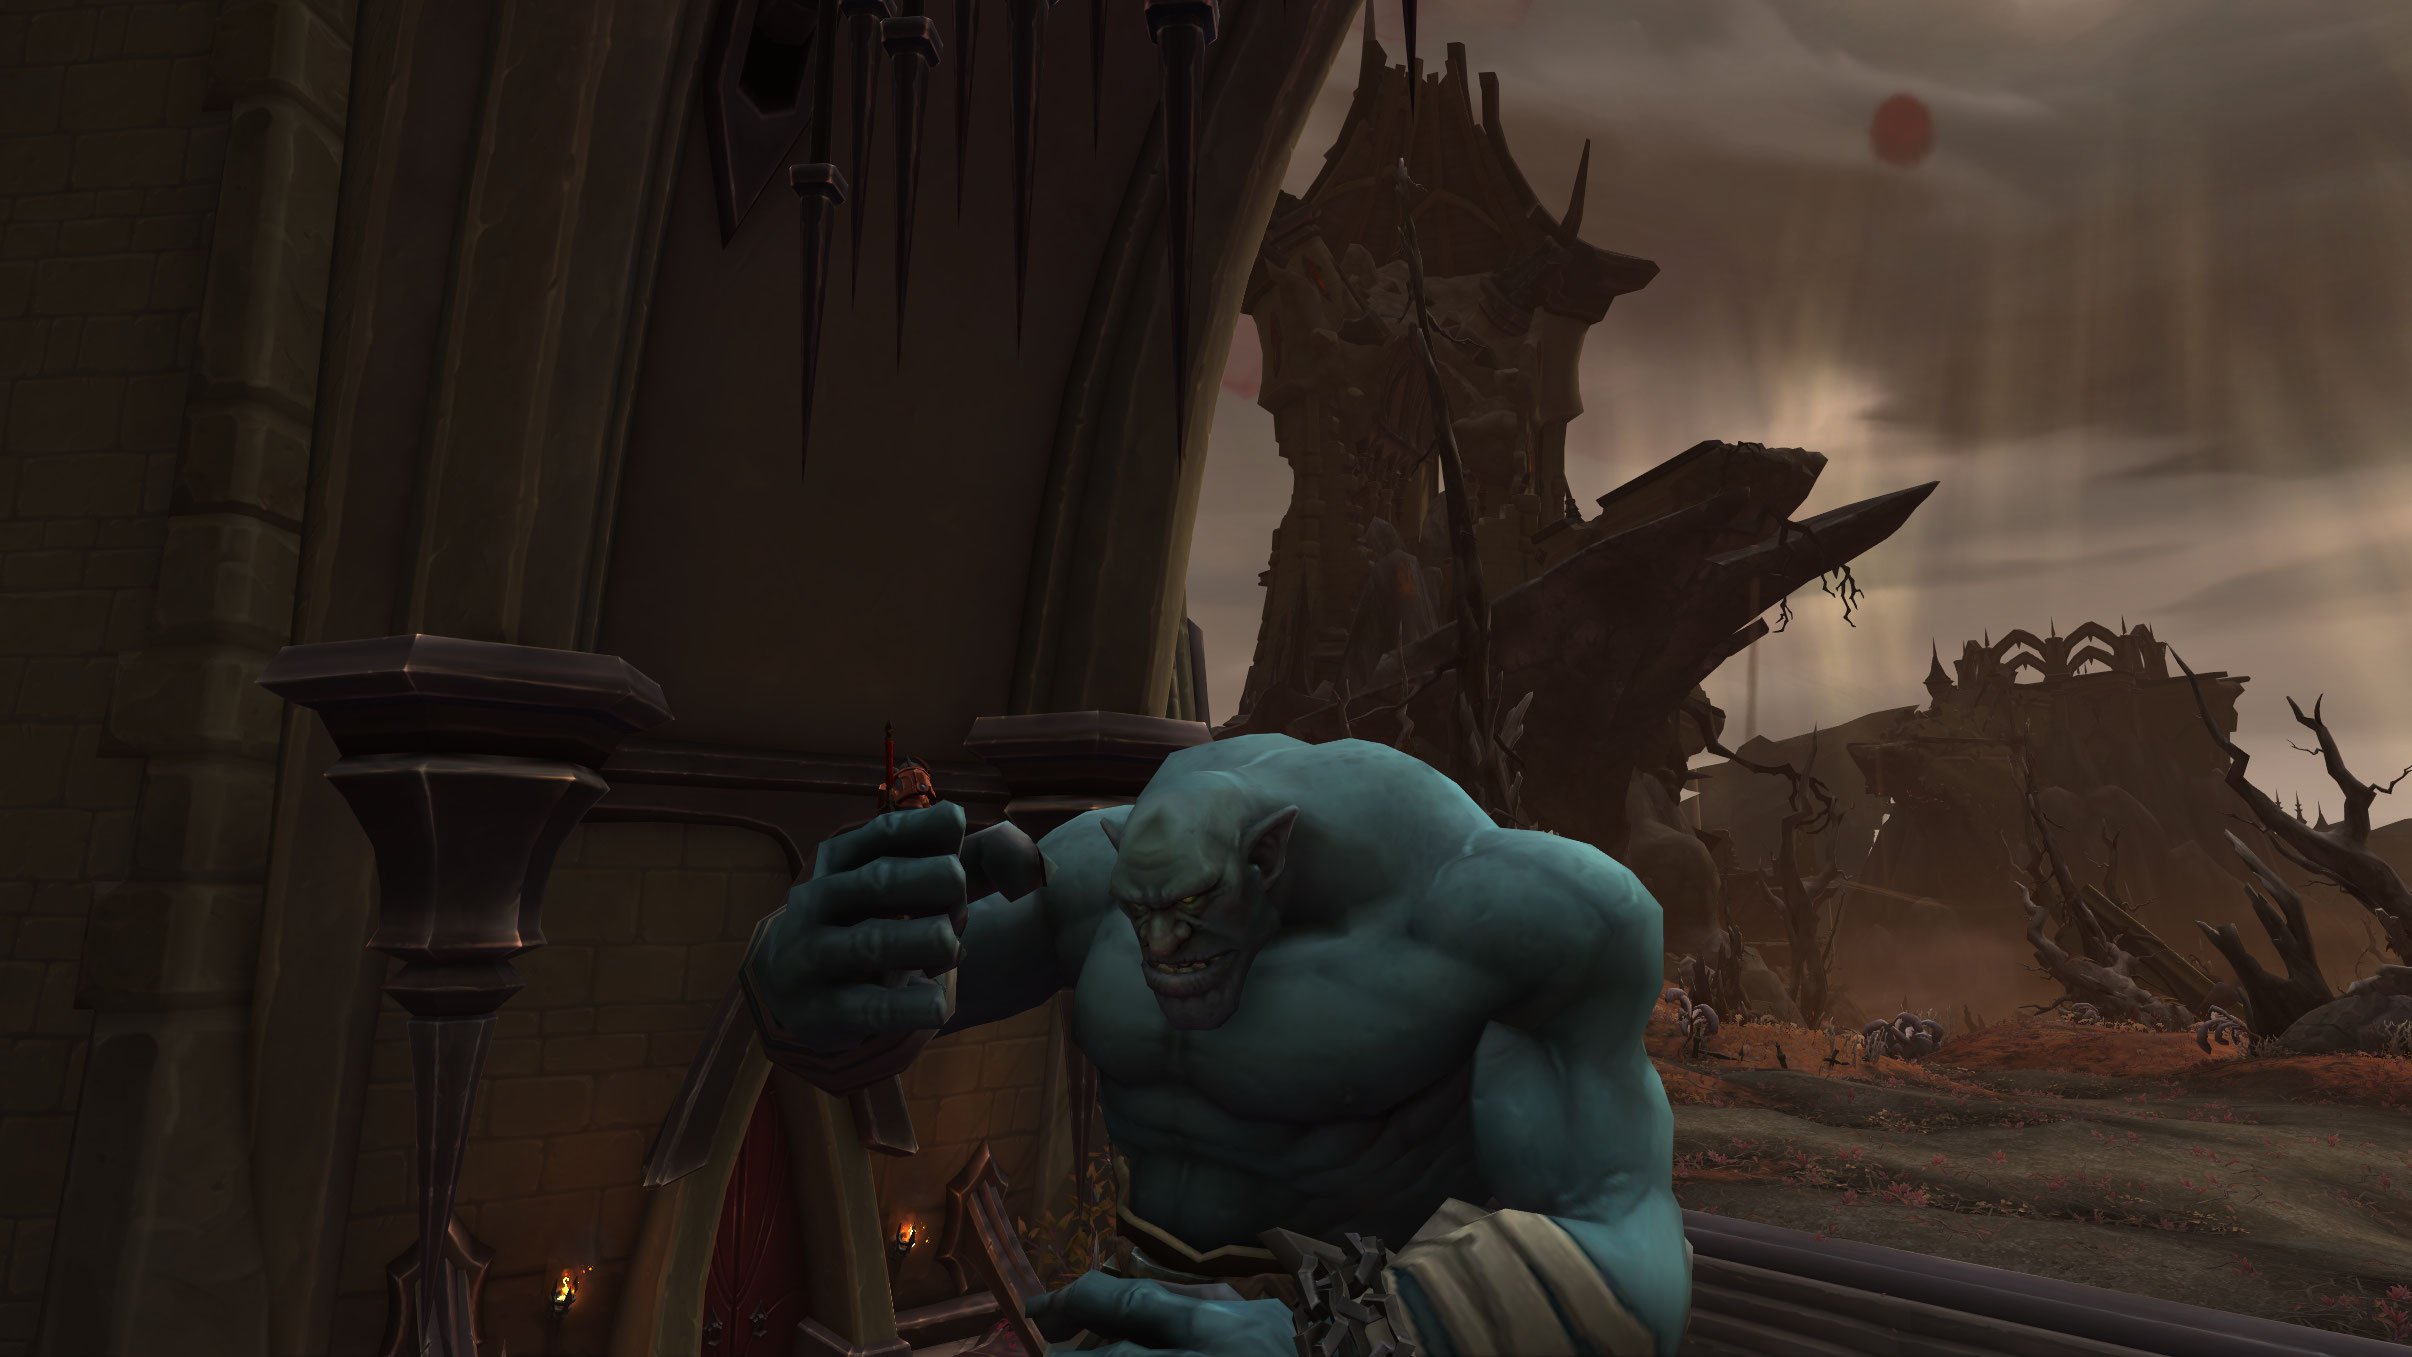
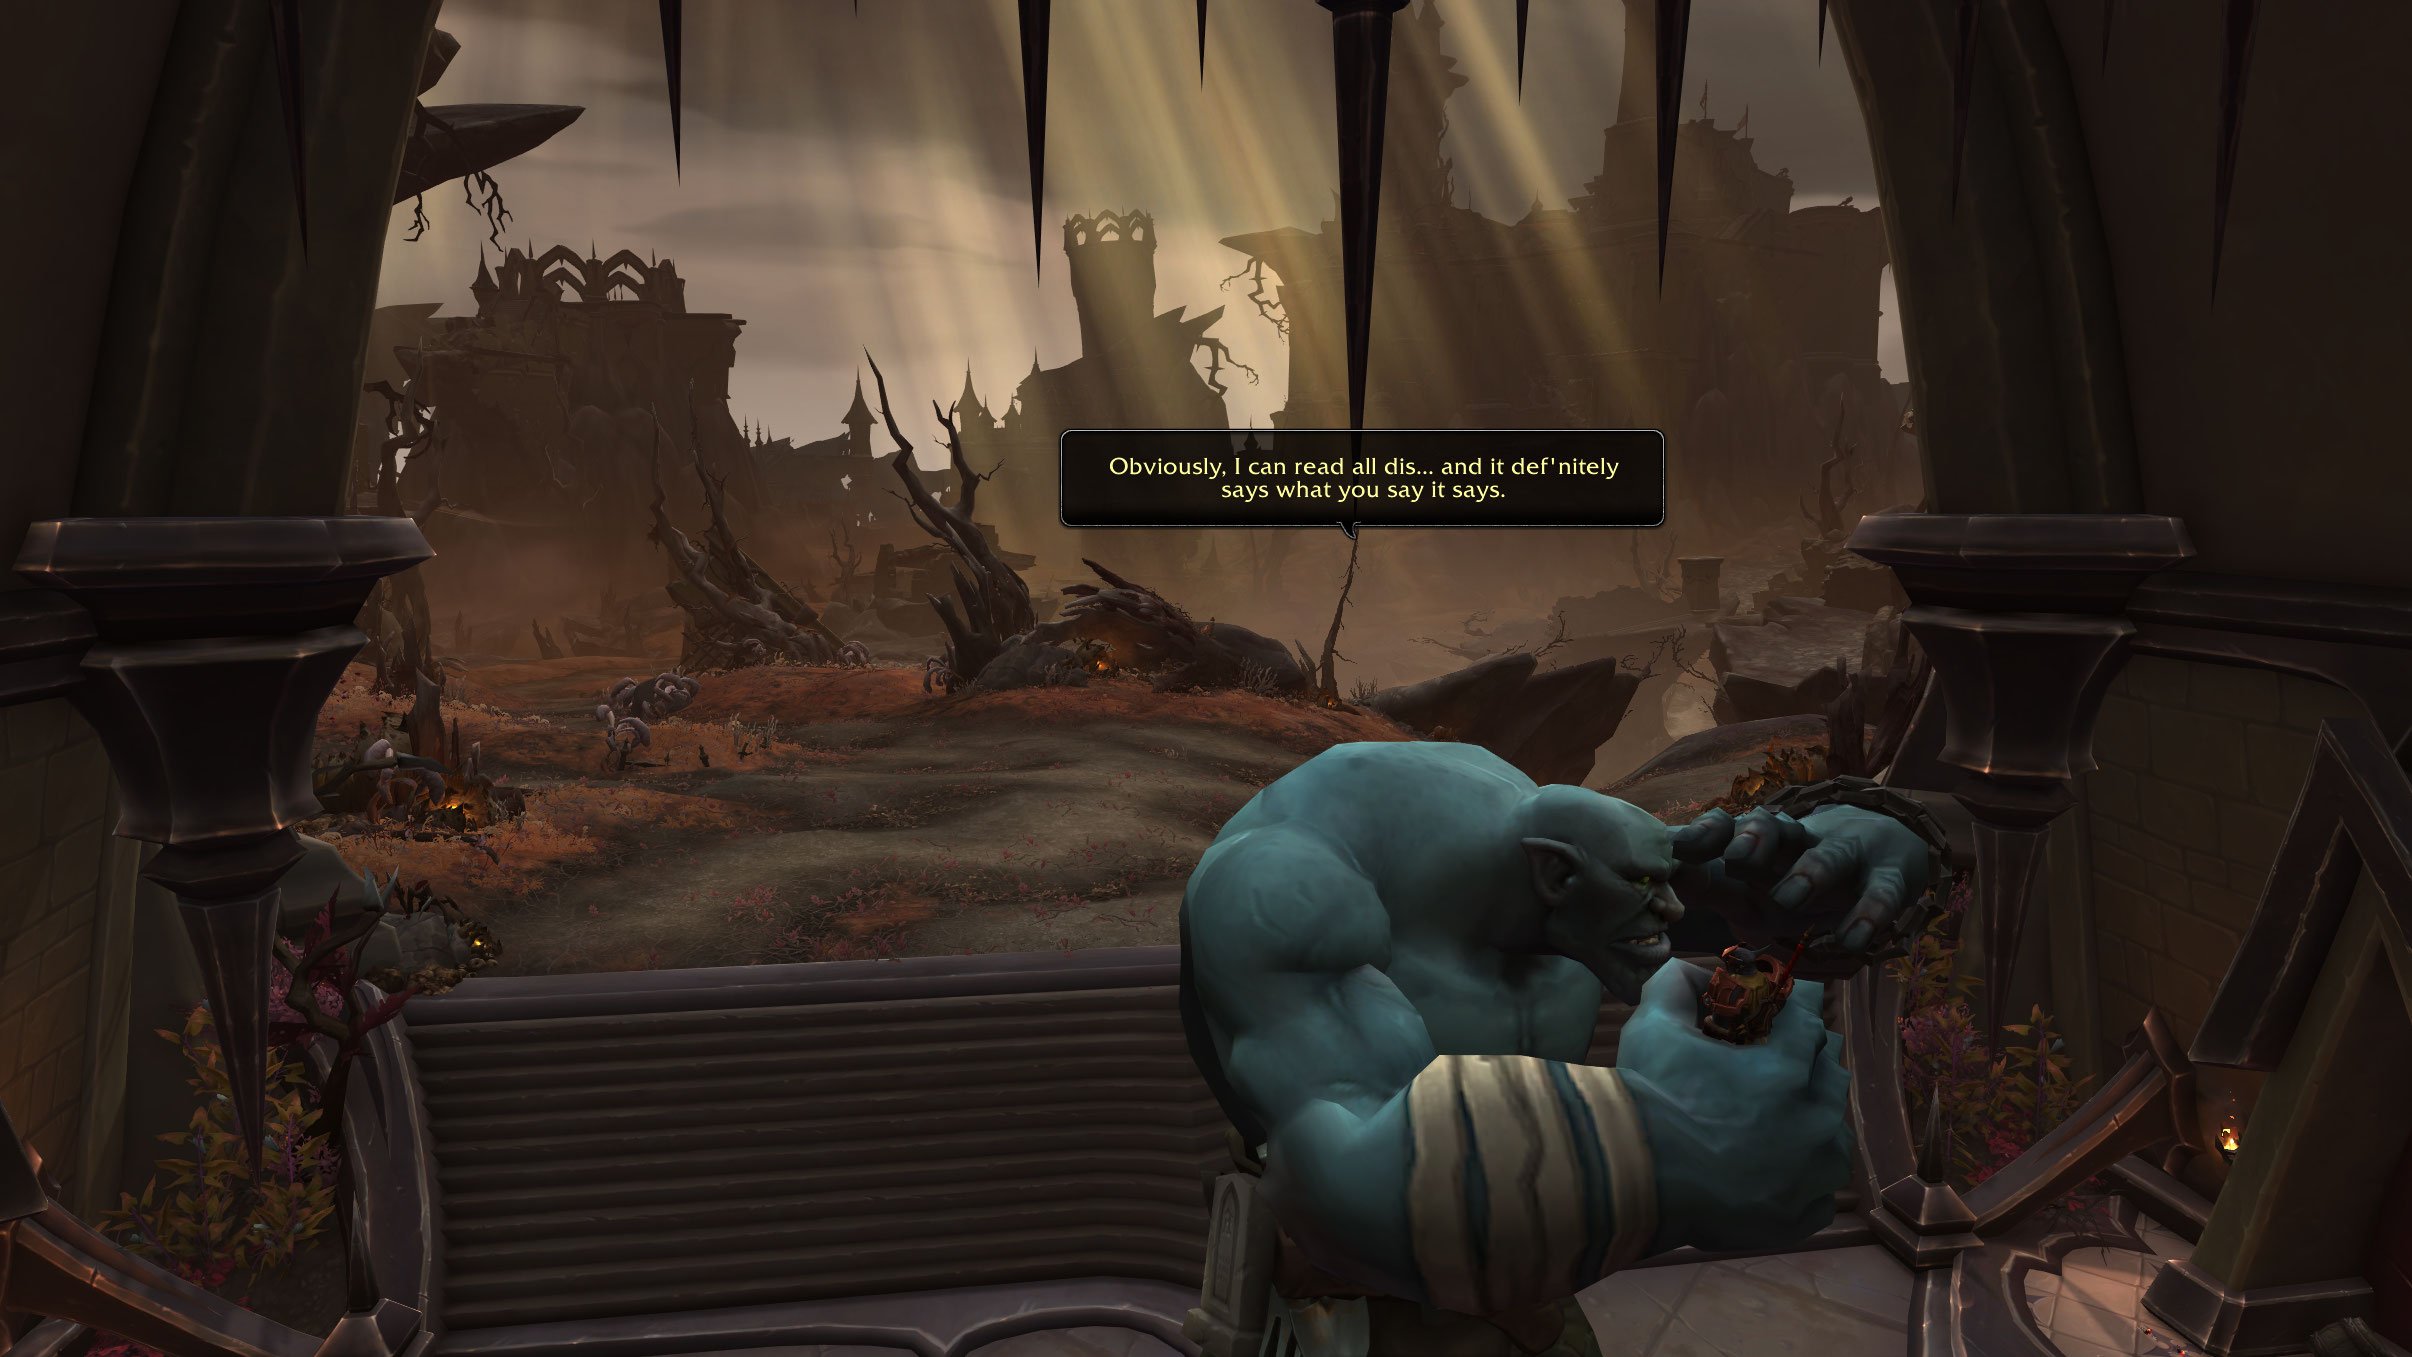
- The entrance to the Ember Ward is blocked by a giant named Stonehead, who refuses to let you pass. You must then collect blank parchment and a Venthyr Calligraphy set from the Venthyr camp in the area in order to forge official papers condemning you to the Ember Ward.
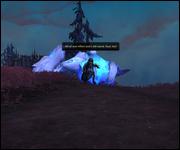
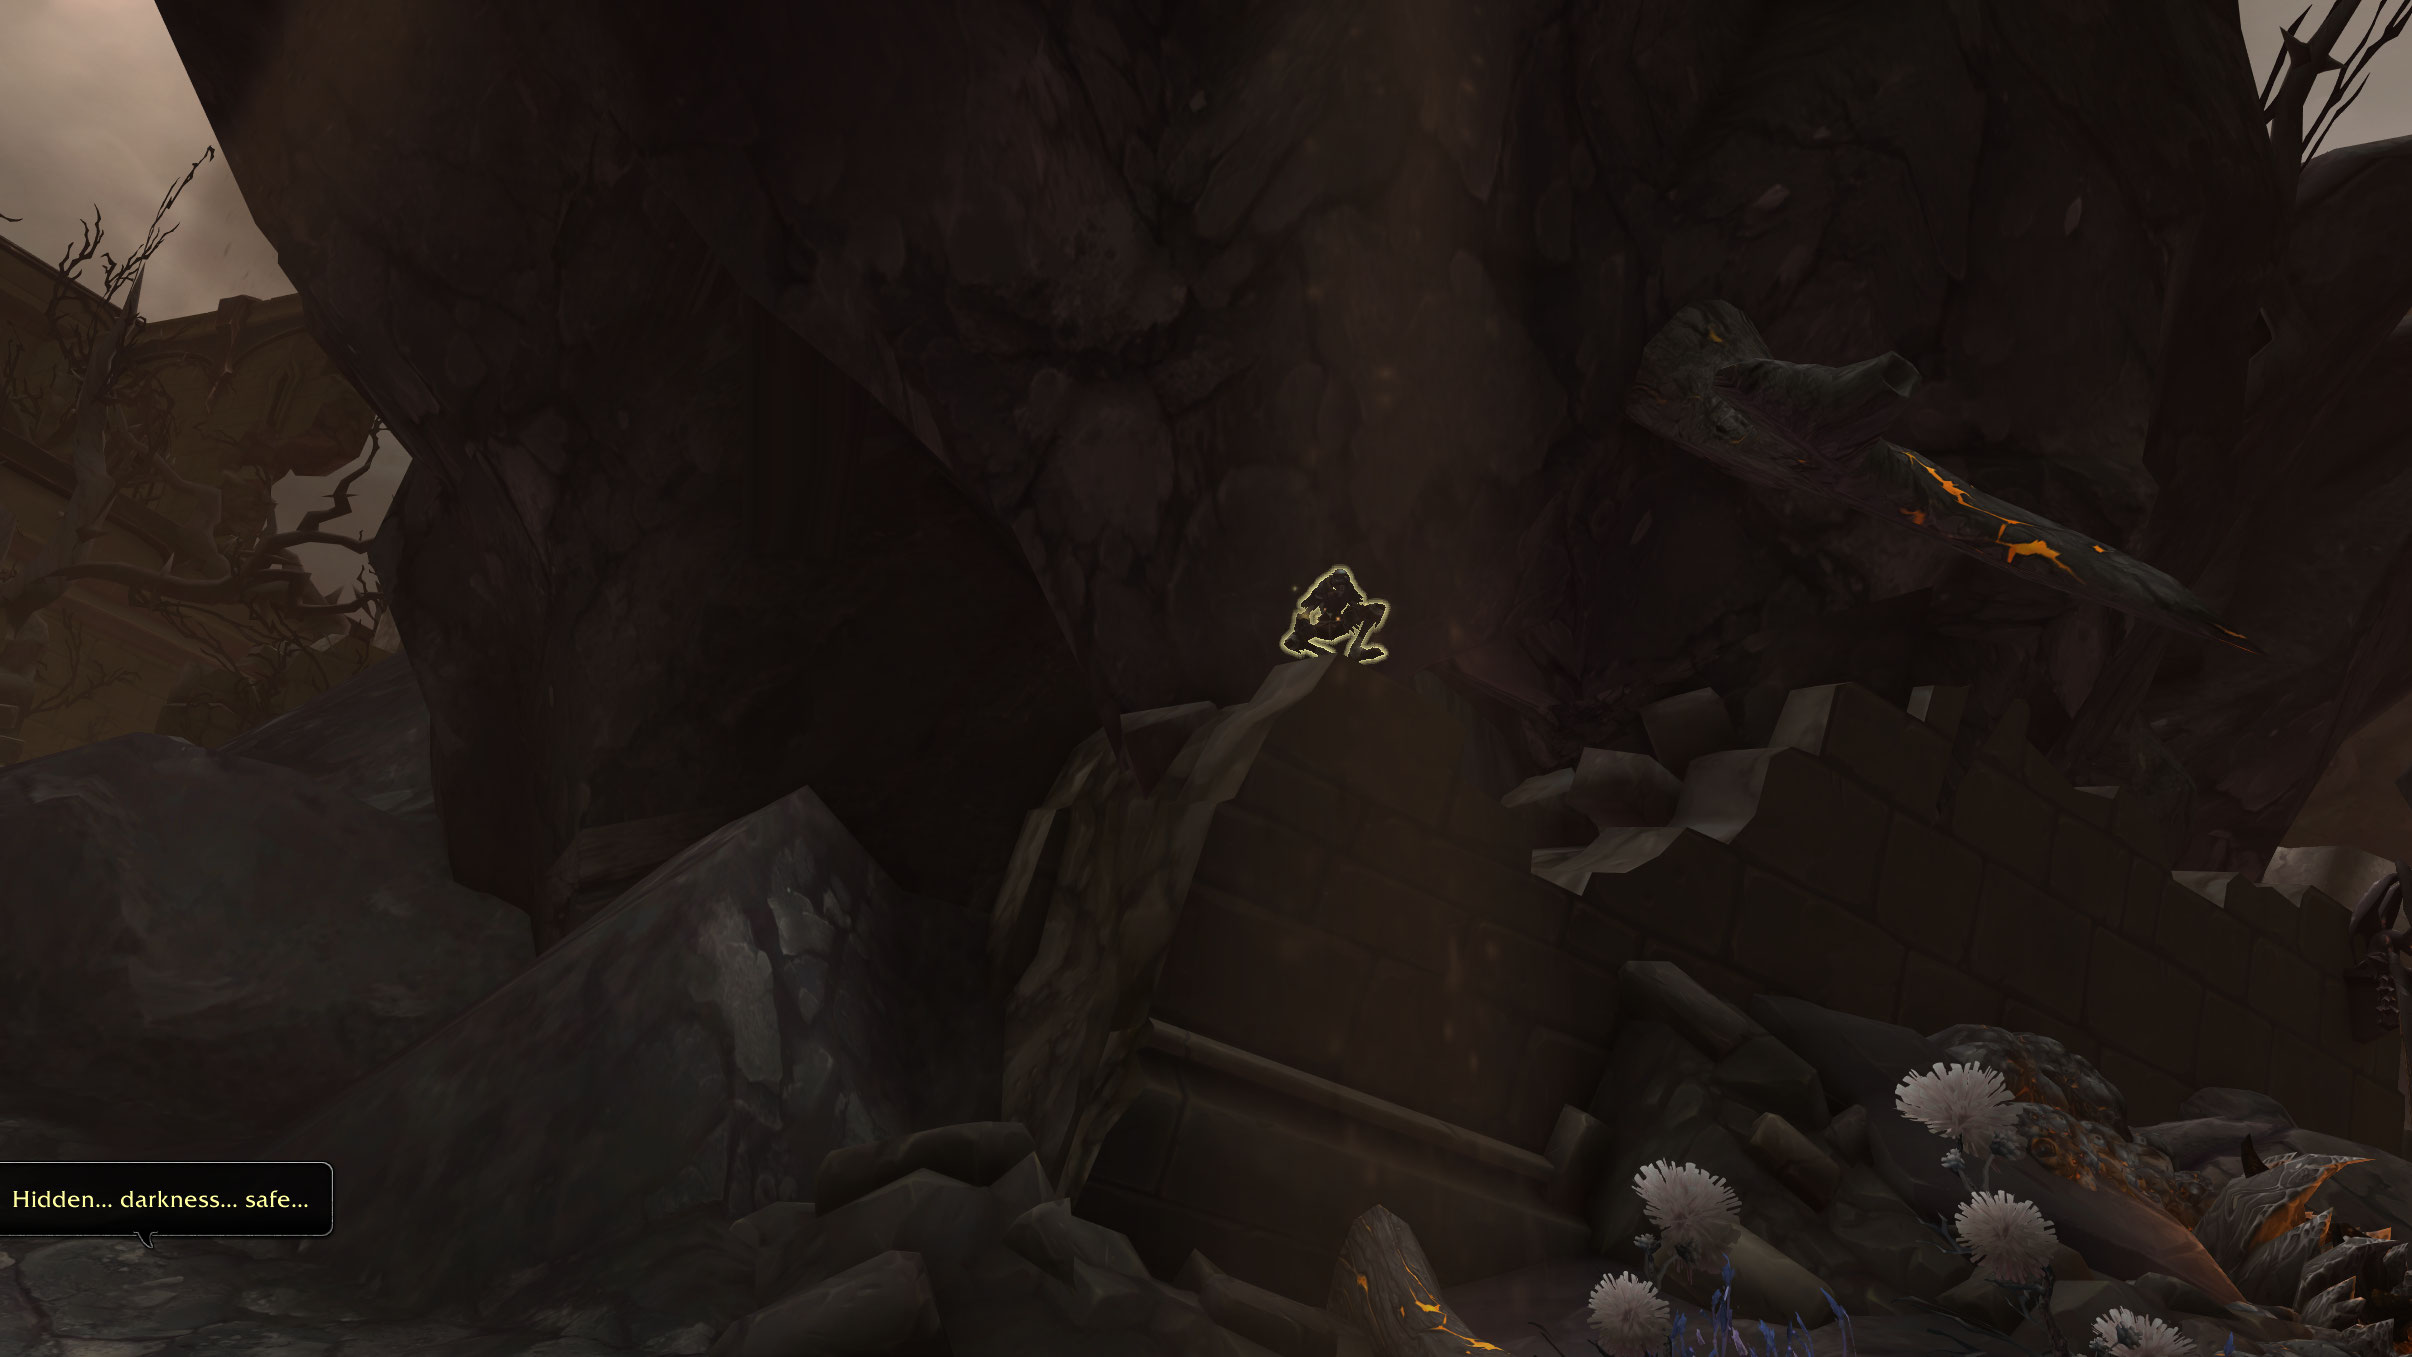
- The papers fool Stonehead, and he throws you into the Ember Ward where you meet a deformed Venthyr called Lost Sybille. They can't speak, and you have to figure out what they want to show you. You are led to Duke Theotar, who tasks you with killing Marquis Pummeler who controls a shaded hideout nearby while also collecting 8 scorched planks and 8 regal cloth scraps and killing 8 ash ghouls, all of which he claims are to help him escape. You must also keep his willpower high by not staying in the light too long.
- Theotar is too weak from the exposure to the light to help you, and you must find a way to his hideout by yourself. Luckily Lost Sybille helps you.
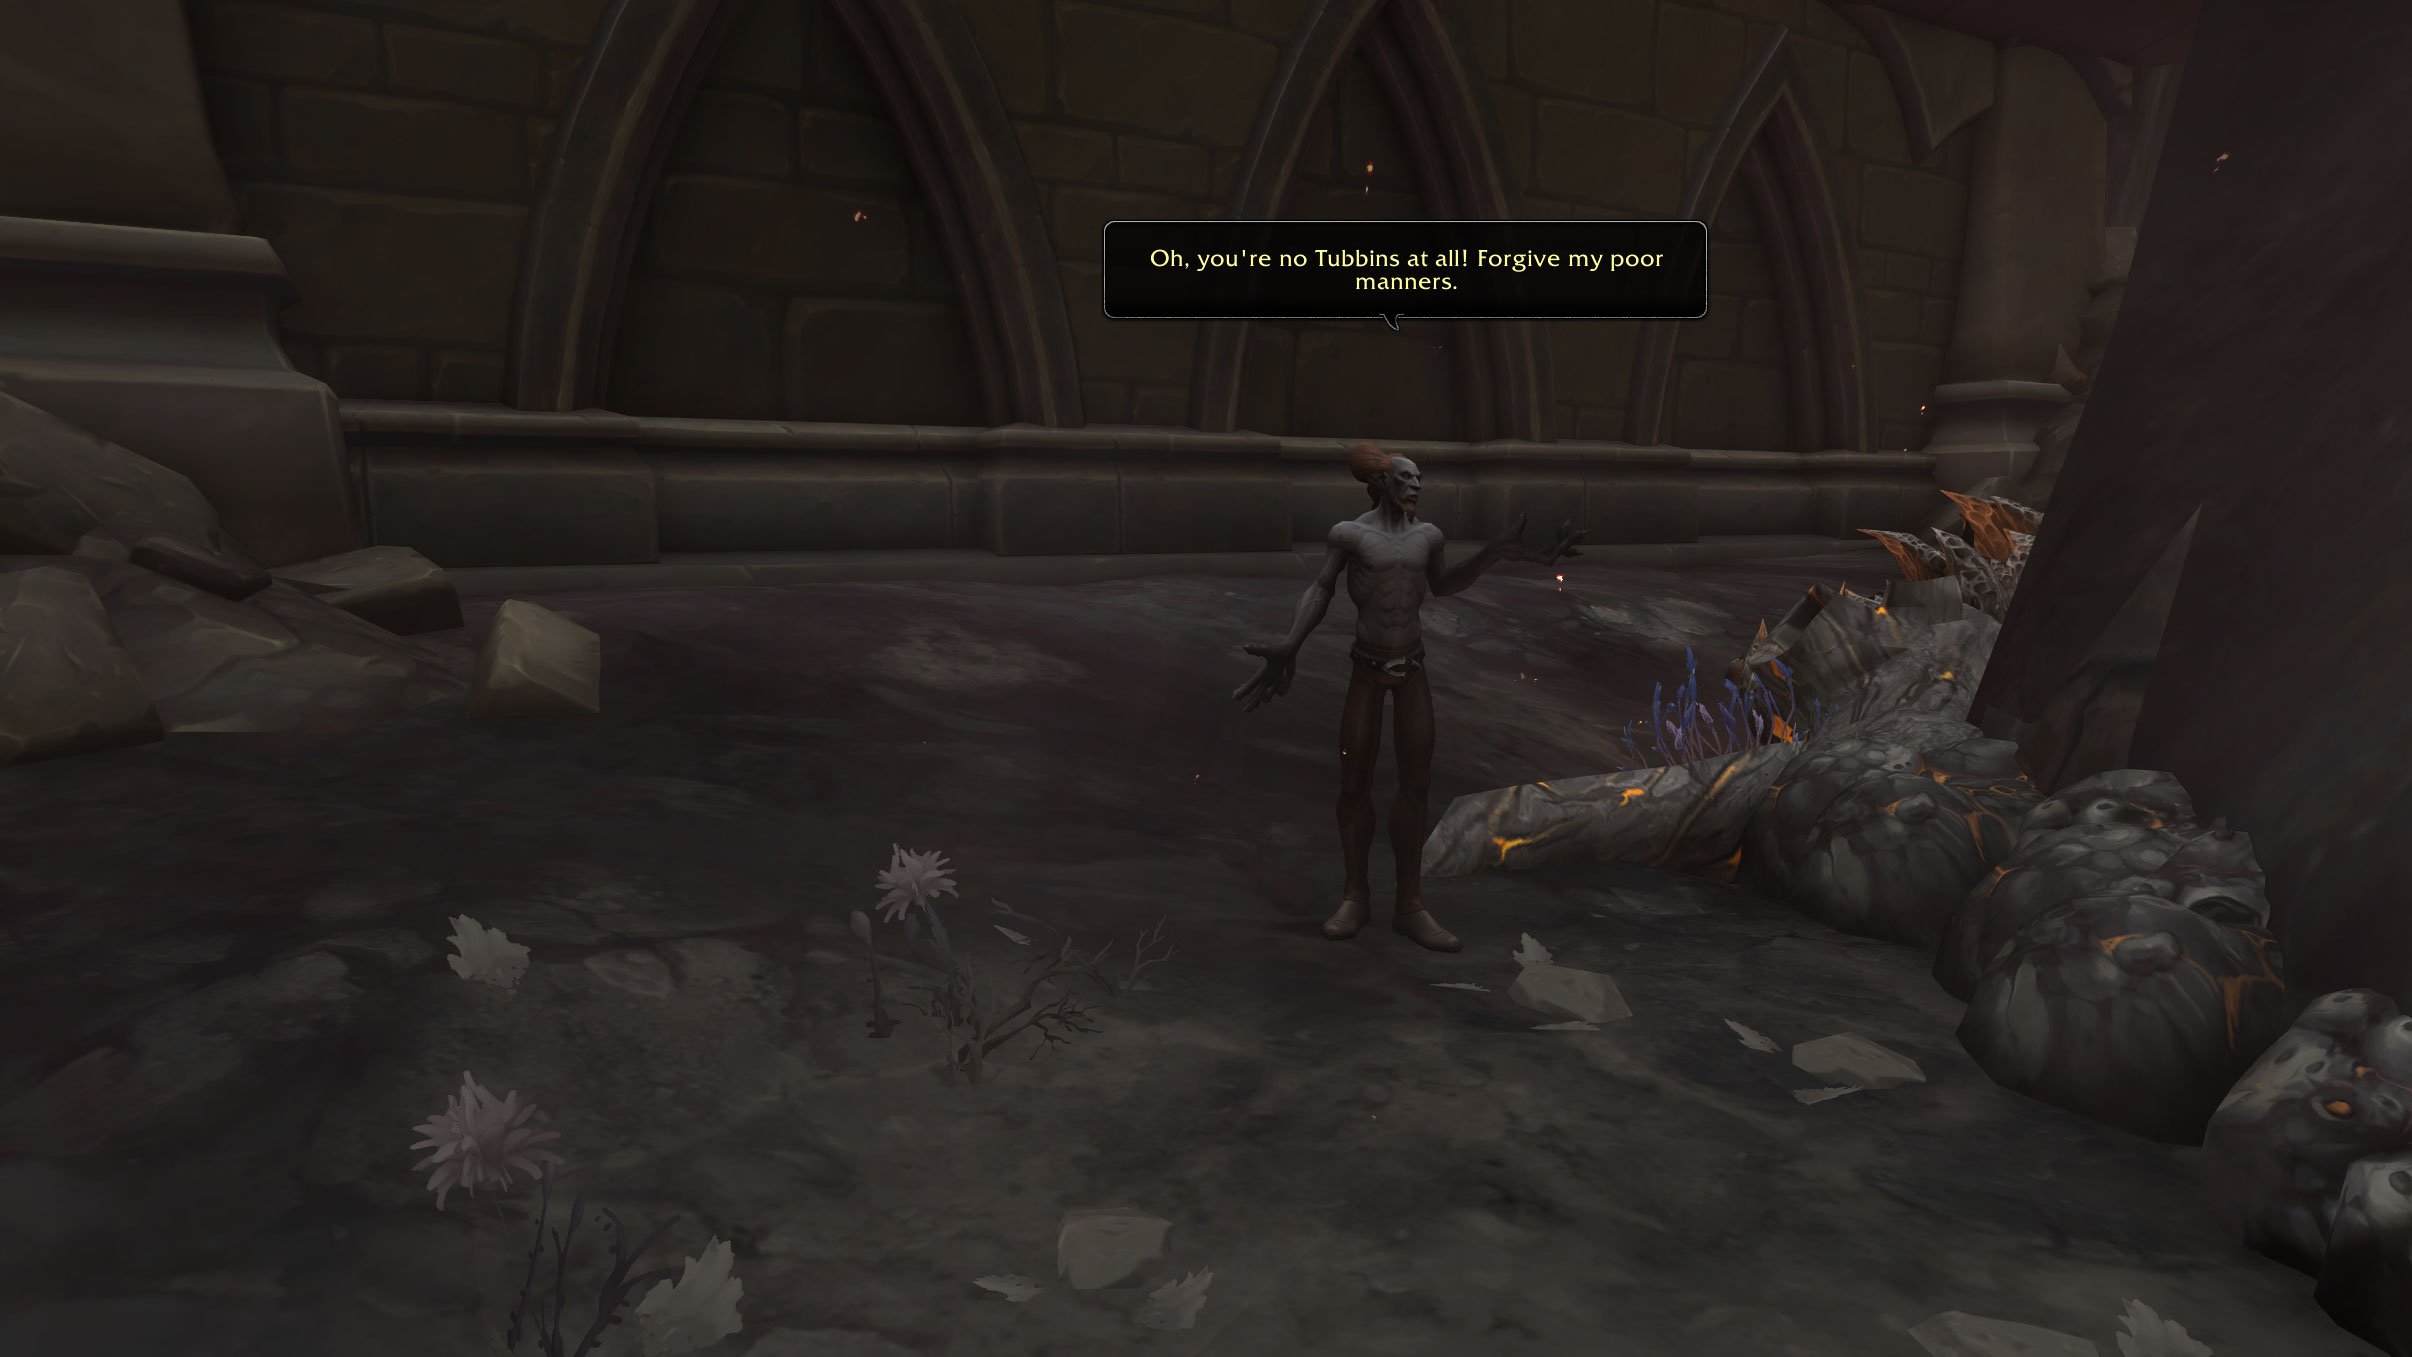
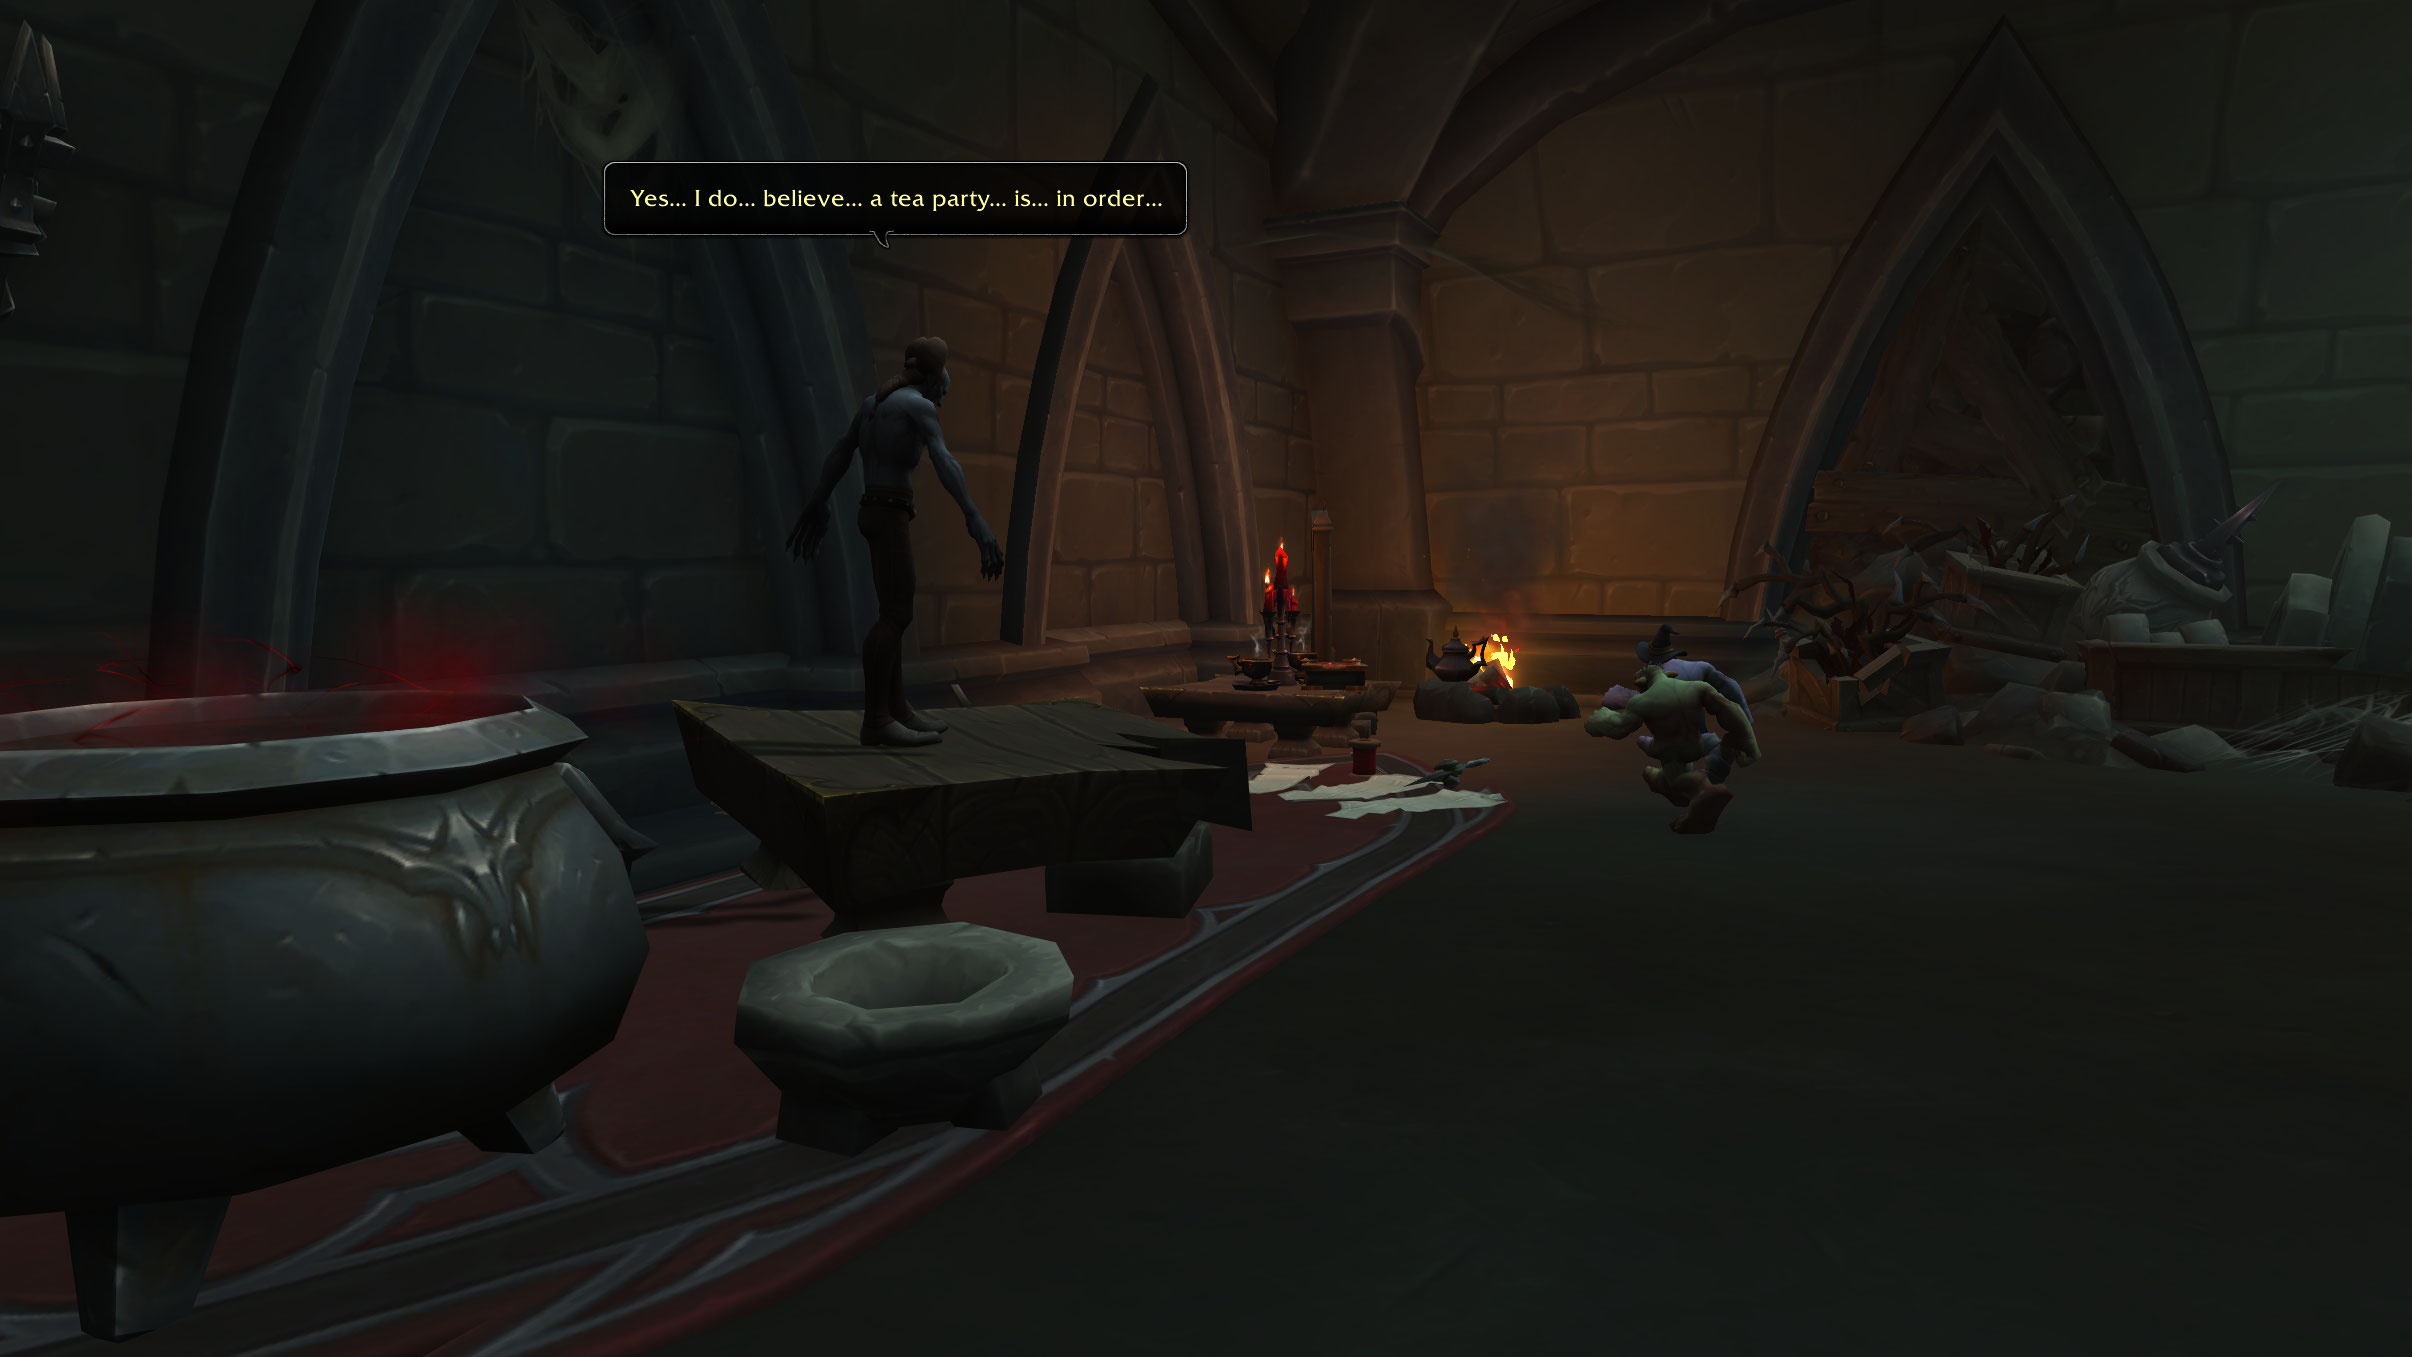
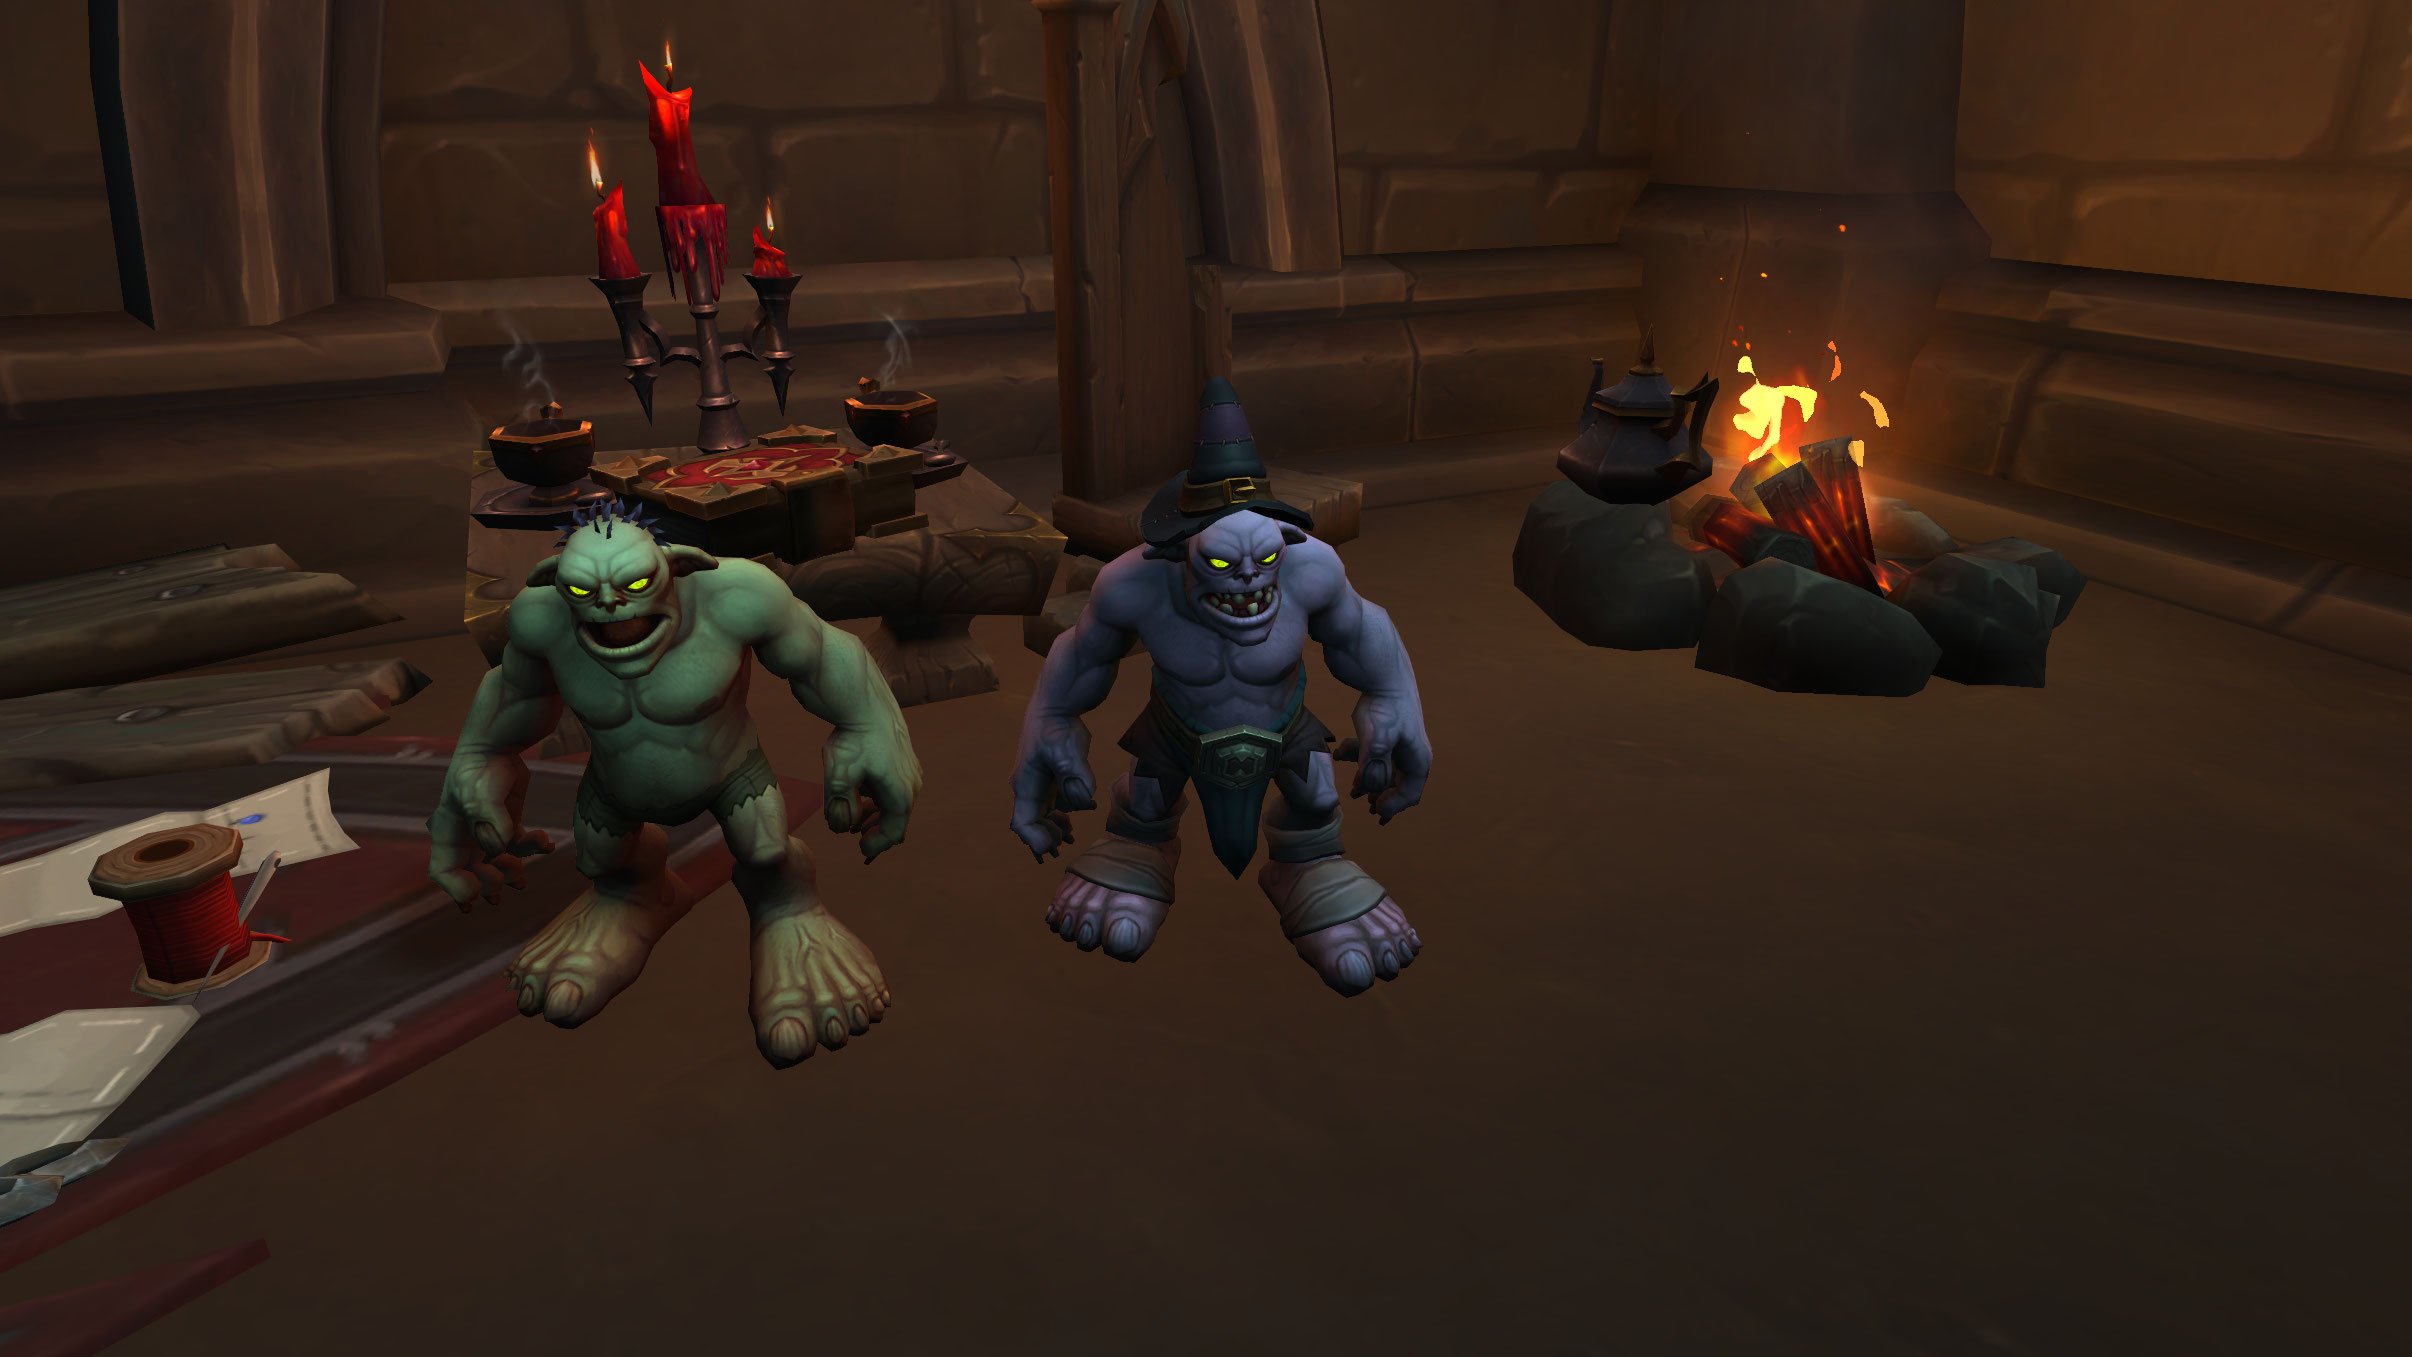
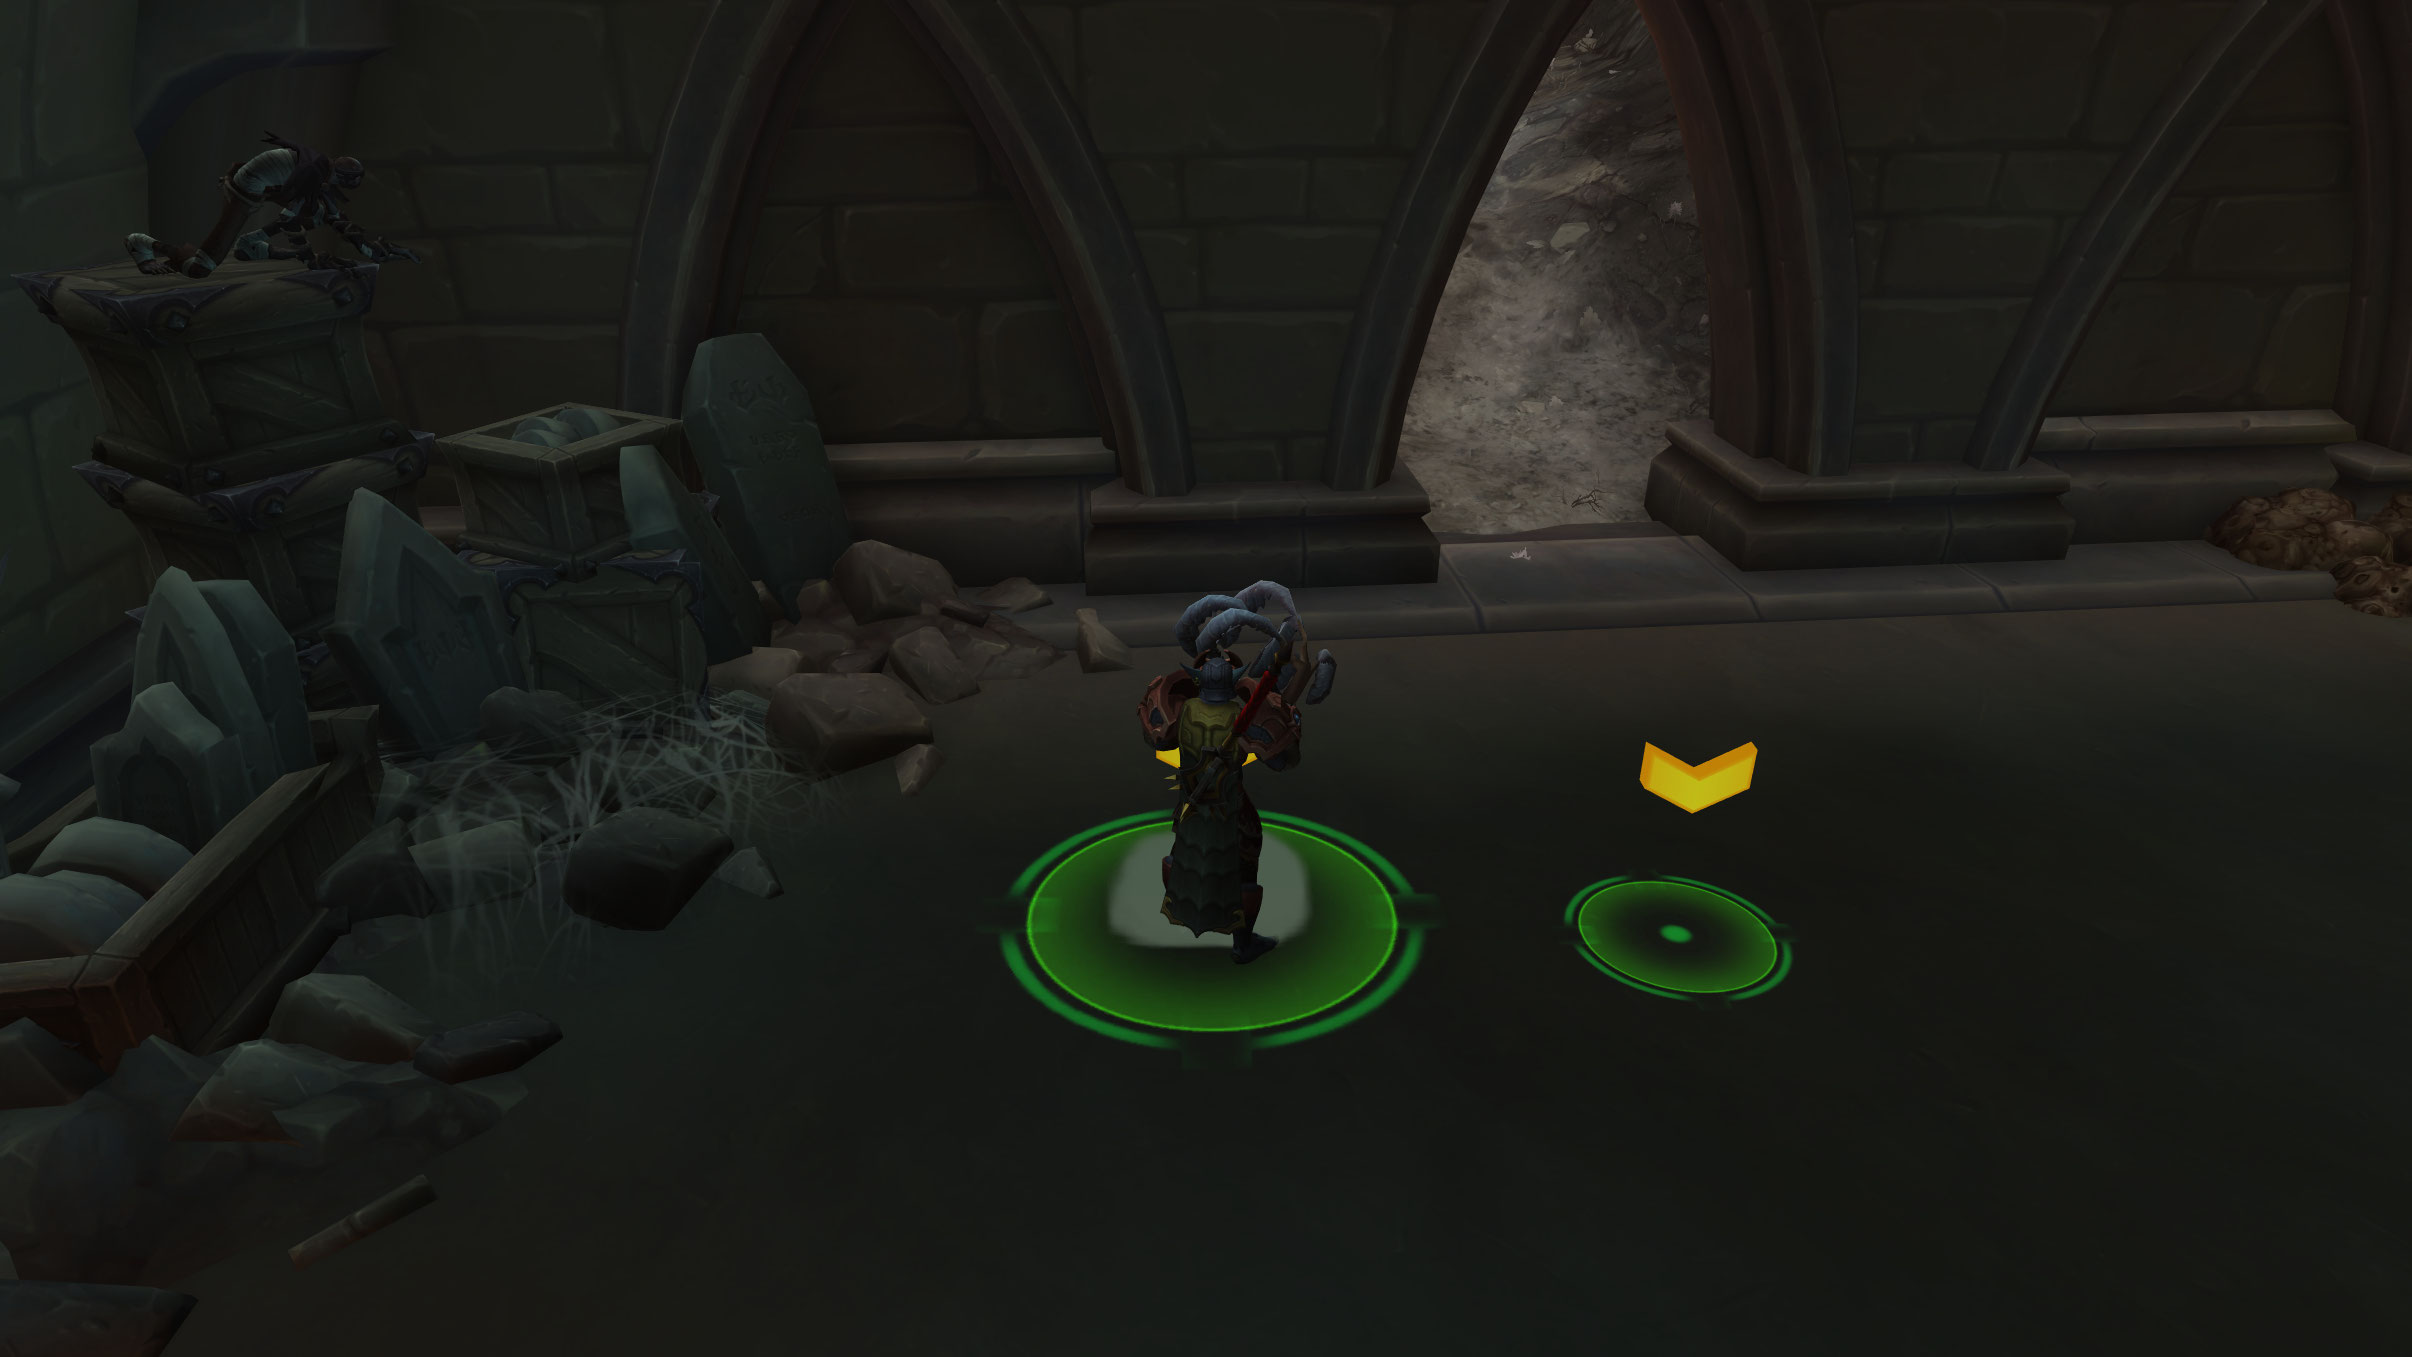
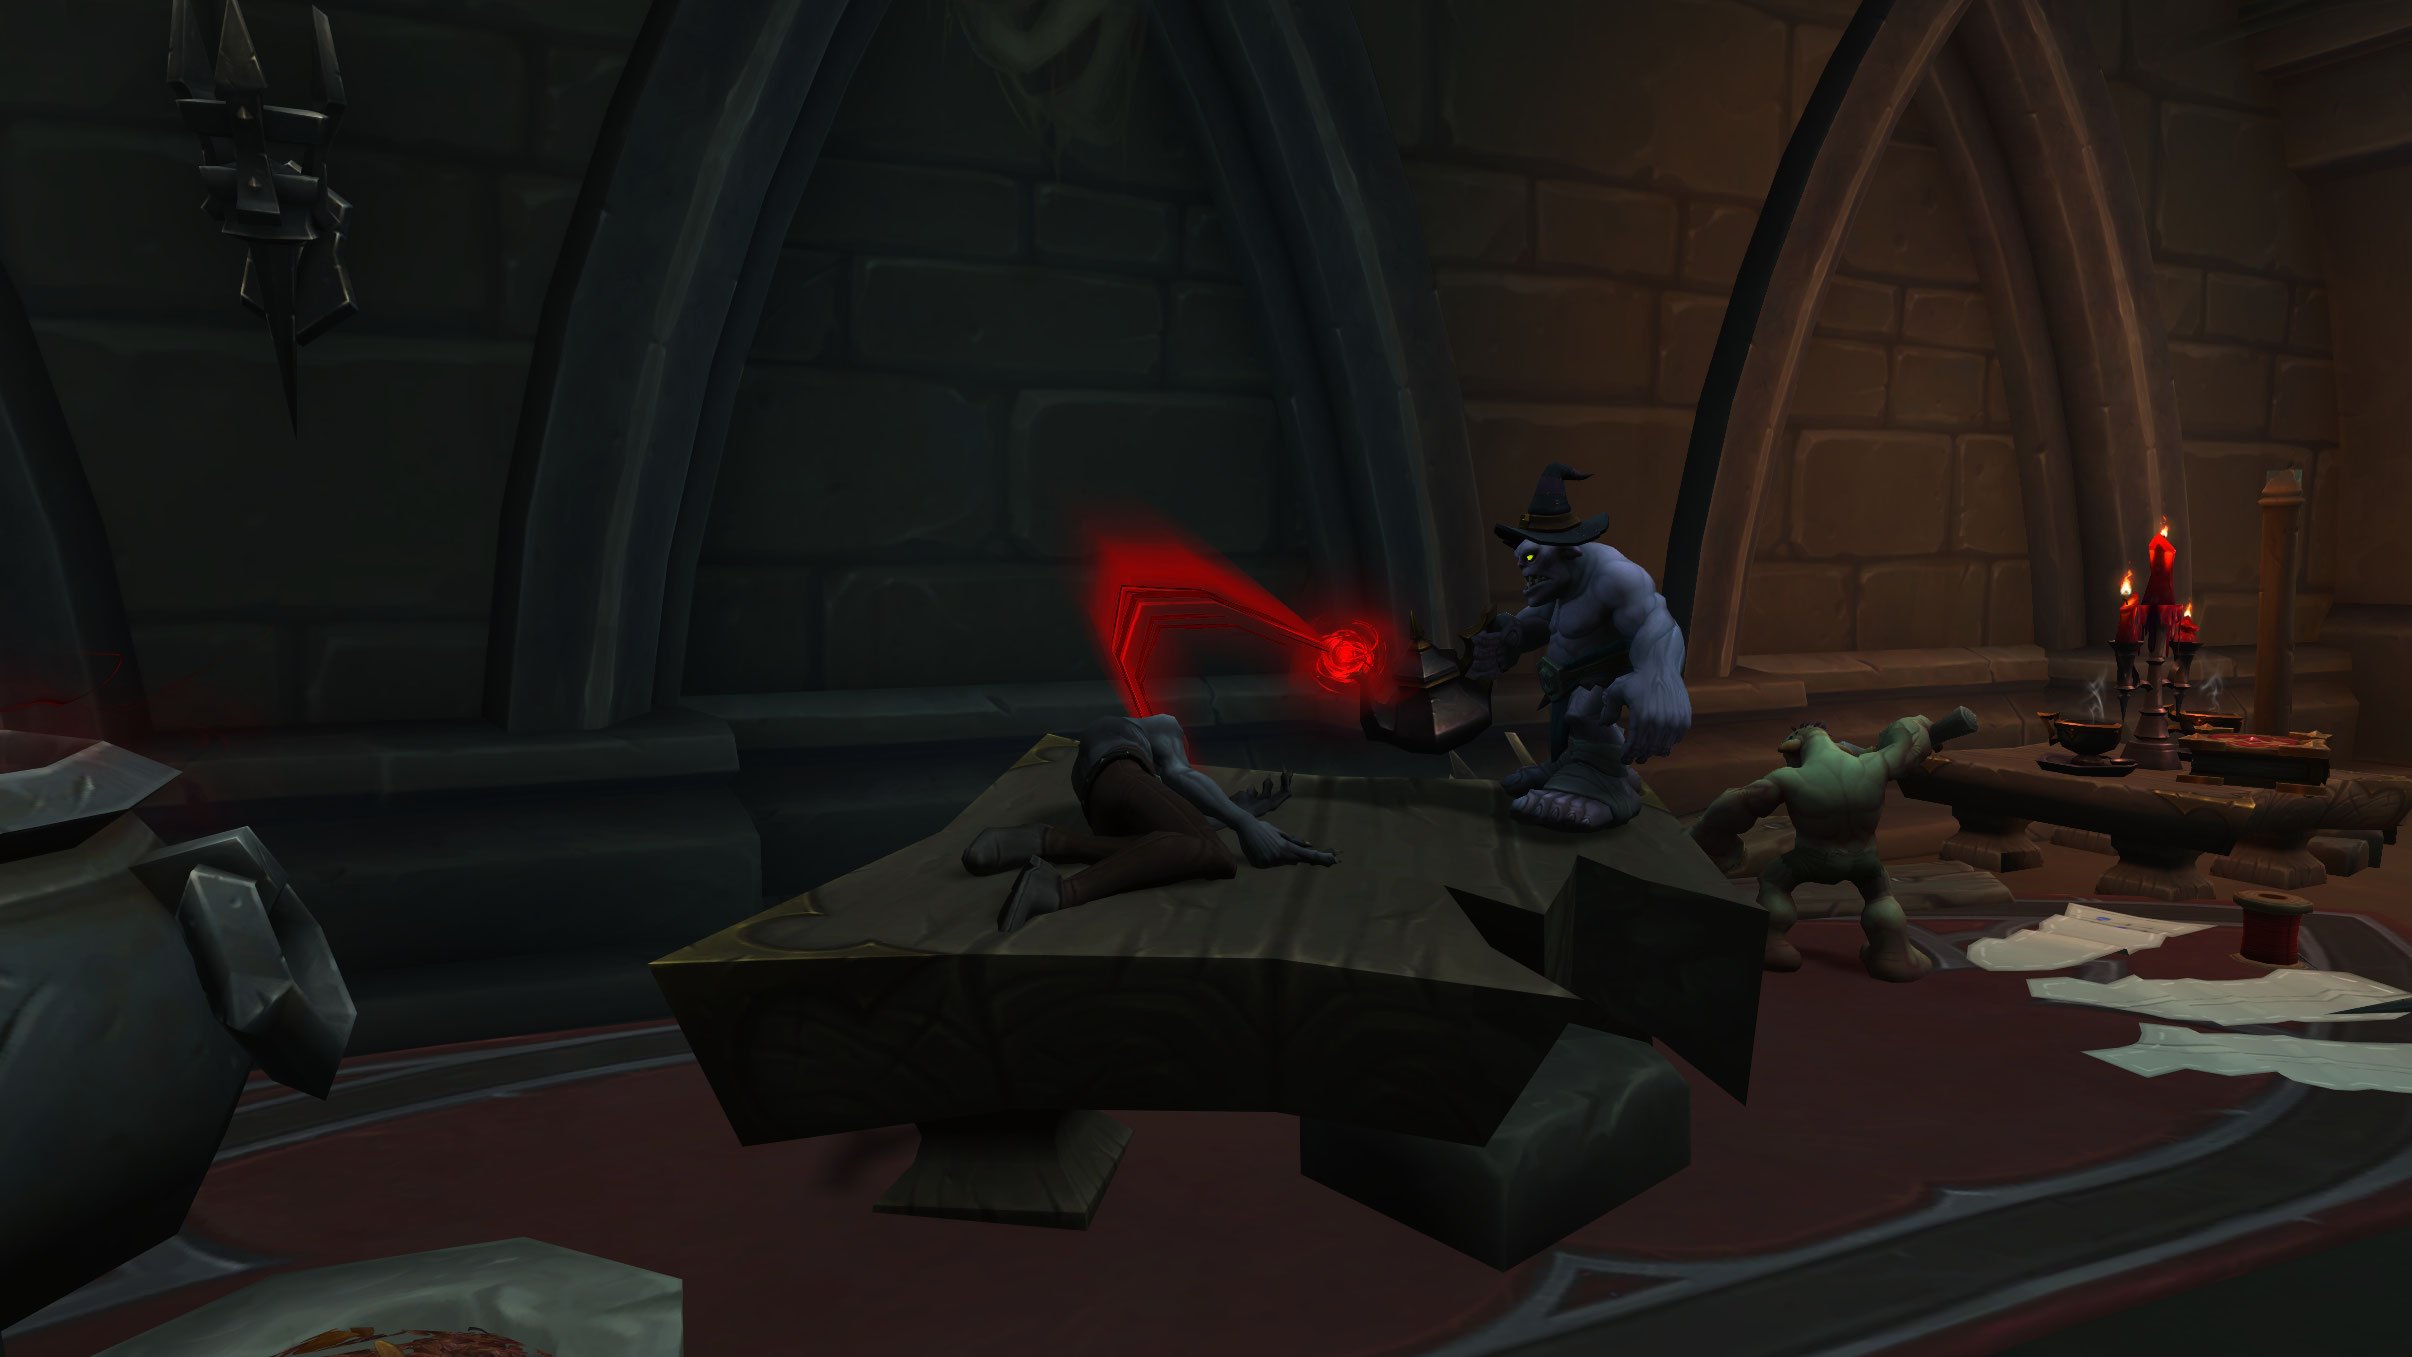
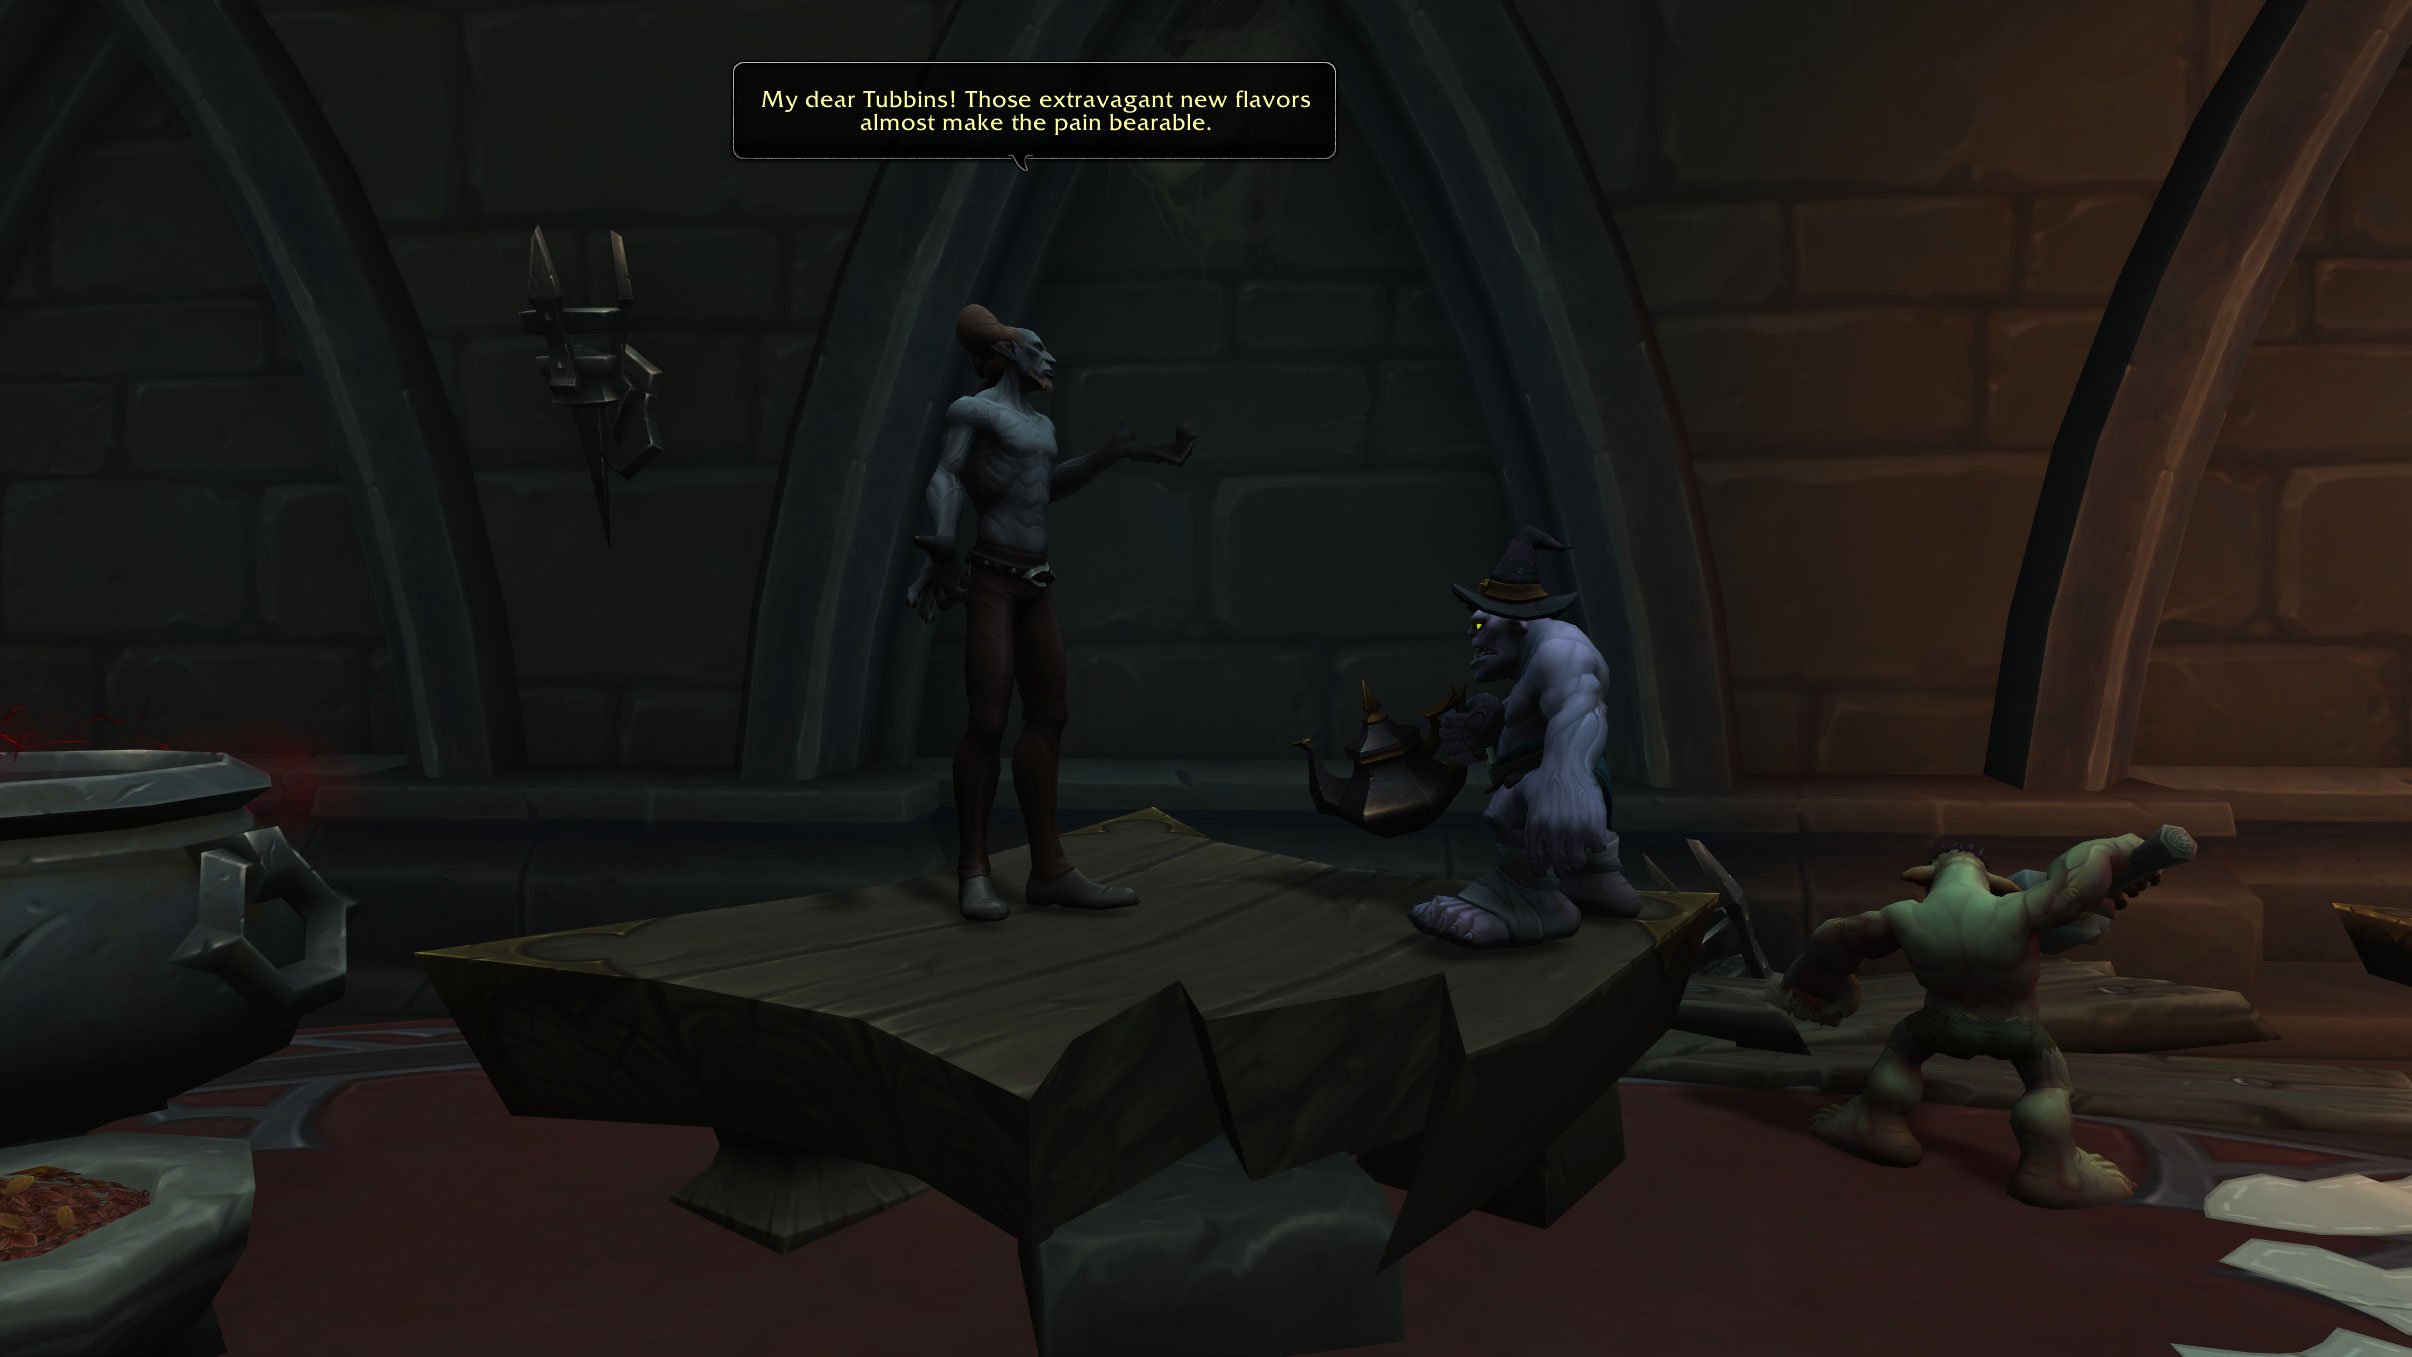
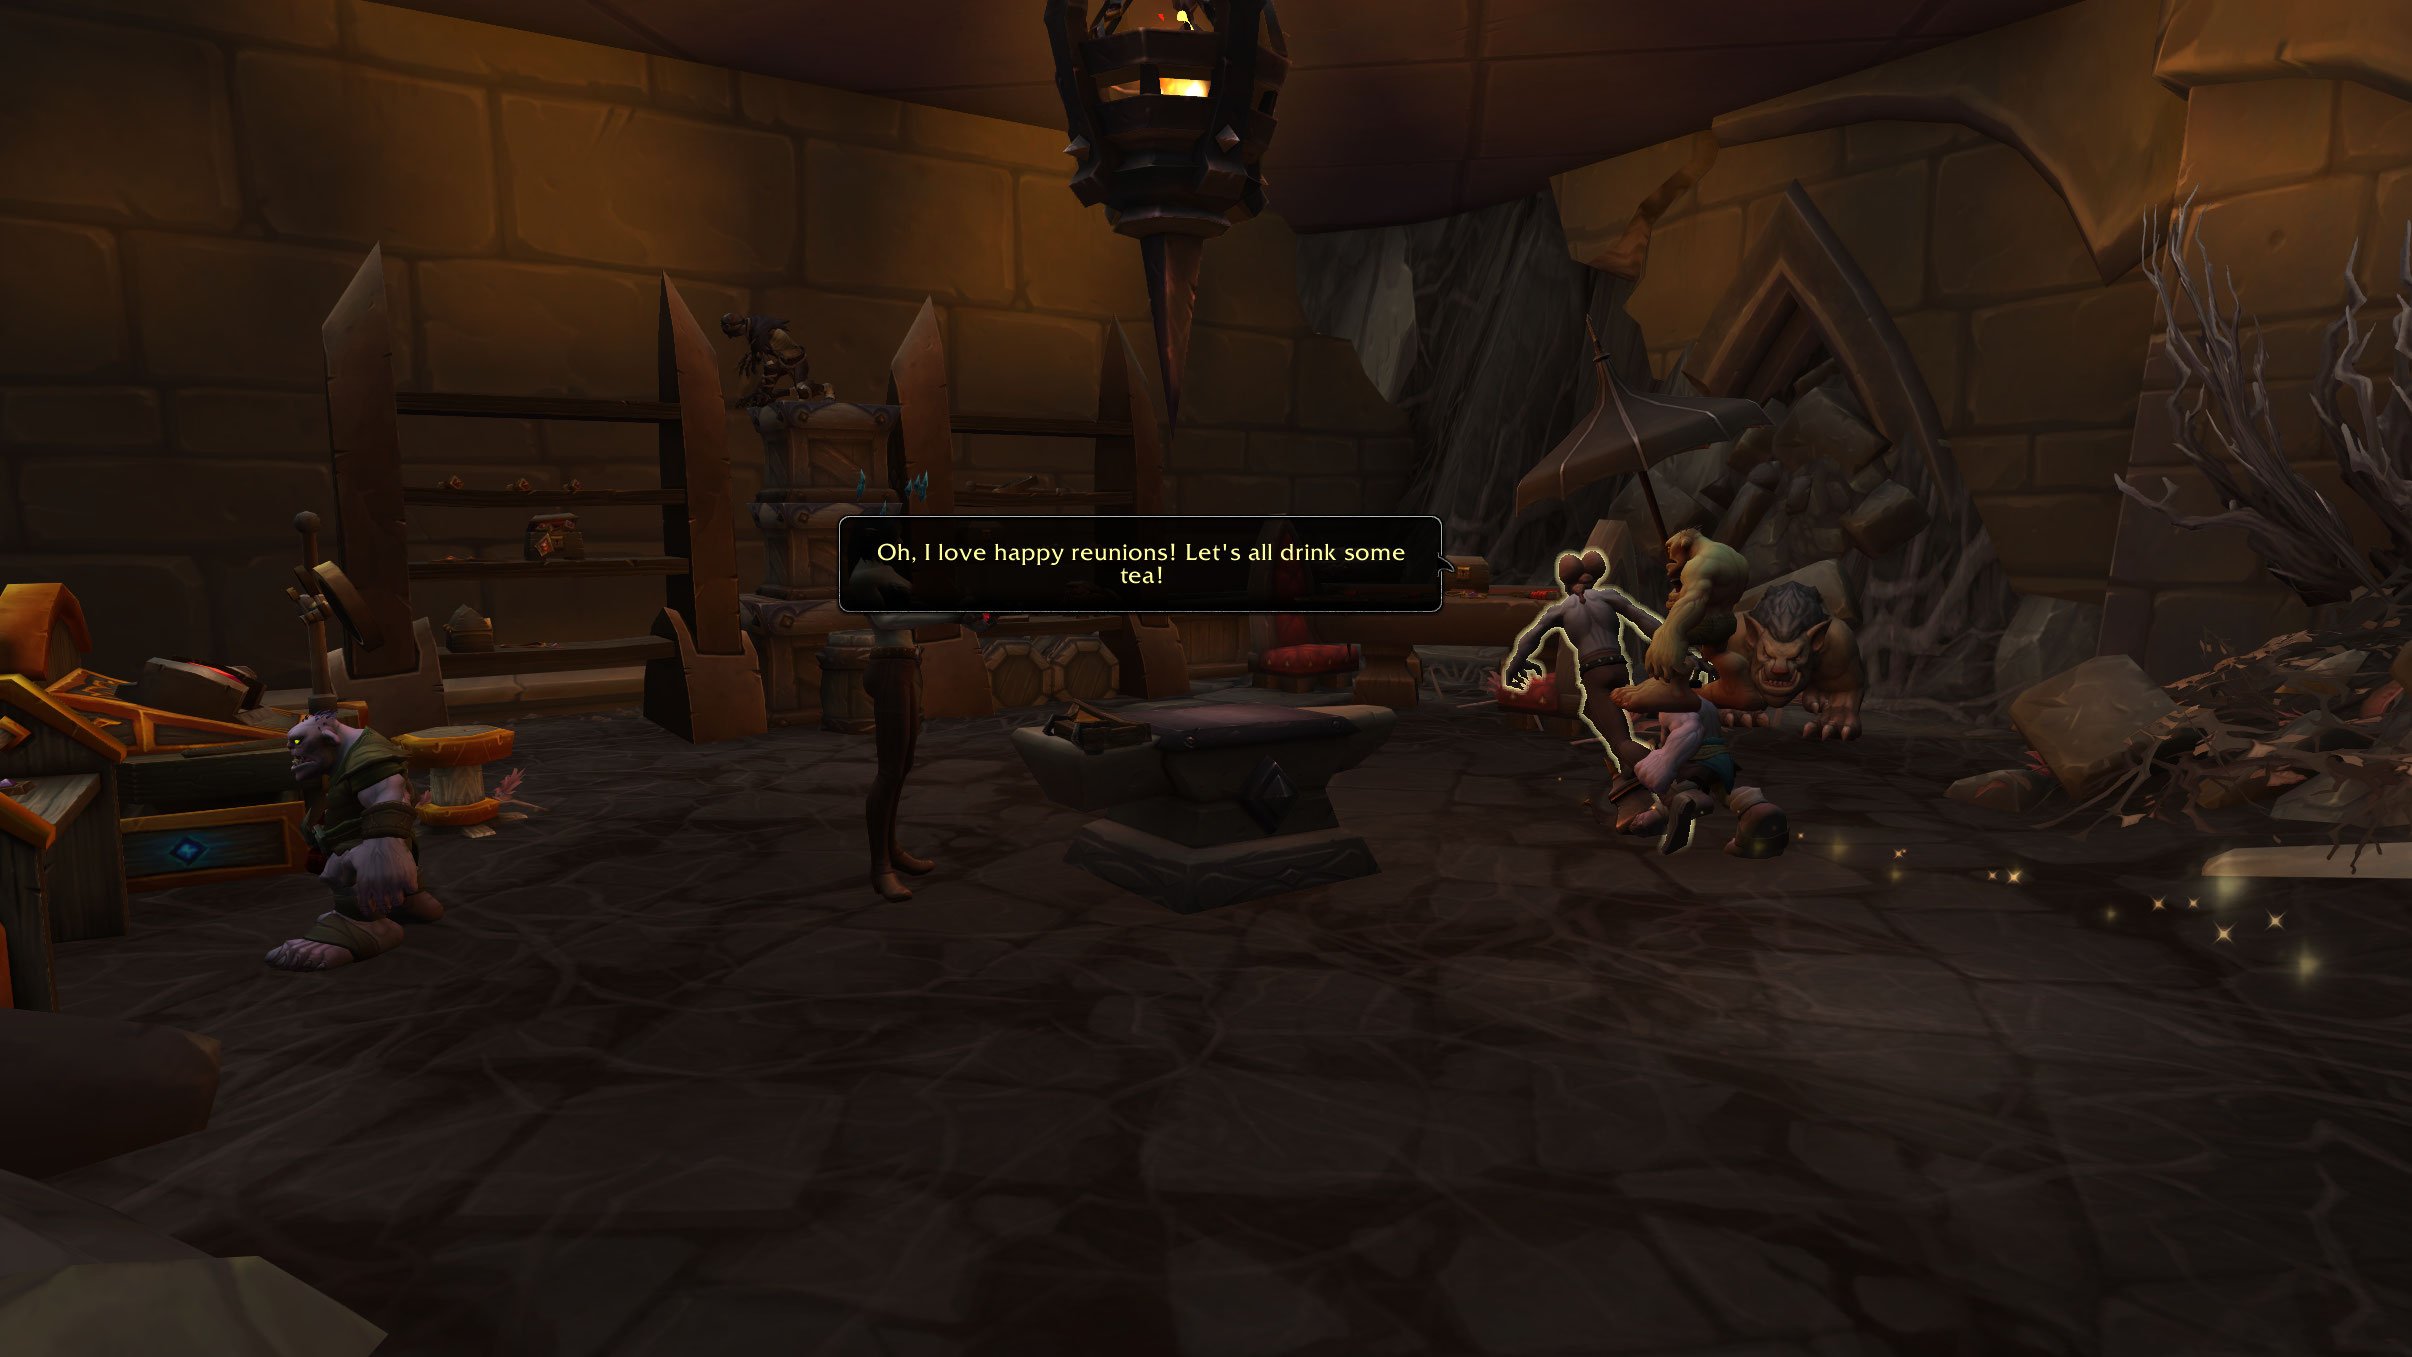
- You discover the hideout, where two dredgers, Tubbins and Gubbins, speak in unison wanting to fix Theotar and need your help making a special tea. What follows is a mini-game where you have to catch ingredients that Tubbins throws. Tubbins administers the tea and Theotar is restored.
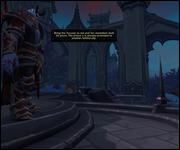
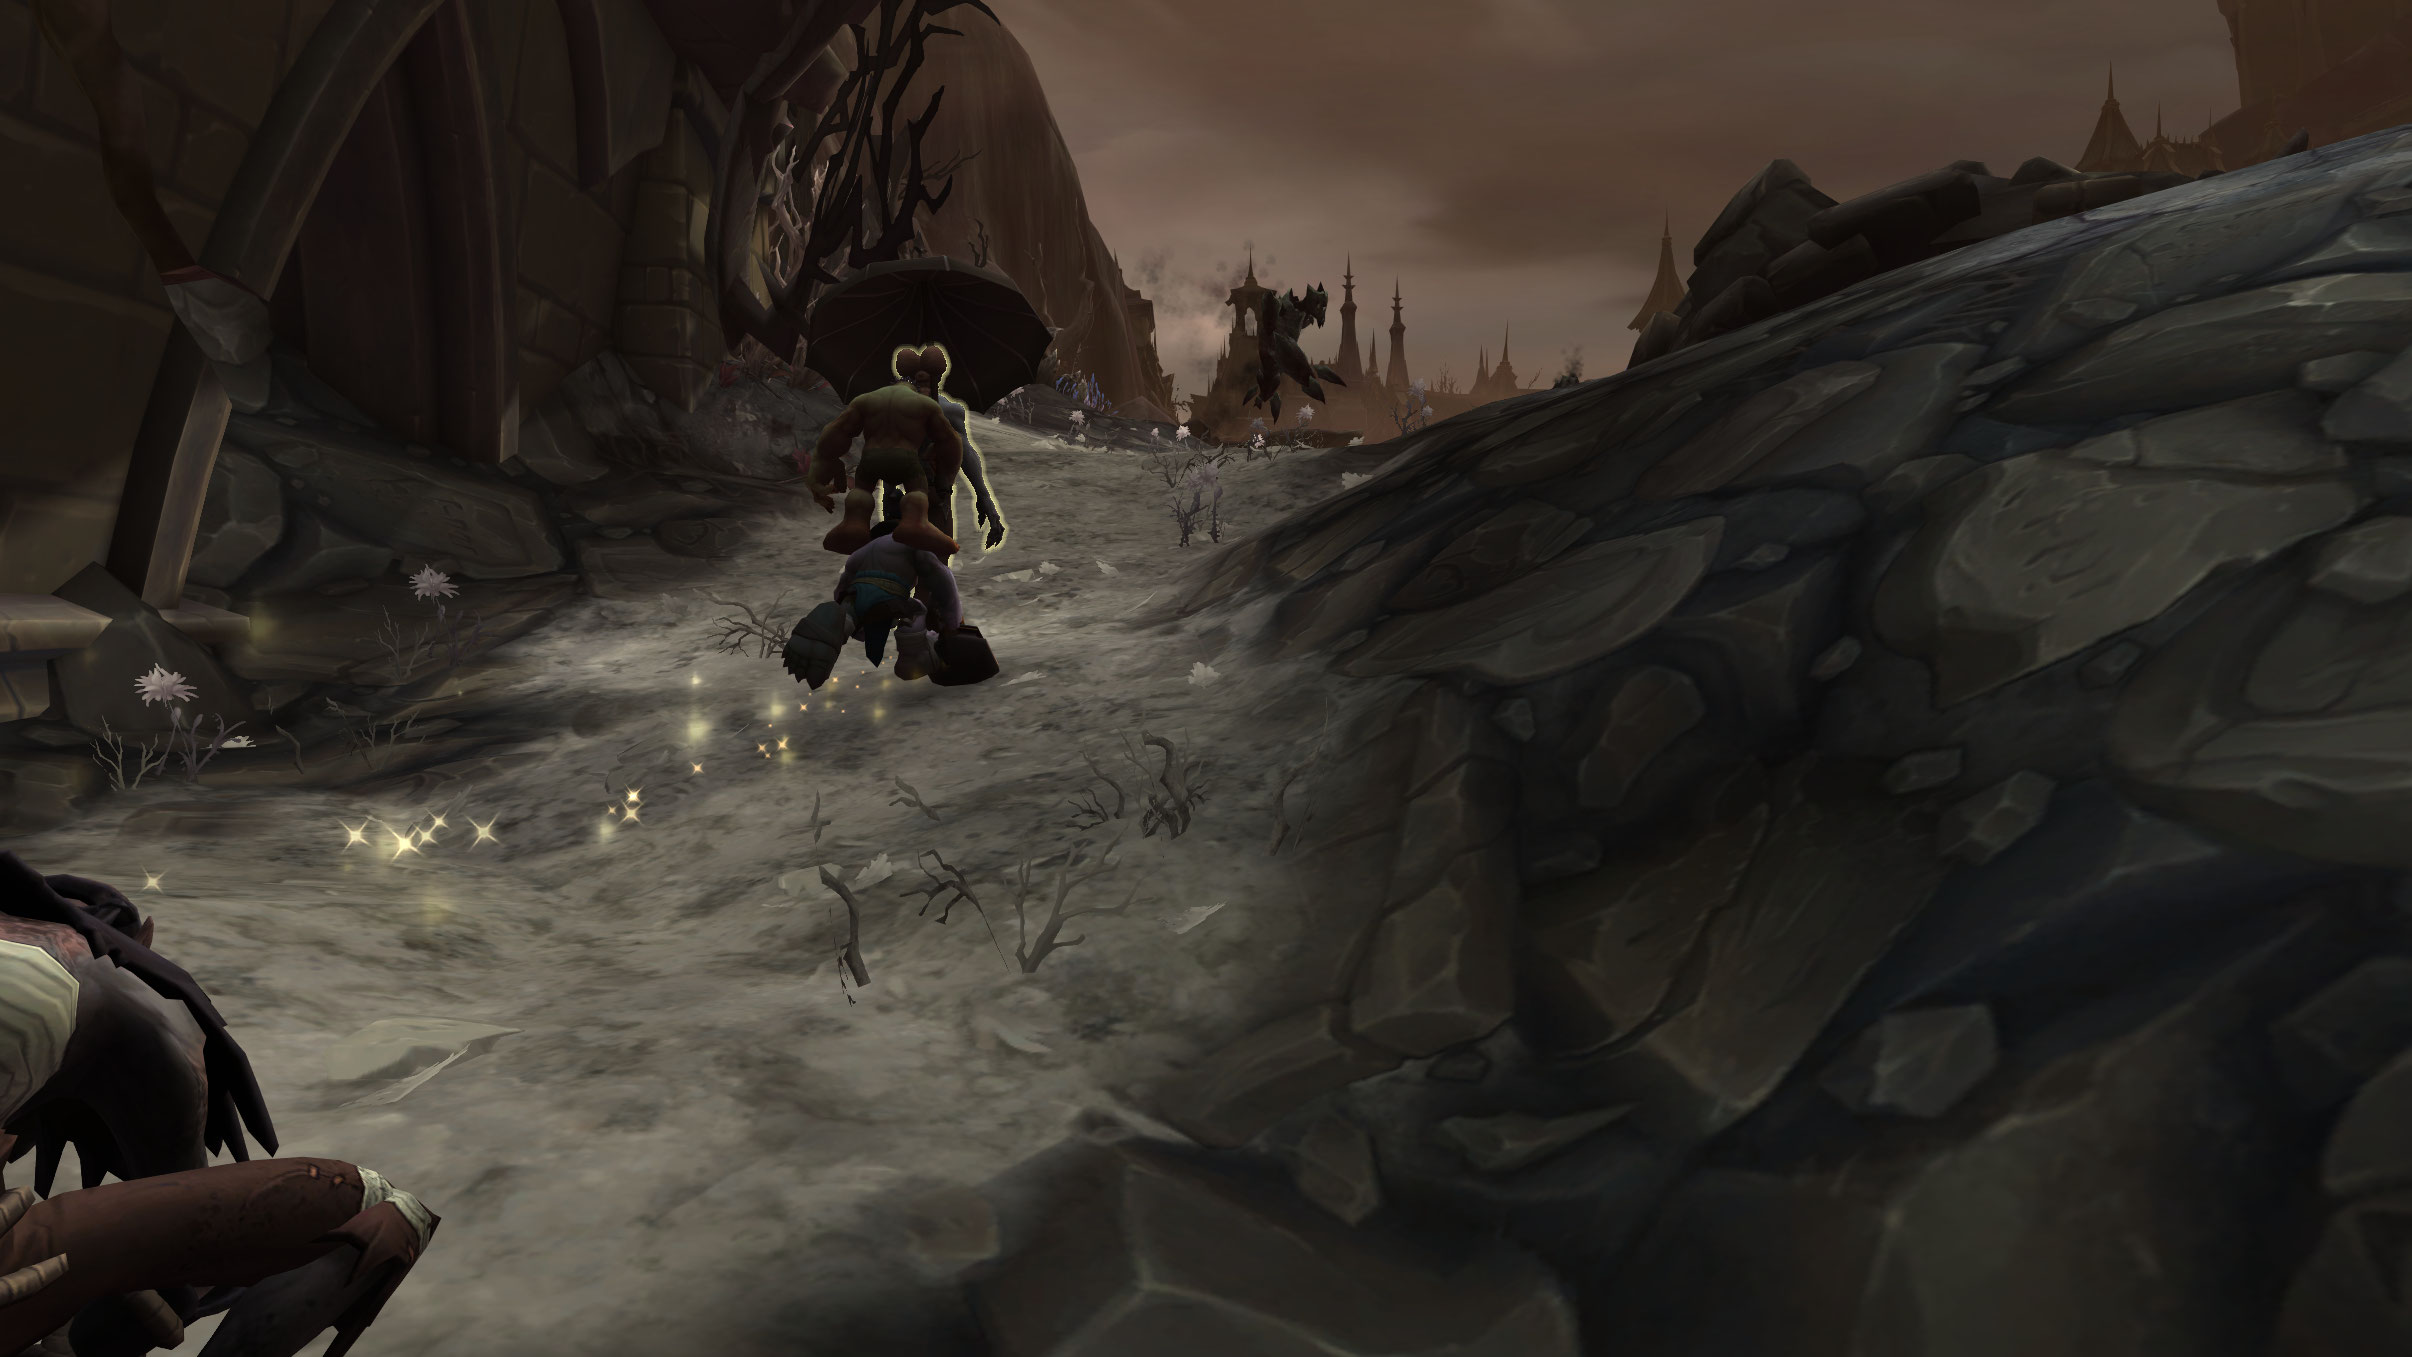
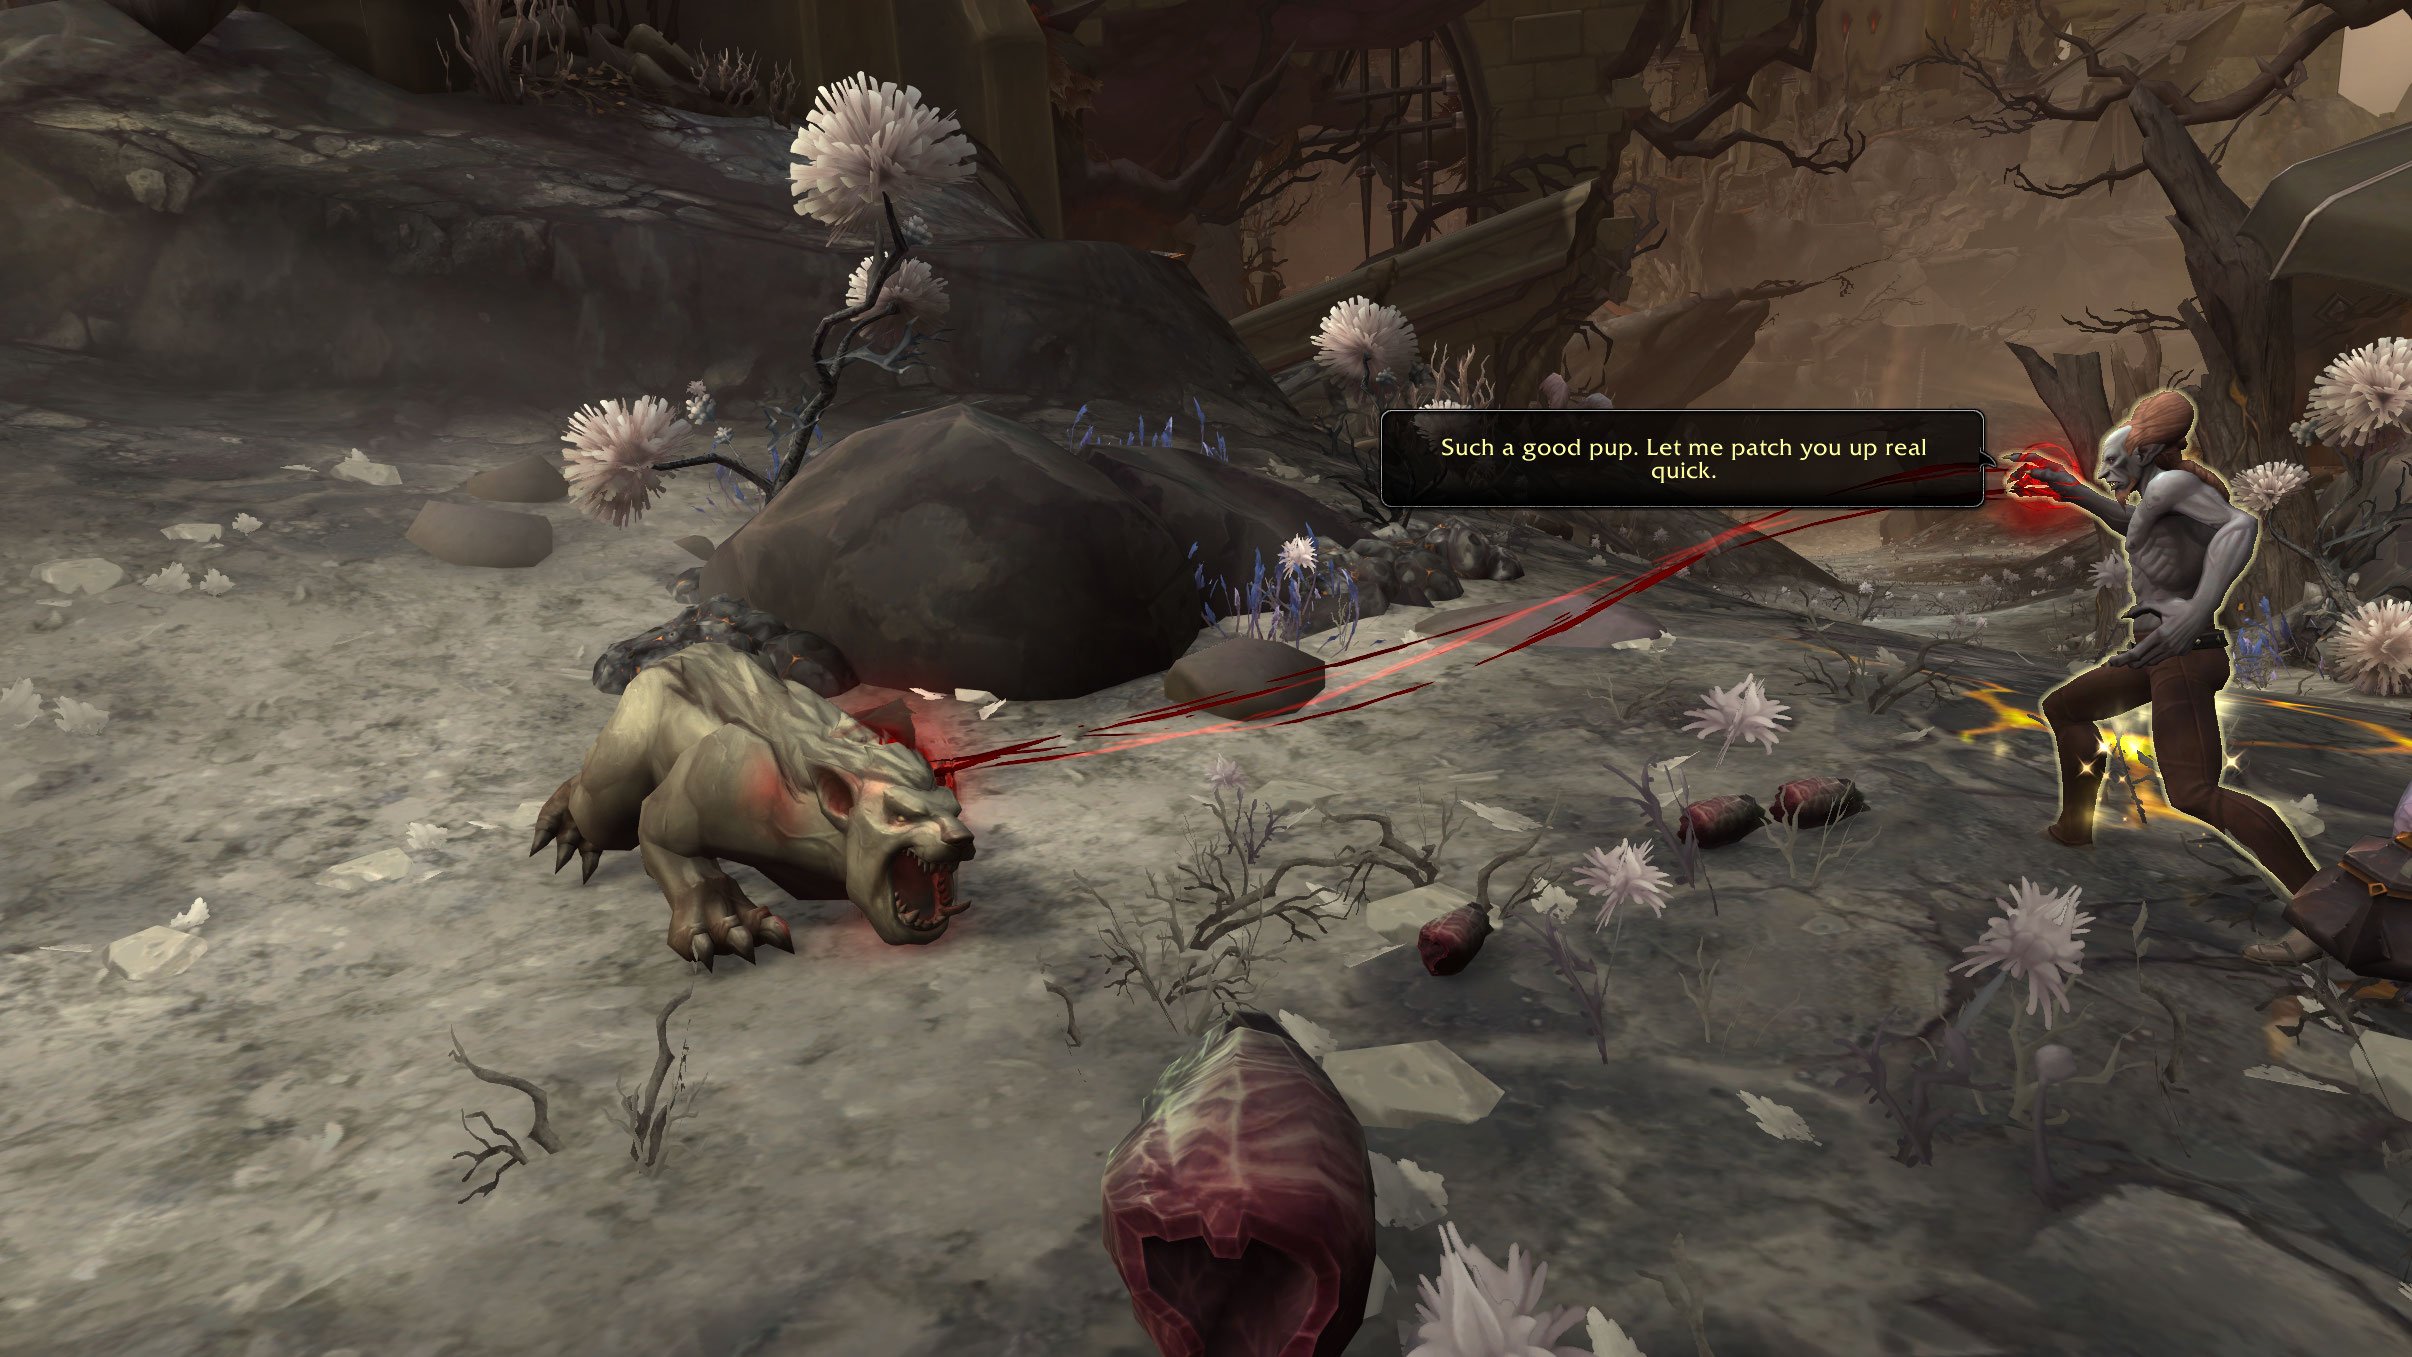
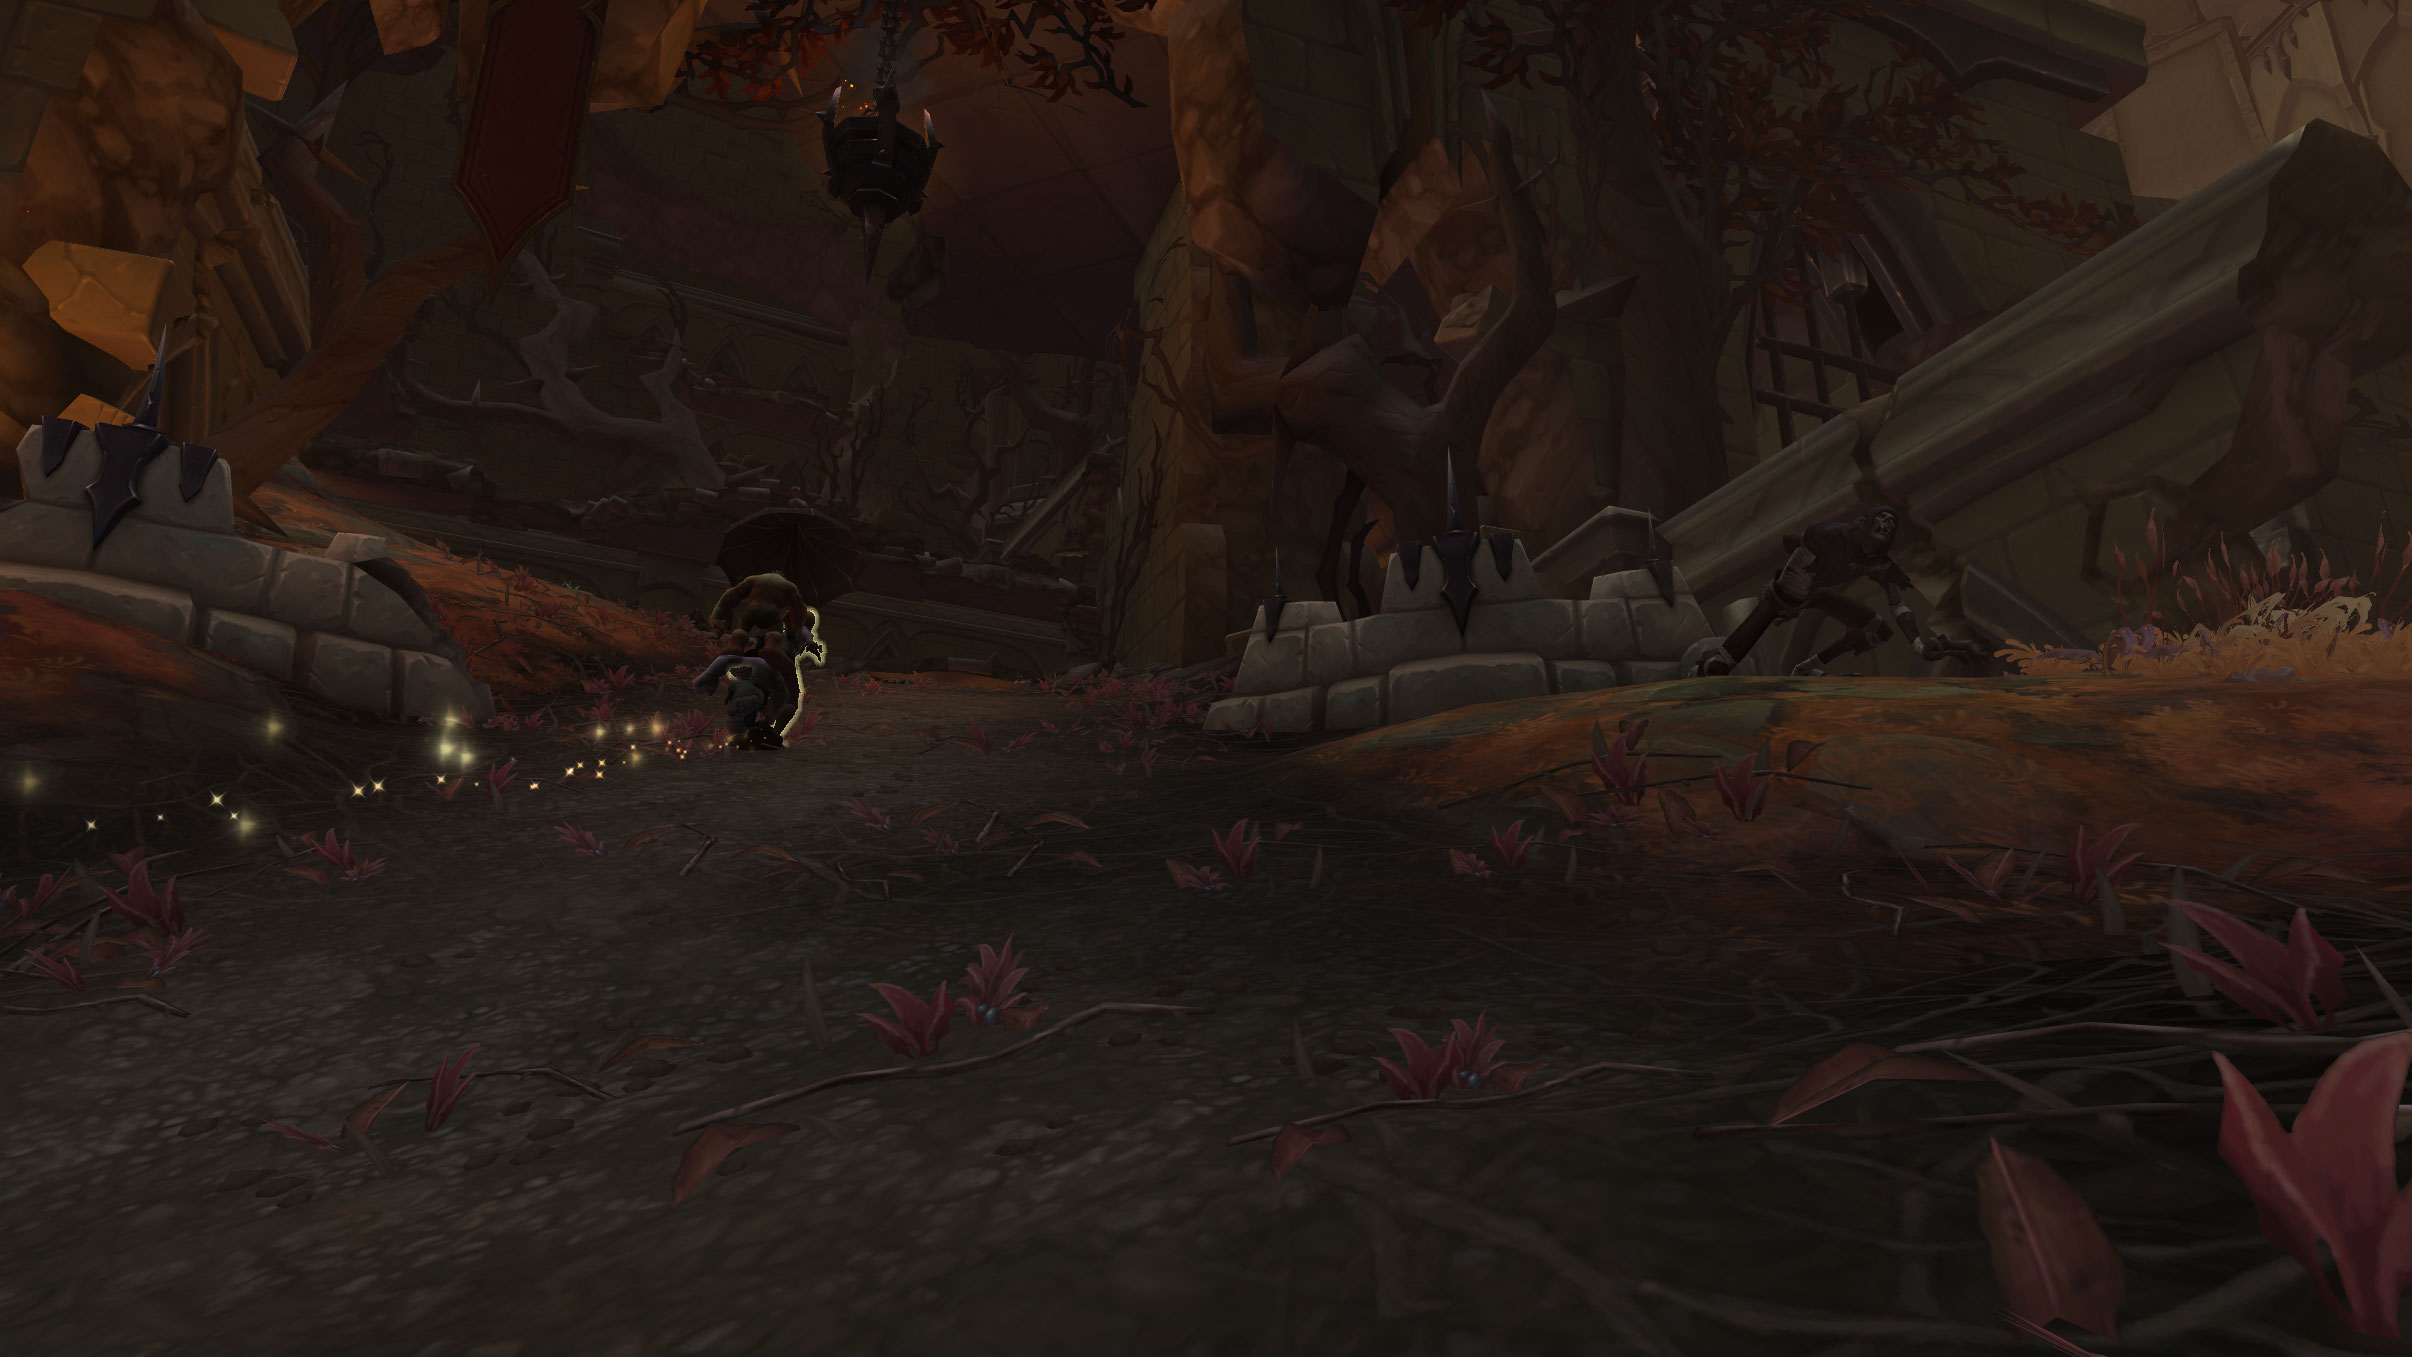
- He tells you that he last saw Prince Renathal being dragged by the Master to the big tower overlooking the Ember Ward. He and some others have been trying to gain access, but there are obstacles. He wants you to escort him to the Sanctuary of the Mad. On the way you are attacked by bandits, you find Theotar's pet Blisterback, and find out Lost Sybille is Lady Sybille, who vouches for all of you to get into the Sanctuary of the mad.
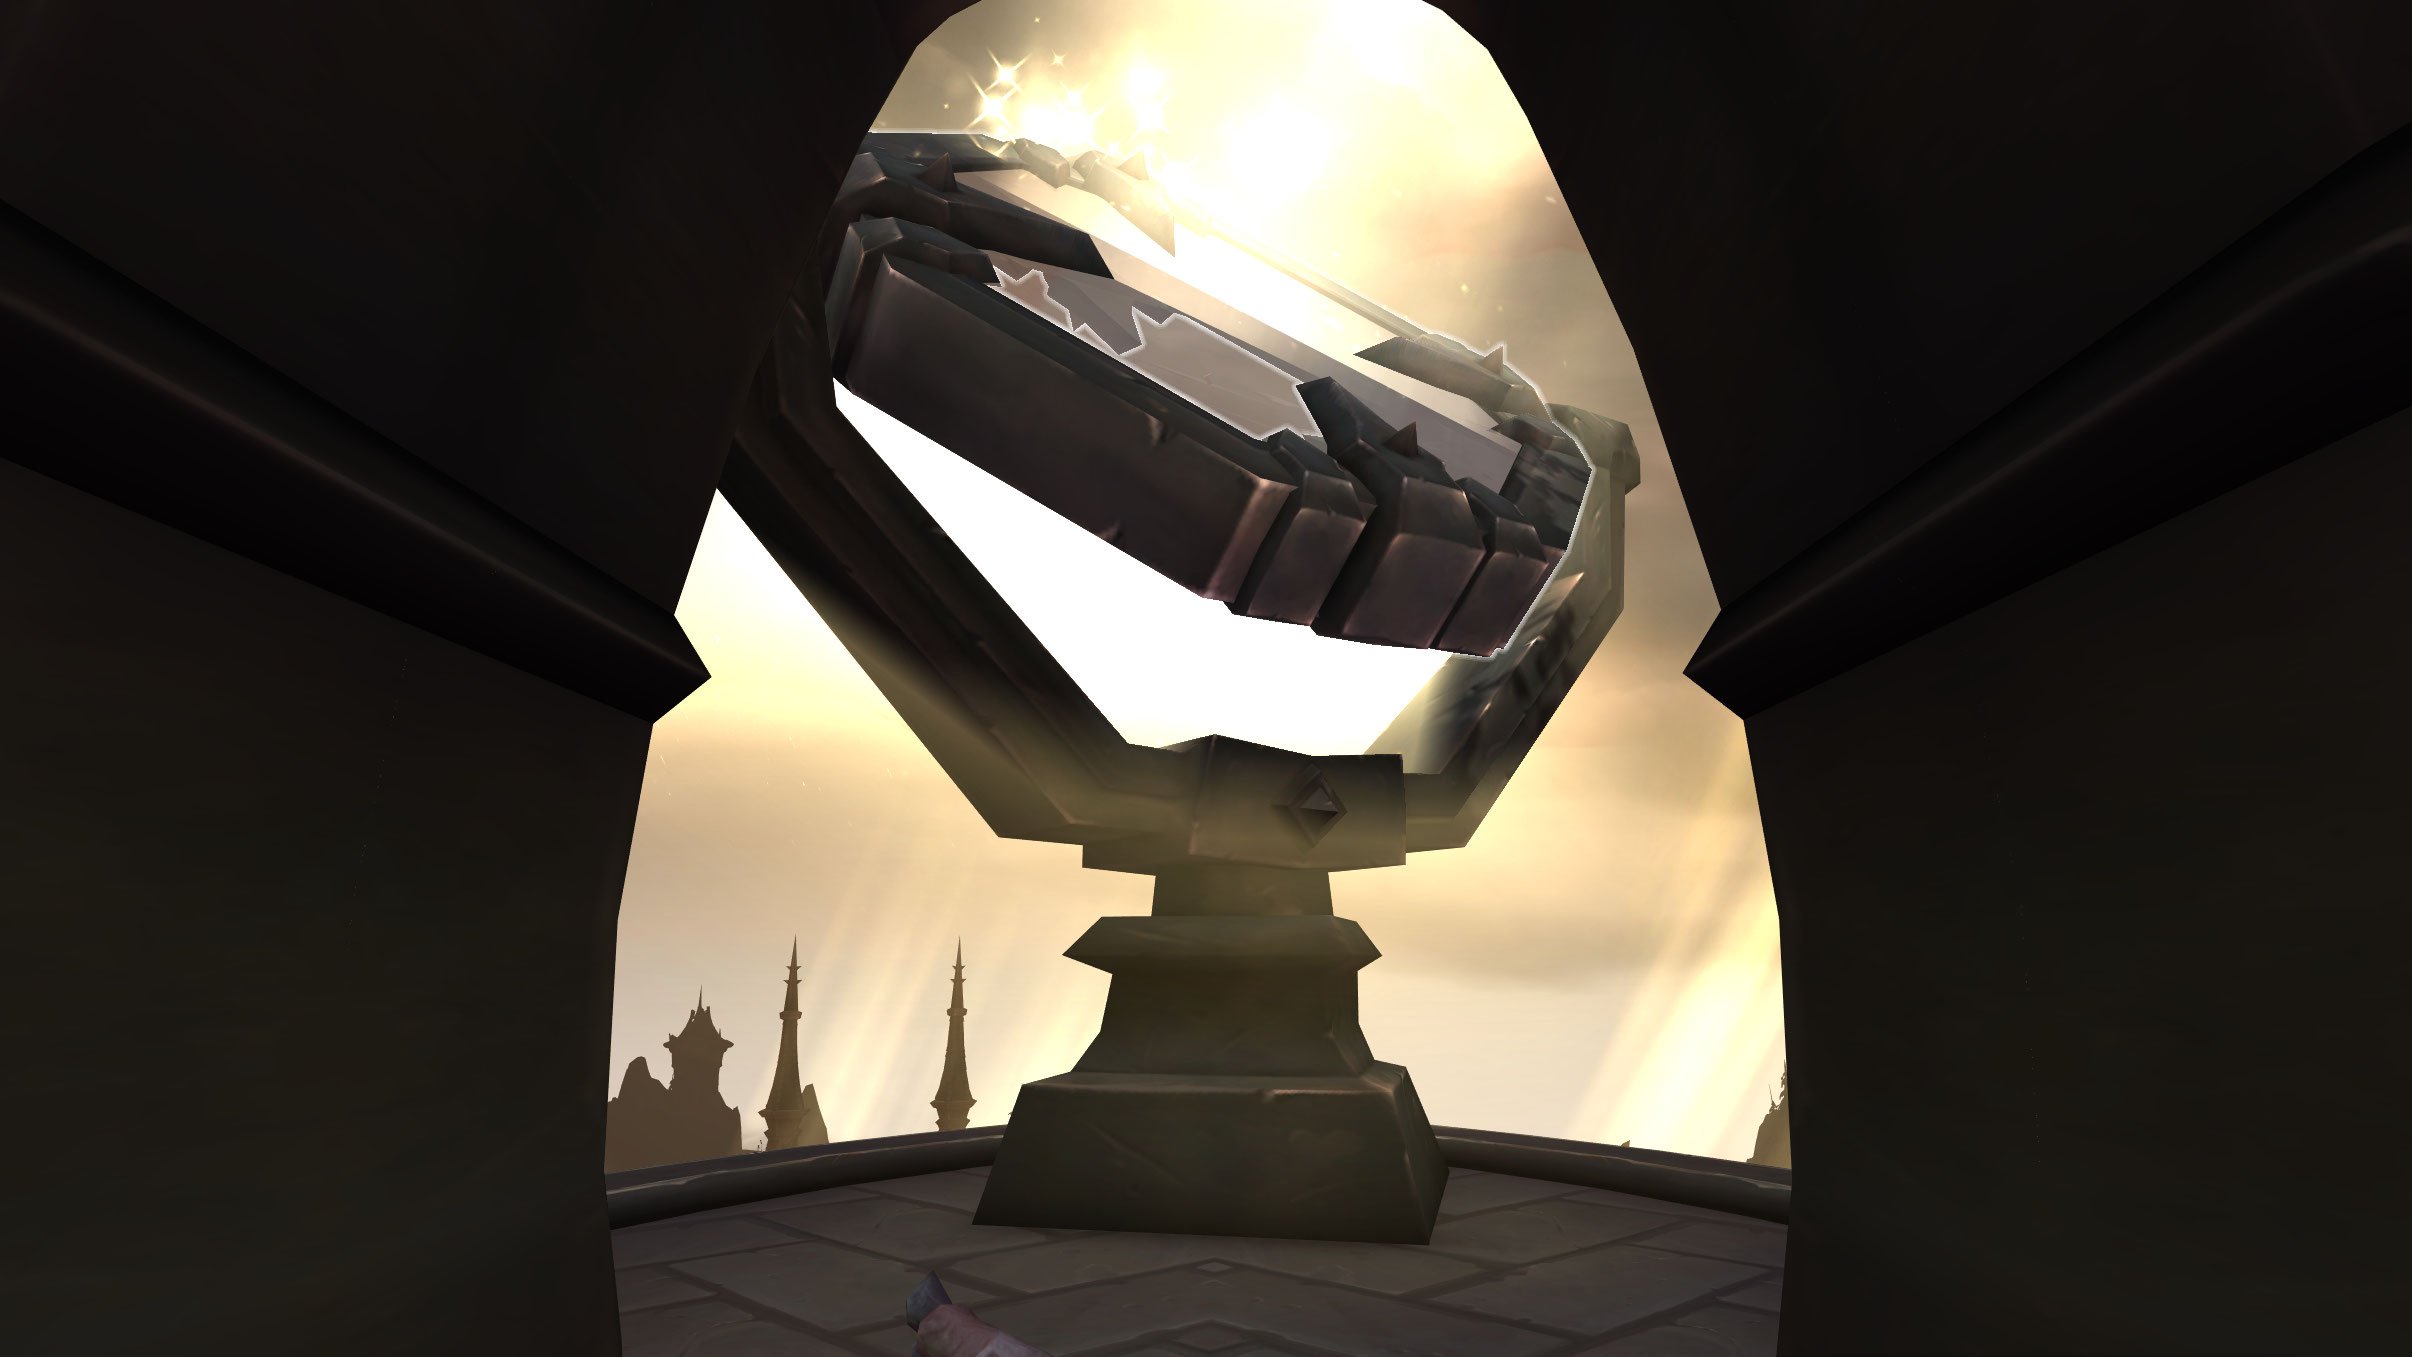
- Next you must take the elevator up to Sinfall. Up there you find a badly injured dredger named Breakfist. You must then clear out the area to make it safe for Thoetar. You must then redirect the Scorching Mirror up in the tower. This leads to a cutscene that isn't implemented yet where Thoetar and his allies take over the Sinfall.


Chapter 6
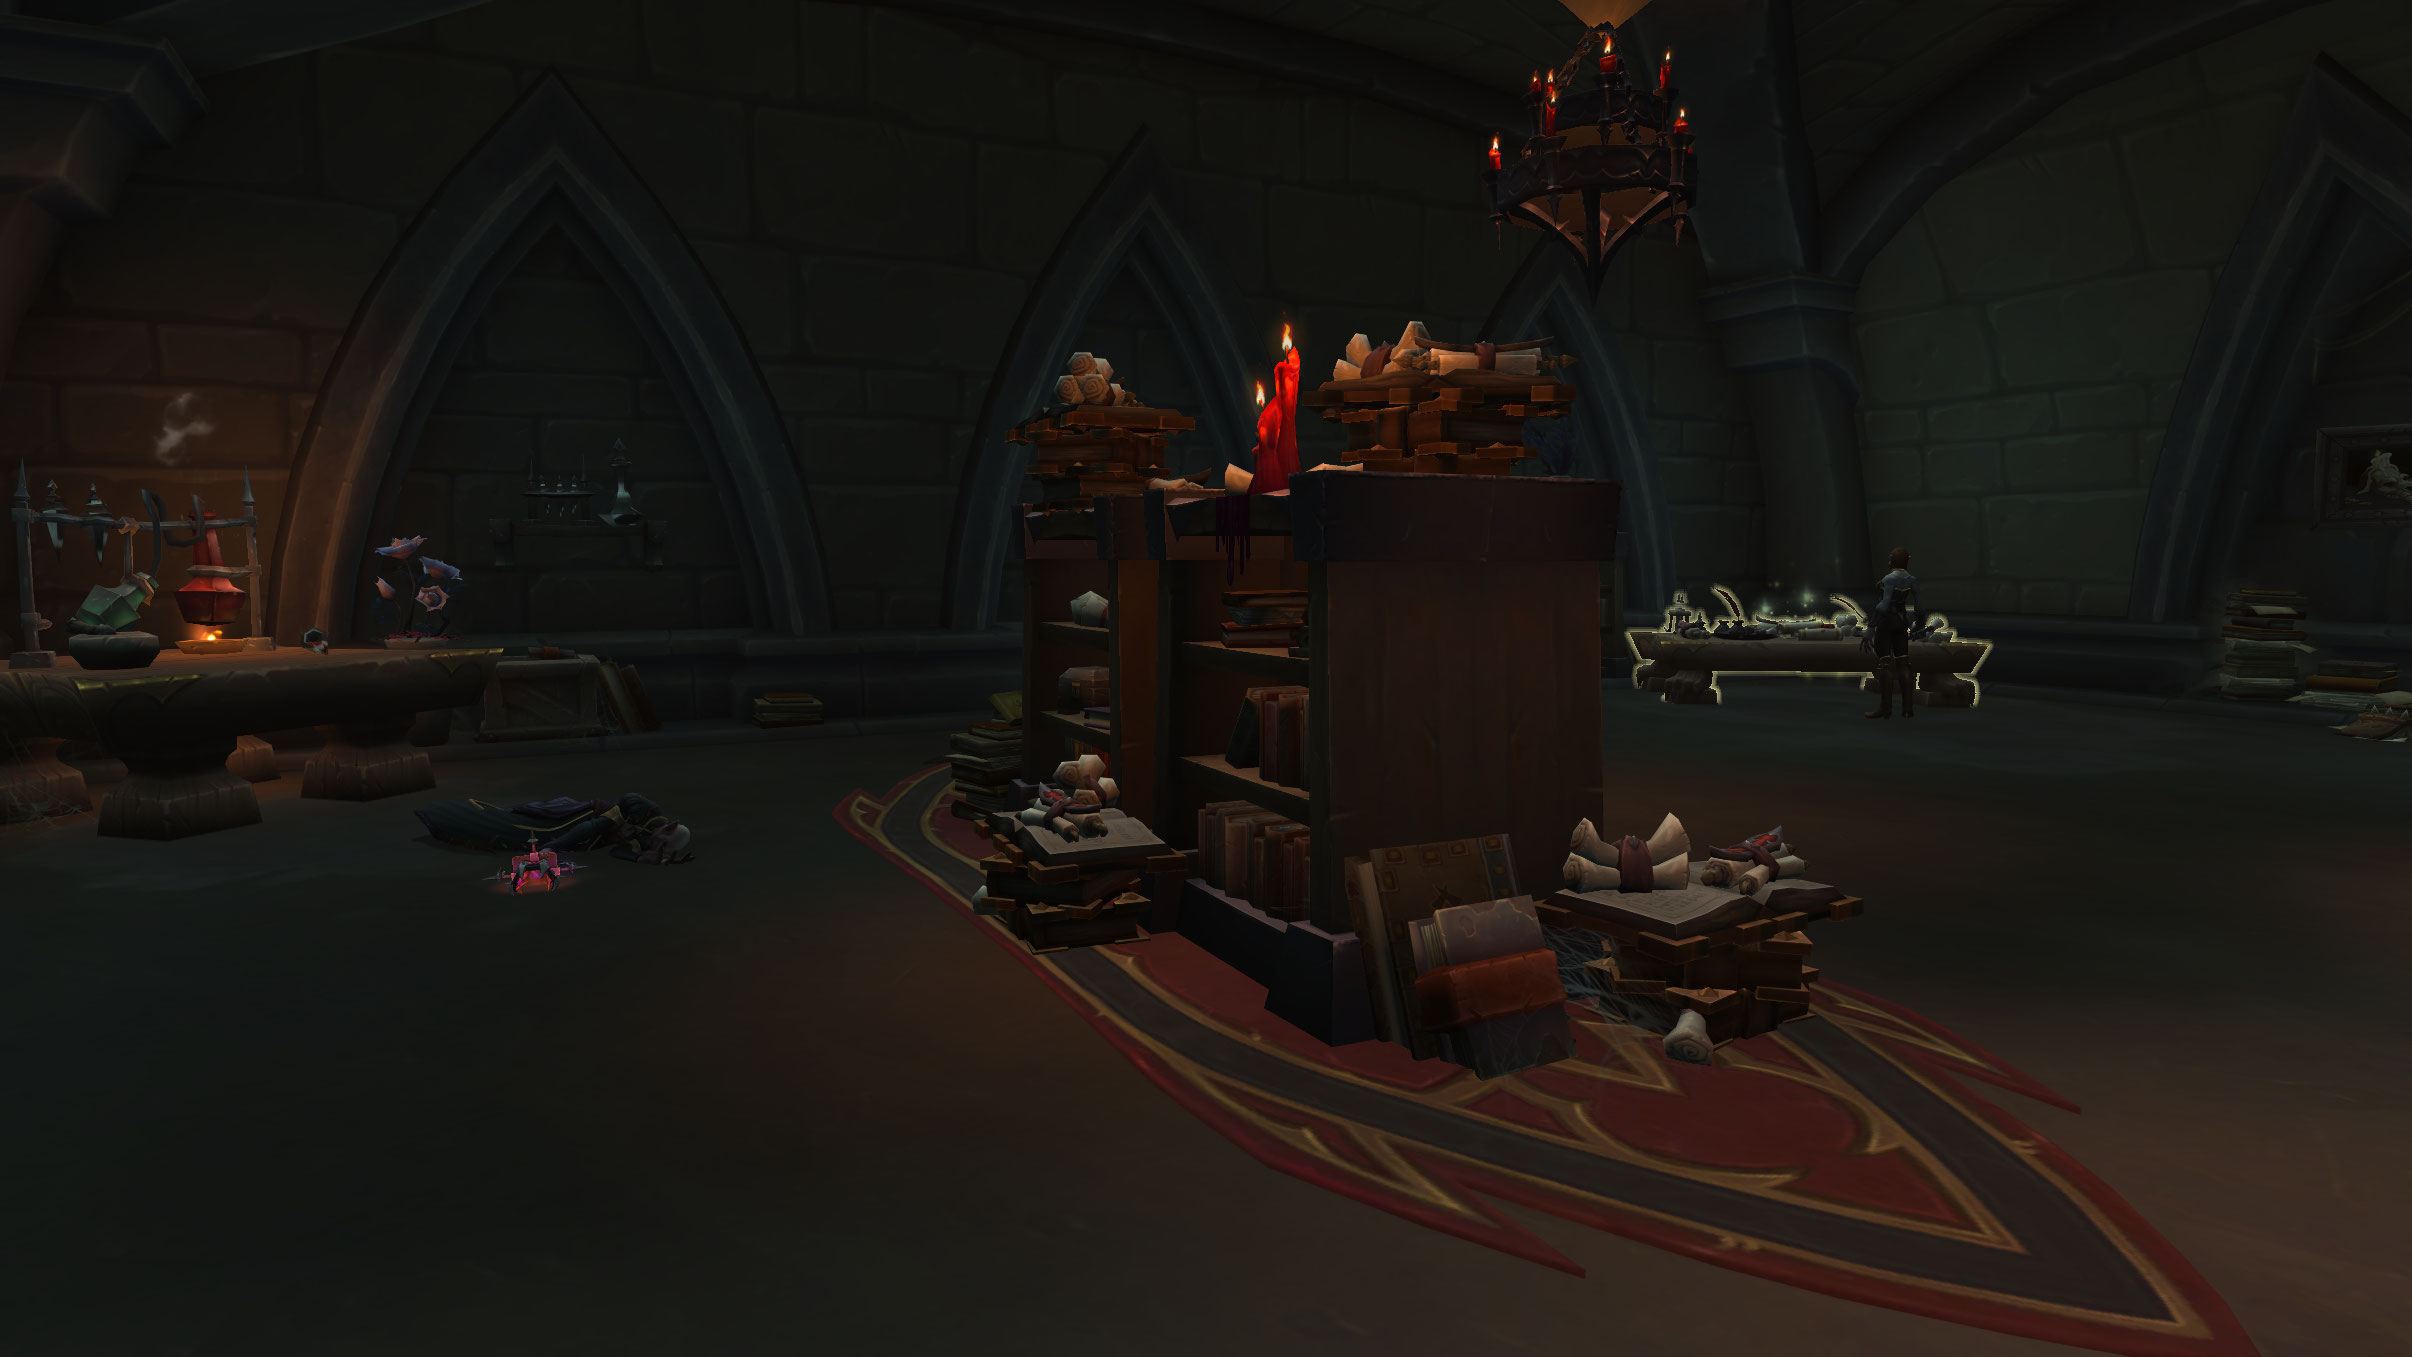
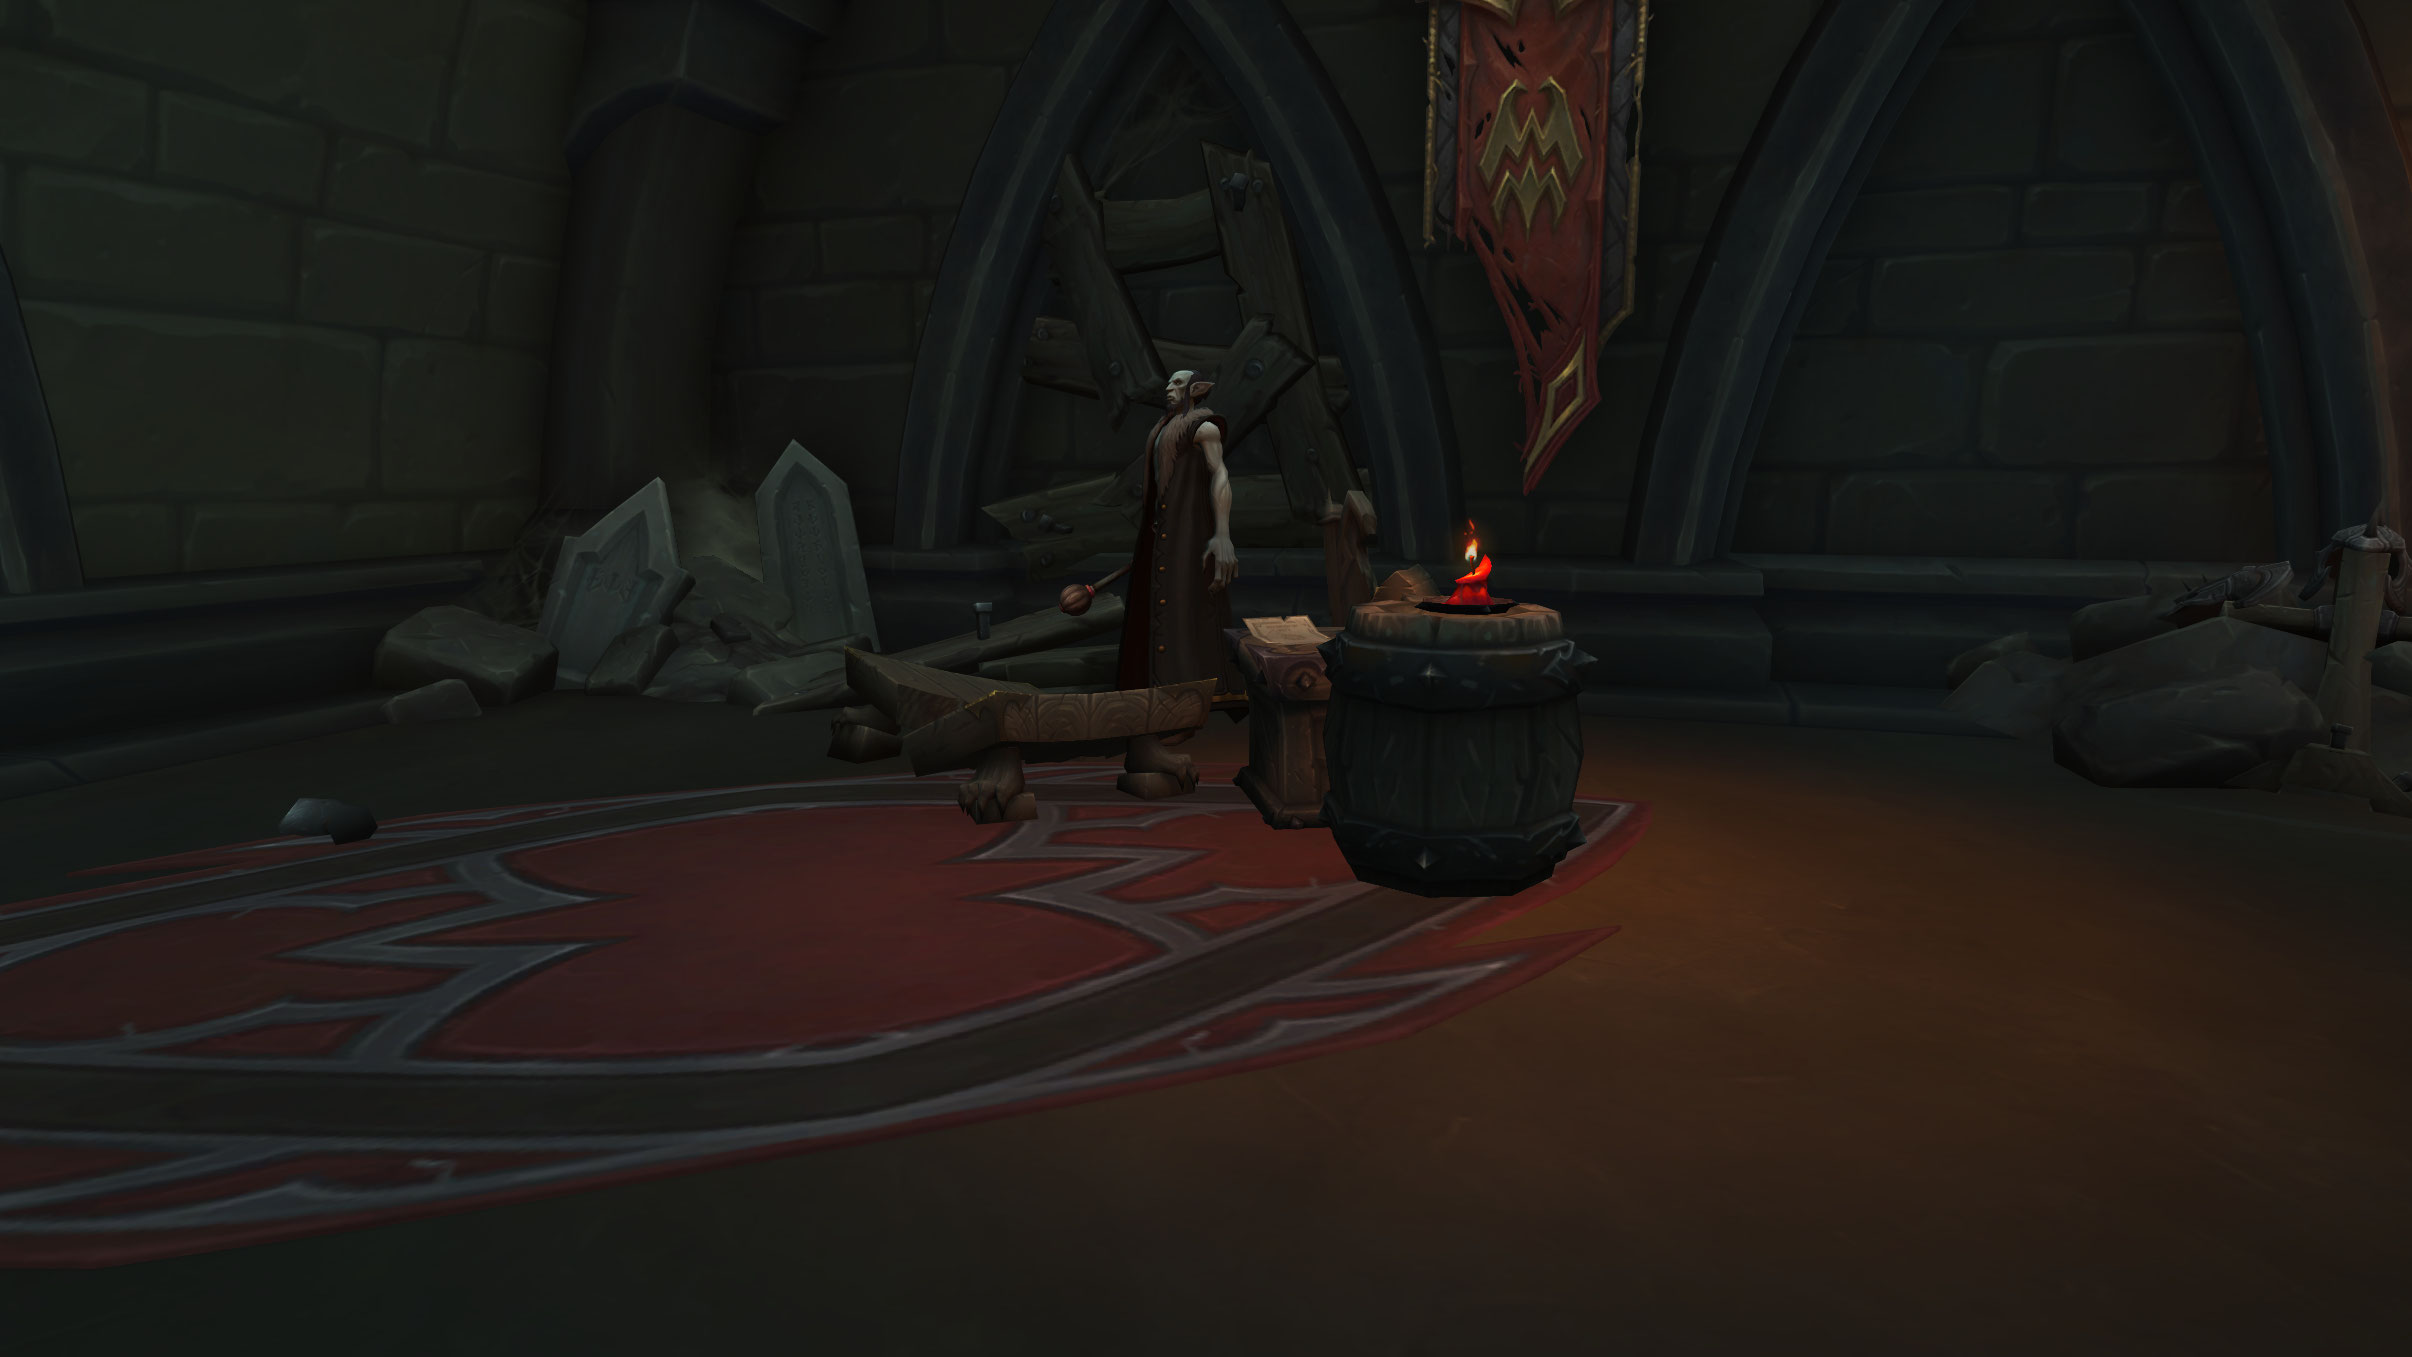
- Theotar believes the Prince is in a prison convoy somewhere here. This place was once a workshop for Denathrius to do dark experiments. Theotar will send word for the Accuser and her allies while you search for signs of the prince.
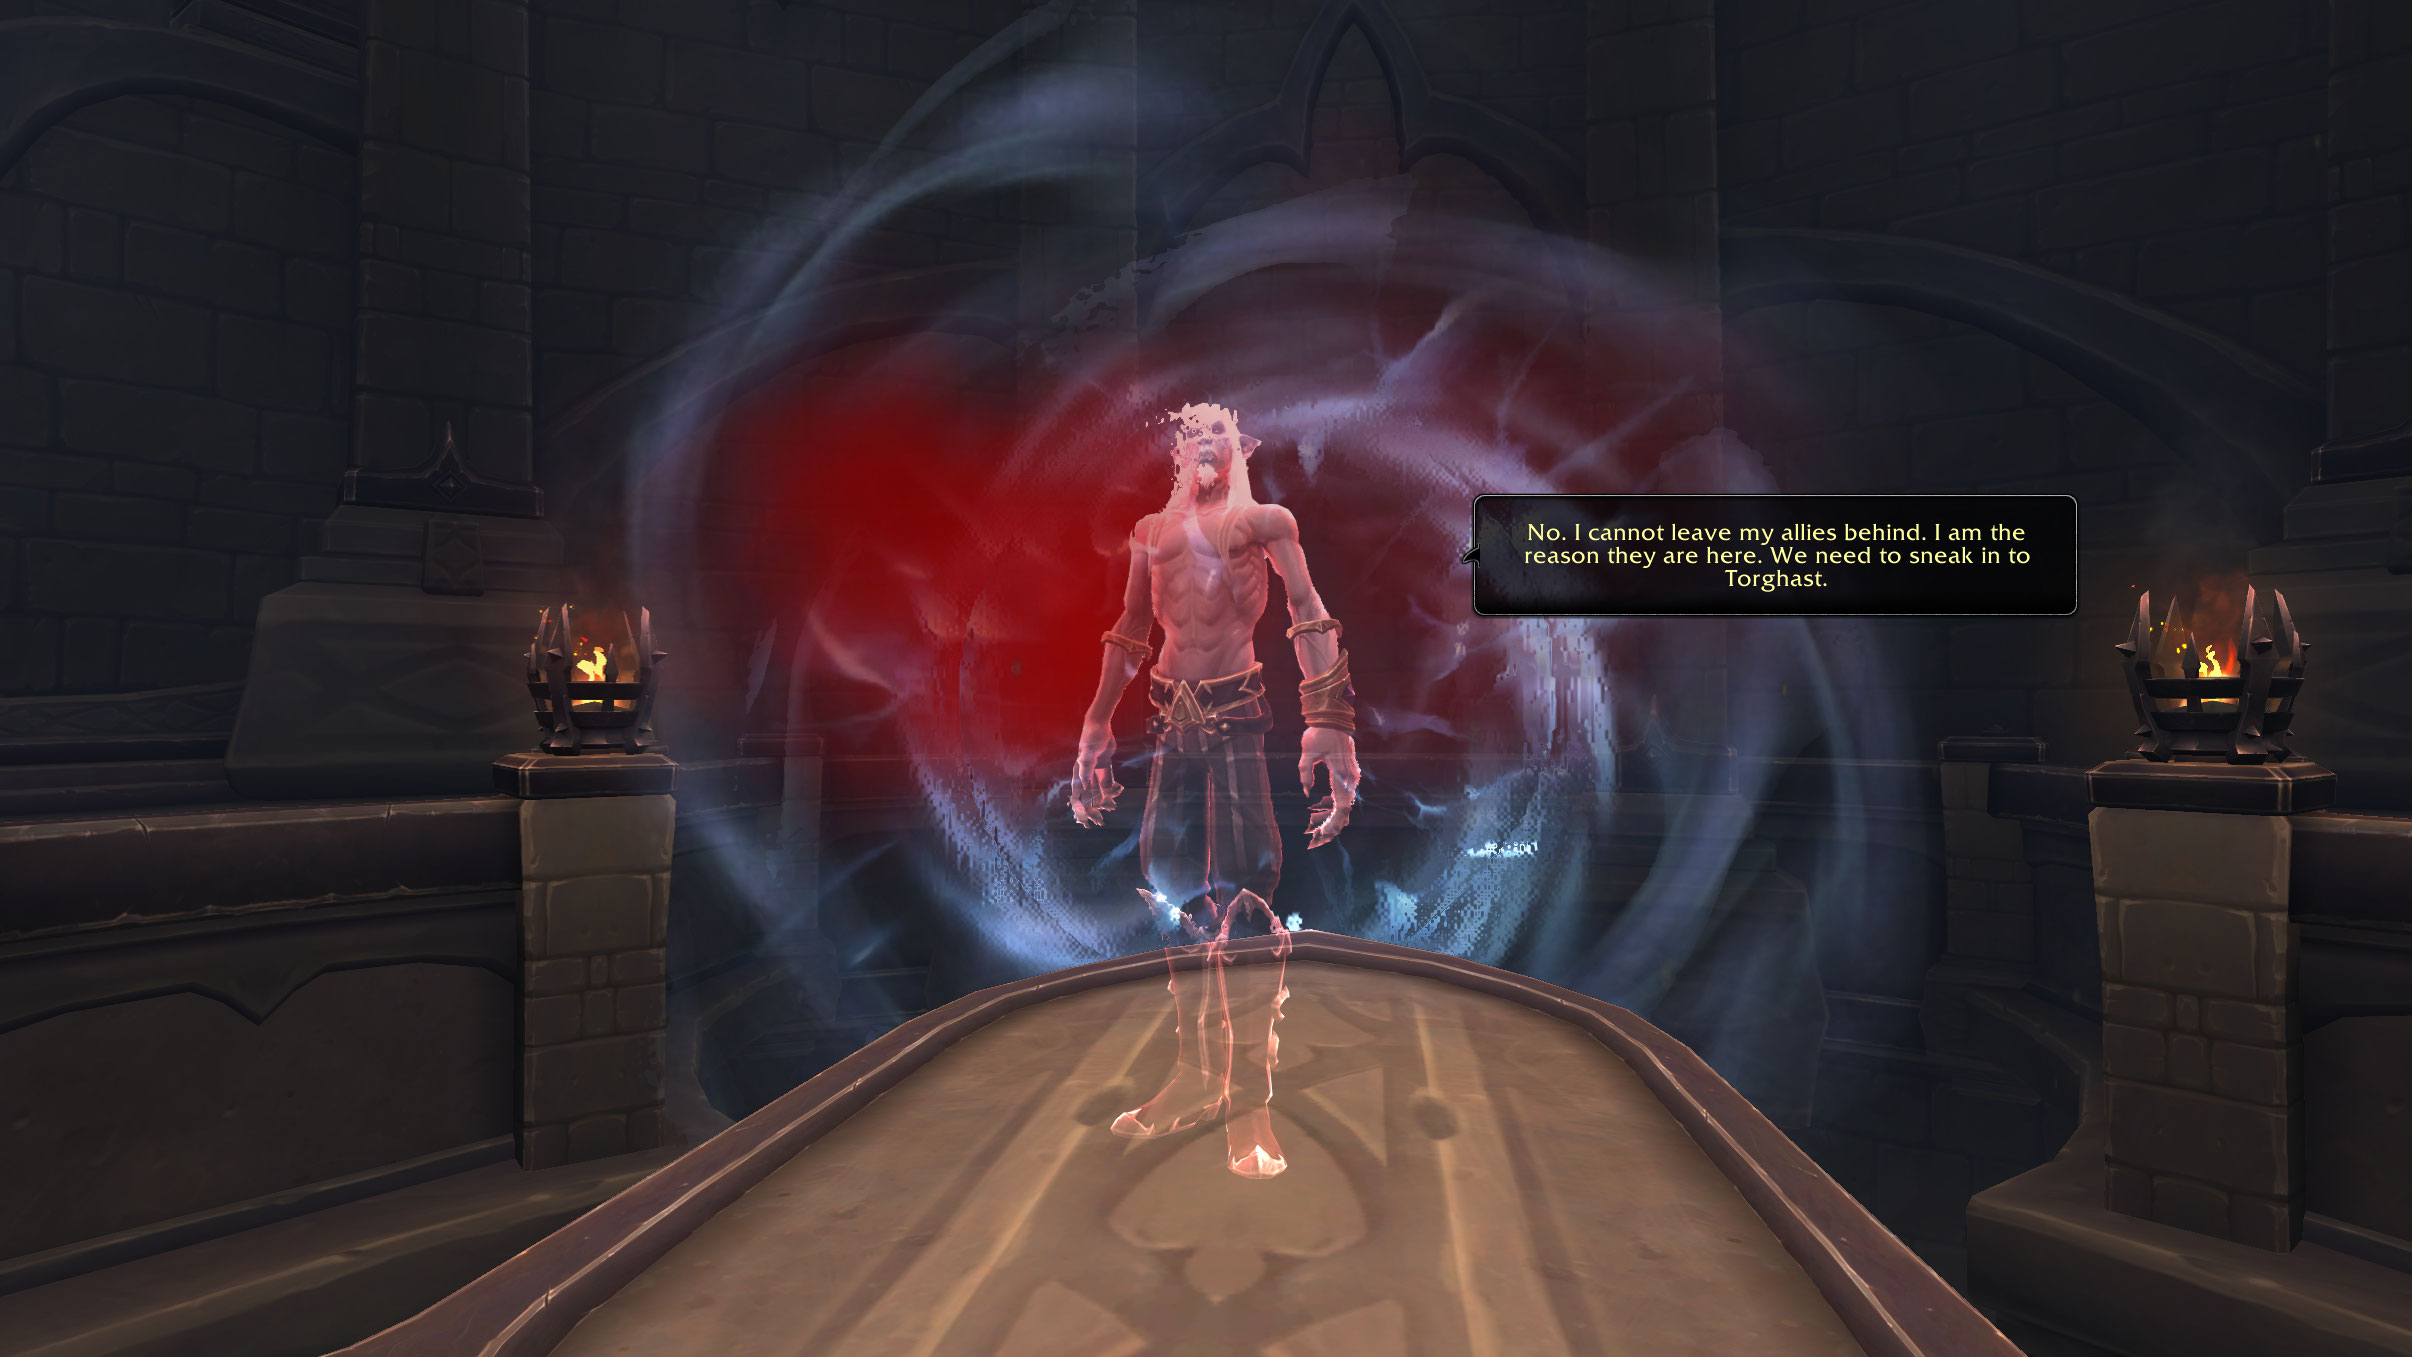
- In the depths of Sinfall you find a disembodied sword named Vorpalia, who recognizes you as the Maw Walker. There is a placeholder quest here where you must rescue Prince Renathal from the Maw before he gets sent to Torghast, but since the Maw is not available yet you simply skip past it and talk to the projection of the Prince. This is your introduction to Torghast as he needs you help entering the tower of the damned and rescuing his allies.
- After getting your introduction to Torghast and escaping via a portal at the end from rescuing The Curator, the Prince returns to Sinfall and all of the leaders of the Rebellion have gathered. They all agree that they must attack the Master before he learns word of Renathal's escape. You then find out that Denathrius is using the anima he's collecting to try and break the bonds holding the Jailer to the Maw.
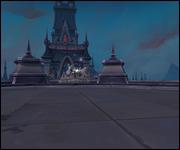
- You then redirect the Scorching Mirrors of the Ember Ward so that the light reflects off them and pierces Castle Nathria.

Chapter 7
- The game tells you that the final chapter is a scenario that involves us trying to defeat Sire Denathrius in his castle. This is not available for testing, however, and so the chain ends here for now.
Continue reading...